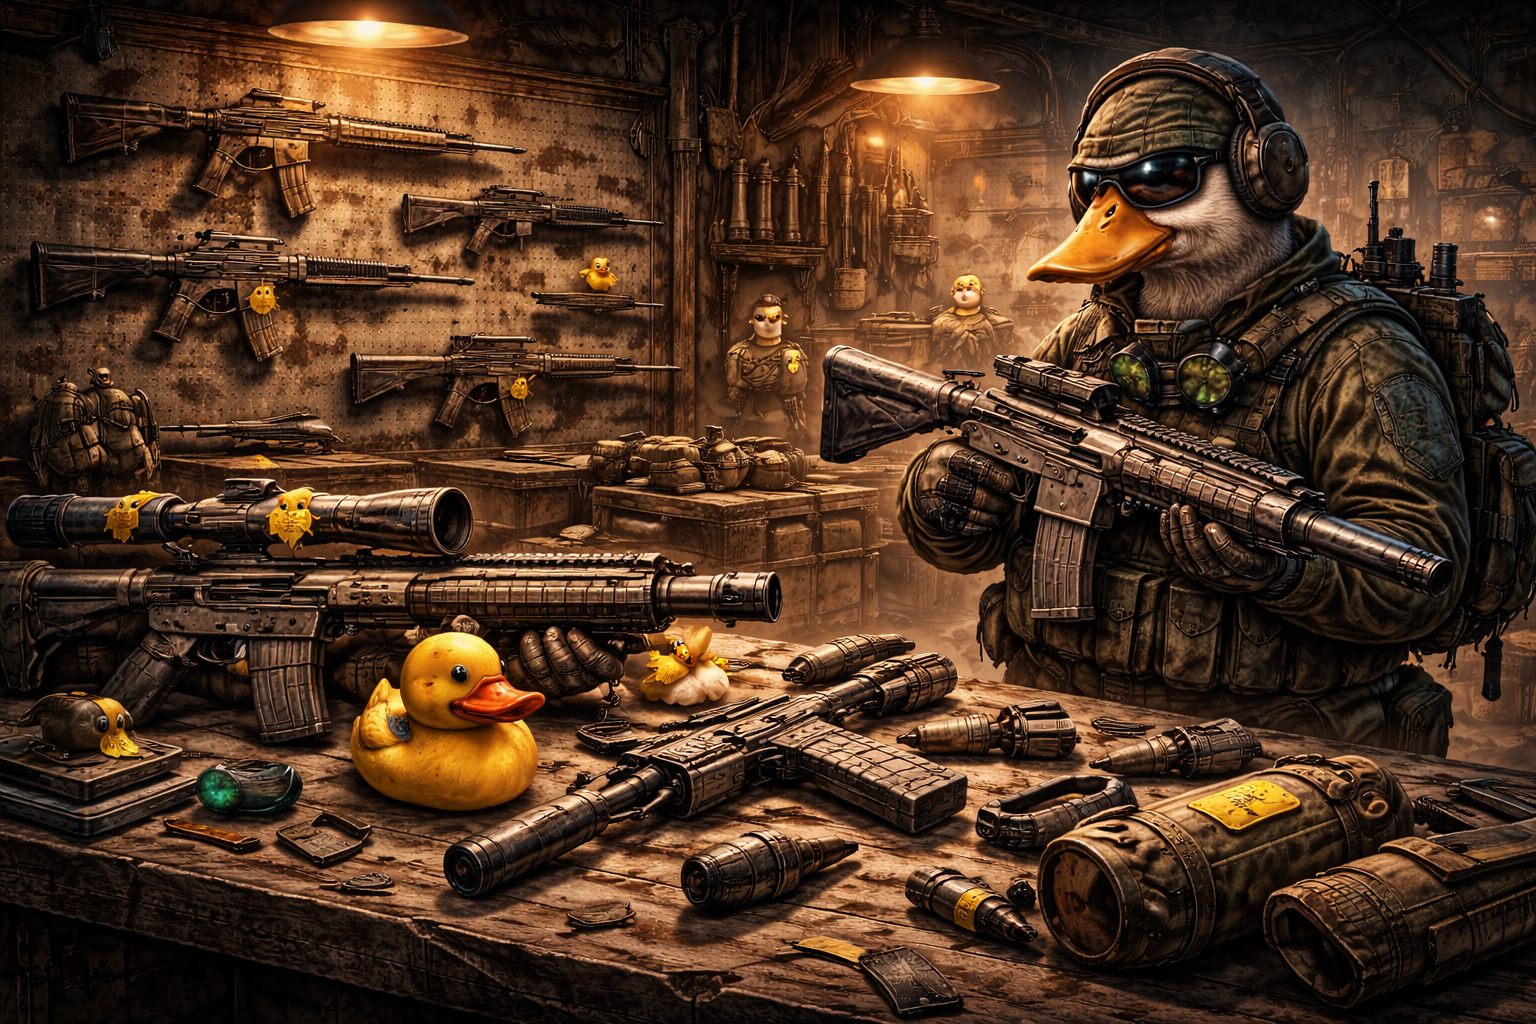
Duckov lets you equip:
- Two firearms (swap between them during raids)
- One melee weapon (no ammo required)
Weapons are organized by caliber families, and ammo is compatible with specific calibers. Ammo can be looted, crafted, or purchased—which means the best weapon choice depends heavily on your hideout progress and your ability to craft or buy the rounds you need.
The other big system is customization:
- Many ranged weapons support attachments (scopes, muzzles, grips, stocks, tactical accessories, magazines).
- Ammo choice and attachments influence how a gun performs: recoil, accuracy, aiming speed, effective range, and how well it handles armor.
And finally, there’s the hidden limiter that catches new players:
- Durability matters. Weapons and armor degrade, and performance can drop when durability gets low—so a “good gun” can feel bad if you don’t maintain it.
The 7 questions that instantly tell you which gun to use
Before you choose a weapon, answer these seven questions. This keeps your loadouts consistent and prevents “random gear syndrome.”
1) Am I looting fast or fighting a lot?
- Loot-first: prioritize mobility, quick handling, and ammo availability (pistols/SMGs, light rifles).
- Fight-first: prioritize control, sustained damage, and the ability to handle armor (rifles/heavy calibers, AP ammo).
2) Where will my fights happen—close, mid, or long range?
- Close: shotguns, SMGs, fast pistols
- Mid: rifles (most consistent), some SMGs with control attachments
- Long: snipers/heavy calibers with optics
3) Am I okay with loud fights, or do I want cleaner, safer engagements?
- If you’re okay with chaos, high fire rate can carry you.
- If you want safer raids, choose weapons that end fights quickly from cover and let you disengage.
4) Can I feed the ammo type consistently?
This is the “quiet truth” that decides most of your early weapon choices.
- If you can craft or reliably find the ammo, the gun is viable.
- If you can’t, it becomes a special-occasion weapon.
5) What’s my current bottleneck: dying, going broke, or lacking upgrades?
- Dying: pick survivability and control (rifles, recoil help, safer range).
- Broke: pick cheap ammo and simple repairs (S and AR family weapons).
- Upgrades stuck: pick extraction consistency and value per slot (lighter weapons, faster routes).
6) Do I rely on hip-fire/run-and-gun, or do I aim deliberately?
- Run-and-gun: SMGs and controllable pistols, short-range attachments
- Deliberate aiming: rifles, heavy calibers, optics
7) What’s my two-gun pairing?
Most players improve instantly when they stop treating “two firearms” as extra weight and start treating it as a plan:
- One gun for your main range
- One gun for emergencies and bad angles
If you can answer these questions, you can pick the right gun even if you’ve never seen that specific weapon before.
Weapon categories explained: what each class is best at
Duckov’s weapons are easier to understand when you stop thinking in brands and start thinking in jobs.
Pistols: cheap, fast, and always useful
Pistols are the backbone of early survival because they:
- are easy to replace
- use light ammo families (commonly easier to stock)
- have fast handling that saves you in close surprises
Best for: beginners, quick quests, budget runs, backup weapon slot
Weakness: limited sustained damage and range; you must pick fights smartly
When pistols shine
- When you want to move fast, loot quick, and extract
- When your primary runs dry and reloading is unsafe
- When you’re trying to conserve your best ammo
SMGs: the run-and-gun comfort weapon
SMGs are often the easiest “feel good” weapons because high fire rate forgives missed shots and close-range fights happen constantly in Duckov’s camps and tight routes.
Best for: aggressive looters, close-quarters clears, reactive players
Weakness: can waste ammo fast; performance drops at longer ranges without control
SMG mindset
SMGs aren’t “bad at range,” they’re “expensive at range.” You can shoot far, but it costs more ammo and more time exposed.
Rifles (AR caliber): the most flexible all-rounder
If you want one weapon family that works across most of the game, rifles usually do it:
- comfortable mid-range
- decent close-range if controlled
- strong with attachments
- ammo availability tends to be practical once your Workbench starts crafting consistently
Best for: balanced play, safer engagements, steady progression
Weakness: you still need good positioning—rifles reward discipline more than chaos
If you hate “weapon drama,” rifles are the calm option: fewer “I brought the wrong tool” moments.
Heavy calibers (L): big hits, big tradeoffs
Heavy caliber weapons are designed for stopping power and penetration, but the cost is real:
- heavier ammo
- stronger recoil
- slower movement (and slower movement is danger in extraction games)
Best for: tough enemies, armored targets, boss attempts, deliberate aiming
Weakness: can slow you down and drain your economy if you use it for basic raids
Heavy weapons are the “specialist” choice: amazing when you bring them for the right mission, frustrating when you bring them for everything.
Shotguns: close-range deletion, high risk if misused
Shotguns can feel unfair—in a good way—when you fight where they’re meant to fight. The issue is that beginners often force shotguns into open terrain and lose.
Best for: buildings, tight corners, doorway holds, clearing camps safely
Weakness: range limits; you must choose routes that respect shotgun distance
Shotguns are also a fantastic secondary weapon because they can instantly solve a close-range emergency even when your primary is built for mid-range.
Snipers: safest kills, slowest pace
Snipers are the purest “control the fight” weapons:
- you decide when the fight starts
- you remove threats before they become threats
- you reduce the number of chaotic close engagements
Best for: stealthy players, methodical clearing, safe boss chip damage
Weakness: slower loot pace, punishing if enemies get close, ammo can be precious early
Snipers pair best with a close-range secondary so you aren’t helpless if the fight collapses.
Magnum weapons: massive impact, heavy recoil
Magnum ammo is described as high-power handgun rounds with strong impact and armor penetration, but heavy recoil. That’s the identity: you trade comfort for punch.
Best for: “one big shot” players, finishing tougher enemies, specialty builds
Weakness: recoil and control; harder to spam safely; usually not the best beginner main weapon
Magnums are often more fun than practical early—but they can be excellent as a “finisher” tool once you have spare ammo.
Bows and arrows: quiet utility and niche power
Bows are a different rhythm. They’re useful when you want:
- stealth
- ammo independence (if you can craft/stock arrows)
- a different kind of consistency
Best for: stealth routes, challenge runs, players who love quiet gameplay
Weakness: slower kills in messy fights; demands positioning
Energy weapons and rockets: late-leaning, high-impact tools
Duckov includes additional ammo families like energy and rocket types (plus some comedic calibers). These tend to be more specialized and are best used when:
- you can feed the ammo
- you’re targeting specific enemies or scenarios
- your hideout economy can support “expensive fun”
For most players, these are midgame and beyond tools—not your everyday money run weapon.
Ammo explained: why “bullets” are the real weapon choice
In Duckov, a gun is only as strong as the ammo you load into it. Ammo families are tied to weapon calibers, and many calibers have tiered ammo lines such as:
- Rusty
- Standard
- AP (armor-piercing)
- Advanced AP
- Special AP
That tier ladder exists for a reason: tougher enemies and bosses punish weak ammo. If your damage feels low, the answer is often not “new gun”—it’s better ammo or a better match to enemy armor.
When to use rusty vs standard vs AP
Think of ammo tiers like a budget plan.
Rusty ammo
- Great for cheap clearing, early farming, and enemies with little armor
- Useful when you want to conserve your good stacks
- Not something you want to rely on for bosses or tougher zones
Standard ammo
- Your daily driver
- Strong enough for most normal raids if your positioning is good
- Often craftable earlier than premium options
AP ammo
- The first “serious upgrade” for damage consistency against armored targets
- Worth using when you enter harder zones or boss routes
- A strong choice for rifles if you want stable progression
Advanced AP / Special AP
- The “don’t gamble” ammo for tough enemies and bosses
- Best used intentionally (boss fights, high-risk objectives, storm content)
- Expensive if you treat it like standard ammo
Ammo weight and recoil: the hidden cost
Ammo isn’t just damage—some ammo families are heavier, and heavy rounds often come with recoil and handling tradeoffs. That’s why heavy caliber weapons can feel amazing in a fight but awkward during the raid: they cost you mobility and space.
If you’re dying while escaping or extracting, consider whether your loadout is too heavy—not whether your aim is bad.
The practical ammo rule for faster progress
- Use standard ammo for daily raids.
- Save AP and above for zones that punish standard rounds (tougher enemies, bosses, storm runs).
- If you’re entering an area and thinking “I might need to dodge forever,” that’s a sign you should bring AP instead.
Crafting ammo at the Workbench: the economy upgrade
Your Workbench progression changes your weapon choices dramatically. Early Workbench upgrades can unlock crafting for:
- S-Normal ammo
- AR-Normal ammo
- L-Normal ammo
- Normal shotgun shells
Later upgrades can unlock AP ammo crafting lines (including AP shotgun shells and other AP ammo families), which is a huge step toward “my gun finally feels strong.”
If you want weapons to feel better without constantly hunting drops, prioritize Workbench progression. Crafting turns ammo from “lucky find” into “planned supply.”
Attachments explained: what matters and what’s a trap
Attachments in Duckov can change characteristics such as:
- accuracy
- recoil
- aiming speed
- magazine capacity
Attachment types commonly include:
- scopes
- muzzles
- grips
- stocks
- tactical accessories (like lasers)
- magazines
But here’s the key: attachments aren’t automatically good. An attachment is good when it makes your personal playstyle more consistent.
The attachment priority list (beginner-friendly)
If you’re new or building budget kits, prioritize in this order:
1) Control first (recoil and stability)
- Grips and stocks that reduce recoil or improve stability help every fight.
- Better control also saves ammo because you land more hits.
2) Sight clarity second (simple optics)
- A clean scope or sight can make mid-range fights safer.
- Don’t overpay for optics early if you can’t protect them.
3) Magazines third (quality of life)
- Bigger magazines reduce reload-death moments.
- They’re best on weapons you use as your primary.
4) Muzzles and tactical accessories last (unless you know why)
- Muzzles can be great, but they can also be expensive and niche.
- Tactical accessories can improve accuracy and handling, but don’t sacrifice your economy for them early.
Why “max attachments” is not the goal
A fully modded gun is cool—but early progress is about repeatable runs. If modding a weapon makes you afraid to deploy it, your mods are slowing your progress.
A better approach:
- Build a “comfortable” gun, not a “perfect” gun.
- Add one or two attachments that solve your biggest issue (recoil, sight, reload frequency).
- Stop there until your economy can handle luxury builds.
Compatibility and slots: why some guns feel limited
Not every weapon supports every attachment type. Some guns have fewer slots, or specific slot limits (for example, a weapon might not have a stock slot). The practical takeaway is:
- If you love a weapon but it feels “hard to improve,” it may be slot-limited.
- If you want a weapon you can grow with, choose a platform with broader attachment support.
Durability and repairs: why your “great gun” suddenly feels awful
Duckov includes durability on weapons and armor. As durability drops, performance can suffer—players commonly notice reduced damage or accuracy at low durability. You don’t need to memorize formulas to play this well. You just need a simple maintenance habit.
The beginner maintenance habit
- Repair your main weapons regularly once your Workbench supports repairs.
- Don’t drag low-durability gear into a raid and expect it to feel “normal.”
- If an item’s maximum durability is collapsing over time, plan to replace it rather than endlessly repair it.
Repair vs replace vs dismantle
Use this rule of thumb:
- Repair: your core kit weapon that you actually deploy often
- Replace: a weapon you like, but the durability is too far gone
- Dismantle: duplicates, junk weapons, or gear you don’t plan to run
Repairs live in your base progression. Once your Workbench is upgraded to unlock repair functions, you’ll feel the difference immediately: your “good gun” stays good longer, and you stop wasting money rebuying replacements.
Elemental weapons: when they’re worth it
Duckov includes elemental weapon variants and elemental interactions (players often mention electrified or flaming variants, and that some enemies have weaknesses or resistances). Elemental weapons can shine when:
- you’re fighting enemies that are weak to that element
- you want effects like stuns or bonus damage
- armor is a problem and you need a different damage approach
But elemental weapons should be treated as mission tools, not default gear—unless your economy and ammo supply can sustain them.
A safe way to adopt elemental weapons
- Keep one elemental weapon as a “special slot” option.
- Use it for the enemy type it excels against.
- Don’t base your entire daily kit on an ammo supply you can’t guarantee.
How to build your two-gun loadout like a pro
Since you can equip two firearms, the smartest thing you can do is build a pairing that covers your weaknesses.
The best beginner pairings
Rifle + SMG
- Rifle handles mid-range safely
- SMG saves you in close corners and panic fights
- Easy to play, easy to scale
Rifle + Shotgun
- Rifle is your steady tool
- Shotgun deletes close threats instantly
- Great for camp routes and indoor objectives
Sniper + SMG
- Sniper controls the opening of fights
- SMG protects you when fights collapse
- Best for stealthy, methodical players
Heavy caliber + Pistol
- Heavy weapon is for tough enemies
- Pistol is cheap insurance for quick swaps
- Good for boss attempts where you still need mobility
The “two jobs” rule
When you pick your pairing, assign jobs:
- Primary job: how you want to fight most of the time
- Secondary job: how you survive when your plan fails
If your two guns do the same job, you’re wasting a slot.
Playstyle guide: choose the right gun for how you play
Now let’s match weapon choices to playstyles. Find the one that sounds like you and copy the recommendations.
Playstyle 1: The Speed Looter (fast in, fast out)
Your goal: grab value, avoid long fights, extract safely
Best weapon classes: pistols, SMGs, light rifles
Ammo strategy: standard ammo, save AP for emergencies
Attachment focus: stability/recoil + simple sight (optional)
Why this works
Speed looters win by not being where danger is. You want quick handling and low downtime.
Two-gun pairing
SMG + pistol, or light rifle + SMG.
Playstyle 2: The Safe Extractor (risk-managed progression)
Your goal: complete one objective, extract consistently
Best weapon classes: rifles
Ammo strategy: standard for daily, AP for harder zones
Attachment focus: recoil control, reload comfort, simple optic
Why this works
Rifles let you win clean fights from cover, take less damage, and carry more loot out.
Two-gun pairing
Rifle + pistol (cheap), or rifle + shotgun (safer close defense).
Playstyle 3: The Camp Cleaner (close-quarters confidence)
Your goal: clear tight areas quickly
Best weapon classes: shotguns, SMGs
Ammo strategy: keep enough shells/SMG ammo to avoid mid-fight starvation
Attachment focus: magazine size (for SMGs), control, fast handling
Why this works
Camps punish slow reloads and long exposures. You want to end close fights fast.
Two-gun pairing
Shotgun + SMG, or shotgun + pistol.
Playstyle 4: The Boss Hunter (planned fights, planned ammo)
Your goal: defeat tougher enemies without gambling
Best weapon classes: rifles with AP, heavy calibers, snipers
Ammo strategy: AP or better for the fights that matter
Attachment focus: stability, optics, and comfort under pressure
Why this works
Boss hunting is where ammo tiers matter. If your damage feels weak, you’re usually under-tiered on ammo.
Two-gun pairing
Heavy/AR rifle + SMG (safety), or sniper + shotgun (control + emergency).
Playstyle 5: The Stealth Controller (fewer fights, cleaner fights)
Your goal: minimize chaos, take only favorable engagements
Best weapon classes: snipers, rifles
Ammo strategy: keep premium stacks for key targets; use standard for filler
Attachment focus: optics and stability
Why this works
Stealth controllers progress by reducing damage taken. Less damage taken means less healing needed and fewer failed extractions.
Two-gun pairing
Sniper + SMG is the classic; sniper + pistol works for ultra-budget stealth.
Playstyle 6: The Storm Runner (high challenge, high reward)
Your goal: survive harder conditions and bring back premium loot
Best weapon classes: rifles, heavy calibers, elemental weapons (situational)
Ammo strategy: don’t be cheap—bring ammo that matches the challenge
Attachment focus: reliability over luxury
Why this works
Storm runs punish weak ammo and sloppy reload cycles. You want consistency and a clear extraction plan.
Two-gun pairing
Rifle + shotgun (versatile) or heavy + SMG (power + safety).
Early game weapon choices: what to use before you’re rich
Early on, the “best” weapon is usually the one you can:
- find often
- feed with ammo
- control under pressure
- replace without pain
That’s why many players start with simple pistols and SMGs, then transition into rifles as their Workbench and economy stabilize.
Your first “core kit” (recommended)
Pick one core kit and maintain it:
- A controllable rifle or SMG
- A cheap pistol as backup
- A melee tool you actually use
Repair and restock this kit and you’ll stop feeling like every raid is a desperate gamble.
Midgame transition: when AP ammo changes your whole experience
A lot of players hit a point where enemies feel tankier and fights feel slower. This is the moment to:
- move into rifles as your main weapon family (if you haven’t already)
- start crafting/buying AP ammo when available
- use standard ammo for normal raids and AP for hard missions
This is also where Workbench upgrades become “weapon upgrades,” because unlocking AP crafting is often more impactful than finding one new gun.
Weapons and the Workbench: how hideout progress decides gun choices
If your weapon choices feel limited, your Workbench is usually the reason. Workbench upgrades can unlock:
- crafting normal ammo for multiple calibers
- crafting certain weapons/tools at different processing tiers
- repair functionality
- deconstruction functionality
- later armor crafting and AP ammo crafting
A practical strategy:
- Use weapon families whose ammo you can craft.
- Use expensive/special ammo only when you have a clear mission that justifies it.
- Treat Workbench upgrades as the “real” weapon progression system.
How to keep or sell guns (without regret)
Your storage fills fast if you keep everything. Use this simple rule:
Keep
- one or two reliable primaries you actually deploy
- one cheap backup weapon
- weapons that use ammo you can craft consistently
- a special mission weapon (boss/elemental) if you have the ammo for it
Sell
- duplicates you won’t use soon
- guns that require ammo you can’t feed
- weapons you keep “just in case” but never deploy
Dismantle
- broken gear you don’t want to repair
- clutter weapons that can become useful materials
- low-durability items that won’t stay reliable
This is how you avoid stash chaos while still progressing.
Common weapon mistakes (and the quick fixes)
Mistake: Choosing guns by rarity instead of usefulness
Fix: Choose by ammo supply and your route. A common rifle with steady ammo is better than a rare gun you can’t feed.
Mistake: Running one gun that can’t handle emergencies
Fix: Use your second firearm slot intentionally—SMG or shotgun as an emergency solver.
Mistake: Using premium ammo on trash fights
Fix: Save AP+ for hard targets, bosses, and zones that punish weak ammo.
Mistake: Over-modding too early
Fix: Add 1–2 attachments that improve control. Stop there until your economy is stable.
Mistake: Ignoring durability
Fix: Maintain your core kit with repairs once your Workbench supports it. Replace gear that can’t hold max durability anymore.
Mistake: Becoming overweight with heavy weapons
Fix: If you’re dying while escaping, lighten your kit. Mobility is a survival stat.
BoostRoom promo
Want your weapon choices to feel simple instead of confusing? BoostRoom helps you match guns to your playstyle with practical loadout plans: what to run early, when to switch calibers, how to build reliable two-gun pairings, which ammo tiers to craft or save, and which attachments are actually worth your money. BoostRoom focuses on what moves your account forward—consistent extractions, stable kits, and faster bunker upgrades—so your weapons stop being random loot and start being a system you control.
FAQ
How many guns can I bring in Escape from Duckov?
You can equip two firearms plus one melee weapon, which makes weapon pairing (primary + emergency tool) one of the smartest ways to increase survival.
What’s the best weapon type for beginners?
Most beginners progress fastest with a rifle for safe mid-range fights or an SMG for comfortable close-range clears—paired with a cheap pistol as backup.
Why does my gun feel weak even when it’s “good”?
Usually because of ammo tier (rusty/standard vs AP and higher) or durability (low durability can reduce effectiveness). Upgrading your Workbench to craft better ammo and repair gear helps a lot.
Should I use AP ammo all the time?
Not early. Use standard ammo for normal raids, and save AP or better for tougher zones, armored enemies, and boss fights. When your economy becomes stable, you can use more AP regularly.
Which attachments matter most early?
Focus on recoil control and stability first, then a simple optic if it helps you aim. Magazines are great on your primary. Avoid expensive “luxury builds” until you can replace them easily.
