Practical rules
- Progress first, power second. In early Duckov, carrying more out beats doing 3% more damage.
- Take free power immediately. If a perk is free and helps movement or combat, grab it early.
- Upgrade to remove your biggest bottleneck. If you keep dying, invest in HP/awareness. If you keep leaving loot behind, invest in space/weight.
- Avoid “shiny” late perks early. If a perk needs rare items or huge money, it’s not an early pick unless it solves a specific problem.
- One skill plan per week. Switching priorities every session is how you stay stuck.
- Pair skills with a raid loop. Perks are strongest when your routes and loot priorities support them.
- BoostRoom mindset: build a skill foundation that makes every future run cheaper, safer, and faster.
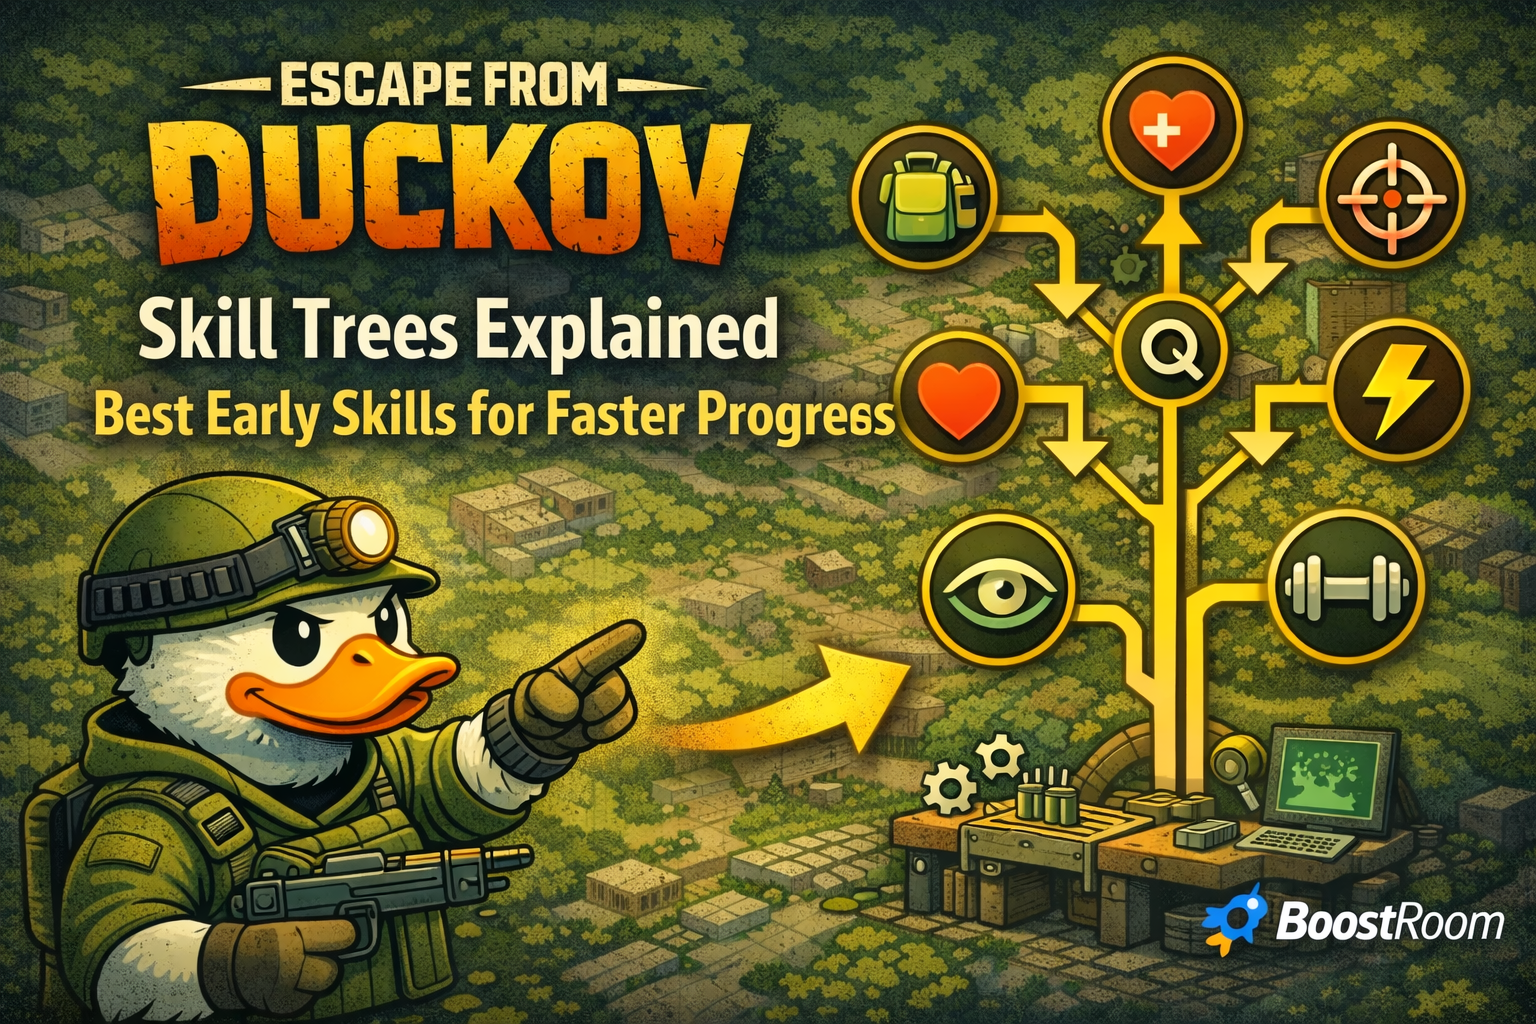
Skill trees in Duckov
Duckov’s “skill trees” are really a set of perk trees tied to different progression systems in your bunker. Instead of one giant RPG tree, you’re investing in multiple categories that each change how your duck performs:
- Combat & utility perks (accuracy, recoil, reload speed, HP, backpack capacity, vision/awareness).
- Physical training perks (mobility, stamina, max weight, hydration/energy reserves—your “athlete stats”).
- Survival perks (energy/hydration drain improvements, fishing progression, and related utility).
- Workbench perks (unlock crafting tiers, repairs, disassembly, armor crafting, AP ammo crafting).
- Storage expansion perks (increase bunker storage so you stop drowning in clutter).
- Other specialist trees (market upgrades, hacking upgrades, strange modifications, etc.).
The key is that these trees aren’t equal early on. Some perks are “nice,” but others are foundation perks—they change your daily life immediately.
Where you upgrade skills
Duckov splits skill upgrades across a few different “places,” even though players often talk about them like one system:
- Skill Enhancement (Perk Palace / Skill Enhancement Machine): this is where you buy many of the most impactful early combat/utility perks (like backpack capacity, HP boosts, recoil/reload improvements).
- Physical Enhancement (Gym training): this is where you invest in movement, stamina, carry weight, and long-session sustainability. Early physical perks can be extremely efficient—some are even free.
- Survival Skills (food-table style perks): this improves how quickly your energy and hydration drain and supports fishing progression.
- Workbench perk tree: this isn’t “combat,” but it accelerates progression by unlocking repairs, disassembly, and better crafting.
- Storage expansion perk tree: this prevents stash-lock, which is a real progression killer.
If you want faster progress, you don’t “max one tree.” You unlock a foundation across a few trees, then specialize.
What skill upgrades cost
Skill upgrades in Duckov typically cost a mix of:
- Money
- Core fragments (commonly Cold Core Fragments early)
- Sometimes specific items tied to the perk (vision perks often require something vision-related, for example)
Some upgrades also take time to finish once you start them, and higher-tier perks can cost more and require more materials. That’s why early-game progression should focus on cheap, high-impact perks that don’t demand rare items.
The progress-first rule
If your goal is “faster progress,” the best early skills share one trait: they increase how much value you can reliably bring home.
That’s why early priorities usually look like this:
- Inventory capacity (backpack space)
- Carry weight (max weight + stamina efficiency)
- Survivability (HP + basic protection + awareness)
- Combat comfort (recoil + reload)
- Sustainability (energy/hydration drain control)
- Economy accelerators (crafting/repair/disassembly, storage expansions)
Damage perks are still good—but early on, you win by extracting more often, not by taking harder fights.
The best early skills
Below are the most consistently valuable early skills, with plain-language reasons for why they accelerate progress. The names here are the in-game perk names players recognize.
Best early skills you should take almost every playthrough
- Backpack Expert I: early inventory capacity is the fastest progression boost in Duckov because it directly increases what you can extract with.
- Survival Instinct I: a small HP boost matters early because many deaths happen with “almost survived” health.
- Wide View I: a larger field of view makes fights, looting, and navigating safer (you see threats sooner).
- Steady Shot I: recoil control improves your ability to win fast, clean fights—especially when you’re using cheap, bouncy starter weapons.
- Gun Mastery I: a small damage multiplier is meaningful when you’re undergeared.
- Quick Reload I: reload speed is a survival stat in disguise—many deaths happen while reloading at the worst moment.
- High Knees (Physical Enhancement): free mobility is insane value—movement keeps you alive.
- Push-ups (Physical Enhancement): free melee damage helps early when ammo is limited or you need to finish safely.
That set alone creates a noticeable “my duck feels stronger” moment—without requiring rare items or huge money.
Recommended early path: first 10 unlocks (balanced and fast)
If you want one simple roadmap that works for most beginners and still scales into mid-game, follow this order. It’s designed to maximize “extract value” first and “combat safety” second.
- High Knees (free mobility)
- Push-ups (free melee damage)
- Backpack Expert I (inventory capacity)
- Survival Instinct I (HP +5)
- Wide View I (FOV +15)
- Steady Shot I (recoil control +5%)
- Gun Mastery I (gun damage multiplier +3%)
- Quick Reload I (reload speed +5%)
- Bodyweight Squats (max weight +3) or Jump Rope (stamina +4) depending on what you struggle with
- Nutrition Management I (hydration drain reduction) or Nutrition Management II (energy drain reduction) depending on what drains first for you
This path gives you:
- More loot per run (capacity + weight)
- Higher survival odds (HP + movement + awareness)
- Cleaner combat (recoil + reload + small damage bump)
- Fewer “I had to leave because I was starving/thirsty” runs
Three early build paths (choose the one that fits you)
Not everyone plays Duckov the same way. Use these paths as “priority lenses,” not strict rules.
Path A: The Extractor (fastest bunker progression)
Choose this if your main goal is upgrading your hideout quickly.
Top priorities
- Backpack capacity perks (Backpack Expert line)
- Max weight perks (Bodyweight Squats + later weight training)
- Stamina and drain control (Jump Rope, Jogging, Nutrition Management)
- Workbench perks (repair + disassemble)
Why it works
More carrying capacity + fewer breaks = more materials extracted per hour. That is bunker progression.
Path B: The Safe Fighter (fastest combat consistency)
Choose this if you keep dying to ambushes or panic fights.
Top priorities
- HP perks (Survival Instinct line, Wide View II adds HP too)
- Recoil and spread control (Steady Shot, Gun Control)
- Reload speed (Quick Reload)
- Vision/awareness perks (Sharp Perception, Eagle Eye/Bright Eagle Eye later)
Why it works
You win fights faster and take fewer “random” deaths, which protects your loot streak and reduces recovery disasters.
Path C: The Long Session Survivor (fastest “hours played” efficiency)
Choose this if storms, long routes, or resource drain constantly interrupt you.
Top priorities
- Hydration/energy reserves and drain reductions (Nutrition Management line, hydration metabolism/reserve)
- Stamina and stamina recovery (Jump Rope, Nutrition Intake, Jogging)
- A little inventory and HP so your runs still pay
Why it works
Less downtime and fewer forced exits means more completed objectives per session.
Skill Enhancement tree: what to grab early and why
This tree is packed with “feels-good immediately” perks. Here are the early winners and how to think about them.
Backpack Expert I / II / III
Why it’s elite early: Every +capacity upgrade is a direct increase in how much value you can extract with. Even when you die, you learn routes faster because you’re not constantly forced to leave items behind.
How to use it:
- Take Backpack Expert I as early as possible.
- Push to Backpack Expert II quickly if you’re routinely full.
- Consider Backpack Expert III once your economy can handle the rising costs and item requirements.
Survival Instinct I (and the HP ladder)
HP is an early-game insurance policy. If you’re new, you will make positioning mistakes—and HP gives you one more second to fix them.
Practical impact:
- You survive “barely” situations more often.
- You can heal and stabilize instead of instantly collapsing.
- It reduces the number of runs lost to chip damage plus panic.
Wide View I (and why FOV is secretly a survival stat)
Wide View I increases FOV. That sounds like comfort, but it’s also awareness:
- you spot threats sooner
- you keep track of multiple enemies more easily
- you loot without getting tunnel vision
Best time to take it: early, right after your first capacity/HP boost.
Steady Shot I
Recoil control makes cheap weapons feel reliable. Early fights often include:
- imperfect guns
- low-tier attachments
- stressful close-mid engagements
Steady Shot reduces “spray chaos,” meaning you spend less ammo per kill and take fewer hits while missing.
Gun Mastery I
Early damage boosts help most when:
- you have limited ammo
- enemies feel spongey with low-tier rounds
- you want to end fights quickly before more enemies join
It’s not your first pick, but it’s an excellent early pick.
Quick Reload I
Reload speed saves runs. In extraction shooters, “I died while reloading” is a classic. Quick Reload reduces those moments—especially in tight areas like camps, corridors, or when you’re forced to fight in place.
Sharp Perception I
Perception range is about not getting surprised. If you keep taking hits before you even see what’s happening, this is a high-value early grab.
Head Protection (and why tiny armor numbers still matter early)
Head Protection adds a small amount of head armor. Early enemies can still delete you with a lucky hit. Any small protection layer increases your odds of surviving long enough to heal or reposition.
When to take it:
- After you have backpack + HP + recoil/reload basics
- Or sooner if you’re dying to sudden bursts
Physical Enhancement: the early gym perks that accelerate progress
Physical perks are “quietly overpowered” early because they improve the things that keep runs alive: movement, stamina, carry weight, and resource management.
High Knees (Free)
Mobility is survival. A small mobility boost helps:
- quick peeks and disengages
- crossing open lanes
- repositioning during extraction countdowns
Because it’s free, it should be among your earliest upgrades.
Push-ups (Free)
Melee damage matters early because:
- ammo is scarce
- you don’t want to waste bullets on weak targets
- melee finishing is safer than reloading mid-fight
Free damage is always worth it.
Bodyweight Squats (Max Weight +3)
Carry weight is one of the most direct “progress accelerators” in Duckov. More max weight means:
- you can bring out more materials for hideout upgrades
- you can carry heavier “upgrade items” without becoming uselessly slow
- you extract with bigger value more often
If you find yourself overweight constantly, prioritize max weight perks early.
Jump Rope (Stamina +4)
Stamina improves:
- escape ability
- long routes to extraction
- recovery from sprinting
- overall “pace” of the raid
If you feel like you can’t sprint when you need to, take stamina.
Nutrition Intake (Stamina Recovery +0.8)
Stamina recovery helps you chain movement without exhausting yourself. It’s especially helpful for cautious players who alternate sprinting and walking while scanning.
Energy Reserve / Hydration Reserve (Max Energy/Max Hydration)
These are session smoothers:
- fewer emergency food/water stops
- less inventory waste carrying extra consumables
- more time to focus on objectives
If you keep getting forced out by resource bars, these perks pay for themselves.
Jogging (Stamina Cost -0.4)
Reducing stamina cost can feel like “infinite legs” over time. It’s a great mid-early pick once you’ve grabbed at least one stamina or weight perk.
Survival Skills: the early perks that prevent forced exits
Survival Skills perks are “time-per-run” perks. They don’t win fights, but they keep you functioning longer.
Nutrition Management I (Hydration Drain Rate reduction)
Hydration is a common early problem because you’re learning routes and taking longer in raids. Lower hydration drain means fewer emergency drinks and fewer forced exits.
Nutrition Management II (Energy Drain Rate reduction)
Energy drain can be just as brutal. If you’re doing long raids, backtracking to bunker extracts, or waiting out storms, energy control makes sessions smoother.
When to buy survival drain perks
Buy them when either of these becomes true:
- You’re extracting early because you’re starving/thirsty, not because you finished your objective.
- You’re carrying too many consumables, which steals loot space and slows progression.
Workbench perk tree: the skills that turn loot into upgrades faster
If your goal is faster progression, workbench perks are “economy multipliers.”
Advanced Processing / Advanced Processing II
These unlock crafting for more items. Early crafting helps you:
- keep ammo stocked
- craft utility items needed for quests or upgrades
- reduce dependency on lucky drops
Fix Station
Unlocks the ability to repair weapons and equipment. Repairing is progression because it reduces the money you spend replacing gear.
Why it’s huge early:
A stable “cheap kit” that you can repair means you can run more raids with less fear of losing your last good gun.
Disassemble Station
Unlocks the ability to disassemble items. This is where “junk becomes upgrades.” Once you can break down items:
- duplicates become materials
- clutter becomes bottlenecks solved
- you stop hoarding random trash “just in case”
If your stash is chaotic, Disassemble Station is one of the best “make progress feel easy” unlocks in the game.
AP Bullet Crafting and Armor Crafting
These are powerful, but they’re usually not your first workbench priorities unless your specific problem is “I can’t kill tougher enemies” or “my armor options are awful.” Most beginners progress faster by stabilizing repairs and disassembly first.
Storage Expansion: when stash space is the correct early investment
Storage expansion is often ignored until players are drowning. But stash-lock is a real progression wall: if your bunker storage is full, you can’t loot efficiently, and you start making bad sell decisions.
When you should invest in Storage Expansion early
- You keep leaving valuable crafting materials behind because your stash is full.
- You can’t keep “upgrade materials + a few kits” at the same time.
- You spend more time sorting than raiding.
Early storage priorities
The early storage expansion levels are typically cheaper and can be worth it if you’re constantly clogged. There’s also a trashbin-style expansion that converts a specific grind (like dog tags) into a big storage increase—great if you naturally collect those tags while playing.
Storage isn’t flashy, but it increases your progress rate because it reduces friction and mistakes.
Common mistakes that slow skill progression
Mistake: Buying damage perks before inventory/weight
Fix: Prioritize capacity and weight first. Damage helps, but you can’t progress on kills you don’t extract with.
Mistake: Ignoring free physical perks
Fix: Take the free mobility and melee upgrades immediately. Free power is the best value in the game.
Mistake: Spreading upgrades across everything
Fix: Choose a theme for your next 5 upgrades (carry + survival, or combat consistency, or stamina + drain control) and commit until the bottleneck disappears.
Mistake: Skipping repair/disassembly too long
Fix: Workbench repair and disassembly turn raids into reliable progress. If you wait too long, you’ll feel like you’re “playing a lot” but not upgrading enough.
Mistake: Treating FOV/awareness perks like “preference”
Fix: Awareness is survival. If you’re getting surprised, perks like Wide View and perception upgrades are real progress accelerators.
A simple loop to fund early skill upgrades faster
If you want faster skill progression without gambling:
- Run short raids with a single objective (materials for your next skill/upgrade).
- Extract early using the safest extraction option available to you.
- Spend resources immediately on your next priority perk (don’t hoard forever).
- Repeat until your bottleneck changes.
This loop wins because it’s consistent. Consistency creates money, fragments, and upgrade materials—then perks make the loop even easier.
BoostRoom promo
If you want a clean, no-guesswork perk path, BoostRoom focuses on the upgrades that speed up real progression: which early skills give the biggest survival and loot gains, which workbench perks turn clutter into upgrades, and how to build a “foundation” that makes every future run cheaper and safer. With BoostRoom, your skill choices stop being random purchases and start becoming a plan that steadily upgrades your bunker and your raid results.
FAQ
What’s the single best early skill in Duckov?
For faster progress, it’s usually Backpack Expert because more capacity directly increases what you can extract with.
Are any early skills “must-buy”?
Many players treat Backpack Expert I as the first essential unlock, and free physical perks like High Knees and Push-ups are too good to delay.
Should I prioritize HP or damage early?
If you’re dying often, HP perks like Survival Instinct I usually accelerate progress more than damage, because dead ducks don’t extract.
Is Wide View actually worth it?
Yes. Increased FOV helps you spot threats and manage fights better, reducing surprise deaths and making looting safer.
What physical training perks are best early?
Early standouts are High Knees (mobility), Bodyweight Squats (max weight), and Jump Rope (stamina)—pick based on whether you’re dying while escaping or constantly overweight.
When should I invest in Survival Skills like Nutrition Management?
When food/water drain is forcing you to exit early or carry too many consumables. Drain reduction makes long raids smoother and frees inventory space.
Should I rush workbench perks or combat perks first?
If you’re broke or your stash is chaotic, workbench perks (especially Fix Station and Disassemble Station) can accelerate progression faster than another small combat boost.
Do storage upgrades matter early?
They matter as soon as stash space becomes your bottleneck. If your storage is full, your progression slows—even if you’re extracting successfully.
