What “Install First” Actually Means (And Why It Matters)
“Install first” isn’t just “the most popular mods.” In Duckov, dependencies and load order matter because many mods rely on shared libraries (most commonly Harmony). If you add ten mods that all patch the same UI panel, you can end up with broken buttons, overlapping text, or mods that refuse to toggle on.
A good beginner setup does three things:
- Reduces decision fatigue (value/weight info, clearer HUD, better sorting).
- Prevents stash meltdown (counts, search, fast transfers).
- Keeps the vanilla learning curve intact (no heavy balance changes while you’re still learning maps, extracts, and risk).
Think of your mod journey like a loadout: start with a few reliable essentials, then expand once you can tell what’s helping vs. what’s noise.

Before You Subscribe: Your Beginner Mod Philosophy (Pick One)
Choose one of these “mod philosophies” before you touch anything. It keeps your list clean.
- Vanilla+ (Recommended for the first 20–40 hours):
- UI clarity, stash tools, quest helpers, and small convenience. No new enemies, no big economy changes, no “power fantasy” items.
- Comfort-First (Great if you play after school/work and hate friction):
- Everything in Vanilla+ plus stronger inventory automation, brighter highlights, and optional map help.
- Content & Chaos (Save for later):
- Bigger systems, extra enemies, expanded mechanics, and major changes. Fun—but it can blur what’s “you improving” vs. “the mod carrying you.”
This guide is built for Vanilla+ with a few optional Comfort-First picks at the end.
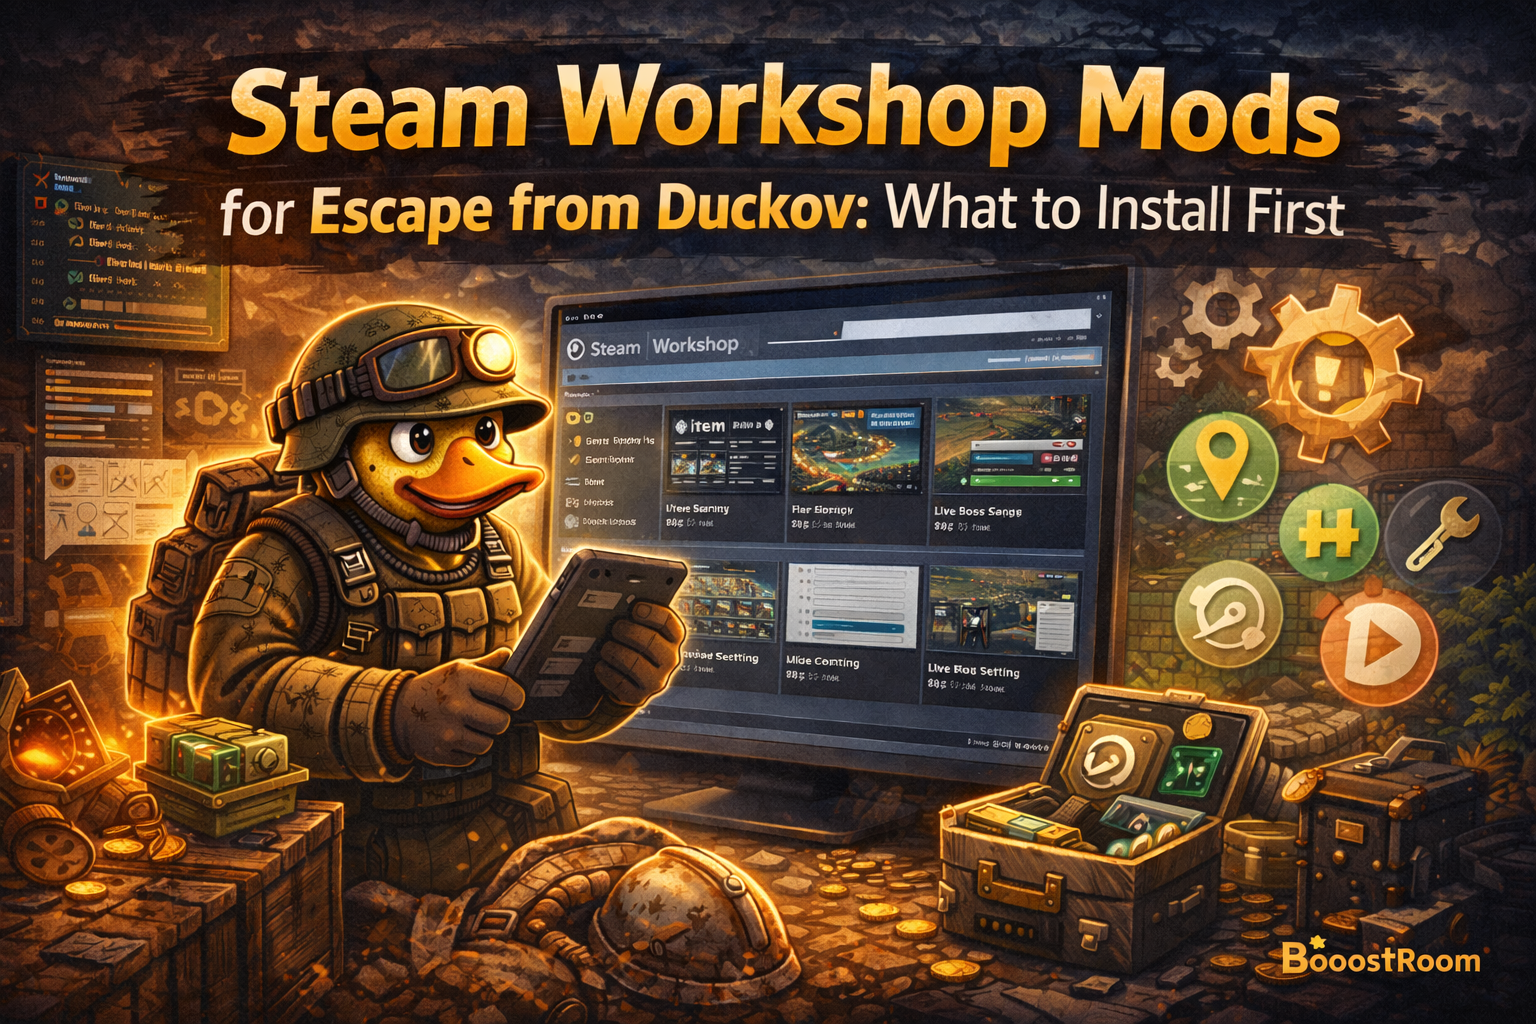
How Steam Workshop Mods Load in Duckov (The 60-Second Version)
Duckov’s mod system reads:
- Mods you subscribe to in Steam Workshop, and
- Mods placed in the game’s Mods folder (manual installs).
Mods typically include:
- a main dll,
- an info.ini (with the mod name/namespace),
- and a preview image.
In-game, you enable/disable mods from the Mods interface on the main menu. Load order matters, and it’s normal to need a restart after changing the order or enabling dependencies.
The Golden Rules for Beginners (Avoid 90% of Problems)
- Start small: 6–10 mods max for your first setup.
- Install dependencies first: Harmony and any frameworks your mods require.
- Libraries go on top: Dependency mods should load before the mods that rely on them.
- Restart after changing load order: Many mods don’t “fully apply” until a restart.
- One change at a time: If something breaks, you’ll know exactly what did it.
- Avoid early balance overhauls: If it changes loot tables, enemy behaviors, or the economy, save it for later.
- Respect community rules: Mods shouldn’t push ads, payments, or shady external links—avoid anything that feels sketchy.
Must-Have Foundations (Install These First or Nothing Else Matters)
These are the “invisible” mods that make many popular mods function properly.
HarmonyLib (Core Dependency for Tons of Mods)
If you only install one foundational mod, make it HarmonyLib.
Why beginners need it:
- Many top quality-of-life mods require Harmony to patch UI and systems cleanly.
- Using a widely adopted Harmony version reduces conflicts between mods.
Beginner tip:
- Put HarmonyLib at the very top of your load order whenever a mod depends on it.
ModConfig (If You Want In-Game Tweaks for Other Mods)
ModConfig is a framework that allows supported mods to expose settings you can adjust in-game.
Why it matters:
- You can fine-tune things like highlight distance, text size, button visibility, or feature toggles (when a mod supports it).
- It’s especially useful for mods that can otherwise feel “too strong” by default.
Beginner tip:
- Install ModConfig early if you plan to use mods that mention “configurable” features.
ModSetting (Alternative Settings Framework Some Mods Prefer)
ModSetting adds a dedicated mod settings tab and supports UI elements like sliders, dropdowns, inputs, and keybinds.
Why you might pick it:
- Some setups prefer ModSetting for more advanced settings support (including keybind-style options).
Beginner tip:
- You don’t need both ModConfig and ModSetting for a tiny mod list—but as your list grows, having at least one settings framework is a quality-of-life upgrade by itself.
Fast Modding Lib, QuackCore, and Other Dev Libraries (Only If a Mod Requires Them)
You may see dependencies like a fast modding library or frameworks such as QuackCore.
Important beginner note:
- If a mod explicitly says it requires a framework and provides an enable order (example: “Harmony → Fast Modding Lib → QuackCore”), follow that order exactly.
- Some frameworks are described as developer prerequisites and may do nothing by themselves—don’t install them “just because” unless a mod you want requires them.
Your Best “First Install” Starter Pack (Cheap, Safe, Effective)
This is a curated list of mods that deliver immediate value for beginners without turning Duckov into a different game. If you want a simple answer, start here.
Below, each mod is explained in plain language: what it does, why it’s beginner-friendly, and any gotchas.
1) Item Value, Rarity, and Search Feedback (Loot Faster, Keep More Value)
Item Value Rarity Display & Search Sounds Mod
What it helps with:
- Stops you from leaving money behind because you didn’t recognize value.
- Adds clearer feedback around looting, including search completion cues.
Why it’s “install first” material:
- Beginners lose the most money by misjudging loot.
- Value/rating visibility turns looting from “random grabbing” into a consistent money engine.
How to use it well:
- Set a personal rule: If it’s high value-to-slot, it earns a stash spot—even if you don’t know what it crafts into yet.
- Combine it with sorting and stash search mods to convert loot into progress faster.
Show The Cost
What it helps with:
- Adds cost visibility (as described by the mod author/community) so you can judge loot value faster.
Beginner-friendly because:
- It reduces “What is this even worth?” moments early on.
- It pairs perfectly with stash organization mods.
2) Stash Survival Tools (The Fastest Way to Feel “Rich” Early)
Storage Search Bar
What it helps with:
- Adds a search bar to your warehouse/stash so you can find items instantly.
Beginner-friendly because:
- Early-game stash is chaos.
- Searching manually wastes time and increases “sell regret” because you can’t find what you already own.
Pro habit:
- Use one consistent naming mindset: search by item type (ammo, meds, keys, crafting junk) and keep categories grouped.
Show inventory Count
What it helps with:
- Shows inventory counts in backpack and storage.
Beginner-friendly because:
- Prevents accidental over-hoarding.
- Helps you decide what to sell (“I already have 6 of these”) without clicking through stacks.
3) Sorting and Inventory Efficiency (Turn Junk Into Money Without Thinking)
Sort by weight/value/ratio
What it helps with:
- Adds sorting options to stash/backpack so you can sort by:
- Value
- Weight
- Value-to-weight ratio
- Supports left/right click sorting directions and configurable behavior.
Why beginners love it:
- It teaches you the real economy: value per slot and value per weight.
- It makes “What should I drop?” decisions instant during raids.
Beginner loot rule (simple and powerful):
- If you’re heavy or full, drop the lowest value-to-weight items first.
- If you’re grid-locked, drop the worst value per slot items first.
DragToDrop
What it helps with:
- Adds a drop zone so you can drag items from stash/backpack to drop them quickly.
- Adds a shortcut where Shift + left click can mimic a “double click” interaction for faster management.
Why it’s beginner-friendly:
- It removes friction from cleanup.
- You’ll spend less time in menus and more time actually playing raids.
4) Survival UI Clarity (Stop Dying Because You Misread the HUD)
Numerical Stats | 状态数值显示
What it helps with:
- Displays exact hunger/hydration numbers.
- Can show numerical health bar.
- Can display armor/helmet durability status.
- Includes toggles for features (and optional draggable UI behavior in the bunker).
Why it’s beginner-friendly:
- Early deaths often happen because you “felt fine”… until you weren’t.
- Numeric clarity helps you plan meds, food, and risk instead of guessing.
Recommended beginner setup:
- Turn on hunger/hydration exact values.
- Keep extra “enemy info” options off until you decide you actually want them.
Better Hydration & Energy HUD
What it helps with:
- Adds clearer information around hunger/hydration rings, including the amount needed to fill and current/max values.
- Includes controls for offsets and font sizing.
Why you might prefer it:
- If you only want food/water clarity without extra UI features, this can feel cleaner.
5) Map and Quest Help (Optional, But Amazing for New Players)
These can be a huge learning boost, but they also reduce “discovery.” If you’re the type who loves learning blind, keep these for later.
ShowQuestsAreaOnMap
What it helps with:
- Displays quest locations and related item locations on the map (with multi-language support).
Why it’s beginner-friendly:
- Quests are progression gates.
- Knowing where to go reduces wasted raids and keeps your hideout upgrades moving.
Best way to use it without “ruining” the game:
- Use it as a confirmation tool, not a GPS.
- Try to guess the route first, then check the map overlay.
Quest Tracker (Quality-of-Life Tracking)
What it helps with:
- Adds an easier way to track current quests and monitor progress (as described in popular community mod guides).
Why it’s beginner-friendly:
- Quest stacking is the fastest progression method in Duckov.
- Tracking reduces missed objectives and “I forgot to grab the thing” moments.
6) Fast Delivery and Safe Transfers (Huge Time Saver Once You Start Hoarding)
Better PickUp Locker
What it helps with:
- Adds a “one-click pickup” style interaction to transfer items from the pickup locker to your stash.
- Includes safeguards so if your stash is full, items remain safe in the locker instead of disappearing.
Why beginners benefit:
- Early on, your stash is small and fills constantly.
- Safe transfer features prevent accidental loss due to space issues.
7) Smart Market Awareness (For Players Who Want Better Money Decisions)
BMDemanding
What it helps with:
- Displays a tip showing whether an item is being wanted/sold in the black market (as the mod describes).
Why it’s useful:
- Beginners often sell the wrong things.
- Demand visibility helps you decide whether to keep, sell now, or wait.
Beginner warning:
- Don’t turn trading into homework. Use this as a quick signal, not a spreadsheet generator.
8) “Learned Item” Awareness (Great If You’re Collecting Keys and Blueprints)
Better Key&Blueprint Indicator / Learned Indicator Mods
What it helps with:
- Marks keys/blueprints that you’ve already learned/recorded (as described by community mod lists).
Why beginners love it:
- New players waste time (and stash space) keeping duplicates “just in case.”
- Indicators make collection progression clean and satisfying.
Your Recommended Beginner Load Order (Simple and Stable)
If you want a safe default load order, use this structure:
- HarmonyLib
- Settings framework (ModConfig and/or ModSetting, depending on your mod list)
- Library dependencies (JmcModLib, Fast Modding Lib, QuackCore — only if required)
- UI clarity mods (Numerical Stats, Hydration HUD, value/cost display)
- Inventory/stash mods (Search bar, counts, sorting, DragToDrop, pickup locker)
- Quest/map mods (Quest tracker, quest areas on map)
- Optional “information-heavy” mods (boss markers, strong highlights, etc.)
Restart the game after:
- enabling a dependency,
- changing load order,
- installing a settings framework you plan to use immediately.
The “First 10 Mods” Checklist (If You Want a No-Thinking Starter Setup)
If you want a clean beginner bundle, pick these ten (or as many as you like):
- HarmonyLib
- ModConfig (or ModSetting if your chosen mods prefer it)
- Item Value Rarity Display & Search Sounds
- Show The Cost
- Storage Search Bar
- Show inventory Count
- Sort by weight/value/ratio
- Numerical Stats (or Better Hydration & Energy HUD if you want minimal UI)
- DragToDrop
- Better PickUp Locker
This setup focuses on:
- loot value clarity,
- stash control,
- fewer menu headaches,
- and faster “progress per raid.”
Mods to Install Later (Great, But Not First Week Material)
These mods can be awesome, but they change the feel of early progression. Save them for later, once you know the base game well enough to judge the impact.
Boss实时地图标记 Live Boss Map Markers
What it does:
- Marks boss positions on the map in real time.
Why it’s not “install first” for everyone:
- Boss hunting becomes much more direct.
- It can reduce the tension of “Is the boss here?” discovery.
Best time to add it:
- When you’re specifically farming bosses or learning boss patterns.
Move Black Market To Base
What it does:
- Moves specific traders/characters to your base and includes refresh behavior (as described by the mod author).
Why it’s not first-week friendly:
- It changes the “world loop” and progression feel.
- Great convenience, but you should understand the normal flow first.
Lootbox Highlighter
What it does:
- Makes containers easier to notice and supports configuration via ModConfig.
Why to wait a bit:
- Highlight strength can feel like “loot vision” if you crank it.
- It can also interact oddly with certain camera/perspective mods.
Best use:
- Keep highlight distance modest so you’re still scanning like a real raider.
DuckDuckCon (Controller / Steam Deck Support)
What it does:
- Unofficial controller support with a twin-stick style scheme, UI interaction, and force feedback.
- Requires HarmonyLib and should load after it.
Install it first if:
- You’re on Steam Deck or you prefer controller play.
Otherwise:
- Save it for later; mouse + keyboard is usually simpler while you learn menus and stash.
How to Expand Your Mod List Without Breaking Your Game
When you’re ready to go beyond the starter pack, use this expansion method:
- Add one mod.
- Launch, enable it, and do one short raid.
- Confirm UI looks normal and performance feels fine.
- Only then add the next mod.
If something breaks:
- Disable half your newly added mods.
- Test again.
- Repeat until you identify the conflict (a fast “binary search” approach).
This sounds slow, but it’s the fastest way to keep your setup stable long-term.
Performance and Stability Tips (So Mods Don’t Turn Duckov Into a Slide Show)
- Too many UI overlays = clutter + FPS dips.
- Don’t stack multiple “info display” mods that show the same thing.
- Highlight mods can be expensive.
- Keep ranges reasonable. If a mod offers configuration, lower its distance/visibility effects.
- Avoid installing multiple “settings frameworks” unless needed.
- If your mods all support one framework, stick to it.
- Restart after load order changes.
- Especially after enabling Harmony or moving dependencies around.
- Watch for duplicate functionality.
- Example: if one mod already adds hunger/hydration numbers, you may not need a second HUD mod that does the same.
BoostRoom Tip: The Smart Way to Mod for Faster Progress
Mods can make you faster, but they don’t automatically make you better. If you want real progression speed, pair “Vanilla+” mods with a plan.
BoostRoom can help you:
- build a clean beginner mod pack that matches your playstyle (loot-focused, quest-focused, survival-focused),
- create a weekly progression checklist (hideout priorities, quest stacking patterns, money routes),
- and avoid the classic trap of “installing more mods instead of improving.”
If your goal is to reach mid-game comfort faster without losing the fun, BoostRoom-style coaching and planning is the shortcut that still feels earned.
FAQ
Q: Do Steam Workshop mods disable achievements in Escape from Duckov?
A: Many quality-of-life mods are designed to avoid changing core balance, and some explicitly state they don’t block achievements. Still, always read a mod’s description and treat anything that changes gameplay systems as higher risk.
Q: Why can’t I enable a mod in the Mods menu?
A: The most common reasons are missing dependencies (like HarmonyLib), incorrect load order (dependency not above the mod), or needing a restart after changing order.
Q: What’s the safest number of mods for beginners?
A: 6–10 is the sweet spot. Once you’re comfortable, you can grow slowly—just avoid adding five new mods at once.
Q: Do I need ModConfig and ModSetting?
A: Not always. Pick the one your chosen mods support. If your list grows and different mods require different frameworks, then you may end up with both.
Q: What’s the single best mod for making money faster?
A: Value visibility mods (like item value/rating displays) plus sorting by value/ratio usually deliver the biggest immediate gains because they improve every raid.
Q: Which mod helps most with stash chaos?
A: Storage Search Bar + sorting by value/weight/ratio + inventory counts is the stash “holy trio.”
Q: I changed load order but nothing happened—why?
A: Many mods require a restart after changing order, especially when dependencies are involved.
Q: Are boss marker mods “too strong” for beginners?
A: They can be. If you love discovery and tension, save them for later. If your goal is farming bosses efficiently, they can be a practical tool.
Q: Can mods hurt performance?
A: Yes—especially UI overlays and highlight effects. Keep your list tight and lower ranges/settings when available.
Q: I play on Steam Deck—what should I install first?
A: Start with HarmonyLib, then a controller support mod like DuckDuckCon, then your stash/QoL picks after you confirm controls feel stable.
Q: Should I install big content mods early?
A: Usually no. Learn the base game first so you understand what’s “Duckov difficulty” versus what’s “modded difficulty.”
Q: How do I keep my modded experience feeling fair?
A: Stick to Vanilla+ mods first: info clarity, inventory tools, quest tracking. Avoid anything that changes loot tables, enemy power, or progression pacing until you’ve earned comfort.
