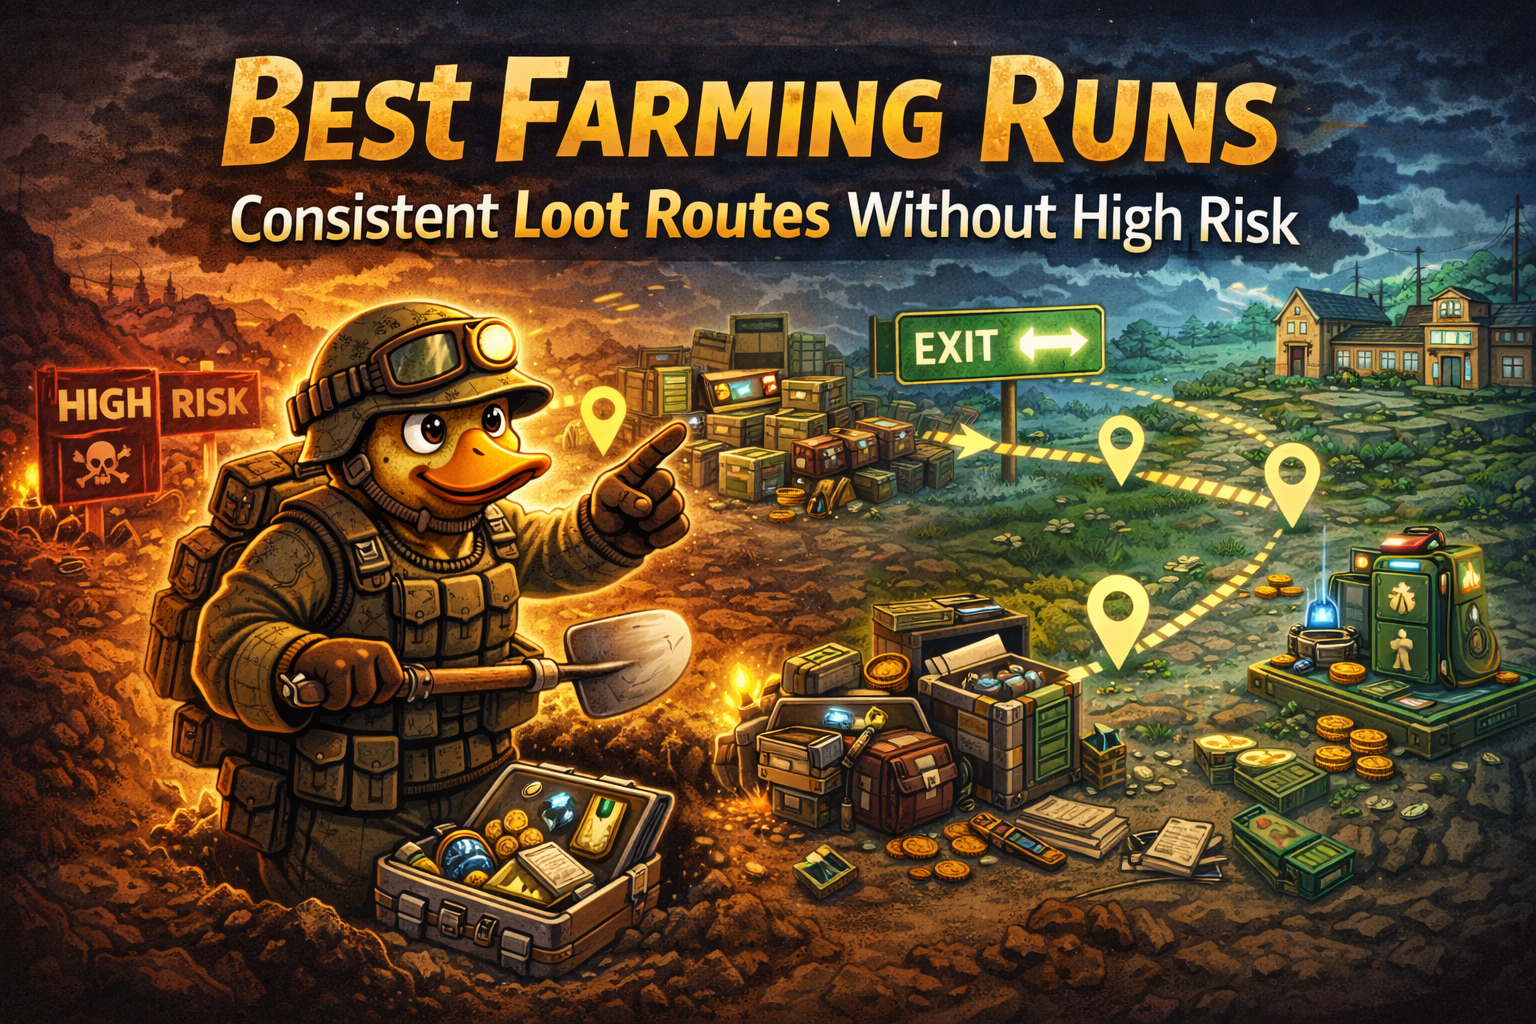
Practical rules that make farming runs safe
Use these rules on every map, every time:
- Plan the exit first. If you don’t know how you’re leaving, you’re gambling.
- Short raids > long raids. Frequent extracts protect value and reduce wipe pain.
- Edge routes beat center routes. The middle of the map is where fights stack.
- One hot spot maximum. A low-risk run can include one “spicy” room, but not three.
- When you find a high-value item, leave. You already won the run.
- Stay light on purpose. Weight is a survival stat—slow players get forced into fights.
- Don’t loot while bleeding. Stop ticking damage first, then loot.
- If you’re new to a route, extract early. Your goal is repetition and learning, not a miracle run.
Quick checklist: your farming kit (cheap, light, reliable)
A farming kit should let you survive one surprise fight, disengage, and keep moving.
- Weapon: something you can control under stress (consistency > theoretical damage)
- Ammo: enough to win 1–2 real engagements (not a full war)
- Meds: bleed control + one fast heal + one “stabilize” heal
- Utility: one reset tool to disengage (smoke-style utility is a common choice)
- Armor: light enough to move, strong enough to survive one mistake
- Backpack: big enough for profit, small enough to keep you mobile
- Tool slot: shovel for dig spots (optional but highly recommended for low-risk profit)
Your goal is a kit you can rebuild instantly. If rebuilding takes 10 minutes, you’ll farm less and stagnate.
The loot math that makes farming easier (why map choice matters)
If you want consistent profit, pick maps that naturally give you more loot per container. Community research that digs into scene configs commonly describes two important points:
- Scene (map) matters more than difficulty settings for loot box multipliers.
- Different scenes can have different loot box item count multipliers and high-quality chance multipliers.
A commonly shared example table shows:
- Ground Zero is treated as a standard baseline for loot boxes.
- Farm Town is often shown with a higher item count and higher high-quality chance than baseline.
- Warehouse Area is often shown with a higher item count and a slightly improved high-quality chance.
- J-Lab is often shown even higher on both item count and high-quality chance.
What this means in plain farming terms:
- Ground Zero is amazing for safe, quick runs and learning.
- Warehouse Area and Farm Town become better for steady money once you can route them safely.
- J-Lab becomes attractive when you can handle slightly higher pressure for better average returns.
The “3-phase route” framework (entry → sweep → exit)
Every low-risk farming run should follow the same structure:
- Phase 1: Entry (0–2 minutes)
- Move to your first container cluster without starting a war. If you spawn near danger, take a wide edge.
- Phase 2: Sweep (main loot loop)
- Loot only the containers your route is built around. You’re not here to clear the map.
- Phase 3: Exit (the moment you hit your value target)
- The fastest farming players treat extraction like a button: once profit is secured, leave.
If your run doesn’t have a clear “exit trigger,” you’ll keep staying “just one more minute” until you die.
Value-per-slot rules (what to pick up, what to ignore)
Low-risk farming dies when you loot the wrong things. Use these rules:
Always take (high value, low weight, stack-friendly):
- Currency and compact valuables
- Electronics parts (common upgrade bottlenecks)
- Medical supplies that stack
- Ammunition you actually use
- Quest/upgrade items you recognize as bottlenecks
Usually skip (low value density or slows you down):
- Bulky low-value junk
- Heavy gear you won’t use
- Duplicate “maybe someday” items that fill your bag early
- Anything that makes you overweight before your route is finished
The farming swap rule:
If a new item is better value per slot than your worst item, swap. If it’s not, leave it.
Run 1: Ground Zero safe loop (shovel + backtrack extract)
This is the most beginner-friendly farming run in the game because it pairs well with the most forgiving extraction option: Return to the Bunker.
Why it’s low risk
- You can extract by backtracking to the bunker entrance instead of crossing the whole map.
- You can stay on the edges and avoid the most obvious fight lanes.
- Dig spots (with a shovel) add consistent “extra rolls” without requiring big fights.
Route concept (simple and repeatable)
- Start near the bunker side and move along the safer outer lanes toward container clusters.
- Prioritize toolboxes, cabinets, medical boxes, and any stash/dig spots you know.
- Avoid taking fights in open areas—if you get spotted, break line of sight and rotate around cover.
Your extraction trigger
Extract immediately when you have any of these:
- one “big” high-value item
- two to three medium-value upgrades/electronics
- your bag hits the weight point where movement feels bad
Safety tips
- If you hear sustained gunfire nearby, pivot to a different cluster or extract early.
- Don’t force the Northwest Camp extraction on low-risk runs if you’re already profitable—backtracking is safer.
Run 2: Ground Zero “three-extract” loop (profit with exit flexibility)
Ground Zero has multiple extraction options that let you avoid forcing one dangerous exit every time.
Common extraction options used by players on Ground Zero
- Return to the Bunker (backtrack to the hatch)
- Northwest Camp (the visible map-marked extract)
- Secret Bunker Entrance (unlocked after repairing a bridge with wood, then navigating through containers to a manhole)
How to use this for safe farming
- If your loot is light and you’re near bunker-side lanes: backtrack and extract.
- If your route naturally pushes you northwest and it’s quiet: consider Northwest Camp.
- If you already unlocked the secret entrance and you’re routing near it: use it as a safer, flexible exit option.
The farming win here
You’re not trying to “loot everything.” You’re trying to loot one clean cluster and choose the safest exit based on where your route ends.
Run 3: Warehouse Area “Gas Station micro-loop” (beacon-friendly money)
Warehouse Area is a strong farming map because it has recognizable landmarks and a popular beacon location near Gas Station, which helps future routing.
Why it’s low risk (when done correctly)
- You can build a route that mostly stays around Gas Station-adjacent lanes and avoids the deepest danger zones.
- You can extract quickly after looting a dense cluster instead of pushing toward high-risk areas like Western Factory.
Micro-loop route concept
- Move toward Gas Station as your anchor landmark.
- Loot nearby container clusters: boxes, tool storage, shelves, and adjacent structures.
- Rotate around the perimeter instead of cutting through open central lanes.
What to avoid
- Don’t force a Western Factory push on a “low-risk” plan. That’s where many runs turn into extended combat.
- Don’t chase distant gunfire—your profit is already on the map in containers.
Exit discipline
Warehouse runs feel profitable when you extract after one clean micro-loop. If you extend, your risk rises fast.
Run 4: Warehouse Area “Lumber Mill → Ravine edge” loop (consistent containers, controlled danger)
This loop is ideal if you prefer edge travel and want steady loot without deep industrial fights.
Landmarks used in this route
- Lumber Mill (often a quest landmark and container area)
- Ravine (use it as a navigation anchor and boundary)
Route concept
- Approach Lumber Mill from a safer side route.
- Loot quickly and quietly: don’t linger once you’ve checked the containers you came for.
- Rotate toward Ravine edges rather than cutting across the map center.
Why it stays safer than “big Warehouse routes”
- You’re spending less time in the map’s highest-traffic core.
- You’re not forcing a multi-hotspot run; you’re farming one region well.
Best add-ons
- Shovel dig spots if your path passes them
- One quick “high-value check” room only if it’s on your route and not pulling you into heavy fights
Run 5: Warehouse Area “Farmhouse support loop” (parts without Western Factory)
Farmhouse exists in many players’ mental maps as a stable anchor: it’s recognizable, and it’s a good “reset point” for planning your exit.
Route concept
- Use Farmhouse as your central anchor.
- Loot nearby containers and “support buildings” around the farmhouse region.
- Avoid overextending into the highest-risk industrial heart of the map.
Why it’s good for upgrades
Farming runs should feed your hideout. Farmhouse-adjacent routes often generate steady parts and crafting inputs that matter more than random weapons.
Exit rule
If you get any bottleneck item for a current upgrade, treat it as a mission item: extract immediately.
Run 6: Farm Town “north containers → supermarket → town hall” loop (no key required)
Farm Town is often where players start to feel real money stability because it supports container-heavy routes. A widely shared community path looks like this:
- Start from a safer northern approach
- Hit a container cluster
- Loot the supermarket
- Loot town hall
- Extract via the nearest safe option
Why it works
- Supermarket-style areas often have many quick loot checks: shelves, boxes, and consumables.
- Town hall-style buildings often support cabinet-heavy looting (useful for notes and compact valuables).
- You can end the loop early and extract without forcing a full-town clear.
How to keep it low risk
- Don’t loot every room. Loot the high-density rooms and keep moving.
- If you hear boss-level fighting nearby, pivot away and extract with what you have.
- Stay light. Farm Town can punish overweight players with long travel lanes.
Run 7: Farm Town “X/O key room” loop (when you have keys)
Some Farm Town farmers talk about “X room” and “O room” keyed areas as strong value checks. If you have access to those doors, you can turn Farm Town into a very consistent money map.
Route concept (key-enabled)
- Go to X-room value check first
- Sweep supermarket next
- Hit town hall cabinets next
- Go to O-room value check
- Extract immediately after the second key-room check
Why it’s not “high risk” when done right
- You’re doing two fast high-value checks, not a full town sweep.
- Your route has a clear end point: second key-room check → leave.
Key safety rule
If your key system allows registration, register keys when possible so you aren’t risking them in your raid inventory. Farming becomes safer when keys are permanent access instead of carried valuables.
Run 8: J-Lab “quiet cabinets” loop (mid risk, high return)
J-Lab is not “low risk” for brand new players, but it becomes one of the best farming maps when you can handle its pressure because average loot returns are often described as higher than baseline.
When to use J-Lab as a farm map
- You already have a stable kit and can survive 1–2 sharp engagements.
- You want better average loot returns and are willing to accept slightly higher danger.
- You can route quickly and extract without wandering.
Low-risk approach inside a higher-risk map
- Build a cabinet-heavy route: focus on file cabinets, drawers, and container clusters.
- Minimize time spent in open hallways or deep danger zones.
- Extract as soon as you hit your value target—J-Lab runs get dangerous when they turn long.
What to prioritize in J-Lab farms
- Compact valuables and electronics
- Parts you need for workbench and processing upgrades
- Note-type items that support market upgrades (if you’re building that system)
J-Lab farming is all about discipline: quick sweep, quick exit.
Day vs night farming (when “more spawns” isn’t worth it)
For pure low-risk farming, daytime runs are usually the safest baseline. Multiple guides and community discussions describe night as introducing extra threats (often including spider-bot style enemies) and reduced visibility, which increases risk even if loot feels “busy.”
A simple low-risk rule
- If your goal is steady profit with minimal danger, avoid night until you’re confident and properly equipped.
- If you do farm at night, make it a specific mission: one loop, one extraction, no wandering.
Why night can feel profitable (but still be risky)
Night can create more total interactions (more targets, more chaos), which can create more loot opportunities—but it also increases the chance you take damage, burn meds, and lose the run.
If you’re farming for consistency, survival rate matters more than “loot vibes.”
What to do when a run goes wrong (disengage scripts)
Low-risk farming isn’t about never getting surprised—it’s about having a script when you do.
Script A: You get tagged while looting
- Break line of sight immediately
- Stop bleeding/ticking damage
- Quick heal to stabilize
- Rotate to a new angle (don’t re-peek the same lane)
- If the fight isn’t required, disengage and extract
Script B: You accidentally trigger a hot area
- Don’t “win the town.”
- Back out the way you came, use cover, and reset your route.
- If you already have profit, extract immediately.
Script C: You become overweight
- Move your highest value item to a protected slot if available (some players use pet storage mechanics for this)
- Drop your worst-value heavy items
- Switch into exit mode: stop looting, go extract
The biggest farming mistake is turning one surprise moment into a long chain fight.
The farming cycle (turn loot into progress, not clutter)
If you farm but still feel stuck, the problem is usually conversion: your loot isn’t becoming upgrades.
After every 2–3 farming runs, do this bunker routine:
- Sell obvious junk immediately
- Move upgrade bottleneck items into one “upgrade box” stash area
- Stockpile common quest turn-ins in a small “quest shelf”
- Craft essentials you consume constantly (basic meds/ammo)
- Rebuild your standard kit so you can redeploy instantly
Farming is only “real progress” when it funds upgrades, crafts, and stable kits.
BoostRoom promo
Want these farming routes tailored to your current progression? BoostRoom helps you turn “random loot runs” into a clean, repeatable profit system: the safest loops for your unlocked maps, what containers matter most for your next upgrades, when to extract to protect value, and how to build a cheap farming kit that doesn’t collapse after one death. If you’re tired of feast-or-famine raids, BoostRoom is the fastest way to lock in steady income while you keep progressing through quests, beacons, and hideout upgrades.
FAQ
What is the safest farming map for beginners?
Ground Zero, because you can often extract by returning to the bunker entrance and keep your routes short.
How long should a farming run be?
Short enough that you can repeat it often. The moment you hit your value target, extract. Long raids increase risk without guaranteeing better loot.
Should I farm at night for better loot?
If you want low risk, avoid night until you’re confident. Night can add threats and reduce visibility, which hurts consistency.
Do I need keys to farm effectively?
No, but keys can make certain routes more valuable and consistent. If you can register keys for permanent access, it makes key-based farming safer.
Why do I keep dying on “money runs”?
Usually one of three reasons: you stay too long, you go overweight, or you enter hot zones looking for jackpots. Farming is about repeatability, not drama.
What should I prioritize picking up on farming runs?
Compact valuables, electronics/upgrade parts, stackable meds, ammo you use, and items tied to your next hideout upgrades or quest turn-ins.
When should I move from Ground Zero farming to Warehouse/Farm Town farming?
When you can run a short route on those maps and extract consistently without it turning into a long fight. Upgrade your beacons early to make those routes safer.
