Practical rules
- Your backpack is a business, not a museum. Every slot must earn its keep.
- Loot for the next upgrade, not for vibes. If it doesn’t fund your next kit or build, it’s probably bait.
- Never get attached to “almost value.” Half-good items are the #1 reason you stay too long and die.
- Protect one progress item per raid. If you can keep only one thing safe, make it the thing that advances your account.
- Sort in seconds, not minutes. Micro-sorting keeps you alive; perfection sorting gets you killed.
- Weight kills more runs than enemies do. If you’re slow, you’re vulnerable.
- Your stash should be organized for speed. The faster you re-kit, the more profitable your session becomes.
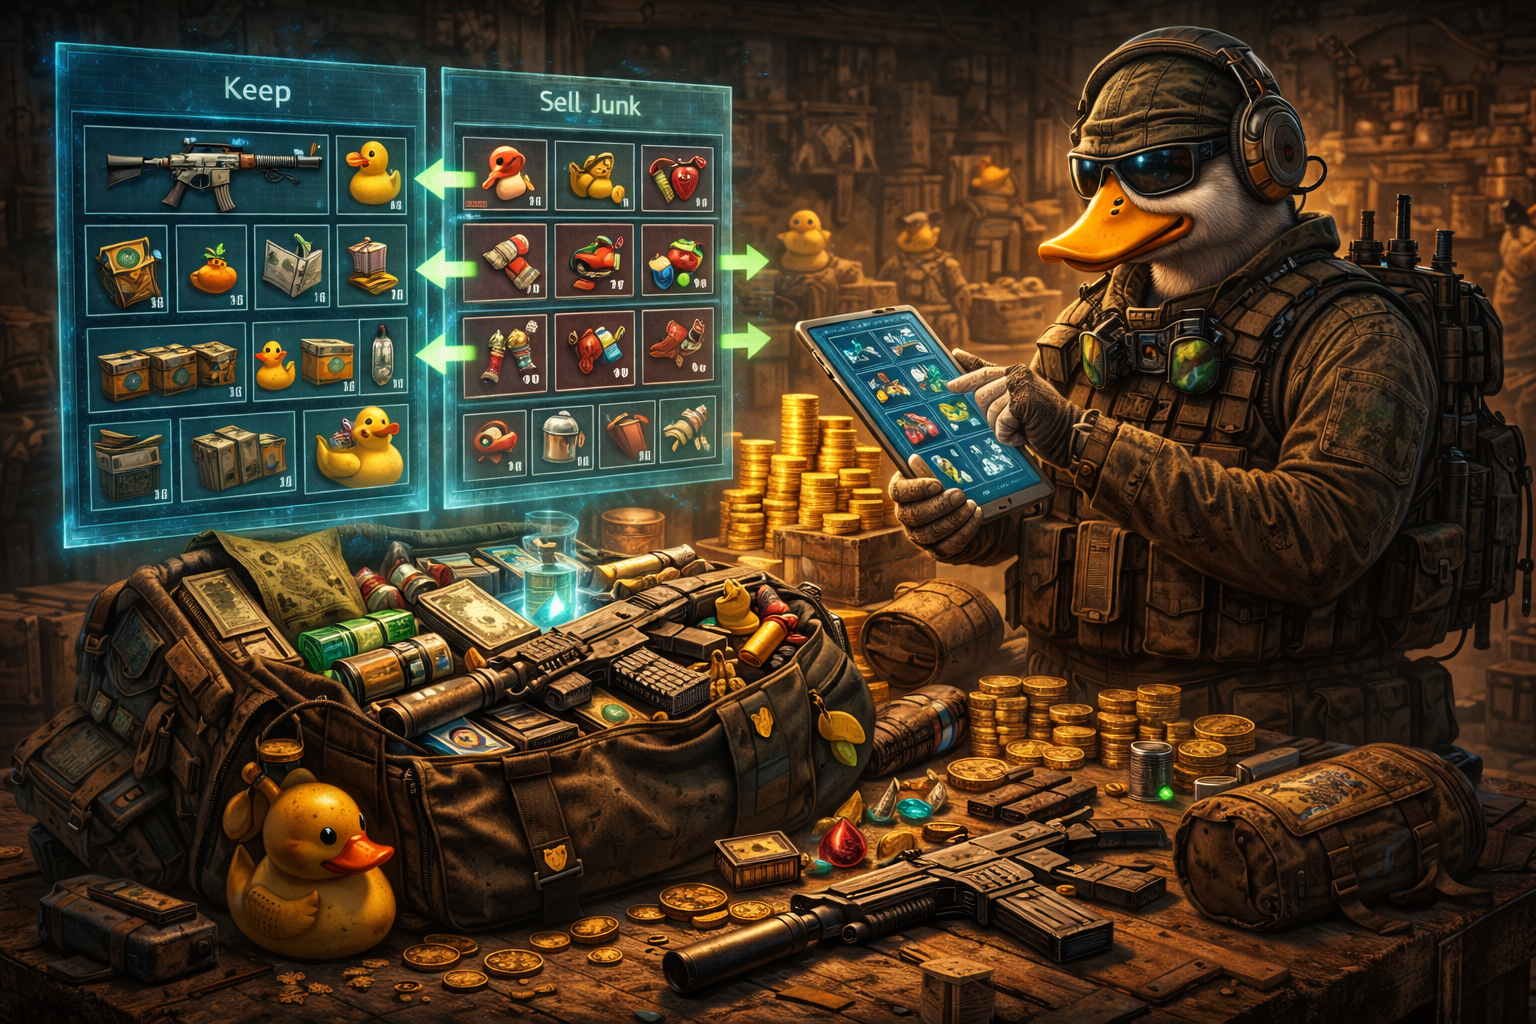
Why pros get rich without “finding better loot”
There’s a myth that good players extract richer because they’re luckier or because they “know secret spawns.” In reality, most of the difference comes from selection and compression:
- Selection: taking the best value per slot/weight and leaving the rest.
- Compression: using cases, stacking, smart layouts, and quick swaps so your bag holds more real value.
That’s why a pro can do a “quiet” raid and still come back with higher value than someone who fought constantly. They extracted denser loot—and they didn’t die sorting it.
Duckov has two limits: slots AND weight (you must manage both)
Many games limit you by slots or by weight. Duckov often limits you by both, which changes how you loot:
- Slots decide how many items you can physically carry.
- Weight decides how fast and safely you can move while carrying them.
This creates a trap: you can fill slots with low-density items and still be forced to drop good loot later… or you can become overweight with a few heavy items and lose the ability to disengage, heal, and extract safely.
Pro looting is solving both limits at once. You want loot that is:
- high value per slot
- high value per weight
- useful for upgrades or crafting
- easy to sell or convert
- safe to carry (or protectable)
Pre-raid inventory layout: set yourself up to loot faster
Most people start sorting only after they’re already full. Pros start sorting before the raid begins.
1) Lock your “always-needed” slots
Duckov lets you lock slots so your ammo and survival essentials don’t get shoved around while you loot. A widely shared beginner tip is to lock key slots (commonly by pressing L) and keep your most used items there.
A clean beginner layout looks like this:
- Locked row 1: ammo stack(s) for your main weapon, plus a spare
- Locked row 2: bandage + main heal + emergency heal
- Locked row 3 (optional): food + drink if you do longer runs
This does three things:
- you stop accidentally moving ammo into your loot space
- your healing stays consistent even in panic moments
- your bag stays easier to “Tetris” while moving
2) Keep one “swap lane” empty
Leave a vertical strip (or a corner block) empty to do fast swaps. This becomes your “decision lane” where you can drop a new item, compare, and decide in seconds.
3) Put your “high-risk item” plan in place
Before you spawn, decide what you’ll protect if you find it:
- blueprint
- rare upgrade material
- storage expansion crate
- key case / injection case
- any progress item you don’t want to lose
When you find that item, you already know what to do—no hesitation.
The 5-second loot decision (keep, swap, drop)
The best looters don’t “think harder.” They think faster using a repeatable rule.
Every time you pick up an item, answer these in order:
- Is it a progress item? (blueprint, upgrade blocker, storage expansion, quest deliverable)
- Is it high density? (small, expensive, stackable, or convertible)
- Does it replace something worse in my bag? (swap opportunity)
- Will it slow me down too much? (weight check)
- Am I already past my win condition? (risk check)
If the answer to #1 is “yes,” you usually keep it and shift toward extraction.
If #1 is “no,” then density + swap + weight decide.
Pro habit: if you can’t decide in 5 seconds, your bag is already too chaotic. Drop the lowest-density item and move.
Value-per-slot vs value-per-weight (how to judge like a pro)
Most players loot by vibes: “this looks rare,” “this seems useful,” “I might need this later.” Pros loot by density.
Value-per-slot (VPS)
Think: how much value fits in one tile?
- Stackable currency items often have great VPS.
- Compact valuables (small electronics, small components, premium consumables) often have great VPS.
- Large items with modest sell value often have poor VPS.
Value-per-weight (VPW)
Think: how much value per kilogram (or weight unit)?
- Heavy base items might have great progression value but terrible VPW.
- Some weapons and armor pieces have high “paper value” but crush your mobility.
- Some light items sell well and barely affect movement.
The pro rule:
- Loot money with VPS.
- Loot upgrades with usefulness and scarcity.
- Loot heavy items only when they unlock something soon—or when you can offload them safely.
The “loot ladder” (what to prioritize at each stage of the raid)
To keep more value, you need different priorities depending on your situation.
Stage 1: Early raid (bag is empty)
Priority: progress items + high-density money items
- If you see a blueprint or a key item, that becomes the objective.
- Otherwise, grab high density first so you don’t fill with junk.
Stage 2: Mid raid (bag is half full)
Priority: swap up
- Stop picking up “okay” items.
- Only pick up items that are clearly better than what you already carry.
Stage 3: Late raid (bag is full or you’re heavy)
Priority: protect + extract
- Your goal is no longer “more loot.”
- Your goal is “don’t lose what you already earned.”
Most players die because they keep playing Stage 1 rules while they’re in Stage 3.
High-value categories you should almost always take
These categories tend to be worth grabbing even if you’re not sure yet—because they either compress well, sell well, or unlock progress.
1) Blueprints and blueprint fragments
Blueprints are permanent power once registered. Treat them as extract-now loot.
2) Storage expansion items (Expansion Crates S/M/L)
Storage increases are a long-term multiplier: more room means fewer forced sell-offs and better loot flow. Expansion crate items are used in storage expansion upgrades, and they’re often heavy—meaning you must plan for them (more on that in the weight section).
3) Key containers (Key case, injection case, etc.)
These compress your inventory long-term by letting you carry more function in fewer slots. They’re also perfect “protected carry” items if you use your dog slot smartly.
4) Upgrade blockers (the materials you keep missing)
Every account has bottlenecks: bolts, plates, electronics parts, plastic sheets, tools—whatever your next build needs. These are “invisible value” because they don’t always sell high, but they unlock the next tier of your bunker.
5) Stackable high-density consumables
If a consumable stacks well and sells or saves you money later, it’s value-dense. But don’t hoard forever—use them to stabilize your runs.
Low-value traps that fill your bag and kill your profit
Some items are “inventory poison” early because they look fine but destroy density.
Common traps:
- bulky low-price junk (fills slots fast)
- heavy gear you don’t plan to use
- damaged items you can’t afford to repair
- “maybe useful” items when you don’t have a near-term plan
- food/drink overload (too many slots for too little value)
Pro rule: if it’s bulky and not immediately useful for a build or quest, it usually isn’t worth the carry.
How to use your dog inventory to keep more value
Duckov has one of the best anti-tilt mechanics in the genre: your dog can carry items in its inventory that players widely report are not lost on death, and the dog’s carry also ignores weight. That combo is insane for value retention.
What the dog slot is best for
Use your dog for one of these roles:
- Progress insurance: blueprint, rare upgrade item, quest critical item
- Weight relief: the heaviest single item that’s slowing you down
- Container carry: a key case, injection case, fish barrel, or similar container item that still functions while carried
Players also commonly report that the dog can’t “equip” a backpack to give you more slots—but it can carry one item (and later, more slots can be unlocked for the dog). That means the dog is best used as a safe pocket and weight bypass, not a slot expansion.
The “one safe item” rule
If you do nothing else from this entire guide, do this:
Put one irreplaceable item on your dog as soon as you find it.
Even if the raid goes bad, you still progressed.
When to use the dog for weight instead of safety
If you become overweight and you’re far from extraction, your best move is often to:
- put your single heaviest item on the dog
- regain mobility
- extract safely rather than gamble a slow walk
Weight kills runs more than greed does.
Mid-raid sorting tricks that don’t get you killed
The biggest inventory mistake is doing “full stash management” while exposed. Pros use micro-sorts.
Micro-sort method (15 seconds max)
- combine stacks (ammo, consumables)
- rotate one large item to fit better
- fill gaps with small items
- drop the worst item if you need space
Then move.
The “two-container rule”
If you open a container and you’re still sorting after looting two containers, you’re doing too much in one place. Relocate to a safer spot or extract.
Sort after you clear a threat, not during
After a fight, do a fast reset:
- reload / heal first
- reposition to cover
- then do a 10–15 second micro-sort
Looting while still at risk is how “winning fights” becomes “losing raids.”
Tetris tactics: how to fit more value in the same bag
You don’t need perfect Tetris skills—just a few reliable patterns.
1) Build “islands” and “lanes”
- Keep ammo/med lanes locked and predictable
- Keep a free “swap lane”
- Build loot into compact islands rather than scattered tiles
2) Convert big shapes into smaller value
If you’re carrying a large item that isn’t worth it, replace it with multiple small valuables. This is how pros extract richer: they fill the bag with dense items, not bulky items.
3) Prioritize stack management
Small stacks are hidden waste. Always merge stacks when safe. A single merged stack can free multiple tiles.
4) Stop carrying “dead” items
A dead item is one you won’t sell for meaningful money, won’t use soon, and won’t need for your next upgrade. Dead items are the reason you leave good loot behind later.
Weight management: the simplest way to survive with more loot
Since Duckov uses both slots and weight, you must treat weight like a danger meter.
Signs you’re too heavy
- you can’t reposition cleanly
- sprinting feels short and punishing
- you lose fights because you can’t break line-of-sight
- extraction feels stressful because you can’t disengage
When you notice this, don’t “push one more building.” That’s how overloaded raids end.
The “drop ladder” for overweight emergencies
If you get overweight, drop in this order (lowest value first):
- bulky low-density junk
- food/drink extras beyond what you need to extract
- low-tier gear you won’t keep
- medium-value items that are heavy and replaceable
- only then consider dropping high-impact progress materials
And remember: if you have the dog slot free, put the heaviest item on the dog first.
The “heavy item rule”
Only carry heavy items when one of these is true:
- it’s required for your next upgrade within the next 1–2 steps
- it’s rare enough that replacing it will cost multiple sessions
- you can protect it (dog) or extract quickly after picking it up
If none of those is true, heavy items are usually a trap.
Looting for progression: stop looting “random,” loot for projects
The fastest accounts don’t loot everything—they loot projects.
A project is one specific next upgrade, like:
- workbench upgrade
- storage expansion tier
- key device build
- medic station upgrade
- perk requirement item
One-project looting method
- Pick one next upgrade.
- List the 3–5 materials blocking it.
- Loot only those materials plus high-density valuables.
- Extract as soon as you have the blockers.
This method makes “average raids” valuable, because you stop coming home with random junk and start coming home with progress.
Storage expansions: how inventory upgrades multiply your loot value
A bigger warehouse and better backpack capacity don’t just feel nice—they increase how much value you can safely extract over time.
Warehouse storage expansion basics
Duckov has a storage expansion path that increases your warehouse capacity through levels and special upgrades. Public perk listings show expansions that require items like Expansion Crate (S/M/L) at certain levels, and a Trashbin upgrade that increases storage capacity using Dog Tags as the requirement.
Why this matters for looting
- More warehouse space = less forced selling
- Less forced selling = fewer mistakes and fewer regrets
- Cleaner storage = faster re-kit
- Faster re-kit = more raids per session
- More raids = more upgrades and more money
If you feel like you spend more time “staring at the warehouse” than raiding, storage upgrades are not optional—they’re profit upgrades.
Where expansion crates tend to show up
Community storage guides commonly mention finding expansion crates in places like:
- lockers
- toolboxes
- enemy camps
- loot crates / mission chests
A common early farming approach is checking lockers repeatedly in safer early zones. If you’re hunting crates, do it with an extraction plan and use the dog slot for weight relief.
What to keep vs sell vs dismantle (without second-guessing)
The biggest inventory stress comes from not knowing what to do with loot after extraction.
Use this simple classification:
Keep
- materials required for your next 1–2 upgrades
- quest turn-in items you’re actively pursuing
- ammo and meds you actually use
- one or two “core kits” worth repairing
- cases and containers that compress inventory long-term
- one special “mission kit” (boss/stealth) if you can feed it
Sell
- duplicates you won’t use soon
- bulky low-density items
- gear you’re “saving” but never deploying
- extra weapons that don’t fit your ammo supply
- low-value junk that clogs your warehouse
Dismantle / deconstruct
Once your Workbench supports dismantling, convert dead items into:
- upgrade materials
- crafting parts
- components needed for future station unlocks
This is how you turn “junk” into progress without hoarding.
Stash organization that makes you faster (and richer)
Looting doesn’t end at extraction. Your stash either speeds you up or slows you down.
A widely shared tip is that you can open your stash from anywhere in the bunker (commonly by pressing Tab), so you can manage gear without running across the base every time. Use that convenience to build a clean system.
The 4-zone warehouse layout
Set up four zones and your stash becomes automatic:
- Zone 1: Ready kits (weapons, armor, ammo, meds for immediate raids)
- Zone 2: Upgrade materials (next 1–2 projects only)
- Zone 3: Sell pile (everything leaving soon)
- Zone 4: Long-term valuables (cases, rare items, special quest pieces)
If an item doesn’t fit a zone, it’s probably clutter.
The 7-minute post-raid routine
Do this after every raid:
- Move all obvious sell items into the sell pile.
- Move project materials into the upgrade zone.
- Repair the core kit you actually run.
- Merge stacks (ammo/consumables).
- Prepare one full kit for the next raid.
- Sell the sell pile (or at least the bulky portion).
- Stop. Don’t spend 45 minutes “perfect sorting.”
This keeps your raids flowing, which is how you earn more over the session.
Optional quality-of-life tools (only if you play with mods)
Because Duckov is single-player, some players use quality-of-life mods to reduce inventory friction. Examples commonly listed include features like:
- quick transfer between containers and inventory
- quick equip shortcuts
- value/rarity borders to recognize good items faster
Use this only if it matches how you want to play. The goal is not to “change the game,” but to reduce repetitive stash friction so you spend more time raiding and less time dragging items around.
Common looting mistakes that secretly delete value
- Filling your bag with low-density items early → you have no room when the good loot appears.
- Overweight greed → you die because you can’t disengage.
- Sorting too long in one spot → you die while staring at inventory.
- No project target → you extract with junk and wonder why upgrades are slow.
- Hoarding everything → your stash becomes unusable and you stop looting efficiently.
- Keeping “someday gear” → you never deploy it, so it never helps.
- Not using the dog slot → you lose progress items that could have been protected.
Fix these and your profit jumps without changing your combat skill at all.
Playstyle loadouts for inventory (loot setups that fit how you raid)
Fast looter setup
- locked essentials minimal (ammo + bandage + one heal)
- more free slots for dense loot
- dog slot reserved for progress item
- extract early once bag reaches “high density”
Quest runner setup
- locked essentials larger (ammo + more meds + food/water)
- one dedicated “quest lane” for turn-in items
- dog slot for quest-critical item if the quest is expensive to repeat
Boss hunter setup
- more ammo and meds, fewer free slots
- prioritize high-value boss drops and special materials
- dog slot for the single most important drop (blueprint, rare part, or container)
Your inventory should match your goal. If you bring a boss-hunter inventory to a loot run, you’ll feel “full” too fast. If you bring a loot-run inventory to a boss fight, you’ll feel “underprepared.”
BoostRoom promo
If you want to turn looting into steady progress instead of guesswork, BoostRoom is built to make your runs more profitable and less stressful. BoostRoom helps you set a clear “loot plan” for each session—what to prioritize, what to ignore, how to protect progress items with your dog slot, and how to keep your warehouse organized so you can chain raids smoothly. The result is simple: more value extracted, fewer painful losses, and faster bunker upgrades without needing perfect aim.
FAQ
How do I know what’s worth picking up in Duckov?
Use a density mindset: prioritize progress items (blueprints, upgrade blockers), then high value-per-slot items, then swap up. If it’s bulky and replaceable, it’s usually not worth it.
What’s the best way to stop running out of space mid-raid?
Lock your essentials, keep a swap lane empty, and stop picking up “okay” items once you’re half full. Only pick up items that replace something worse.
How do I stop dying while overweight?
Treat weight like a danger meter. If you’re slow, drop low-density bulky items first or move your heaviest item to the dog inventory to restore mobility.
What should I put on my dog?
One irreplaceable progress item (blueprint, rare upgrade part, storage crate) or your heaviest item if weight is killing your run. The dog is best used as a safe pocket and weight bypass.
Do storage expansions really matter for looting?
Yes. More storage reduces forced sell-offs, keeps your stash usable, and speeds up re-kitting. That increases raids-per-session, which increases total profit and progression.
Should I keep every item “in case I need it later”?
No. Keep materials for your next 1–2 upgrades and active quests. Sell or dismantle the rest so your stash stays functional and you don’t block future good loot.
How do I organize my warehouse so it stays clean?
Use four zones: ready kits, upgrade materials, sell pile, long-term valuables. Do a short post-raid routine instead of trying to perfect-sort every time.
What’s the fastest way to improve loot value without getting better at combat?
Improve selection: stop taking low-density items and start swapping up. Improve safety: extract earlier when you hit your win condition. Improve protection: use your dog slot for progress items.
