Why attachments feel “random” until you learn the rules
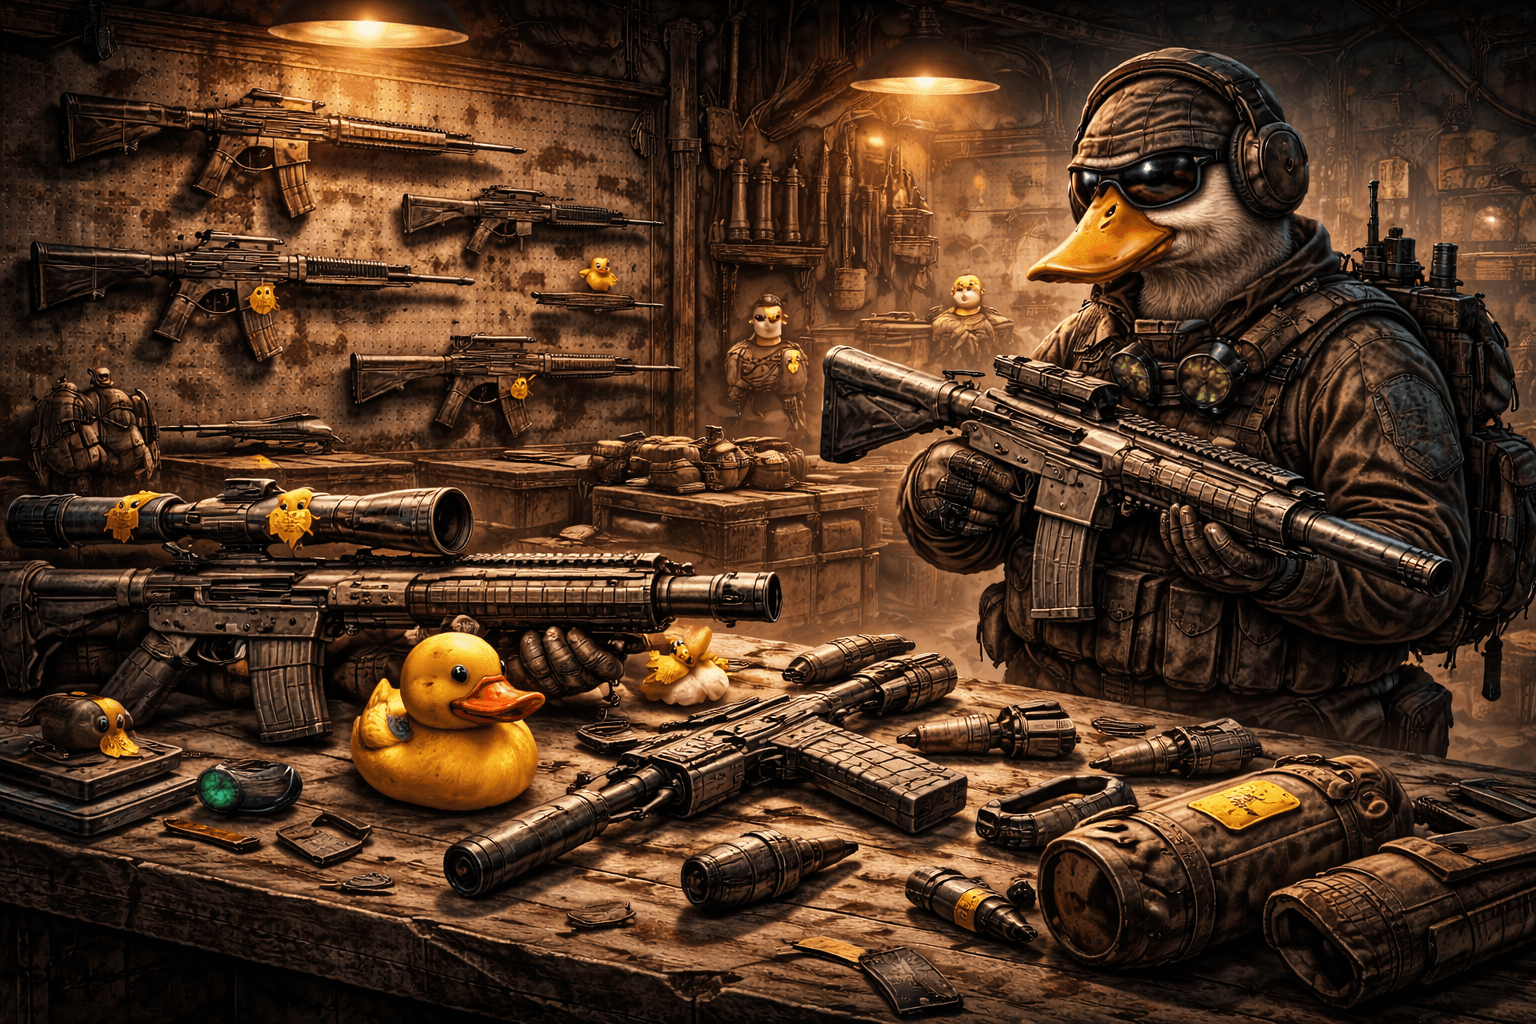
In Duckov, your weapon is only as consistent as its worst stat penalty. That’s why two players can run the “same gun” and have totally different results. One person builds for stability and aim speed, the other stacks penalties (often accidentally), and suddenly their weapon feels like it’s fighting them.
Here are the three reasons modding feels confusing early:
- Hidden tradeoffs matter more than the headline. “Faster ADS” sounds great until you realize a different stat took a hit and now your emergency hip-fire sprays everywhere.
- You don’t need perfect stats—you need predictable stats. Consistency is what makes fights feel easy.
- Compatibility matters. If you can’t mount the part, it doesn’t matter how good it is. Duckov’s modding rewards knowing what fits and what’s worth chasing.
The goal is not to “build the best gun.” The goal is to build a gun that fits your plan for the raid and stays controllable when things go wrong.
The attachment types that actually matter
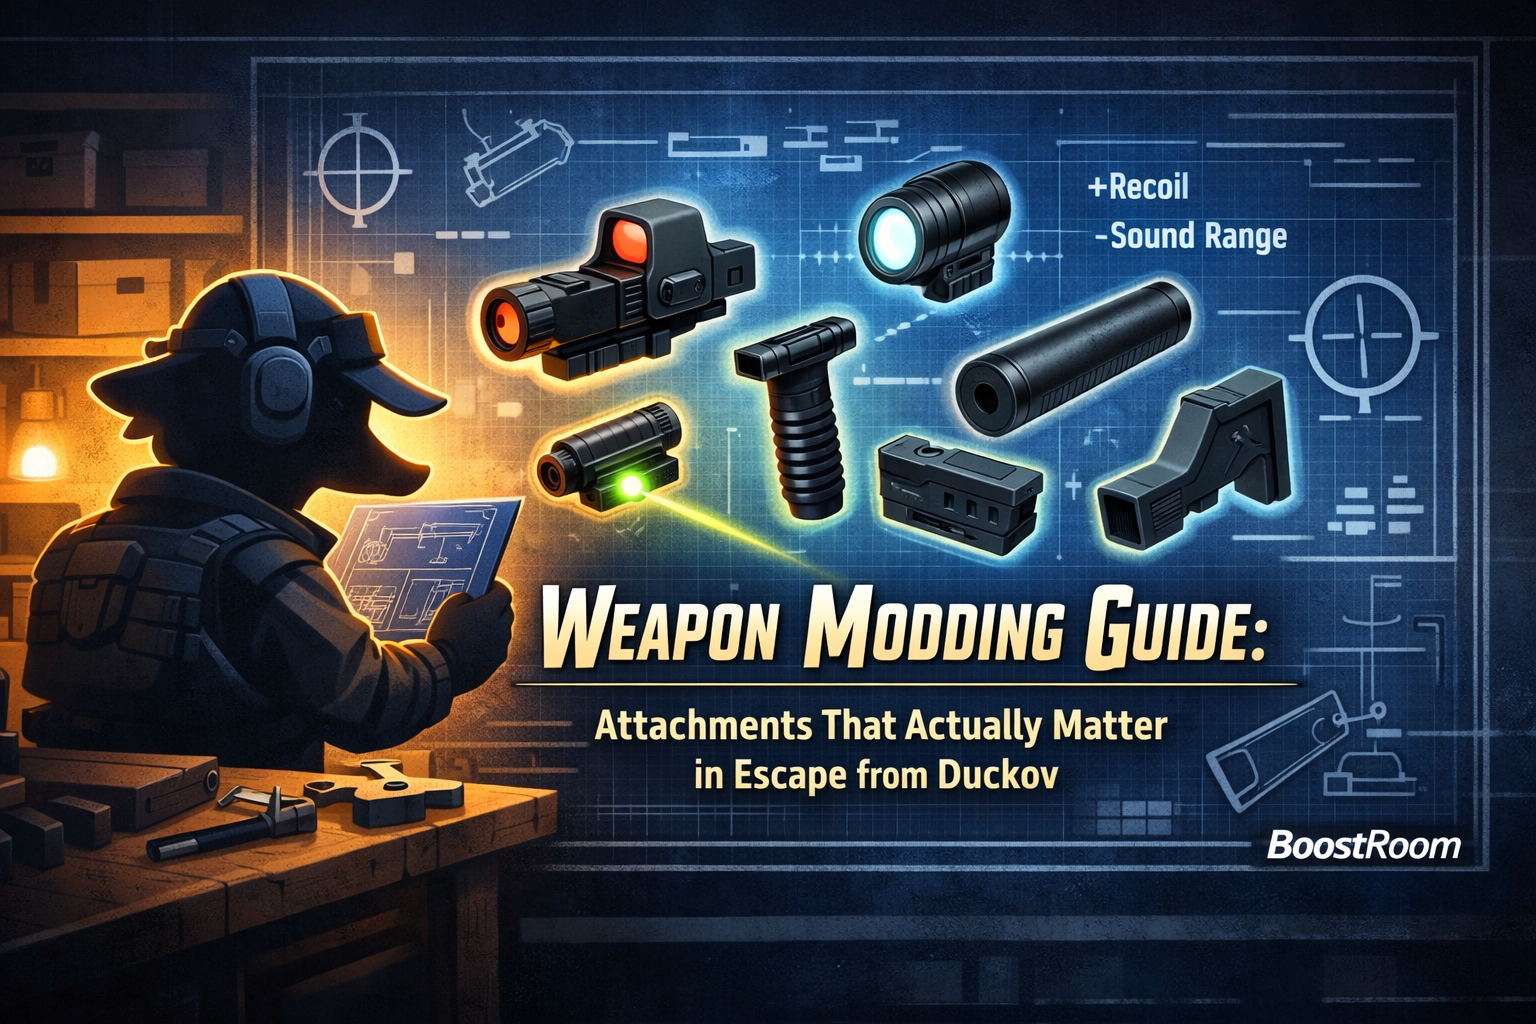
Duckov’s common attachment types boil down to six categories that shape nearly every build:
- Scope / Sight (your target acquisition and comfort)
- Muzzle (recoil, sound, damage tradeoffs, spread control)
- Grip (recoil control and stability—often the biggest “feel” change)
- Stock (recoil stabilization and handling flavor)
- Tactic (lasers/flashlights—quietly powerful)
- Magazine (capacity and handling tradeoffs)
If you’re overwhelmed, remember this:
Sights make you hit sooner. Recoil control makes you hit more. Magazines keep you fighting longer. Everything else is a bonus.
The stat language you should care about (and what it means in real fights)
You’ll see stats like recoil, spread, ADS time, range, and sometimes crit-related bonuses. Here’s how they translate into “do I win this fight?” outcomes:
- ADS Time (aim speed): How fast you can start shooting accurately when surprised. This is a survival stat.
- Recoil (vertical + horizontal): How easy it is to keep bullets on target during sustained fire or follow-up shots.
- Spread (ADS and hip-fire): How tight your shots group. This determines “randomness” more than you think.
- Range + Bullet Speed: How consistent your hits are at distance and how forgiving it feels to tag moving targets.
- Sound Range (suppressors): How far enemies get alerted from your shots. Great for avoiding chains of fights.
- Magazine capacity: How many mistakes you can afford before you must reload.
- Crit-related bonuses: These are build-defining when you’re comfortable aiming for weak spots/headshots.
The biggest beginner trap is optimizing one stat so hard that you ruin another. The fix is using a simple priority system.
Beginner priority order (what to mod first when you’re broke)
If you can only afford 1–2 attachments, use this order:
- A simple 1x sight you like
- You can’t win fights if you hate your reticle or lose targets in chaos.
- Recoil control (grip or stock, depending on what your gun supports)
- Recoil control is the fastest way to turn a “spray and pray” weapon into something reliable.
- A magazine upgrade that matches your role
- Extended mags help you survive messy fights; quick mags help you snap-aim and move better (especially after buffs).
- A muzzle that solves your main problem
- If recoil is the issue, take recoil control. If noise causes endless third-parties, consider suppression.
- Tactical laser for handling (if you understand the tradeoff)
- Lasers can be huge—but they’re also the easiest way to accidentally weaken a build if you pick the wrong type.
If you follow this order, your guns improve every step of the way, and you stop buying “upgrades” that don’t show up in results.
Scopes & sights: why simple 1x usually wins early
New players over-scope. It’s normal. Zoom feels like safety. In reality, zoom can slow you down and punish movement-heavy fights.
What matters most early:
- A clean reticle
- Fast target pickup
- Aiming comfort (you personally can track targets better)
A strong beginner default is a 1x red dot style sight. In Duckov, a Red Dot Sight can provide small but meaningful combat bonuses (including an aiming range bump and a crit damage multiplier boost). Even when the numbers look small, the “feel” difference is real: you’ll land first shots more often, and that decides fights.
When to use magnified scopes (2x / 4x / 8x):
- You’re intentionally taking longer angles
- Your weapon and ammo are suited to distance
- You’re not planning to rush tight interiors
Important tradeoff: magnified optics have historically come with aim-time and/or spread penalties that were adjusted across updates. In patch notes, scope aim-time penalties were reduced (example adjustments included faster aim-time on 2x/4x/8x and added range bonuses paired with increased max hip-fire spread on higher zoom). Translation: magnified optics can be better than they used to be, but they still push you toward slower, more deliberate fights.
Practical rule:
If you’re dying in “surprise” fights, stop upgrading zoom and start upgrading ADS speed + recoil control.
Muzzles: recoil control, silence, or damage—pick one job
Muzzles are powerful because they can define a weapon’s identity. But they also come with the most obvious “pick your poison” decisions.
Recoil-control muzzles (the consistent choice)
If your goal is to win more fights, recoil control is the most reliable benefit. For example, a recoil-oriented rifle muzzle brake can reduce both vertical and horizontal recoil significantly (one common recoil-focused rifle muzzle brake shows -23% vertical and -23% horizontal recoil). That kind of stability is the difference between “two bursts” and “empty the mag and hope.”
Who should prioritize recoil muzzles:
- Automatic weapon users
- Anyone who panic-sprays under pressure
- Anyone trying to fight multiple enemies without reloading mid-fight
Suppressors (the survival choice)
Suppressors shine when they prevent fights you didn’t need. A rifle suppressor can dramatically reduce sound range (example: -75% sound range), but typically comes with downsides such as reduced range and bullet speed (example: -10% range and -10% bullet speed).
What this means in real runs:
- Fewer enemies chain-pull toward your position
- Less “snowball” combat where one fight becomes five fights
- Slightly harder long-range tagging due to range/bullet-speed penalties
Suppressors are strongest when you’re looting, questing, or playing methodical routes where avoiding attention is the goal.
Damage-boosting muzzles (the risky choice)
Damage mods are tempting because they look like “faster kills.” But in Duckov, some damage-boosting muzzles add damage while also making recoil worse (example: +10% damage paired with +10% vertical and +10% horizontal recoil).
That trade can be worth it if:
- Your weapon already has great control
- Your build is single-shot or burst-focused
- You’re confident and fighting at ranges where recoil doesn’t destroy you
For most beginners, damage muzzles are a trap because they make you miss more, and missed shots deal zero damage.
Beginner rule:
Don’t buy damage if you can’t control it.
Grips: the “feel” upgrade that changes everything
If you want your weapon to feel instantly more stable, grips are often the most noticeable attachment.
Balanced recoil grips (best general-purpose)
A balanced grip can reduce both vertical and horizontal recoil (example: -23% vertical and -23% horizontal recoil). This is a “make everything easier” attachment—especially for rifles and SMGs that you actually want to spray.
Horizontal recoil grips (best for real control)
A lot of weapons don’t just kick up—they drift sideways, which makes you miss headshots and lose tracking. A high-end horizontal-focused grip can massively reduce horizontal recoil (example: -43% horizontal recoil).
Why horizontal control matters:
Vertical recoil can be compensated by pulling down. Horizontal recoil is harder to “human compensate,” especially in panic fights. If your gun feels like it’s sliding left/right off targets, horizontal recoil control is often the correct fix.
“Hip-fire” grips (specialized)
Hip-fire builds can be real in Duckov, especially for close-range clearing. But hip-fire improvements matter only if you’re actually fighting in that style. Otherwise, you’re paying for a stat you won’t use.
Practical rule:
If you’re mostly ADS’ing, buy recoil control. If you’re sprinting and clearing tight areas, consider hip-fire stats.
Stocks: recoil stability without ruining handling
Stocks are “quietly powerful” because they reinforce the recoil theme of your build. A strong general-purpose stock can reduce both vertical and horizontal recoil (example: a recoil-oriented stock showing -23% vertical and -23% horizontal recoil).
Stocks are especially valuable when:
- Your weapon already has a grip slot and you want to stack stability
- Your weapon lacks other recoil options and needs help
- You’re building around sustained fire
Beginner rule:
If your weapon has a stock slot and you’re using automatic fire, a recoil-control stock is rarely wasted.
Tactical slot: lasers and flashlights (why they matter more than you think)
Tactical attachments look optional. They aren’t.
Lasers: real power, real tradeoffs
Lasers come in different “jobs,” and you should pick the one that matches your build.
- A basic laser can reduce hip-fire spread (example: -13% hip-fire spread).
- A “rapid response” style laser can heavily improve ADS time (example: -20% ADS time) and even add range (example: +15% range) while improving ADS max spread (example: -13% ADS max spread)… but it may also make hip-fire worse (example: +20% hip-fire max spread).
That’s not “good” or “bad”—it’s a specialization choice.
When rapid-response lasers are amazing:
- You ADS in most fights
- You get ambushed and need your gun ready instantly
- You want a weapon that feels snappy and decisive
When they backfire:
- You rely on hip-fire panic sprays
- You play extremely close-range and don’t ADS consistently
Flashlights: visibility is a stat
Flashlights don’t always show up as “DPS,” but seeing targets sooner is one of the best advantages in a messy fight. If you struggle in darker interiors or lose enemies in clutter, flashlight utility can beat many pure-stat upgrades.
Beginner rule:
If you often die because “I couldn’t see them,” a flashlight is a real upgrade.
Magazines: capacity vs handling (and why extended mags aren’t always best)
Magazines are where many builds secretly get worse. That sounds weird, but it’s true.
Extended magazines (more mistakes allowed)
Extended mags increase capacity and are great for learning because they give you extra room for error. For example, a rifle extended magazine can double capacity (example: +100% magazine capacity) but can also add an aim-time penalty (example: +10% ADS time).
That trade is often still worth it for beginners because:
- Reloading mid-fight kills runs
- More bullets means more chances to correct aim
- You can handle a small ADS penalty if your fights are not pure “reaction duels”
Quick magazines (speed-focused)
Quick magazines are designed around speed—aim speed and handling. Across updates, quick magazines were improved, with patch notes describing faster reload speed and added bonuses like movement speed and weapon spread recovery speed.
Quick mags are especially good when:
- Your playstyle is aggressive and movement-heavy
- You take short, sharp fights
- You reposition constantly and value snappy handling
Practical rule:
If you die while reloading, consider extended mags. If you die because your gun is slow to bring up or you feel sluggish, consider quick mags.
The 5 attachment “packages” that work for most players
These are not tied to one specific gun. They’re role-based, so you can adapt them to whatever you’re using.
Package 1: Budget Consistency (best first upgrade path)
- 1x sight you like (red dot style)
- Recoil-control grip (balanced recoil preferred)
- Optional: recoil-control stock if available
Why it works:
You hit more shots, and fights feel calmer. This package gives the most “win rate” per currency spent.
Package 2: Close-Range Cleaner (for tight interiors)
- 1x sight or quick sight
- Hip-fire spread help (basic laser or hip-fire focused attachment)
- Recoil grip (horizontal control if your gun drifts sideways)
- Optional: extended mag if you often fight multiple enemies back-to-back
Why it works:
In close fights, time-to-first-hit matters and spread control keeps your shots from turning into RNG.
Package 3: Snappy ADS Duelist (for ambush survival)
- 1x sight
- Rapid-response laser (ADS-focused)
- Recoil grip or recoil stock (at least one)
- Choose mag based on preference (quick for speed, extended for forgiveness)
Why it works:
This package is built for “oh no” moments. Faster ADS and tighter ADS spread make your first seconds deadly.
Package 4: Quiet Loot Runner (for safer extracts)
- Suppressor (weapon-class appropriate)
- 1x sight or 2x if you’re taking longer lanes
- Recoil-control grip to offset any “feel” issues
- Magazine choice depends on route risk (extended if risky, quick if you avoid fights)
Why it works:
Suppressors reduce enemy attention and keep your raid from turning into a combat marathon.
Package 5: Damage Spike (only when you already control recoil)
- Damage-boosting muzzle
- Recoil-control grip and/or stock to offset recoil penalty
- Sight based on role
- Magazine based on fight length
Why it works (when it works):
More damage can shorten fights. But you must build stability first or you’ll miss too much.
How to shop for attachments without wasting money
Attachment economy is a skill. Here’s how to avoid burning currency:
Rule 1: Buy upgrades that you can feel instantly.
Sights, recoil grips, recoil stocks, and the right muzzle are “feel” upgrades. Random niche parts are not.
Rule 2: Learn where your reliable supply is.
Common attachments can be purchased in consistent locations (like a weapon shop in the bunker) and some may appear through rotating sellers (like a mysterious merchant list of items and probabilities). If you’re trying to build consistent loadouts, consistency of supply matters as much as stats.
Rule 3: Use quests as your “unlock plan.”
Some attachments are tied to unlock conditions (quest unlocks for certain tactical items and grips exist). Treat quests as part of your modding progression: doing a quest isn’t just XP—it’s access to future builds.
Rule 4: Don’t chase rare mods before your fundamentals are done.
A fancy part won’t fix bad recoil control, poor ammo choice, or weak positioning. Build your base package first.
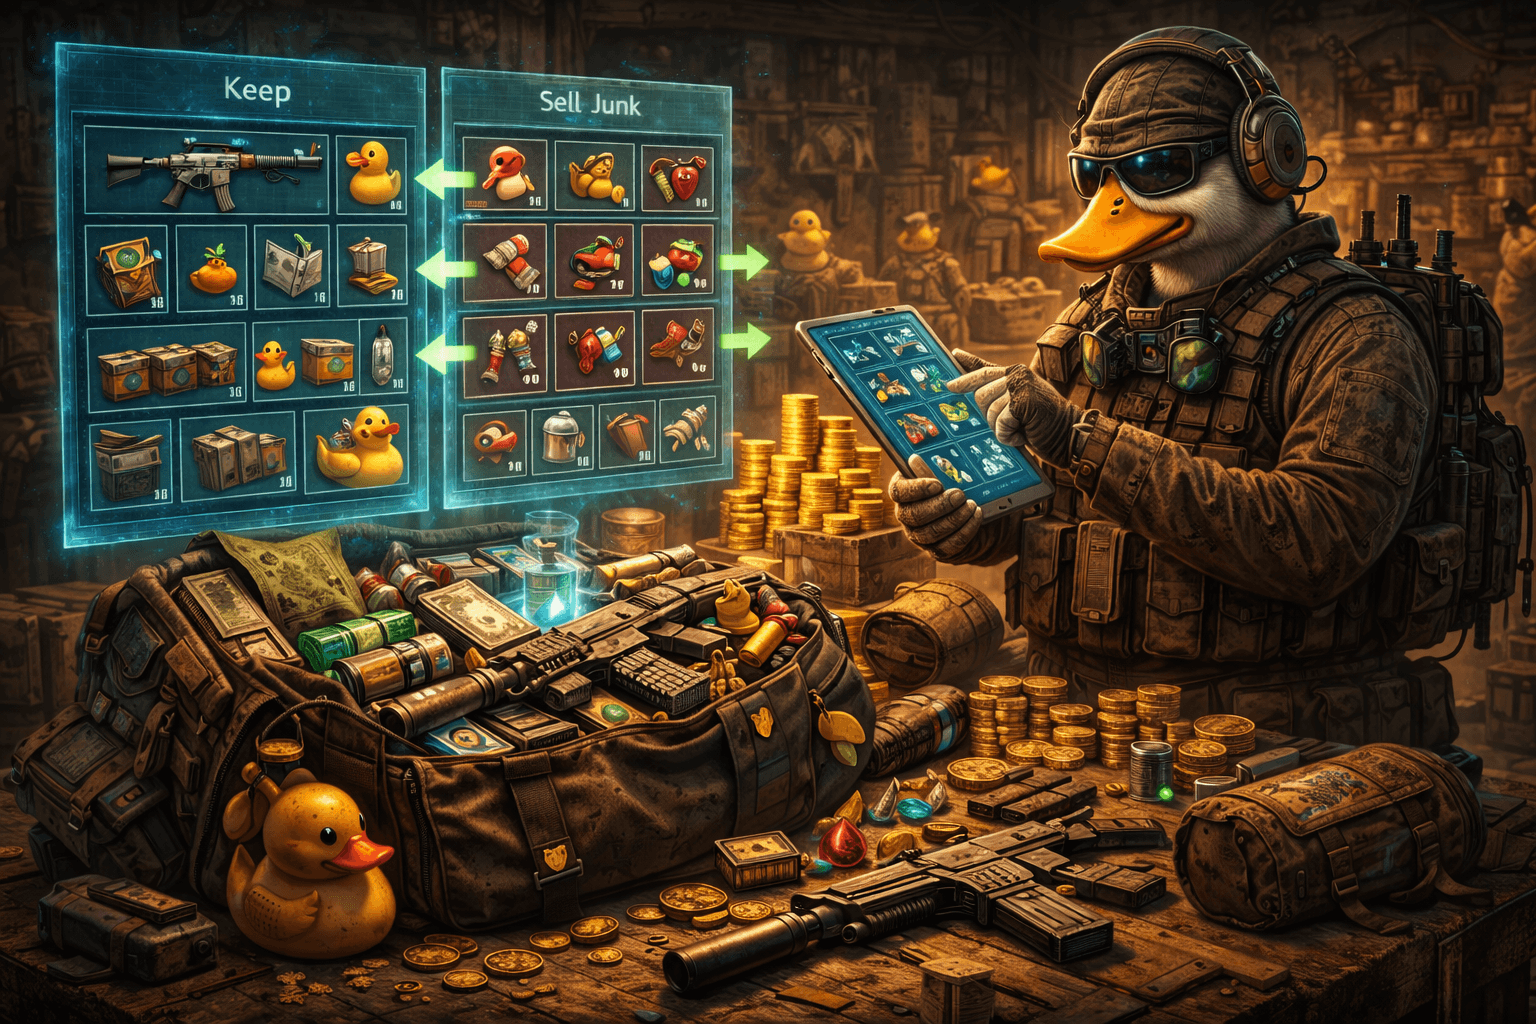
Looting attachments smart: keep, sell, or deconstruct
A messy stash makes you poorer because you can’t find what matters, and you stop using good parts “because it’s too annoying.”
Use this simple rule set:
Keep (early game):
- A couple of 1x sights you like
- 1–2 recoil grips
- 1–2 recoil stocks
- 1 suppressor (for loot/quest runs)
- 1 extended mag and 1 quick mag for your main weapon class
Sell (most duplicates):
- Duplicates of attachments you never actually mount
- Niche parts that don’t fit your current weapon pool
- High-value parts you’re too scared to use (currency now can buy real progress)
Deconstruct (when you need parts):
Some attachments can be decomposed into weapon parts or intermediate weapon parts. That means “junk attachments” can become crafting/upgrade resources instead of dead stash weight. Examples include:
- A common 1x sight decomposing into weapon parts
- Recoil-control grips and muzzle brakes decomposing into intermediate weapon parts
- Suppressors decomposing into weapon parts
Practical rule:
If you haven’t mounted an attachment in 10 raids, it’s probably not part of your playstyle. Convert it into currency or parts.
Workbench & maintenance: why modding is also base progression
Weapon modding isn’t just “slap parts on.” It’s also maintaining your gear so your builds don’t fall apart.
The Workbench is central because it supports:
- Crafting
- Blueprint research
- Upgrading
- (With upgrades) repairing and deconstructing items
If you want modding to be sustainable, aim to unlock the ability to repair and deconstruct as soon as it makes sense for your progression. Workbench upgrades are tied to materials and gold costs, and specific upgrade branches unlock repair and deconstruction functions.
Why this matters to modding:
- Repair keeps your favorite guns viable longer
- Deconstruction turns unused attachments into valuable parts
- Blueprint research supports long-term crafting progression (combat-related blueprints go through the Workbench)
Even if you’re not “a crafting player,” the ability to deconstruct and manage resources is what makes your attachment economy stable.
Common modding mistakes that lose runs
These are the mistakes that make players feel like “my gun sucks” when the gun is fine:
- Over-scoping early: You don’t need more zoom; you need faster first shots.
- Buying damage before control: +damage doesn’t help if recoil makes you miss.
- Stacking hip-fire penalties on a close-range build: Some ADS-focused parts worsen hip-fire.
- Ignoring horizontal recoil: Side drift ruins tracking more than vertical kick.
- Running extended mags everywhere without respecting ADS penalties: Great for long fights, bad for fast reaction duels.
- Keeping everything “just in case”: You end up using nothing and improving slower.
Fix these and your “skill” suddenly feels better—because your weapon stops fighting you.
Practical modding rules you can follow every raid
Use these rules until modding becomes second nature:
- Rule A: Pick a role before you mod. Loot run? Boss hunt? Quest sprint? Your attachments should match the goal.
- Rule B: One job per slot. Don’t mix “stealth loot build” parts with “hip-fire rush” parts on the same gun unless you understand the tradeoffs.
- Rule C: Always test feel in safe moments. If a build feels weird, it will feel worse under pressure.
- Rule D: Control > damage until you’re confident. Recoil control increases real damage because you land more bullets.
- Rule E: If you’re dying to surprise fights, prioritize ADS time and a clean 1x.
- Rule F: If you’re dying to long fights, prioritize capacity or reload advantages.
- Rule G: If your stash is full, your progress slows. Sell or deconstruct duplicates weekly.
BoostRoom: turn weapon modding into faster progress
If you want to speed up your Duckov learning curve without wasting runs (and money) on random builds, BoostRoom can help you get consistent results faster.
What BoostRoom can do for you:
- Personalized loadout planning: builds matched to your weapons, maps, and goals
- Attachment priority coaching: what to buy now vs what to ignore
- Raid review style guidance: how your mod choices affect your fights and survival
- Progression support: turning loot into real upgrades instead of stash clutter
The best part: once you understand why certain attachments matter, you stop copying builds and start building weapons that fit you.
FAQ
What’s the single best attachment for a beginner?
A comfortable 1x sight plus one recoil-control attachment (grip or stock). That combo improves first shots and follow-up shots—your two biggest beginner problems.
Are suppressors worth it if they reduce range and bullet speed?
Yes, if your goal is survival and clean looting. Suppressors reduce how far your shots “announce” you. If you mainly fight close-to-mid range, the downsides are manageable.
Should I use damage-boosting muzzles early?
Usually no. Damage boosts often come with recoil penalties. Until you can keep your shots tight, recoil control wins more fights.
Why does my gun feel worse after adding a laser?
Some lasers are ADS-focused and can worsen hip-fire spread. If you rely on hip-fire panic shots, use a laser that improves hip-fire spread instead.
Extended mag or quick mag—what’s better?
Extended mags are more forgiving in messy fights. Quick mags are better for speed, handling, and reaction-heavy playstyles (and they’ve been improved in updates). Pick based on how you die most often.
How do I know if an attachment is compatible?
If it won’t attach, it’s not compatible with that weapon. Use the weapon’s info/attachment interface to see what fits, and treat compatibility as part of your “buy plan.”
Should I keep every attachment I find?
No. Keep a small set that supports your main playstyles. Sell or deconstruct the rest so your stash stays functional and your resources grow.
