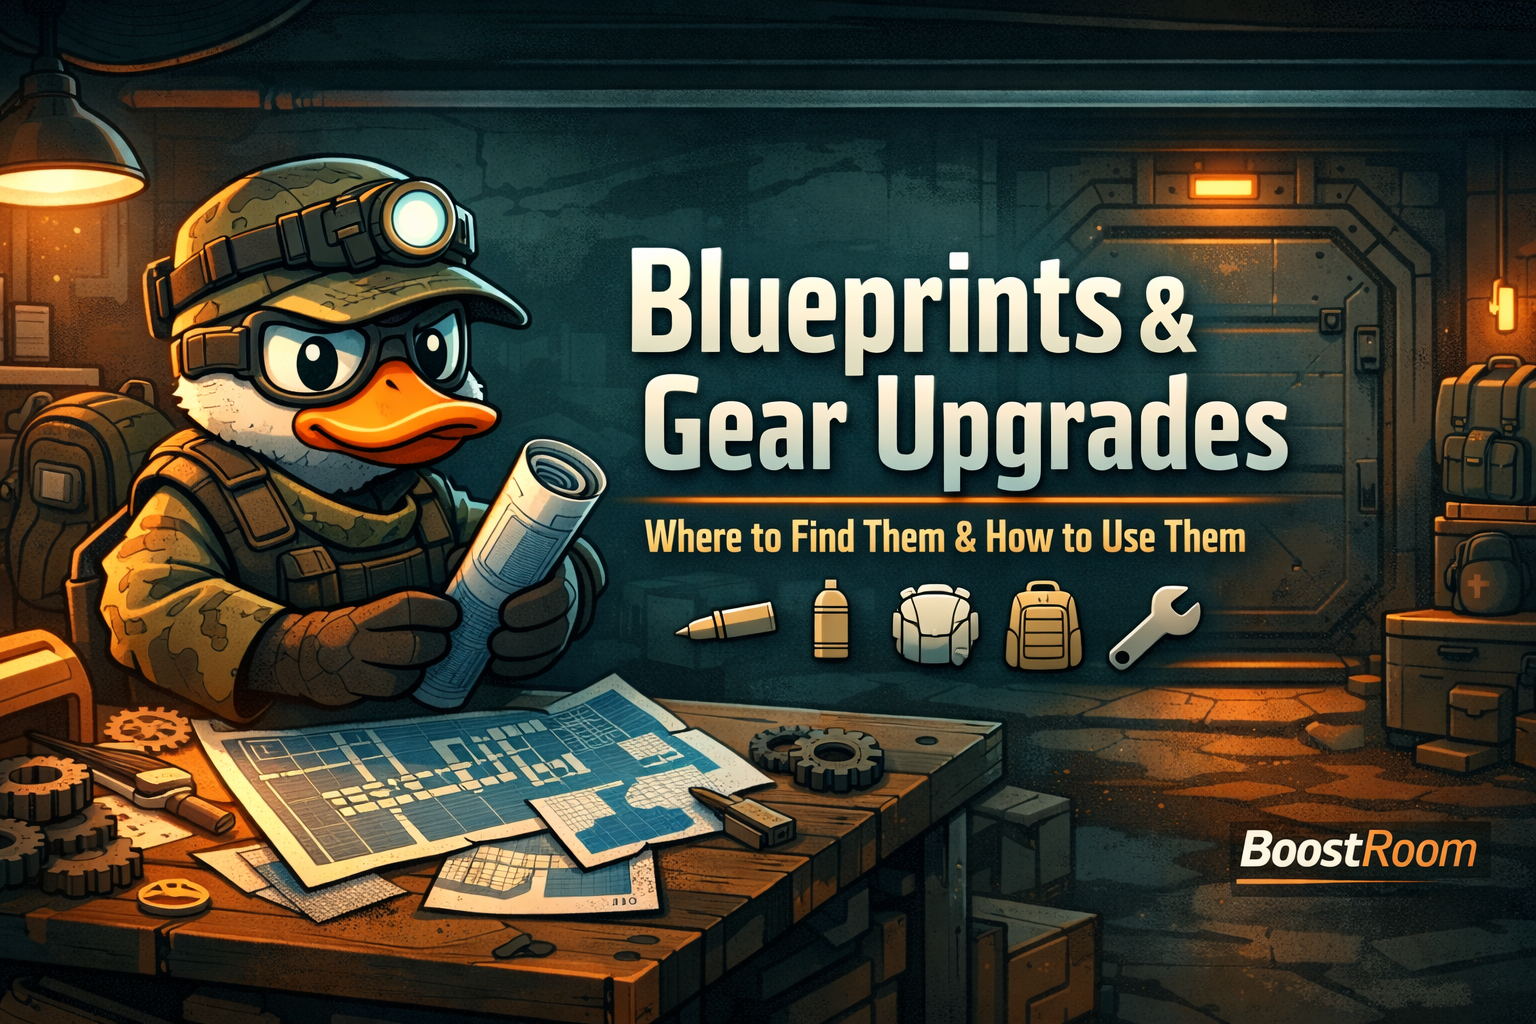
A blueprint is a permanent crafting unlock. Once you research/register it at the correct station, you don’t need to find that blueprint again to craft the item—your base can produce it whenever you have the materials and the required station level.
That matters because Duckov is built around scarcity and risk:
- You lose carried items when you die (and you may only get one reliable recovery attempt).
- Loot is random, and the “one item you need” might not show up for several raids.
- Vendors and drops can’t always keep you stocked with the ammo, meds, and armor you want.
Blueprints solve all three problems by turning the game into a repeatable loop: raid → extract materials → craft what you’re missing → upgrade your gear → raid safer → extract more.
If you want faster progression, blueprints are the cleanest path because they convert time spent into permanent options instead of temporary loot.
Blueprint types: what they unlock (and why it changes your loadouts)
Most blueprints fall into a few practical categories. Thinking in categories helps you prioritize what to hunt.
- Ammo blueprints: These are “run enablers.” Crafting ammo is the difference between “I can’t go out” and “I’m always ready.”
- Armor and helmets: These are “survival multipliers.” Better armor reduces the number of raids you lose to one bad angle or one surprise burst.
- Weapons: These are “comfort upgrades.” A weapon blueprint can be huge, but it’s only powerful if you can feed the ammo and maintain durability.
- Medical supplies: These are “streak protectors.” Craftable healing reduces the number of runs that end early due to bleeding or resource drain.
- Tools and utility: Shovels, crowbars, crafting materials, and storage items can dramatically speed up hideout progression and money runs.
- Storage and expansion: These are “progress accelerators.” More storage space means fewer forced sell-offs and fewer painful mistakes.
One important detail: there’s a large blueprint pool in the game. A public blueprint database lists 143 blueprints across categories like weapons, armor, ammunition, medical supplies, and tools/misc. That means you will never “accidentally complete” blueprints just by playing—you need a plan.
Where you research blueprints: Workbench vs Medic Station
Blueprints only become permanent when you research/register them at the correct station. The simplest way to remember it:
- Workbench: weapons, tools, ammo, armor-related crafts (combat and utility)
- Medic Station / medical crafting station: medical supplies
Community guides summarize this as: “combat items go to Workbench, meds go to Medic Table,” and recommend researching as soon as you return so you don’t lose hours of progress to a single bad raid.
Also note: your base buildings matter for this workflow. A Workbench is built early and is described as the place to craft, dismantle/repair, and register blueprints. The Medic Station is a separate building used to craft a range of medical supplies, and it has its own construction requirements.
The correct blueprint workflow (the one that prevents heartbreak)
Use this every time you find a blueprint. It’s boring—but it works.
Step 1: Treat the blueprint as the raid’s main objective
The second you pick it up, your win condition becomes “get out.”
- Stop chasing optional fights.
- Stop over-looting.
- Stop taking unknown paths.
Step 2: Extract sooner than you think you should
Blueprints are permanent progress once registered. One blueprint can be worth more than a full backpack of random loot.
Step 3: Register/research immediately after you return
Some official beginner guidance explicitly recommends registering blueprints right away to free warehouse space and prevent duplicates. This is not just convenience—it’s efficiency.
Step 4: Confirm the craft appears at the correct station
After research, check the crafting list at the Workbench or Medic Station. If the recipe doesn’t show up, you likely tried the wrong station or you don’t meet a required processing tier yet.
Step 5: Build a “craft queue” based on your next 3 raids
Blueprints are best when used immediately:
- Craft ammo for the next run.
- Craft meds to protect your streak.
- Craft a tool that unlocks better routes.
- Craft storage items that make looting smoother.
That’s how blueprints become “real upgrades” instead of “cool collectibles.”
How to not lose blueprints (risk rules that actually work)
Blueprint losses happen because players treat blueprints like normal loot. Don’t.
Rule 1: If you find a blueprint, leave the area before the area leaves you
Spawns drift, enemies stack, and “just one more house” becomes a wipe.
Rule 2: Respect the recovery rule
Players and guides commonly describe the death loop like this: you can return to your death location to recover items, but if you die again before recovering them, you can lose everything for good. That makes blueprint gambling especially painful.
Rule 3: Use “safe slots” when your difficulty allows it
Some players report that certain items given to your pet are kept on death on specific difficulty settings (for example, Extreme difficulty discussions mention keeping totems, items given to your pet, and your melee weapon). If your current mode behaves like that, it’s a powerful way to protect high-value blueprint finds. If you’re unsure how your difficulty handles it, test with a low-value item once so you don’t learn the rule the hard way with a rare blueprint.
Rule 4: If you’re overloaded, don’t keep looting
Overweight movement turns “safe extraction” into “slow death.” A blueprint is worth dropping most low-impact items to keep mobility.
Where to find blueprints: the five main sources
Blueprint acquisition in Duckov usually comes from five places. Your strategy changes depending on which one you’re targeting.
1) Static blueprint locations (blueprint boxes / fixed spawns)
Many blueprints have fixed locations in the world (often in specific landmarks). Community reports suggest blueprint boxes can keep spawning their blueprint until you register it, which means you may be able to re-acquire one you lost before researching. Players also report that once you register/research that blueprint, the box may stop spawning it—reducing confusion and helping you track what’s already done.
2) Zone landmarks (camps, houses, seaside, hills, etc.)
A detailed blueprint database lists many early blueprints in “Zone 0” landmarks like camps, specific houses, and seaside locations. This is great news for early progression because it means you can plan low-risk blueprint runs in familiar areas.
3) High-value buildings (like hospitals and gas stations)
Some areas are blueprint dense. For example, one public blueprint list shows:
- A major set of ammo blueprints tied to a gas station area (including Standard ammo and Standard shotgun shells).
- A hospital area associated with many medical, backpack, and late-game protective gear blueprints.
The practical takeaway: if your goal is meds and survival gear, you target medical-heavy landmarks. If your goal is ammo progression, you target ammo-heavy landmarks.
4) Boss drops (especially special ammo blueprints)
Special ammo blueprint drops are often boss-linked and reportedly low chance. Community discussion suggests different bosses can drop different ammo blueprint types (for example, one boss dropping shotgun shell-related blueprints, another dropping AP sniper-related blueprints, and others dropping AP bullets for specific ammo families). If you’re farming bosses for these, assume you may need multiple clears.
5) Quests (including blueprint fragment quests)
Some blueprints are directly tied to quest completion. These are some of the most reliable “guaranteed blueprint” paths because you can plan the objective.
The Weapon Blueprint quest: a perfect example of blueprint progression
One of the clearest blueprint learning quests is Weapon Blueprint (Quest ID 206). It teaches the blueprint loop: collect pieces, extract, submit, unlock.
What you do
You collect three blueprint fragments from dump trucks in the Warehouse Area:
- A dump truck at the central farm / central farmhouse area
- A dump truck at the Lumber Mill
- A dump truck at the northern end of the Western Factory
Multiple quest databases describe this objective and location pattern. After you extract safely, you submit the fragments to the quest giver (Jeff), and an NPC (Xiaoming) restores the blueprint.
What you get
Quest listings describe rewards like currency and XP plus unlocking the weapon blueprint (commonly listed as a blueprint for “MF”).
Why this matters for you
This quest is the blueprint system in miniature:
- You’re forced to prioritize extraction.
- You learn that fragments are progress items.
- You learn that your base converts raid objectives into permanent crafting access.
If you approach other blueprint hunts with the same mindset—objective first, extract, register—you’ll progress far faster than players who “loot randomly and hope.”
Special ammo blueprint farming: what to expect and how to plan
Ammo blueprints are some of the most valuable, but also some of the most frustrating if you farm them without a plan. Here’s how to approach them.
What players report
Community discussions suggest:
- Special ammo blueprint drop chances can be low.
- Different bosses may be associated with different ammo blueprint types (shotgun shells, AP sniper, and AP bullets for specific ammo families).
- Some boss-linked ammo blueprints can take repeated runs.
How to farm without wasting your time
- Farm one target at a time. If you’re chasing AP sniper crafting, commit to the boss/area associated with that drop type until you get it.
- Bring the “extract kit,” not your “flex kit.” Farming means repetition; repetition means you need cheap, sustainable loadouts.
- Leave immediately when the blueprint drops. Don’t turn a successful farm into a greedy death.
- Plan your ammo chain. If you’re farming AP ammo blueprints, make sure your Workbench upgrades can actually use them soon (more on this below).
How to track which blueprints you’re missing (without external tools)
A common frustration is “I don’t know what I still need.” The game doesn’t always present blueprints as clearly as keys, so players miss the tracking UI.
A helpful community tip: if you open the crafting station and go to the blueprint registration flow (as if you’re about to add one), there’s a list near the add/register area that shows what you’ve found and blank spaces for what’s missing. That makes it possible to track progress without relying on memory.
Practical habit: once per week, check this list and pick 3 missing blueprints that would upgrade your current playstyle (ammo, meds, armor, storage). Then hunt those specifically.
What to do with duplicate blueprints
Duplicate blueprint handling is simple—once you accept that duplicates are not your friend.
If it’s not registered yet
Register it immediately.
If it’s already registered
You have two common options:
- Sell it for currency (useful early when money is tight).
- Keep it temporarily only if you’re 100% sure you want to sell later and you’re not storage-stressed.
Do not hoard duplicates “just in case.” A blueprint is only valuable the first time, because the value is the unlock.
Gear upgrades explained: “blueprints are the key, Workbench is the engine”
Players often say “gear upgrades” and mean different things. In Duckov, gear upgrades usually come from four systems that stack together:
- Better ammo (normal → standard → AP and beyond, depending on your progression)
- Better armor/helmets/backpacks (higher tier crafting or vendor access)
- Better attachments (control, range, and handling improvements)
- Better maintenance and recycling (repair + deconstruction turning loot into future kits)
Blueprints unlock crafts inside these systems. Workbench upgrades decide how powerful those crafts become and how often you can rely on them.
So when you ask “How do I upgrade my gear?” the real answer is:
- get the right blueprints,
- upgrade the right base stations,
- craft consistently,
- maintain and recycle so your economy doesn’t collapse.
Workbench upgrades that directly power your gear progression
Your Workbench is described as the building where you can craft, dismantle/repair, and register blueprints. But the real magic is the upgrade path.
A Workbench upgrade list describes key milestones like:
- Refined Processing (early processing upgrade that unlocks additional recipes, including normal ammo types)
- Repair Station (unlocks repair function; requires specific tools like a hammer and flathead screwdriver)
- Deconstruction Station (unlocks deconstruction; requires tools like a wrench and scissors)
- Refined Processing 2 (a higher processing tier tied to items like metal sheets, crowbar, propane)
- Armor Crafting (unlocks armor crafting tiers)
- Armor-Piercing Ammo Crafting (unlocks AP ammo-related crafting paths)
This matters because:
- Repair keeps your best guns and armor usable longer.
- Deconstruction turns random loot into the exact materials you need for upgrades and crafts.
- Processing tiers gate many ammo and gear crafts.
- Armor and AP ammo crafting is how you transition from “beginner gear” to “I can take hard fights.”
Armor crafting: how gear upgrades become reliable
Armor feels like luck early—until you unlock the right Workbench perks and blueprints.
Workbench perk listings describe armor crafting upgrades like:
- Armor Crafting I (unlocks basic armor crafting) with prerequisites (including repair-related and processing upgrades) and specific item requirements.
- Armor Crafting II (unlocks intermediate armor crafting) and requires higher-tier armor and additional materials.
How to use this for real progression
- Don’t wait until you “find good armor.” Decide you’re going to craft it.
- Plan your next armor tier like an upgrade project: collect the required items, then craft a stable armor supply.
- Pair armor upgrades with ammo upgrades. Armor helps you survive; ammo helps you end fights faster. Together, they reduce deaths dramatically.
Medic Station and medical blueprint value: the streak protector
Medical crafting is a silent carry, especially while you’re learning maps and taking more damage than you “should.”
The Medic Station is described as a building that crafts a select range of medical supplies and requires specific medical items to build. Once you’re operational:
- Medical blueprints reduce vendor dependence.
- Crafted meds let you take longer routes and still extract.
- You spend less money buying bandage/heal stacks repeatedly.
The biggest medical blueprint win is consistency: when you stop losing runs to “I ran out of healing,” you progress faster even if your gunplay doesn’t change.
Where to find the blueprints that matter most early
Instead of listing 143 blueprints, here’s the practical approach: hunt the blueprints that remove early bottlenecks.
Ammo blueprints (early priorities)
Look for early ammo blueprint spawns in areas known for ammo-related drops (gas station-style landmarks are a common blueprint cluster in public databases). Prioritize:
- Standard ammo for your main weapon family
- Standard shotgun shells if you use shotguns
- Any early craft that reduces downtime between raids
Tool blueprints (progress accelerators)
Tools and utility crafts often unlock smoother routes and better base upgrades. Examples commonly shown in blueprint lists include:
- crowbar-type tools
- shovel-type tools
- power and electronics components (useful for base devices and tech unlocks)
Storage and expansion (quality-of-life that becomes power)
Storage-related blueprints and expansion box crafts can make your entire account progress faster because you stop making forced sell decisions. If your warehouse is constantly full, storage blueprints are “combat power” in disguise.
Medical supplies (survival insurance)
If bleeding and chip damage end your raids, medical blueprint hunting becomes a top priority. Hospitals and medical landmarks are often dense blueprint zones for this.
A blueprint hunting strategy that works on every map
Blueprint hunting is safer when you stop wandering and start running “micro routes.” A micro route is a short circuit you repeat that includes:
- one or two blueprint locations
- one reliable extraction plan
- minimal exposure to high-risk zones
The micro route rules
- Keep routes short enough that you can repeat them even after a bad raid.
- Favor consistent landmark spawns over “maybe this boss appears.”
- If you get the blueprint, extract immediately.
- If you don’t, still extract with materials that support your next Workbench upgrade.
Blueprint hunting should still make progress even when you fail to find the blueprint.
How to turn a blueprint into a gear upgrade in the same day
A blueprint is only “real” when it changes your next raids. Here’s a simple conversion method:
Step 1: Register the blueprint
No delay.
Step 2: Identify the craft’s role
- Is it ammo? You craft a stack now.
- Is it armor? You craft one set now (or start collecting materials for the tier).
- Is it a tool? You craft it and use it on your next loot run.
- Is it storage? You craft it and immediately clean your warehouse.
Step 3: Build a kit around that craft
Examples:
- New standard ammo blueprint → build a rifle kit that you can feed consistently.
- New med blueprint → run longer routes with fewer purchased consumables.
- New armor craft access → switch from “avoid fights” to “take smart fights” because you can survive chip damage.
Step 4: Use deconstruction to keep the loop funded
Anything you don’t need becomes materials for the next craft. This is where Workbench deconstruction turns “random loot” into progress.
The best early blueprint priorities for faster progress
If you’re unsure what to hunt first, these priorities work for most playstyles:
- Blueprints that increase extraction value: bags, rigs, storage expansions
- Blueprints that reduce downtime: ammo, basic meds, repair support
- Blueprints that reduce death rate: early armor/helmet access, reliable healing
- Blueprints that unlock base progression: key tech components and tools needed for devices and upgrades
- Blueprints that enable your main weapon family: if you love a certain ammo type, prioritize that chain
If you play aggressive or fight bosses often, you shift earlier toward:
- AP ammo access (blueprint + Workbench upgrade path)
- Armor crafting tiers
- High-sustain meds
If you play safer loot routes, you shift earlier toward:
- storage + bags
- standard ammo reliability
- suppressive “avoid chaos” kits supported by stable crafting
Common blueprint and gear upgrade mistakes (and the fixes)
Mistake: “I’ll register it later.”
Fix: Register immediately. Unregistered blueprints are just stash clutter and risk.
Mistake: Dying with a blueprint because you got greedy.
Fix: Blueprint = extract objective. Leave.
Mistake: Farming random areas without a plan.
Fix: Use micro routes. Target known blueprint landmarks and repeat.
Mistake: Trying to craft armor before you can maintain it.
Fix: Prioritize Workbench repair and deconstruction upgrades so your economy doesn’t collapse.
Mistake: Chasing weapon blueprints without ammo support.
Fix: Ammo blueprints and processing upgrades often matter more than the weapon itself.
Mistake: Hoarding duplicates.
Fix: Register once, then sell or convert extras. Space is progress.
Mistake: Upgrading everything at once.
Fix: One project at a time: “ammo stability,” then “repair,” then “deconstruction,” then “armor,” then “AP.”
A simple “Blueprint → Gear Upgrade” ladder you can follow
Use this ladder as a default progression plan:
- Workbench built (start registering and basic crafting)
- Refined Processing (unlock more craft options, including early ammo crafts)
- Repair Station (stabilize your core weapons/armor)
- Deconstruction Station (convert loot into the exact parts you need)
- Medic Station built (medical crafting stability)
- Refined Processing 2 (access higher-tier crafts)
- Armor Crafting (reliable armor supply)
- Armor-Piercing Ammo Crafting (hard-content readiness)
This ladder turns the game from “loot gambling” into “planned upgrades.”
BoostRoom promo
If you want blueprints and gear upgrades to feel like a clear checklist instead of a confusing scavenger hunt, BoostRoom can help you build a progression plan that fits your playstyle. BoostRoom focuses on: which blueprints are worth hunting first, which Workbench upgrades unlock the biggest power spikes, how to run safe blueprint micro routes, and how to convert “one blueprint find” into a real gear upgrade you feel immediately in your next raids. The goal isn’t to overwhelm you with every location—it’s to help you upgrade faster, die less, and extract more with a system you can repeat.
FAQ
Do I lose blueprints if I die?
If you’re carrying a blueprint when you die, you risk losing it unless you successfully recover your dropped items. Because recovery can be risky (and a second death can wipe the drop), the safest rule is to extract immediately after picking up a blueprint.
Should I research blueprints right away?
Yes. Registering/researching is what makes the blueprint permanent and also reduces warehouse clutter and duplicate pickups.
Where do I research a blueprint—Workbench or Medic Station?
Weapon/tool/ammo-type crafts typically go through the Workbench. Medical supplies go through the Medic Station/medical crafting station.
How do I track which blueprints I’m missing?
Check the blueprint registration interface at a crafting station—players report there’s a list showing acquired blueprints and blank spaces for missing ones.
Do blueprint boxes respawn if I missed one?
Community reports suggest blueprint boxes can continue spawning their blueprint until you register it, which can let you go back and collect it again if you lost it before researching.
