Practical rules
- Start every raid with an exit plan. If you don’t know how you’re leaving, you’re gambling your loot before you even move.
- Treat extraction like a “phase,” not a location. Your raid has a looting phase and an extraction phase—switch early, not late.
- Leave with a win condition. Your win condition is usually: quest step done, blueprint/material found, backpack value target reached, or storm timer getting too close.
- Don’t stand still to “finish looting.” Most deaths happen while looting or managing inventory, not while moving.
- Use protected storage to reduce tilt. Put your most important item(s) on your dog or rely on bound gear so one mistake doesn’t erase your progress.
- If you’re heavy, you’re vulnerable. Overweight equals slower repositioning, worse escapes, and more “I couldn’t get away” deaths.
- If you’re bleeding or low on supplies, extraction becomes the objective. Healing late is one of the fastest ways to lose a great run.
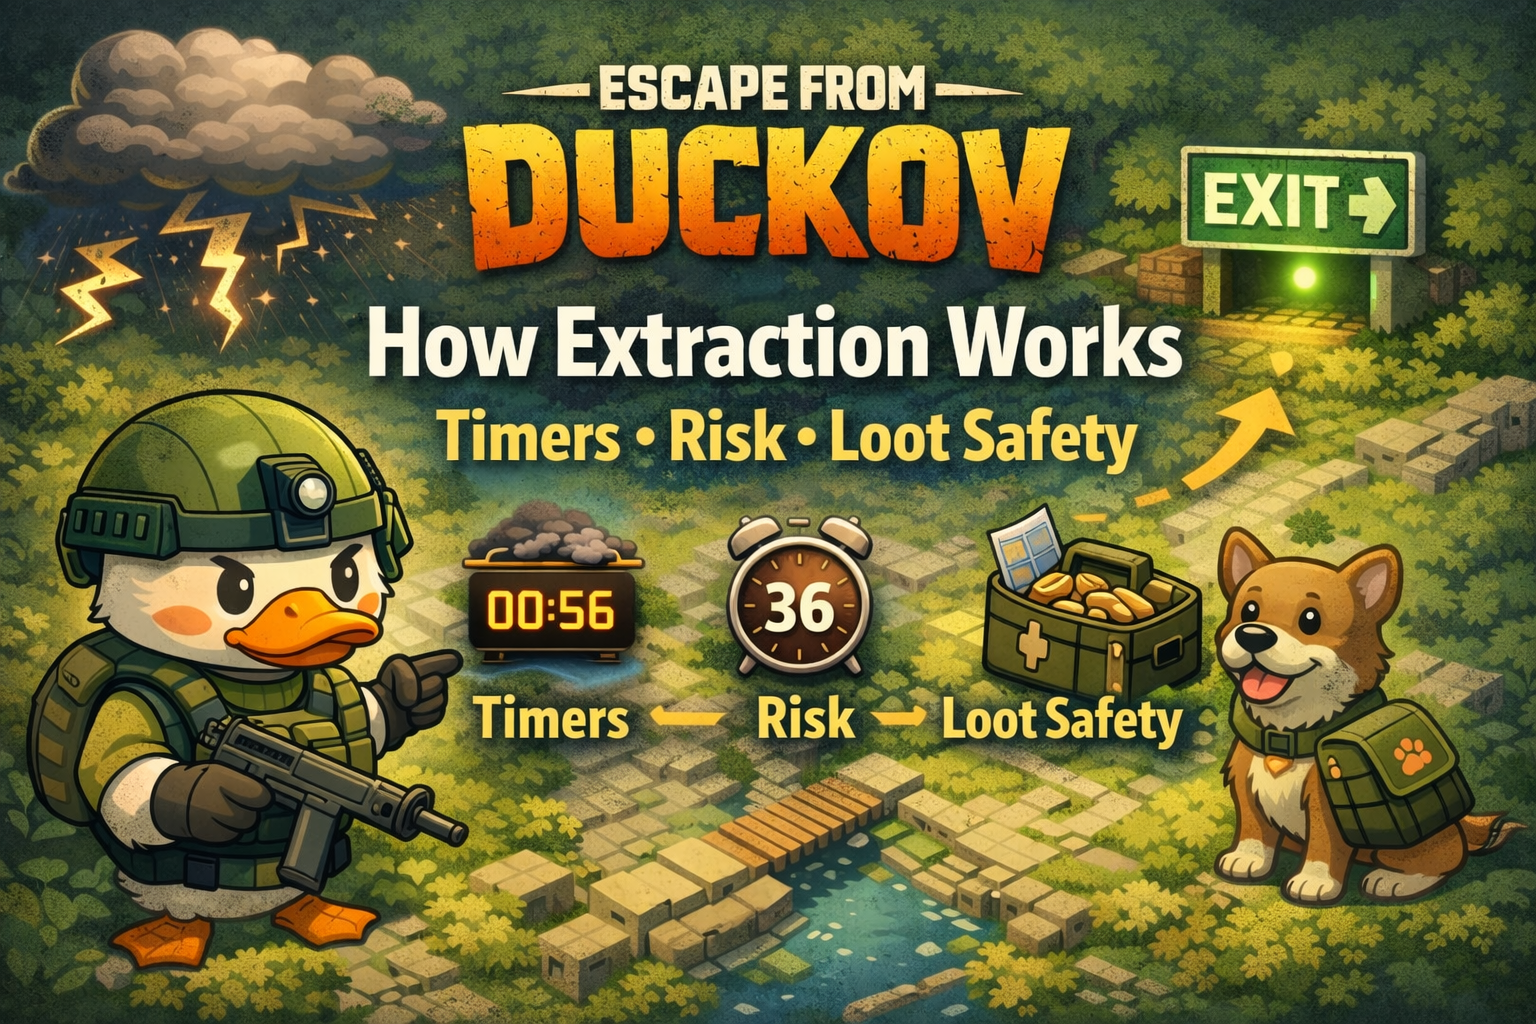
What extraction means in Duckov (and why it feels different)
Escape from Duckov is a PvE extraction shooter. That sounds simple until you internalize the rule that drives every smart decision:
A raid only counts when you return to safety.
In practice, extraction is the bridge between two worlds:
- Raid world: where loot is temporary, danger is constant, and every extra minute increases exposure.
- Bunker world: where loot becomes permanent, upgrades unlock, and your run turns into progression.
Duckov is unusually forgiving in one important way: on early maps like Ground Zero, you can often extract by returning to the bunker entrance rather than fighting through a single “mandatory” exit. That one design choice changes how you should play the early game: you can do small objectives and get out fast instead of forcing risky runs before you’re ready.
But Duckov is also harsh in a familiar extraction-shooter way: if you die while carrying your haul, you can lose a huge amount of progress unless you understand what’s protected and how recovery works. That’s why extraction knowledge is both your safety net and your profit engine.
The timers you should care about (it’s not just one clock)
When players say “watch the timer,” they usually mean different things. Duckov effectively has three timer pressures that influence extraction decisions:
- Extraction countdown
- This is the short, local timer that appears when you’re standing inside an extraction zone (often shown as a marked area like a circle). It’s the final “commitment” moment: you must survive long enough for the countdown to complete.
- Storm countdown
- Duckov has storms that are signposted by a countdown clock. Storms can raise difficulty and change what’s safe. If you’re not geared or prepared, your best move is often to extract early rather than force a long run into worsening conditions.
- “Risk accumulation” time
- Even if you ignore every on-screen timer, risk rises as a raid continues:
- you take chip damage
- you burn ammo and healing
- you become heavier
- you get complacent
- you spend longer in enemy spaces
- you make more inventory decisions under pressure
This is why “I was doing great until the end” is so common. The end of the raid is where your risk is highest—because you’re tired, loaded, and one mistake away from losing everything.
Extraction countdowns: what they really test
The extraction countdown isn’t about patience—it’s about positioning.
Most extraction deaths happen because players do one of these:
- arrive at extract with low health and try to “tank” the timer
- stand in the open while the countdown runs
- get greedy and inventory-sort inside the extraction zone
- panic when enemies appear and leave the zone, resetting the countdown
A good extraction is not “I reached the circle.” A good extraction is:
- you arrive with cover nearby
- you clear immediate angles before committing
- you have enough health to survive a surprise burst
- you’re ready to move a step or two to maintain safety without leaving the zone
Practical habit: treat the last 10–20 seconds before entering the extract zone as a mini-combat phase. Slow down, look, listen, and then commit.
Storm timers: how to use them without getting trapped
Duckov’s storms aren’t just weather flavor; they’re a systems lever. Storms can increase danger and change what’s worth doing. Multiple community discussions and reviews describe a storm countdown clock and the idea that storms can demand better gear to handle safely—while also offering stronger rewards.
Here’s how to treat storms as a beginner:
- If you’re learning: storms are usually a “leave early” signal.
- If you’re geared: storms can be a “push value” window, but only with an exit plan.
- If your supplies are low: storms turn into an extraction priority, even if you wanted to stay.
A smart early-game rule is:
If the storm timer is getting close and your run goal is already achieved, extract and bank the win.
Also, your bunker is a safe control tool. If you don’t want to deal with storms while undergeared, you can often avoid forcing it. That alone makes your progress smoother because you stop taking “unnecessary difficulty” losses.
Day/night and the hidden risk of visibility
Duckov includes a running clock that moves day into night. You don’t need to be a perfectionist about it, but you do need to respect what it changes:
- visibility and readability
- the ease of spotting enemies before they spot you
- the number of “surprise contact” moments
If you notice your runs get sloppier at darker times, extract earlier until your gear and confidence are stable. This isn’t cowardice—it’s smart bankroll protection.
Risk: the three things that silently kill “good” raids
Most beginners think risk is only about enemies. In Duckov, the biggest risks are often quieter:
Risk #1: Overstaying after you already won
The most common heartbreak scenario is:
- you completed your quest step
- you found a valuable upgrade item
- your backpack is already profitable
- …and then you stay for “one more container.”
That “one more” usually isn’t worth the risk because:
- you’re heavier than you were at the start
- you’ve already used some healing/ammo
- you’re less focused
- you’re further from safety
- you’re more likely to take a risky fight because you’re committed to staying
A clean extraction habit is: leave while you still feel safe, not after you start feeling nervous.
Risk #2: Getting overweight and losing your escape tools
Weight isn’t just a movement penalty—it’s an extraction penalty. Overweight players:
- reposition slower
- escape worse
- can’t reset angles quickly
- get punished harder by unexpected enemies
If you want to extract consistently, you must learn value-per-slot looting and avoid carrying bulky low-impact items “just because.”
A powerful Duckov-specific tool for weight management is your dog inventory, which (as players explain in community discussions) ignores weight and isn’t lost on death for the items placed there. Used correctly, that turns heavy loot into safer loot and keeps your mobility intact.
Risk #3: Inventory management in unsafe places
Looting and sorting is when you’re least aware and most stationary. Beginners die not because they can’t fight, but because they:
- stop moving in open areas
- open containers with no escape plan
- spend too long deciding what to drop
- try to “optimize” instead of just leaving
A simple rule: loot fast and move, then sort in safer spots—or better yet, sort after extraction.
Loot safety: what you keep, what you lose, and what you can protect
Loot safety in Duckov is about understanding categories:
Category 1: Bunker progress is permanent
Your bunker is your long-term progression engine. Once upgrades are built and quest progress is locked in, death doesn’t erase that.
This matters because it means your real goal is not “never die.” Your real goal is:
- upgrade your bunker enough that deaths stop being catastrophic
- build stable money and crafting loops
- protect the items that accelerate progression
Category 2: Raid-carried inventory is at risk
Multiple guides and reviews describe the harsh part clearly: dying on a raid can wipe the items you were carrying, forcing you into a recovery attempt if you want them back. The emotional pain comes from losing the time invested in the run, not just the items.
The key reality: a risky recovery attempt can create a second loss. If you die again before recovering, you can lose the previous corpse’s items. In other words, panic runs can turn one mistake into two.
Category 3: Protected storage can reduce losses
Duckov gives you tools to protect value:
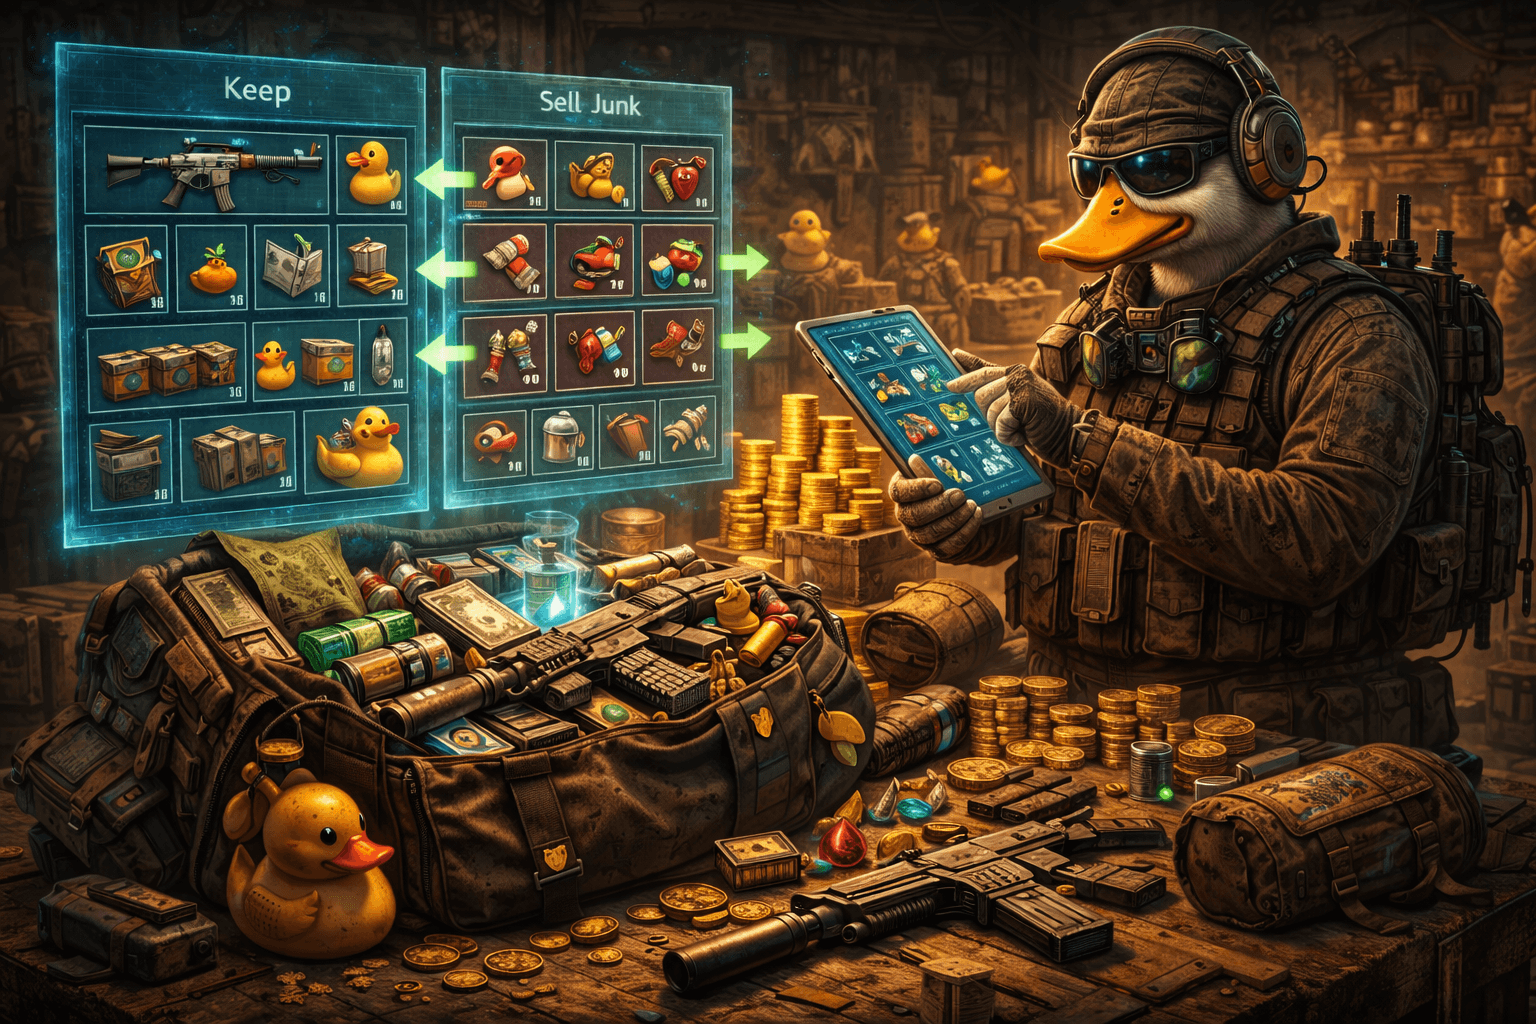
- Dog inventory (pet bag): Community discussions explain that the dog can carry item(s) for you, that those items are not lost on death, and that the dog’s carrying ignores weight. This is the single best beginner loot-safety mechanic because it reduces both loss risk and overweight risk at the same time.
- Dedicated melee slot / bound gear: The Duckov wiki notes that melee weapons equipped in the dedicated melee slot are not lost on death. This means your shovel or preferred melee tool can be treated as “always available,” which makes repeated runs smoother.
- Totems and “bound equipment” tags (mode-dependent behavior): Item databases and community conversations frequently mark totems with bound-equipment-style tags, and players report that certain difficulties allow you to keep totems and other protected items on death. The practical beginner move is to treat your dog inventory and melee slot as your reliable protection layers, while viewing other protections as useful but not something you should gamble your whole plan on without testing in your own difficulty settings.
How to use the dog inventory to protect loot (a simple system)
If you want extraction to feel safer immediately, use this rule set:
- Decide your “protected slot priority” before the raid
- Examples:
- blueprints
- rare upgrade materials
- high-tier ammo stacks
- key cases or special cases (when you have them)
- anything heavy that makes you overweight (like upgrade crates)
- The moment you find something important, protect it
- Don’t wait until you’re almost dead. Don’t wait until you’re heading to extract. If it’s the thing you’d be upset to lose, protect it now.
- If you protect something, extraction becomes more valuable
- Once your best item is protected, the rest of the raid becomes optional. You can still loot, but you should stop forcing risks.
- Use the dog for weight control
- Putting heavy items on the dog helps you stay mobile, which directly increases extraction success.
This one habit is often enough to flip a beginner from “I keep losing everything” to “even my bad raids still move me forward.”
Ground Zero extraction: the three exits every beginner should learn
Ground Zero is where most players learn the extraction loop. A PC Gamer guide lays out three key extraction options on Ground Zero:
Exit 1: Return to the bunker
This is the beginner-friendly extraction that many players miss at first: you can often extract by turning around and returning to the bunker entrance. This makes early quests dramatically easier because you can complete a small objective and immediately bank progress.
Exit 2: Northwest Camp (the marked extract)
This is the obvious extraction shown on the map. It’s real, but it’s not always easy: there are armed enemies in the camp area, and you may need stealth or cover usage (like sandbags) to survive the countdown safely.
Exit 3: Secret bunker entrance
There’s also a secret bunker entrance that can be unlocked on the east side of the map. The same guide describes the process as requiring wood to repair a bridge and then navigating to a manhole entrance through a container area. Once unlocked, it can also be used as an alternate way to enter/exit, changing your map flow.
These exits matter because they teach the “exit mindset”:
you should always have a Plan A and Plan B exit, not one desperate route that forces fights you’re not ready for.
Unlocking safer travel: fast travel shortcuts change extraction risk
Extraction isn’t only about “where you leave.” It’s also about “how fast you can get to safety.”
On Ground Zero, there’s a notable early shortcut tied to breaking a cracked cement wall near the bunker-side area using an explosive item (commonly described as dynamite or a grenade). The reason this matters is simple: a shortcut reduces your time exposed, which reduces your risk.
Permanent shortcuts also exist across maps (bridges repaired with wood, gates opened from the other side, hidden manholes uncovered). Think of these as risk reducers:
- less travel time
- fewer open-lane crossings
- fewer enemy encounters per run
- more consistent extraction routes
In an extraction game, anything that reduces travel uncertainty increases survival.
A simple decision model: when should you extract?
Beginners often ask: “How do I know when to leave?” Use this decision model:
Extract immediately when any of these happen
- You found a blueprint or rare upgrade component you can’t easily replace
- You completed your main quest step
- You are bleeding and low on healing resources
- Your ammo is low enough that a fight would be a gamble
- Your weight is high enough that you can’t reposition confidently
- The storm timer is approaching and you’re not prepared for storm difficulty
Consider staying only when these are true
- Your backpack is still mostly empty
- You have surplus healing and ammo
- Your route back to safety is clear and familiar
- You are not overweight
- Your next loot target is low-risk and close
- You already know your extraction plan and have time to execute it safely
This model prevents “greed deaths” without forcing you to play scared. It simply makes your stay decision intentional.
The “two-phase raid” habit that doubles extraction success
If you want a concrete habit to practice, do this:
Phase 1: Objective + controlled looting
- Move toward your objective (quest step, stash route, material target)
- Loot only what’s on your path
- Avoid long fights unless they block your route
Phase 2: Extraction mode
The moment you hit your win condition, switch your brain:
- stop taking optional fights
- stop opening new areas
- stop sorting inventory unless safe
- move toward extract using cover and familiarity
Most new players never consciously switch phases; they “keep raiding” until they die. The phase switch is what turns good raids into completed raids.
Corpse recovery: when to attempt it (and when to let it go)
Corpse recovery is the trap that turns one loss into a streak. Here’s how to treat it safely:
Attempt recovery only if
- you can reach the area quickly using a known safe route
- you have a replacement kit you can afford to lose
- the recovery attempt does not require you to fight through a high-risk zone you already struggled with
- you are calm enough to play disciplined (panic equals a second death)
Do not attempt recovery if
- you’d need to “wing it” through unknown territory
- you’re already tilted
- the area was dangerous even when you were fully supplied
- a second death would erase your ability to keep playing comfortably
Also remember the practical warning shared by players: if you die again before recovering your previous loot, you can lose the earlier corpse’s items. That’s why “corpse runs” should be treated as missions with strict limits, not emotional revenge raids.
How to run a safe recovery attempt
If you decide to recover, do it like a professional:
- Bring a cheap, stable kit
- Don’t bring your best gear “to make sure you win.” That turns the recovery into a double-risk raid.
- Bring extra healing
- Recovery paths often involve chip damage. You want enough supplies to stay calm.
- Ignore loot on the way
- This is not a profit raid. Looting slows you and increases risk. Your only objective is recovery and extraction.
- Recover, then extract
- The moment you have your items, leave. Don’t turn recovery into a “bonus run.”
- If it goes bad, leave
- If you take heavy damage, get lost, or run out of ammo, extract and accept the partial loss. You’re protecting your future raids.
Why extraction feels harder than it should (and how to fix it fast)
If you feel like extraction is “unfair,” it’s usually one of these:
Problem: You plan extraction too late
Fix: plan your exit at spawn. Pick your most likely extract and a backup.
Problem: You’re always extracting while overweight
Fix: loot value-per-slot, drop bulky low-value items, and use the dog inventory for heavy/important items.
Problem: You fight near extraction because you’re anxious
Fix: approach extraction as a positioning challenge. Clear nearby threats, use cover, commit to countdown.
Problem: You die while looting or sorting
Fix: stop sorting in open areas. Move to safety or wait until after extraction.
Problem: You stay after you win
Fix: set a hard “leave rule” for each raid (quest done, blueprint found, bag value target reached).
Advanced extraction habits (still beginner-friendly)
These aren’t “sweaty tricks.” They’re reliable habits that make extraction boring—in the best way.
Habit: Always know your nearest cover
At any moment, you should know where you can break line-of-sight to heal or reset.
Habit: Extract with time to spare
Your best extracts happen when you’re not sprinting in panic. Arrive early enough to slow down.
Habit: Use shortcuts to reduce exposure
Repairing bridges, opening gates, and unlocking bunker routes are not “side objectives.” They are extraction upgrades.
Habit: Protect a single high-impact item
If you can only protect one item on your dog, protect the one that changes your progression: blueprint, upgrade piece, rare material, or expensive loot.
Habit: Don’t turn storms into a surprise
If your storm countdown is getting close, make a choice early: leave before it hits, or commit with proper preparation. Half-committing gets you killed.
BoostRoom promo
If you want extraction to stop feeling random, BoostRoom is built around making your raids predictable in a good way. BoostRoom guides focus on practical routines: safe extraction planning, risk control, loot priority systems, and progression steps that keep your bunker upgrades moving even when you have a rough session. When you’re ready to extract more, lose less, and turn Duckov into steady progress instead of chaos, BoostRoom helps you run smarter—run after run.
FAQ
Is there an easy way to extract on Ground Zero as a beginner?
Yes. Ground Zero has multiple extraction options, including the ability to return to the bunker entrance to extract, which makes early quests and learning runs much safer.
Why do I keep dying during the extraction countdown?
Usually because you enter the zone without clearing angles, stand in the open, or arrive low on health and supplies. Treat extraction like a positioning problem: find cover, stabilize, then commit to the countdown.
What should I do if the storm timer is close and I’m undergeared?
Extract early and bank the run. Storms can increase difficulty; if you’re not prepared, forcing it often turns a good raid into a loss.
Do I lose everything when I die in Escape from Duckov?
Raid-carried items are at risk, but some things can be protected. Players commonly use the dog inventory for items they don’t want to lose, and melee weapons in the dedicated melee slot are described as not being lost on death.
Is corpse recovery worth it?
Sometimes, but only if you can reach the body quickly with a cheap kit and a clear plan. If you die again before recovering, you can lose the previous corpse loot—so recovery attempts should be disciplined, not emotional.
What’s the best single habit to extract more often?
Switch to “extraction mode” as soon as you hit your win condition. Most losses come from overstaying after you already succeeded.
How do I stop losing valuable loot to greed?
Set a hard leave rule (quest done, blueprint found, backpack value target reached) and follow it. The best loot is the loot you bring home.
