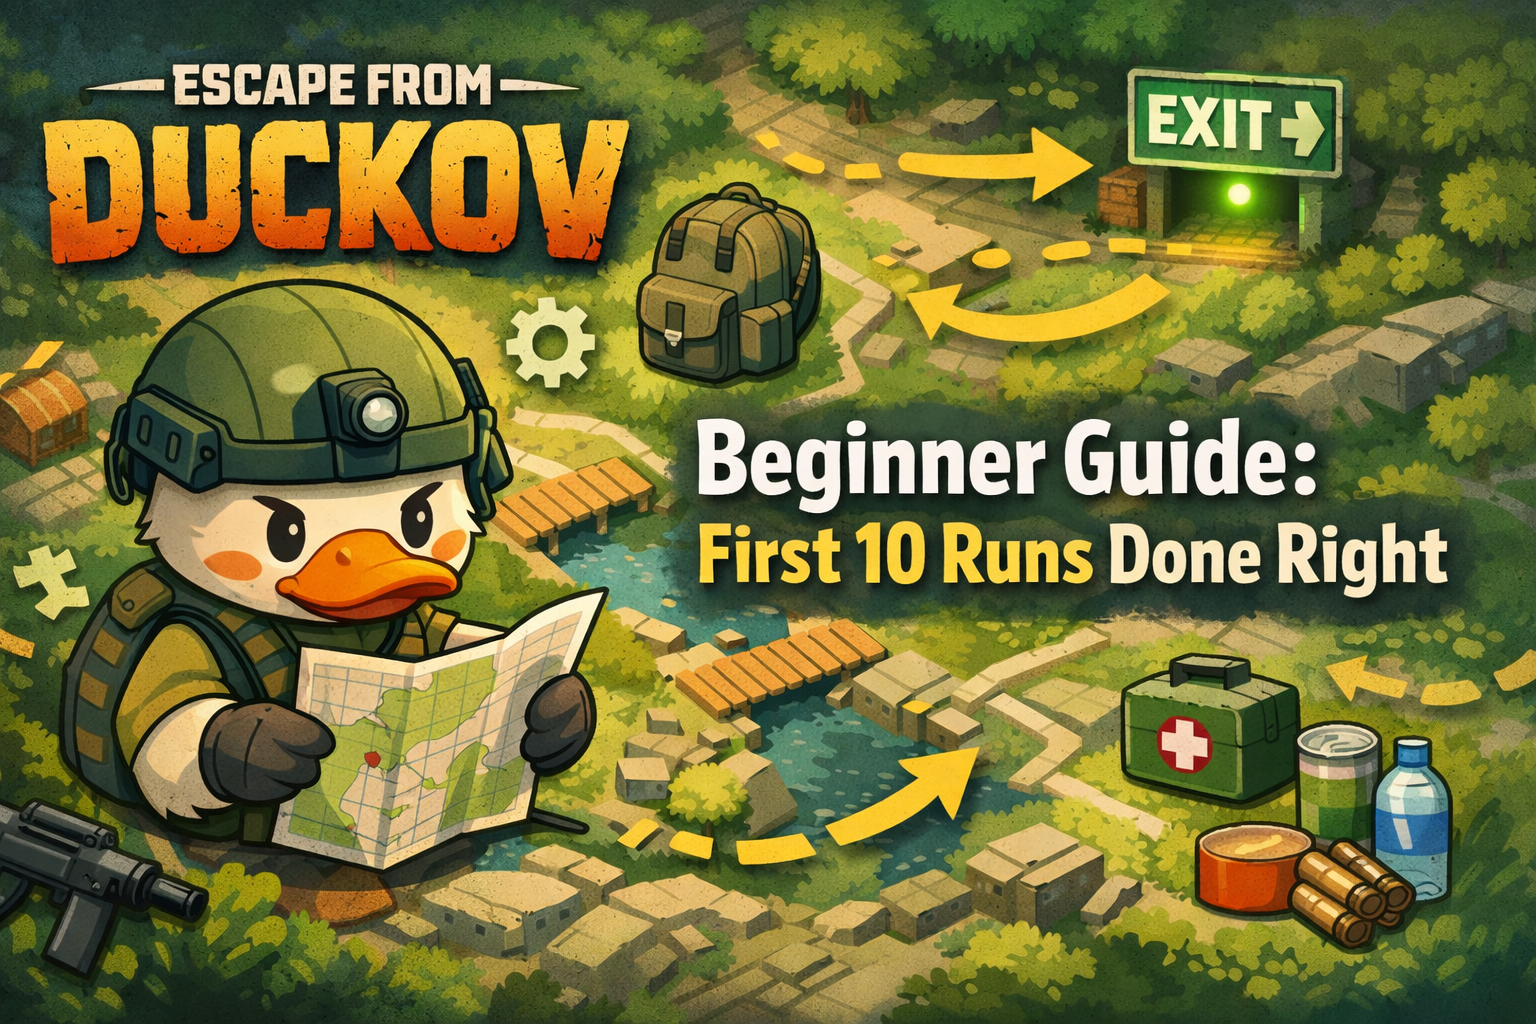
If you want a clean start, stop measuring success by “I cleared the map” and start measuring it by repeatable progress. A strong first-10-run result usually looks like this:
- You can extract on command (not by luck).
- You know at least two safe routes on your early map instead of wandering.
- Your stash stops collapsing after one bad raid because your loadout is budgeted.
- You begin upgrading your bunker hideout instead of hoarding random loot forever.
- You understand the “why” behind deaths: positioning, greed, poor healing timing, or staying too long.
Duckov’s loop is designed to reward steady improvement. You start as an Average Duck with ordinary stats and basic gear, then climb through better equipment, bunker upgrades, and skill progression. The “right” early playstyle is the one that keeps you extracting—because every extraction funds the next.
Before you deploy: a 3-minute pre-raid checklist
Do this before every early raid. It prevents the most common “new player losses” (dying because you didn’t pack one basic thing).
- Pick a goal: “Quick quest + extract,” “loot run,” or “unlock an exit.”
- Check your inventory space: Leave room for loot. If you’re already full, you’ll make bad decisions mid-raid.
- Bring healing for mistakes: Don’t rely on “perfect play.” Pack what you need to recover from surprise damage.
- Carry at least one food/drink option: Duckov uses energy and hydration—low resources turn simple fights into disasters.
- Choose a weapon you can control: Early success comes from consistency, not maximum damage.
- Bring a simple fallback tool: A melee option is useful when ammo is tight or you want quiet cleanup.
- Plan your exit before you move: You should know how you’re leaving before you take your first fight.
If the game’s difficulty feels brutal early, remember Duckov supports multiple difficulty modes (including customization). The best learning difficulty is the one where you can practice the loop without being stuck in a death spiral.
Understand the extraction loop in plain language
Duckov is an extraction shooter, which means the raid has one real rule:
If you don’t extract, you don’t keep what you found.
That single rule changes how you should play:
- Every extra minute is a gamble.
- Every unnecessary fight is a tax.
- The “best” loot is only best if it reaches your bunker.
You’ll scavenge across locations outside your base, then return to the bunker to sell valuables, craft upgrades, and build out your hideout. Duckov also supports weapon mods, different ammo types, and progression through skill trees and blueprints. But none of that matters without consistent extractions.
So your first 10 runs are basically a training program for one skill:
Make it out alive often enough that your power rises.
Ground Zero extraction basics you should learn immediately
Many new players waste early runs because they assume extraction works like other extraction games. On Duckov’s Ground Zero map, extraction is more forgiving than it first appears—if you know the exits.
Here are three extraction options that matter for early progression:
- Return to the bunker (the “turn around” extract):
- Yes—on Ground Zero you can often extract by going back to the bunker hatch. This is huge for early quests that only require a quick task and a safe exit.
- Northwest Camp (the marked extract):
- This is the obvious extraction point shown on the map. It’s real, it works—but it can be guarded and risky if you walk in unprepared. Think of it as a “learn the route” objective, not your default exit on run #1.
- Secret bunker entrance (a second bunker path):
- There’s a hidden route that connects back to the bunker via a secret entrance. The key concept: once you understand how to reach it, you gain another extraction option that can also change how you enter the map later.
Two early unlock concepts that help a lot:
- Bridge repair using wood: Some routes become available after you gather wood and repair certain bridges.
- Breaking a cracked wall (using an in-game explosive item): There’s a fast travel-related unlock tied to breaking cracked cement—useful later when you want faster movement between points.
Your job in the first 10 runs is not to master every exit on every map. It’s to become the player who always has a safe “Plan B” extraction—so you stop losing good loot to confusion.
The First 10 Runs Roadmap
This is the heart of the guide. Follow it like a checklist. The goal is not “perfect.” The goal is progress with minimal chaos.
Run 1 — The “one kill, safe extract” drill
Goal: Prove you can complete a tiny objective and get out.
- Take a budget kit and pick one easy enemy near where you start.
- Loot only what’s directly in your path—don’t wander.
- Extract using the safest method available (often returning toward the bunker hatch on Ground Zero).
- What you learn: movement, first combat rhythm, and the discipline to leave early.
Run 2 — Map awareness over loot
Goal: Learn the safe lanes and danger lanes.
- Move slowly and deliberately; avoid sprinting into unknown areas.
- Open a few containers, then reposition—practice not standing still too long.
- Identify landmarks that help you navigate back toward extraction.
- What you learn: how you actually die (ambush, over-peek, greed, low resources).
Run 3 — The “loot value-per-slot” run
Goal: Build the habit that makes you rich.
- Only pick up items that are valuable for selling or progression.
- Avoid low-value bulky items that clog inventory early.
- Extract as soon as your bag has a “good enough” haul.
- What you learn: smart looting beats lucky looting.
Run 4 — The “Northwest Camp route” learning run
Goal: Learn the route to the obvious extract without forcing fights.
- Plan your path toward the Northwest Camp area.
- If you spot danger, reposition instead of pushing through it.
- Treat extraction as the mission—don’t turn it into a war.
- What you learn: route discipline and how to disengage before things collapse.
Run 5 — The “healing timing” run
Goal: Stop dying with meds still in your bag.
- Take one or two fights on purpose, but only in areas with cover.
- Heal earlier than you think you need to.
- Practice creating a safe moment (move, cover, then heal).
- What you learn: survival is timing, not bravery.
Run 6 — The “bunker upgrade materials” run
Goal: Start fueling hideout progression.
- Loot with a purpose: items that help your bunker/workbench crafting and upgrades.
- Don’t chase rare loot in risky zones—prioritize steady materials.
- Extract as soon as you have enough to meaningfully upgrade something.
- What you learn: progression is built, not found.
Run 7 — The “secret route curiosity” run
Goal: Begin learning alternate bunker access/extraction paths.
- Explore carefully toward areas that connect to alternate bunker entrances.
- If you need materials like wood for a route unlock, make that your priority.
- If you take damage or get lost, reset: extract, don’t panic.
- What you learn: unlocking options makes future runs safer.
Run 8 — The “two-weapon comfort” run
Goal: Learn your weapon rhythm in top-down fights.
Duckov lets you equip two firearms and one melee weapon. Use that advantage.
- Carry one reliable main weapon and one backup suited to a different range.
- Don’t swap constantly—use each tool for a clear purpose.
- Extract when you’ve proven you can handle a fight without overcommitting.
- What you learn: stability under pressure.
Run 9 — The “quest + extract” efficiency run
Goal: Turn quests into momentum instead of distractions.
- Choose one simple quest objective and build the raid around it.
- Complete it, loot a little, then leave.
- Don’t “celebrate” by pushing deeper; bank the progress.
- What you learn: quests are easier when you’re disciplined.
Run 10 — The “repeatable money run”
Goal: Create your first reliable routine.
- Run a route you already understand (not a new risky experiment).
- Loot fast, avoid unnecessary fights, extract on time.
- After extraction, make clean stash decisions: sell, keep, craft.
- What you learn: the game becomes easier when you have a dependable plan.
If you follow this roadmap, the biggest change you’ll feel is psychological: you stop thinking “every raid is a gamble” and start thinking “every raid is a controlled mission.”
Beginner loadouts that actually work
Early loadouts should be built on two rules:
- You can replace them easily.
- They let you fight cleanly at one main range.
A practical beginner kit approach:
- Primary firearm: Something you can control (less recoil chaos = more hits).
- Backup firearm: A “problem solver” for close surprises or mid-range picks.
- Melee weapon: Quiet cleanup, emergency option, and resource saver.
- Healing: Enough to recover from a messy fight—bandages matter because bleeding can drain health over time.
- Food/water: Your insurance policy against long detours and low-resource raids.
Avoid the classic early trap: building a “dream gun” with mods you can’t afford to lose. Duckov has extensive weapon modding, but early on your real power comes from extraction consistency, not perfect attachments.
Loot priorities for the first 10 runs
When you’re new, everything looks important. It isn’t. Use this priority ladder:
Tier 1: Survival and stability
- Healing items (especially anything that stops ongoing damage like bleeding)
- Food and drink (energy and hydration keep you functional)
- Ammo for weapons you actually use
Tier 2: Progression and hideout growth
- Items that clearly support bunker building and workbench crafting
- Blueprints (these unlock stronger weapons/gear crafting over time)
- Upgrade-related materials you recognize as bottlenecks
Tier 3: Cash and convenience
- Valuables that sell well and stack efficiently
- Extra gear you can realistically use or sell immediately
A simple rule that makes looting easier:
If you can’t explain why you picked it up, you probably shouldn’t keep it.
Also remember: Duckov is designed so that “junk” can become treasure at the workbench. The best early players aren’t the ones who find the rarest item—they’re the ones who consistently bring back the right mix of basics that unlock upgrades.
Bunker progression: how to start upgrading without getting overwhelmed
Duckov’s bunker hideout is where your wins become permanent. Even if you lose gear in a raid, bunker progress keeps moving forward—if you plan it.
In the first 10 runs, your bunker goals should be simple:
- Unlock consistent crafting: Your workbench turns random loot into useful gear and materials.
- Increase your ability to recover: The sooner you can craft or stockpile essentials, the safer every raid becomes.
- Reduce downtime: The faster you can prepare a replacement kit, the less a death matters.
A beginner-friendly bunker routine after each extraction:
- Step 1: Sort quickly. Keep only what supports survival, quests, or upgrades.
- Step 2: Sell duplicates. Hoarding slows progression and clogs inventory.
- Step 3: Identify one bottleneck. Ask: “What upgrade am I closest to?”
- Step 4: Build the next raid around that bottleneck. That’s how you snowball.
If you want to feel powerful quickly, don’t chase “late-game dreams” in run #2. Chase repeatable strength: better supplies, stable crafting, and enough money to run your kit without fear.
Food, hydration, and status effects: the quiet killers
Duckov isn’t only about gunfights. Your run can fall apart because you ignored basic survival systems.
Energy and hydration
These aren’t cosmetic meters. Low resources reduce your ability to recover and stay effective. Early on:
- Carry at least one emergency snack/drink.
- Don’t wait until you’re desperate—top up before you push into unknown areas.
- If a run becomes longer than planned, adjust: loot less, extract sooner.
Bleeding and bandages
Duckov includes status effects, and bleeding can slowly drain your health until you stop it. Beginners often die because they treat healing like a post-fight reward. Treat it like a combat action:
- Reposition, find cover, stop bleeding, then re-engage (or leave).
Cold and frostbite (situational content)
Some updates and challenge content involve cold-related pressure, and frostbite exists as a status you may need to manage depending on where you go and what content you’re running. If you enter cold-focused areas, plan your recovery items the same way you plan bandages: it’s not optional, it’s survival.
Top-down combat basics that keep beginners alive
Top-down PvE fights punish two habits: standing still and peeking the same angle repeatedly. Use these fundamentals:
- Cover is everything: If you’re in open space, your plan is already failing.
- Short exposures win fights: Pop out, take a controlled burst, return to cover.
- Don’t re-peek the same line: Move your angle so enemies can’t “pre-aim” your position.
- Clear before you loot: Looting locks your attention and movement—do it only when the area is safe.
- Choose fights that protect your path: If a fight blocks extraction, it may be necessary. If it’s “just because,” it’s probably not.
A beginner secret: many deaths come from fighting while already “winning.” You have loot, your health is fine, and your objective is done—but you take one more fight and lose everything. The discipline to extract is the real skill.
Time management: when to leave (and why greed is expensive)
Create a personal rule for early raids:
Pick a “leave by” moment.
Examples:
- “When my bag is 70% full.”
- “When I complete the quest objective.”
- “When I find a blueprint.”
- “When I take serious damage.”
And then follow it.
Many experienced players also recommend avoiding late-night risk in early learning runs. If you notice enemies feel harsher or your visibility and control feel worse as the raid day shifts, extract earlier and bank your progress. You don’t need to prove you can survive every situation in run #3—you need to build power that makes later situations manageable.
Common first-10-run mistakes (and the fast fixes)
Mistake: Treating every raid like a full clear
Fix: Set a single goal and leave when it’s done.
Mistake: Bringing a kit you can’t replace
Fix: Budget your loadout so you can run it several times without fear.
Mistake: Looting too long in one spot
Fix: Loot fast, then reposition. Standing still is an invitation to get caught.
Mistake: Ignoring food/water
Fix: Pack one emergency option and top up before a risky push.
Mistake: Healing too late
Fix: If you’re bleeding or low, create cover and heal early.
Mistake: Not learning extraction routes first
Fix: Your first runs should be “extract practice,” not “loot lottery.”
Mistake: Hoarding everything
Fix: Keep what supports upgrades and quests; sell the rest so you can fund repeatable runs.
Mistake: Fighting when you’re already ahead
Fix: If you have good loot, the smartest fight is often the one you don’t take.
BoostRoom promo
If you want to progress faster with fewer wasted raids, BoostRoom is built for players who care about consistency. BoostRoom guides focus on practical, repeatable plans: early extraction routes, loot priorities that actually matter for bunker upgrades, and simple “do this next” progression steps. When you’re ready to stop guessing and start snowballing, BoostRoom helps you turn Duckov into a game you control—run after run.
FAQ
What should my main goal be in the first 10 runs of Escape from Duckov?
Make extraction consistent. Your early win condition is a stable loop: enter, complete a small objective, loot with purpose, extract, upgrade.
Is it okay to extract early even if my bag isn’t full?
Yes. Early on, extraction is more valuable than max loot. A small safe profit repeated beats one huge loss.
What’s the easiest way to stop losing everything as a beginner?
Run a replaceable budget kit, set a strict “leave by” rule, and prioritize safe extraction routes you already understand.
Should I focus on quests or money first?
Do whichever creates stability. Early quests can guide your learning, but money runs keep your stash healthy. Mixing one simple quest with a controlled extract is often the best balance.
How do I handle bleeding and other status problems?
Treat them as emergencies, not afterthoughts. Reposition to cover, stop the ongoing damage, then decide whether to continue or extract.
