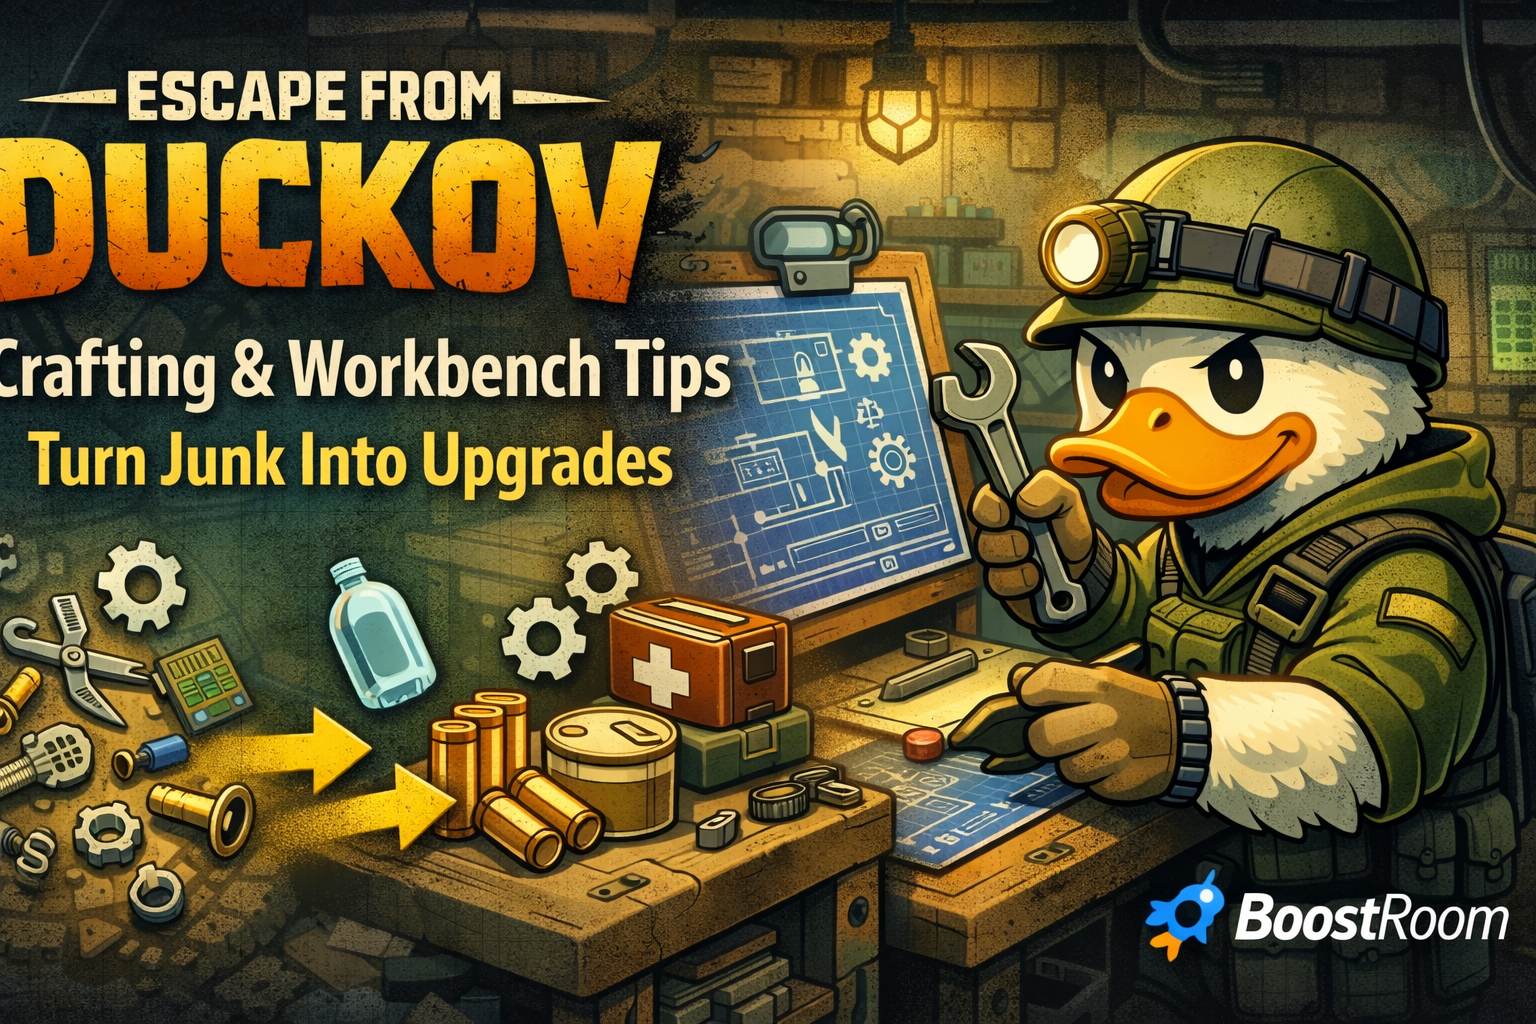
Duckov’s economy can feel harsh early because losing a raid often means losing carried loot. Crafting reduces that pressure in three big ways:
1) It lowers the cost of failure
If you can repair gear, craft ammo, and maintain basic supplies, one bad raid doesn’t wipe your ability to keep playing. You re-kit faster, cheaper, and with less frustration.
2) It makes progress reliable instead of lucky
A beginner who extracts with “boring materials” and crafts upgrades will outgrow the beginner who chases rare loot but dies or sells the wrong things. In Duckov, consistent materials become consistent upgrades.
3) It turns time into permanent strength
Blueprint research (and station upgrades) gives permanent access to crafts. Once something is unlocked, future raids become easier because you can produce what you need instead of searching endlessly.
The Workbench is the core of that transformation. When you understand how to use it, “junk” stops being junk—it becomes a predictable ladder upward.
Workbench basics: what it does and how to unlock it
The Workbench is one of the earliest and most important bunker buildings. Its core purpose is straightforward:
- Craft items
- Register/learn blueprints
- Upgrade its processing level to unlock more recipes
- Unlock repair and deconstruction functions through upgrades
- Dismantle items into parts once you’ve unlocked disassembly
Building it is intentionally simple early on (commonly requiring two pieces of wood, with some difficulty modes adding extra requirements). The game also pushes you toward it through early quest steps, because the designers want you crafting quickly—not waiting until late game.
Where beginners waste time: they build the Workbench, craft one random item, then ignore it for ten raids. Don’t. The Workbench is most powerful when it becomes part of your routine.
Workbench upgrades: the three switches that change everything
A useful way to think about Workbench progression is that you’re flipping three switches:
Switch #1: Processing upgrades (more recipes)
Upgrading processing levels unlocks more crafts—especially early essentials like normal ammo types and practical utility items. This is how your Workbench becomes “worth using” every session.
Switch #2: Repair function (durability management)
Repairs let you keep your favorite budget kit running longer and reduce the “my gear is always broken” spiral. Repairing isn’t flashy, but it’s one of the strongest money savers in the game.
Switch #3: Deconstruction / disassembly (turn items into parts)
This is the big one for “turn junk into upgrades.” Once you can disassemble items, your inventory becomes flexible:
- low-value clutter becomes bolts/nuts/plates and other build parts
- duplicate trash turns into upgrade blockers
- bad loot becomes good materials
In many cases, unlocking disassembly requires specific tools (example: things like a wrench and scissors) and small hardware parts (like bolts and nuts). That’s why you should start collecting basic tools early—even if they look useless.
Blueprint research: the habit that makes you stronger permanently
Blueprints are not “nice to have.” They are permanent unlocks that expand your crafting options at the Workbench (combat/tools) and at medical crafting stations (meds). A strong blueprint routine does three things:
1) Register blueprints as soon as you safely can
Blueprints take space, and duplicates are a common beginner mistake. Registering them prevents warehouse bloat and stops you from accidentally hauling the same blueprint again.
2) Use the right station for the right blueprint type
A common rule from community blueprint guides: combat and tool crafts go through the Workbench, while medical crafts go through the medical crafting station/med table. This matters because it helps you quickly decide where to research something and avoids confusion later.
3) Prioritize blueprints that stabilize your raids
Early blueprint priorities are usually:
- ammo you can craft reliably
- basic healing supplies (if you’re always med-poor)
- storage and expansion items that reduce loot loss and warehouse pressure
- utility tools that improve your money runs (like stash tools or fishing-related items if you use those systems)
Community blueprint trackers have counted well over a hundred blueprints in the game (with category breakdowns like weapons, armor, ammo, medical supplies, tools, and misc). Even if that number changes with updates, the principle stays the same: blueprints are a huge long-term advantage—treat them like permanent upgrades.
The “Junk-to-Upgrade” sorting system that stops stash chaos
If you only take one thing from this page, make it this sorting system. After every extraction, sort your loot into four buckets:
Bucket A: Build Next
Items that are required for your next Workbench upgrade or bunker building (example materials mentioned across upgrade guides: bolts, metal plates, circuit boards, light bulbs, plastic, wood, basic tools). These items are sacred until your next upgrade is complete.
Bucket B: Craft Now
Items you will convert immediately into something that helps your next raid:
- ammo you run out of often
- a basic tool you always want available
- a food item you use regularly
- a utility craft that supports your current route
Bucket C: Dismantle
Items that are not useful as-is, but become useful as parts:
- duplicates of gear you don’t use
- damaged items you don’t want to repair
- “weird junk” that breaks down into needed components
- low-quality totems you don’t want (many players dismantle them to reclaim some feathers)
Bucket D: Sell
Everything else—especially:
- duplicates you’ll never deploy
- bulky low-value items
- items that don’t support your next 1–2 upgrades
- gear that costs more to keep than it’s worth
This system ends the hoarding-vs-selling dilemma. You stop guessing. Every item gets a job.
Turning junk into upgrades: what “junk” is actually good for
In Duckov, “junk” usually falls into one of these categories:
Hardware junk
Bolts, nuts, plates, small metal parts, and basic tools. These are often required for Workbench-related upgrades (repair, processing, disassembly) and other bunker stations.
Electronics junk
Circuit boards, cords, drives, lamps, batteries, and similar items are frequently used in upgrades and tech-themed stations. Even if you don’t know the exact recipe yet, electronics are rarely truly worthless.
Plastic and household junk
Many upgrade paths include plastic and light household components. Some guides specifically mention you can obtain plastic by dismantling common items like water bottles—meaning a “trash” item can become a critical material.
Storage and expansion items
Some heavy items are primarily used for expanding storage or bunker progression rather than combat. If something is heavy and awkward but clearly looks like a base upgrade piece, treat it like a Build Next item—and consider using your dog inventory to carry it safely and avoid overweight penalties.
Totem-related items
Feathers and totem items often look “optional,” but they can provide passive bonuses that make budget kits feel stronger. If you roll a low-quality totem you don’t want, dismantling can refund part of the input resource—making your crafting loop less wasteful.
The point is: junk becomes upgrades when you have a plan. Without a plan, it becomes clutter.
Early Workbench crafts that are actually worth your materials
Your first Workbench recipes should focus on survival and consistency, not novelty.
1) A shovel (utility craft that pays you back)
A shovel is a practical early craft because it supports stash and utility interactions. If you like exploration routes, stash hunting, or safe money runs, crafting a shovel early often pays for itself quickly by increasing your loot consistency.
2) Basic ammo crafts (stability craft)
Workbench recipe lists show normal ammo types (for example: S-normal ammo, AR-normal ammo, shotgun shells, and more) unlocked through Workbench processing upgrades. Ammo crafting is one of the best “junk-to-upgrade” conversions because:
- it directly prevents raid failure
- it reduces vendor dependence
- it turns cheap materials into immediate combat readiness
3) Simple food crafts (attrition control)
Some Workbench recipe lists include basic food items you can craft early (like simple canned food). If you’re repeatedly forced to buy food or make risky detours mid-raid, crafting a small buffer can make your runs calmer and faster.
4) Storage/expansion crafts (quality-of-life craft)
Workbench recipes can include storage-related items (like expansion boxes). These matter because storage pressure is a hidden progression killer: if your warehouse is full, you can’t loot well; if you can’t loot well, you can’t build.
5) “Tool chain” crafts (progression unlock craft)
Certain crafts exist mainly to unlock other crafts or upgrades (like making an item you’ll use as a component). These are worth doing when they remove a bottleneck—especially for disassembly and repair upgrades.
A simple rule: if a craft increases your extraction rate or reduces your re-kit time, it’s worth doing early.
Dismantling: the fastest way to convert clutter into progress
Dismantling is the most direct answer to the question “How do I turn junk into upgrades?”
Once you unlock the ability to deconstruct items, you can:
- break down unnecessary gear into parts
- turn broken items into useful resources
- transform duplicates into upgrade materials
- recover some value from “bad rolls” (like unwanted totems)
Two high-impact dismantle habits:
Habit 1: Dismantle for bottlenecks, not for fun
If your next upgrade needs bolts and nuts, dismantle anything that reliably produces them. Don’t dismantle everything randomly—dismantle what solves your next problem.
Habit 2: Dismantle “common trash” into “rare needs”
A famous beginner mistake is selling common items that dismantle into valuable materials. If guides mention that plastic can be obtained from dismantling common bottles, then bottles stop being “trash”—they become plastic sources.
Totem dismantling (smart resource recycling)
A lot of players use feathers to roll totems. If you get a low-quality totem you won’t use, dismantling it at the Workbench can refund some feathers. It’s not a full refund, but it prevents wasted investment and keeps your totem system sustainable.
Repairing gear: how to save money without trapping yourself
Durability exists to punish neglect, not to force constant replacement. Repairing at the Workbench is valuable, but only when used wisely.
Repair what you actually deploy
Repairing a gun you never use is just converting money into clutter. Pick 1–2 reliable weapons and keep those healthy.
Repair before the raid, not after it breaks mid-raid
A weapon failing during a run is an avoidable disaster. Many community tip lists recommend repairing gear whenever you return to base or before heading out again.
Know when NOT to repair
If an item is:
- low-value
- easily replaced
- not part of your stable kit
- …then dismantle it or sell it instead of paying repair costs.
The “core kit” concept
Build a core kit you keep healthy:
- one main weapon type you’re comfortable with
- a backup (cheap pistol/SMG)
- a reliable armor piece you can afford
- Repair those. Everything else can be opportunistic.
This keeps your economy stable, because you stop buying replacements constantly.
Workbench upgrade shopping list: what to start collecting early
Even if you don’t know every upgrade requirement yet, multiple upgrade guides and databases highlight repeat offenders—materials that show up again and again in early Workbench progression.
Here’s a practical “collect early” list that aligns with Workbench upgrade discussions:
- Wood (early Workbench building and early quests)
- Bolts and nuts (very common upgrade hardware)
- Metal plates / steel-type materials (used in Workbench upgrades and base building)
- Circuit boards (often tied to Workbench upgrade steps)
- Light bulbs / lamps (commonly mentioned in upgrade requirements)
- Plastic (notably obtainable through dismantling common items in some guides)
- Basic tools (wrench, scissors, screwdrivers, hammers—often required to unlock repair/disassembly stations)
How to loot for this without memorizing spawns
You don’t need perfect map knowledge to find these. You just need category thinking:
- tool-looking items belong in your Build Next bucket
- small hardware belongs in Build Next
- electronics-looking items belong in Build Next or Dismantle
- common containers and clutter can be dismantle candidates if you need plastic or similar materials
Once you unlock disassembly, the exact spawn becomes less important, because you can create what you need by breaking down what you already have.
Blueprint research priorities: what to unlock first (so “junk” becomes useful)
Blueprints often sit behind exploration, quests, and bosses. You’ll collect them gradually, so your priority matters.
Priority 1: Ammo you actually shoot
If you frequently run S-caliber or AR-caliber weapons, normal ammo crafts are a huge quality-of-life upgrade. Being able to craft ammo reduces the “I can’t raid because I’m empty” problem.
Priority 2: Healing consistency
If your runs end because you’re bleeding and out of supplies, medical blueprints and medic station crafting become early stability upgrades.
Priority 3: Tools that unlock routes and profit
Tools like the shovel are good examples: they improve the profitability of safer routes and make learning runs pay you back.
Priority 4: Storage and expansion
Anything that improves storage capacity or reduces stash pressure indirectly increases profit: you loot better when you have space.
Priority 5: Fun crafts and specialty gear
These are great later. Early on, they can be a trap if they consume materials that block your next Workbench upgrade.
Using your dog inventory to protect crafting progress
Crafting-focused raids often make you overweight because materials are heavy and awkward. A widely shared community tip: your dog can carry an item in its inventory in a way that ignores weight and isn’t lost on death, making it perfect for protecting valuable or heavy crafting items.
Here’s how to use that for crafting progression:
Protect one “progress item” per raid
If you find something that directly unlocks your next upgrade (a rare tool, an expansion crate, a key container, or a blueprint), move it to the dog as soon as it’s safe. That way, even a bad raid can still result in progress.
Use the dog for heavy base items
If you pick up something obviously tied to bunker upgrades and it makes you overweight, put it on the dog so you keep mobility and reduce risk.
Don’t overcomplicate it
One protected slot used intelligently can dramatically reduce the emotional sting of early deaths and keep your build order moving forward.
Crafting for quests: the fastest way to turn missions into momentum
Duckov quests are often designed to teach systems. Early quests push you to gather materials to build the Workbench. Later quests ask you to deliver crafted or found items (for example: medical supply tasks that can be completed by crafting at the medic station).
To use quests as crafting momentum:
Pick one “craft-supported” quest chain at a time
If a quest asks for deliverable items (like small medkits), decide upfront whether you’ll:
- loot them naturally, or
- craft them deliberately
- Crafting is often faster and more consistent—especially if you’ve already unlocked the blueprint or station.
Use quest rewards to stabilize your crafting loop
Many quests pay currency or give items that reduce pressure (bandages, medkits, etc.). Treat these as fuel for your next raids so you can keep collecting materials for upgrades.
Avoid the “quest clutter trap”
If you accept too many delivery quests at once, your warehouse fills with “maybe I need this later” items. Stay focused: one quest chain + one bunker upgrade goal.
Crafting for money: the hidden “junk → profit” conversions
A lot of beginners only see money in “shiny loot.” Crafting creates money in two quieter ways:
1) Saving money is earning money
If repairs and ammo crafting reduce how much you spend on re-kits, your net profit rises—even if you don’t find rare loot.
2) Converting low-value items into higher-value items
Some crafting loops turn common parts into items that sell better, stack better, or are more useful than the raw materials. Even when you don’t sell crafted items, crafting can convert clutter into something you’d otherwise buy—again improving profit.
Optional QoL tip some players use
Some players install simple value-display mods that color item prices to speed up sorting decisions. If you play with mods, focus on mods that reduce stash friction and don’t change the core experience—because the biggest enemy of crafting progression is time wasted sorting.
The 7-minute post-raid Workbench routine (do this every time)
This routine keeps your hideout progressing even on messy days.
Minute 1: Identify your next upgrade target
One target only: Workbench processing upgrade, repair station unlock, disassemble station unlock, or a bunker building requirement.
Minute 2: Move Build Next materials into one storage area
Create a single “Build Next shelf” in your warehouse. Don’t spread materials everywhere.
Minutes 3–4: Repair the core kit
Repair the 1–2 weapons and the armor you actually deploy.
Minutes 5–6: Dismantle clutter for bottlenecks
Dismantle duplicates and junk specifically to produce the materials you’re missing.
Minute 7: Craft the one thing that improves your next raid
Usually ammo, sometimes a utility tool, sometimes a food buffer. Keep it simple.
Then stop. Don’t spend 40 minutes “perfect organizing” after every raid. Consistency beats perfection.
Common crafting mistakes that slow progression
Mistake: Hoarding everything “just in case”
Fix: Use the four-bucket system. If it isn’t Build Next, Craft Now, Dismantle, or Sell, it’s probably clutter.
Mistake: Selling upgrade blockers to buy a better gun
Fix: Upgrades make you stronger permanently. One fancy gun makes you stronger for one raid—until you lose it.
Mistake: Ignoring blueprint research
Fix: Register blueprints early to prevent duplicates and unlock permanent crafts.
Mistake: Dismantling randomly
Fix: Dismantle with intent—only to solve the next upgrade bottleneck.
Mistake: Repairing everything
Fix: Repair only your core kit. Dismantle or sell the rest.
Mistake: Crafting “cool items” before you can sustain them
Fix: Craft survival and economy first (ammo, essential tools, med stability). Specialty builds come later.
A simple “next build” ladder that works for most players
If crafting is your focus, here’s a stable ladder that avoids wasted materials:
- Workbench built (start crafting basics)
- Processing upgrade (unlock normal ammo and practical recipes)
- Disassembly unlock (turn junk into parts)
- Repair unlock (stabilize your kit economy)
- Blueprint habit (register immediately, prioritize essentials)
- Storage upgrades (remove loot pressure)
- Higher-tier crafting and specialty gear (once your loop is stable)
This ladder creates a self-feeding system: raids feed crafting, crafting feeds upgrades, upgrades feed safer raids.
BoostRoom promo
If you want your crafting to feel organized instead of overwhelming, BoostRoom helps you turn Duckov’s loot chaos into a clear plan. BoostRoom crafting guides focus on what actually moves progression: the fastest Workbench upgrade order, which “junk” items matter most for the next steps, blueprint priorities that unlock real power, and simple routines that keep your bunker growing even if you die sometimes. When you’re ready to stop guessing and start upgrading every session, BoostRoom makes the Workbench feel like an advantage—not a mystery.
FAQ
What should I craft first at the Workbench in Duckov?
Start with crafts that stabilize raids: a useful tool (like a shovel if you use stash routes) and basic ammo crafts you can reliably feed. These reduce failure and keep runs consistent.
Is dismantling really worth it, or should I just sell junk?
Dismantling is worth it when it removes upgrade bottlenecks. If your next Workbench upgrade needs bolts, nuts, or tools, dismantling turns clutter into exactly what you’re missing.
When should I unlock the repair function?
As soon as it’s reasonable, because repairs reduce how often you must replace gear. Repairing a core kit is one of the best early money-savers.
How do blueprints work in Escape from Duckov?
Blueprints unlock permanent crafting recipes. Research/register them rather than hoarding them, and use the correct station (Workbench for combat/tools, medical crafting station for meds).
Why is my warehouse always full?
Because you’re not sorting with intent. Use the four buckets: Build Next, Craft Now, Dismantle, Sell. This keeps only what has a purpose.
Can I get important materials like plastic without finding them directly?
Yes. Some upgrade guides note that plastic can come from dismantling common items (like bottles), so “trash” can become key upgrade materials.
