Practical rules
- A starter kit must be replaceable. If losing it ruins your session, it’s not a starter loadout yet.
- Build around common ammo. Early raids are smoother when ammo refills naturally from enemies and frequent drops.
- Primary + secondary beats “one perfect gun.” Two weapons reduce reload downtime and keep you effective when ammo types don’t match.
- Bleeding control is not optional. Bring bandages and treat status problems early, not “after the fight.”
- Bring light supplies, not a survival museum. Enough healing/food to recover from mistakes—without becoming overweight.
- Use protected storage smartly. Your pet inventory and dedicated melee slot can reduce the pain of early mistakes.
- Your goal decides your kit. Loot run, quest run, exploration run, boss attempt—each deserves a slightly different loadout.
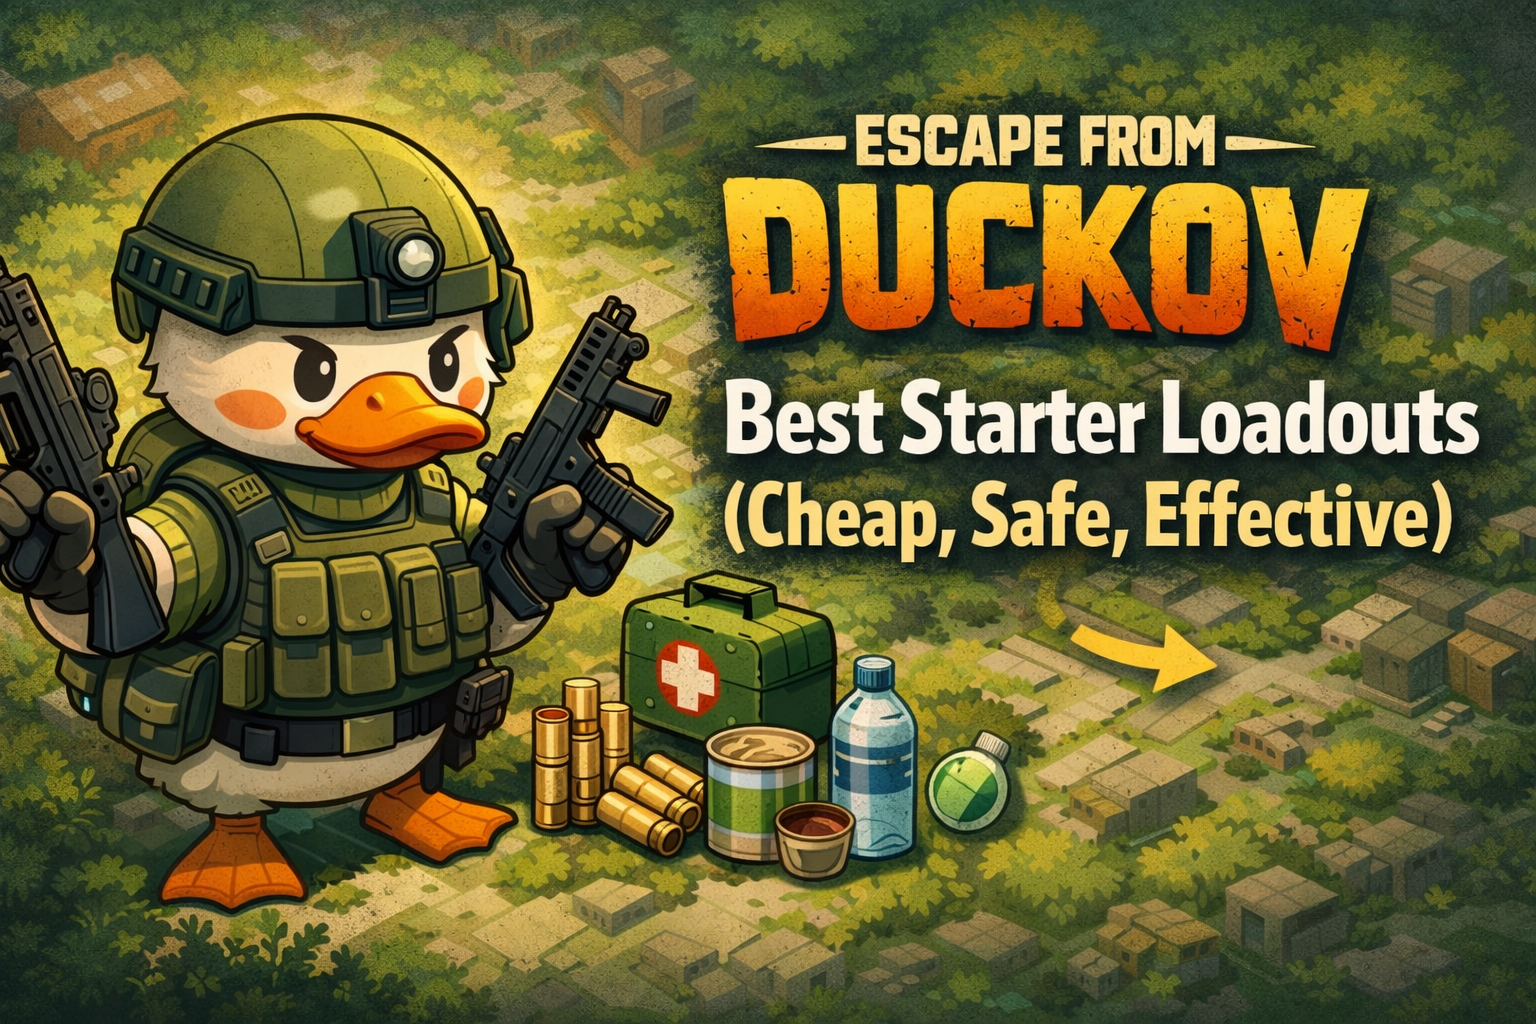
What makes a “best” starter loadout in Duckov
A lot of guides list “best guns” and stop there. In Duckov, your loadout is a system. A truly strong beginner loadout does five things:
- Wins the fights you can’t avoid
- Not every fight is optional. You need enough reliability to handle surprise enemies and still leave with loot.
- Keeps you mobile
- Movement is safety. If your kit makes you heavy, slow, or constantly out of stamina, you’ll die in places that “should have been safe.”
- Solves the most common beginner deaths
- New players usually die from:
- staying too long in one place
- taking damage, then delaying healing
- running out of ammo mid-raid
- getting overweight and losing escape options
- A good starter kit directly prevents those.
- Feeds progression
- Starter kits should help you bring home materials, ammo, and valuables that translate into bunker upgrades and repeatable income.
- Doesn’t cost your confidence
- When you’re afraid to deploy your kit, you play worse. A cheap, consistent loadout makes you brave in the right way: calm, disciplined, and willing to reset.
The beginner “baseline kit” you can copy today
If you want a simple default, use this as your baseline and adjust later. This is designed for exploration, learning routes, and steady extractions.
- Primary weapon + secondary weapon (so you’re never helpless during reloads or ammo mismatches)
- 1 First Aid Kit + 3 bandages (bleeding control matters early)
- Around 100 rounds total (adjust up or down depending on your weapon type and fight frequency)
- 2 waters + 2 food items (enough buffer without becoming overweight)
This baseline is powerful because it’s simple, repeatable, and covers the most common early failures: bleeding, resource drain, and reload downtime.
Ammo-first thinking: why cheap kits still win
Duckov’s ammo system matters because weapons are grouped by caliber. Early on, you’ll commonly see:
- S caliber ammo for pistols and SMGs
- AR caliber ammo for assault rifles
Starter loadouts become “cheap and effective” when your guns share ammo types you can reliably restock. Two practical rules make a huge difference:
- Unload ammo from guns you find. Found weapons are often “free ammo boxes” if you take the bullets out.
- Common ammo types have an advantage. If enemies carry the same caliber you use, your raids naturally refill your supply.
Also, ammo quality isn’t just about damage—it can affect how fast weapon durability drains. Early on, that means: don’t waste your best ammo in your weakest gun, and don’t burn premium stacks on casual scav fights.
Weapon roles for beginners (pick your comfort lane)
Instead of chasing “the best gun,” choose a role that matches how you naturally play:
- Pistol role (cheap, fast, reliable): Great for learning movement and conserving stamina.
- SMG role (close-range control): Excellent for run-and-gun and hipfire comfort.
- AR role (balanced and forgiving): Reliable at a healthy distance and often considered the most consistent all-around option.
- Shotgun role (situational power): Strong up close, especially when you know what you’re pushing into.
- Sniper role (not recommended for early learning): Usually better later when you can build around it and manage risk.
For the first 10–20 raids, most beginners progress fastest with AR + SMG, or pistol/SMG budget setups that don’t punish missed shots.
Starter Loadout #1: The “S-Caliber Budget Runner” (pistol + SMG)
Best for: learning routes, quick quests, low-risk loot loops
Why it works: cheap ammo, high mobility, easy to replace, strong in close fights
Core idea: You carry one fast-handling weapon for emergencies and one automatic option for close-range pressure.
Suggested setup
- Primary: SMG that uses S caliber ammo
- Secondary: S caliber pistol (as a quick swap when your SMG is empty)
- Melee: shovel (utility) or any reliable melee you like
- Backpack: small/medium depending on confidence
- Medical: First Aid Kit + bandages (baseline)
- Food/Water: baseline (2 + 2)
- Ammo: prioritize S caliber stacks; unload from found pistols/SMGs
How to play it
- Stay within your strength: tight routes, corners, buildings, short lines of sight.
- If an area looks open and dangerous, reroute instead of forcing a long-distance fight.
- Use your pistol for quick finishes to save SMG ammo if needed.
Beginner win condition
- Extract quickly with consistent loot and materials, not “maximum map clearing.”
Starter Loadout #2: The “Balanced AR Learner” (AR + pistol)
Best for: general progression, mixed terrain, safer mid-range fights
Why it works: ARs are widely viewed as the most reliable all-around weapon type; AR caliber ammo tends to be practical to stock as you advance
Suggested setup
- Primary: AR caliber assault rifle
- Secondary: pistol (S caliber) for backup and emergency swaps
- Melee: shovel (hidden stash utility)
- Medical: baseline
- Food/Water: baseline
- Ammo: AR caliber as main, S caliber as small backup
How to play it
- Take fights at mid-range when possible.
- Use cover, short peeks, and repositioning—don’t stand in open lanes.
- Your pistol is for “my AR is empty and I can’t reload safely” moments, not for extended duels.
Beginner win condition
- Win more fights without taking unnecessary damage, then extract when your bag is “good enough.”
Starter Loadout #3: The “Shotgun Problem Solver” (shotgun + SMG/pistol)
Best for: close-quarters routes, certain bosses, tight indoor areas
Why it works: a good shotgun can delete close threats fast, but you must respect range and ammo type
Some players strongly recommend specific shotguns for close combat due to ammo availability and punch at short range. The main risk is obvious: if you force long-range fights with a shotgun, your run becomes a gamble.
Suggested setup
- Primary: shotgun (close-range)
- Secondary: SMG or pistol (S caliber) to handle enemies outside shotgun comfort range
- Medical: baseline, with extra bandage buffer if you tend to trade damage
- Food/Water: baseline
- Ammo: shotgun shells + small S caliber reserve
How to play it
- Choose routes that keep engagements close.
- Don’t chase targets across open space.
- If you’re forced into mid-range, swap to secondary and reposition.
Beginner win condition
- Fast clears of tight zones, quick extraction, minimal time standing still.
Starter Loadout #4: The “Exploration + Hidden Stash” kit (shovel-focused)
Best for: early money-building, learning maps while still profiting
Why it works: you can add value to “learning runs” by collecting stashes and materials
A shovel is widely used because it can help you interact with hidden stashes. Even if you’re not fighting much, you’re still generating meaningful loot—without entering the highest-risk areas.
Suggested setup
- Primary: pistol or SMG (cheap, mobile)
- Secondary: whatever you already own and can replace
- Melee: shovel
- Medical/Food/Water: baseline
- Backpack: prioritize slots over armor early—more loot per run speeds progress
How to play it
- Mark stash spots when you discover them so future runs become “routine.”
- Loot containers based on what you need (ammo boxes for ammo, med crates for medical, toolboxes for materials).
- Extract earlier—exploration kits win by consistency, not by domination.
Beginner win condition
- Learn map flow and still bring home enough materials to upgrade bunker stations.
Starter Loadout #5: The “Safe Profit Courier” (dog inventory + lightweight kit)
Best for: players who get overweight fast or hate losing valuable items
Why it works: your pet inventory can protect items and ignore weight, making early raids less punishing
Duckov gives you a huge beginner advantage: your pet can carry items in a way that reduces risk and weight pressure. Many players treat the dog like a “portable insurance pocket.”
Suggested setup
- Primary: AR or SMG (your comfort pick)
- Secondary: pistol
- Melee: shovel or reliable melee
- Medical/Food/Water: baseline
- Backpack: smaller is fine if your dog is carrying the heaviest/highest-value pieces
How to play it
- Put heavy items on your pet to reduce weight problems.
- Put high-value or progression-critical items on your pet when possible, because it reduces the sting of a death.
- Keep your own backpack for fast-sell valuables, ammo stacks, and upgrade materials.
Beginner win condition
- Fewer “one mistake erased my entire run” moments and more steady bunker upgrades.
Why your melee slot is part of your starter loadout
Melee weapons aren’t just for panic moments. In Duckov, melee has two major beginner benefits:
- Utility
- Tools like the shovel help you access extra loot sources, which is perfect for early runs where you’re learning routes and avoiding hard fights.
- Risk reduction
- Melee weapons equipped in the dedicated melee slot have special value because they’re treated differently from your main carried gear when things go wrong.
Early advice: pick a melee weapon you’ll actually use. If you never swing it and never use its utility, switch to something that fits your routine.
Armor, helmets, backpacks: how to gear without going broke
Beginners often overbuy protection and forget the hidden cost: weight, stamina drain, and slower movement. Starter gear should aim for:
- “Enough protection to survive mistakes”
- “Not so heavy that you can’t escape”
Backpack priority (early game)
- Bigger backpacks increase inventory slots and can affect carry weight.
- More slots = more profit per extraction, as long as you don’t get so heavy you can’t move.
Helmet priority (early game)
- Wear a helmet when you can replace it.
- Don’t buy a “luxury” helmet if it prevents you from running a stable kit afterward.
Body armor priority (early game)
- Early armor is about surviving a burst and escaping behind cover.
- Don’t assume armor means you can stand in the open. You still need positioning.
A useful mindset: mobility is a defensive stat. If heavier gear makes you slow, you’ll take more hits you never needed to take.
How to stop going overweight (without “leaving money behind”)
Weight is a silent run-killer. Overweight beginners die because they can’t reposition, can’t sprint, and can’t recover from a bad angle.
Use these fixes:
- Carry fewer “maybe useful” items. If you can’t name the upgrade/quest that needs it, don’t haul it.
- Use your pet inventory for heavy items. It can ignore weight, which is huge for containers and heavy loot.
- Loot by value-per-slot. Ammo stacks, compact valuables, and upgrade materials often beat bulky junk.
- Extract earlier when you hit your profit goal. The heaviest minute of your run is the last one—don’t extend it.
Medical basics: the beginner med kit that saves runs
Most beginner deaths aren’t “instant deletes.” They’re slow collapses: you get hit, you keep moving, you keep bleeding, then you panic.
Your med kit should reflect reality:
- Bandages are essential because bleeding continues to deal damage until treated.
- A basic First Aid Kit gives you a reliable “reset” after small fights.
- If you find specialized anti-bleed solutions later, they can be strong, but your starter plan should always work even without rare items.
Beginner healing rule
If you’re bleeding, fix it first—then decide whether to keep fighting or extract. You can’t out-skill a status effect you refuse to treat.
Food and water: the simplest advantage most beginners ignore
Energy and hydration systems can turn a “fine run” into a collapse if you push too long. The beginner fix is easy:
- Bring a small buffer (the baseline 2 waters + 2 food items works well).
- If you’ve already completed your goal and your resources are dropping, extract instead of gambling.
- Don’t pack so much food/water that you become heavy—you’re carrying insurance, not supplies for a vacation.
Totems and feathers: early power without expensive gear
Totems provide passive bonuses, and you can create them at the Summoning Circle in your bunker using Fading Feathers. Even early on, this matters because certain totem effects can dramatically improve consistency—like survivability boosts or status protection.
A practical beginner plan:
- Pick up feathers regularly.
- Use early totems to support your playstyle: exploration comfort, survivability, or status protection.
Some totem effects can help with issues like bleeding, which is one of the most common early run-killers. Treat totems as “quiet power” that makes budget kits feel stronger.
Attachments and mods: what matters early (and what doesn’t)
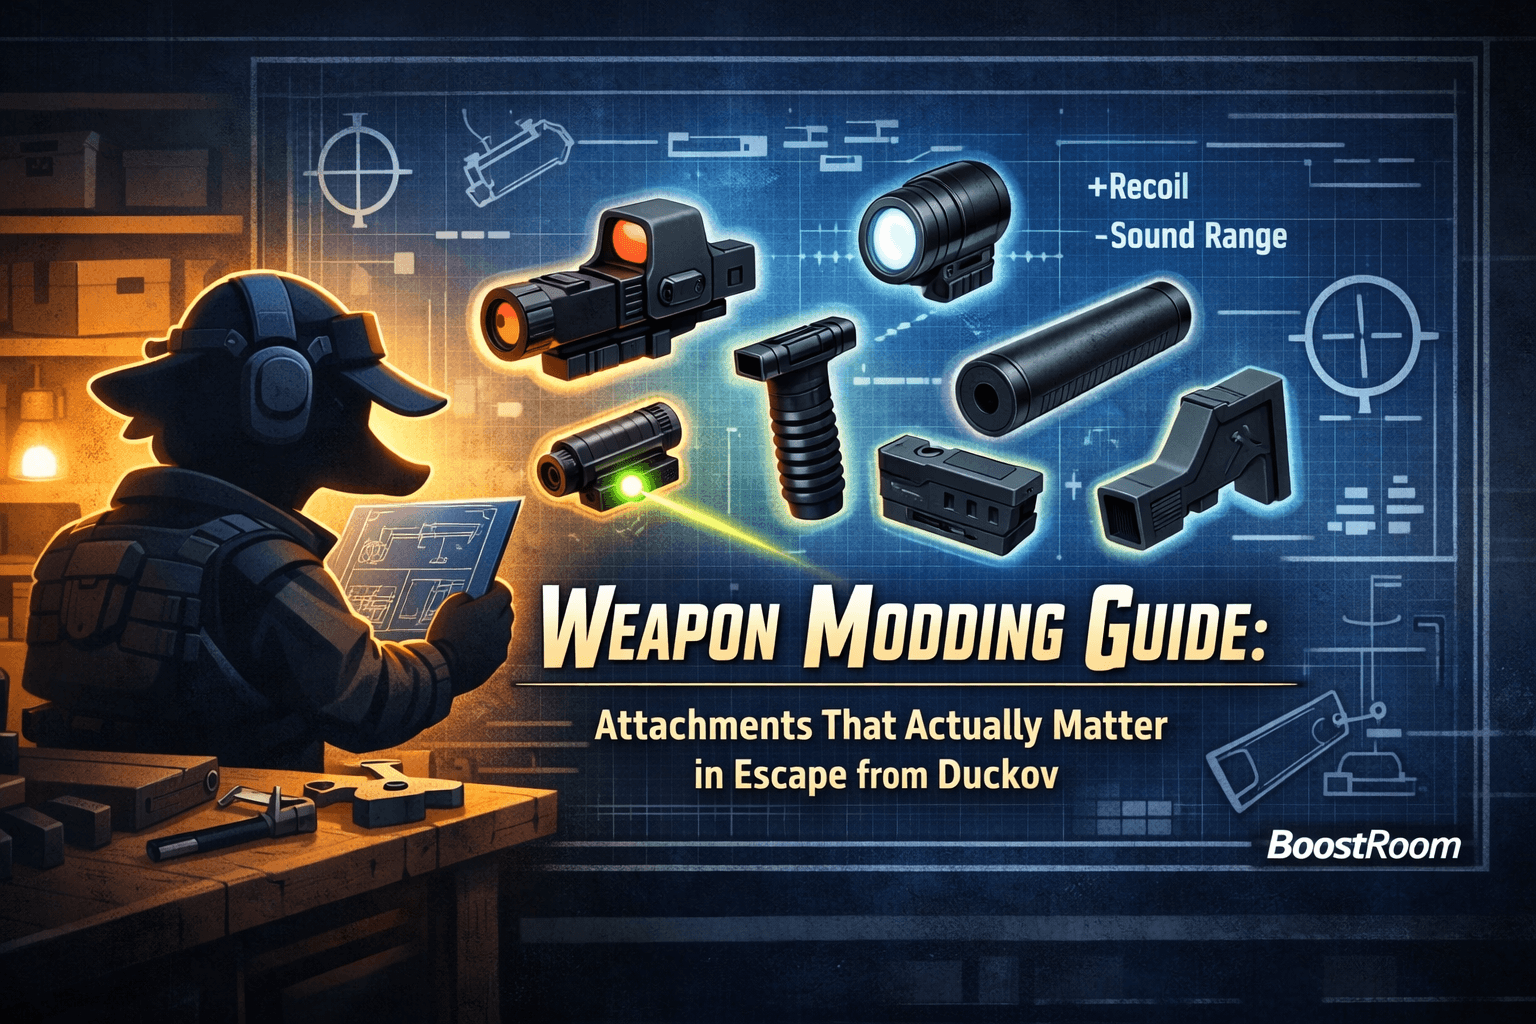
Modding is fun, but beginners often mod themselves into poverty. Early attachments should do one of these:
- improve control
- improve sight/aim clarity
- reduce downtime (like faster handling)
Avoid early “vanity modding” that makes a gun expensive but not meaningfully easier to use. Your best early upgrade is still: extracting more often.
The “sell, keep, or carry” rule for starter kits
Use this rule to keep your stash healthy:
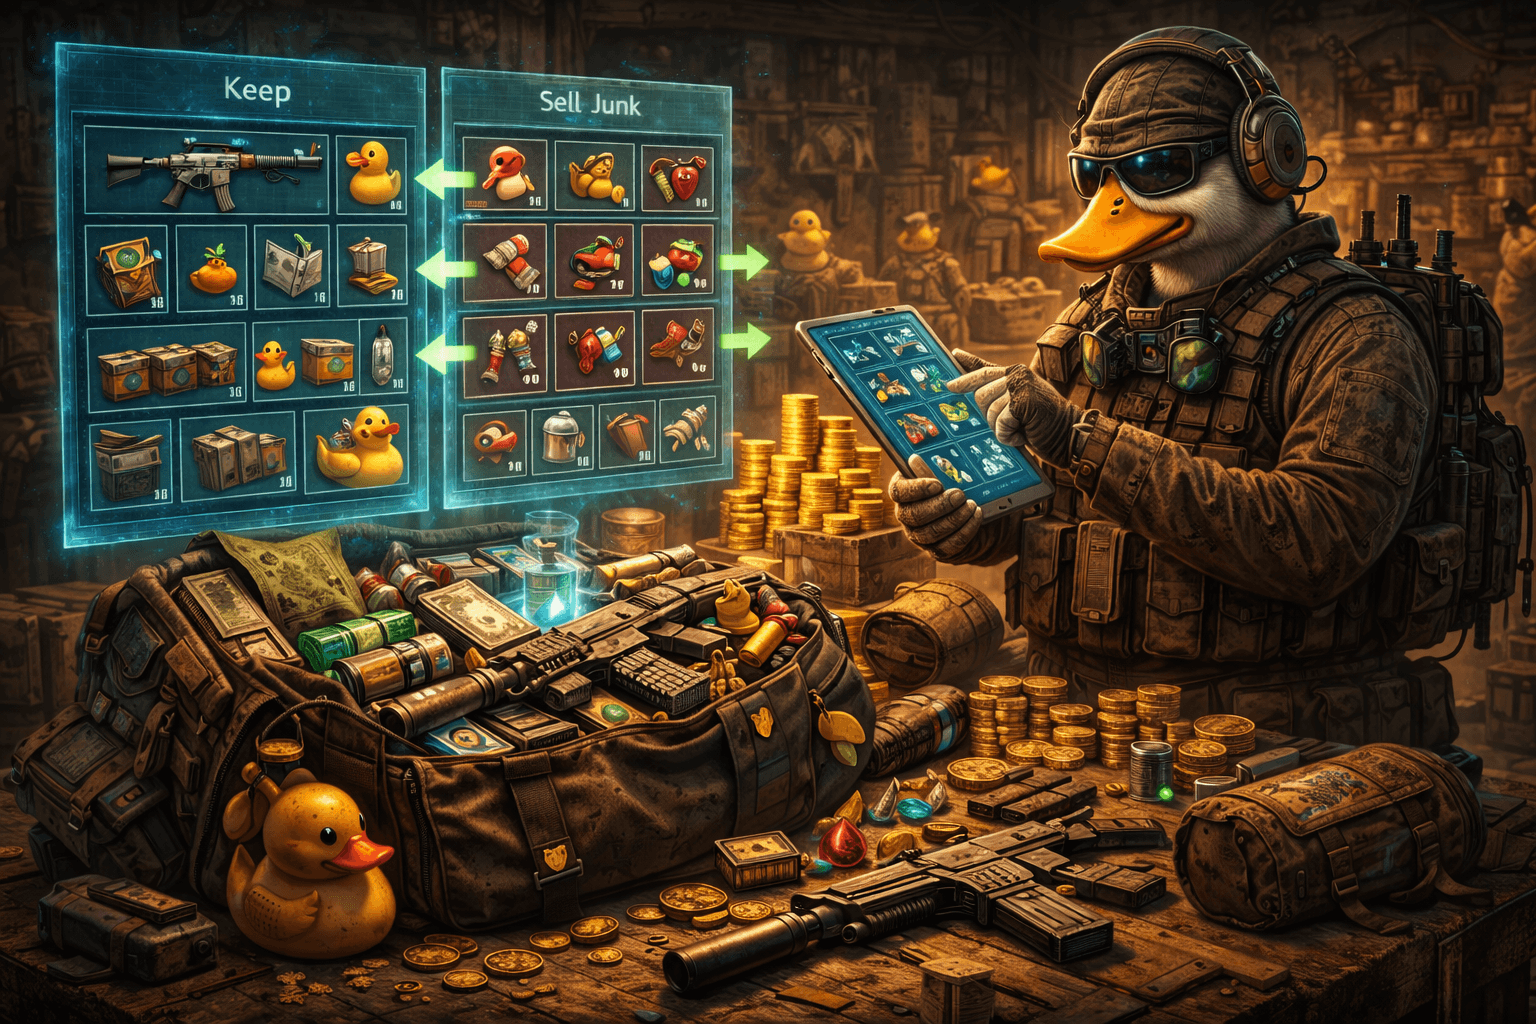
Keep
- items required for bunker upgrades
- items required for quests
- ammo you actually use
- consistent healing and basic survival supplies
Sell
- duplicates you don’t need soon
- bulky low-value items
- weapons you won’t run or can’t feed with ammo
Carry (and protect)
- high-value items you can put on your pet
- heavy items that ruin your mobility if carried normally
- progression-critical loot you can’t afford to lose
This is how you avoid the “I’m broke again” cycle.
Common beginner loadout mistakes (and the quick fixes)
Mistake: One gun, no backup plan
Fix: Always run primary + secondary so a reload doesn’t become a death.
Mistake: Bringing too little healing
Fix: Use the baseline: First Aid Kit + bandages. Bleeding control is crucial early.
Mistake: Mixing ammo types with no reserves
Fix: Carry a small, intentional reserve for each weapon, or choose weapons with shared/common ammo.
Mistake: Packing for every possible scenario
Fix: Pack for the most common scenario: a few fights, some damage, a moderate loot haul, then extract.
Mistake: Getting overweight every raid
Fix: Value-per-slot looting + pet inventory for heavy items + earlier extracts.
Mistake: Spending money to feel safe
Fix: Spend money to be consistent. Consistency becomes safety.
BoostRoom promo
If you want your early game to feel smooth instead of chaotic, BoostRoom helps you build a simple system: budget loadouts that match your playstyle, loot priorities that directly fuel bunker upgrades, and step-by-step progression plans so you always know what to run next. Instead of wasting hours on trial-and-error, BoostRoom focuses on what actually moves your account forward: repeatable extractions, stable income, and smart upgrades.
FAQ
What’s the single best beginner loadout in Escape from Duckov?
A replaceable AR + pistol (or SMG + pistol) setup with a simple medical kit and a small food/water buffer. It’s reliable, flexible, and easy to restock.
How much ammo should I bring as a beginner?
A practical starting point is around 100 rounds total, adjusted based on your weapon type and how fight-heavy your route is. If you’re learning and avoiding fights, you can carry less.
Do I really need bandages?
Yes. Bleeding keeps dealing damage until treated, so bandages prevent slow “avoidable” deaths.
Should I use shotguns early?
Shotguns can be excellent in close quarters, but only if your route and fight style match their range. Pair them with a secondary weapon for mid-range problems.
How do I stop losing valuable items on death?
Use your pet inventory for high-value or heavy items when possible, and extract earlier after finding something important.
Are pistols actually good, or just beginner bait?
They’re genuinely useful for budget runs: cheap ammo, fast handling, and perfect as a backup weapon when your main is empty.
Should I prioritize armor or backpack upgrades first?
For many beginners, a better backpack improves income faster (more slots = more profit), as long as you don’t become overweight. Armor helps, but positioning and mobility still matter more.
When should I switch from S caliber to AR caliber weapons?
When you can reliably stock AR ammo and you want more consistent mid-range performance. Many players treat ARs as the “default reliable” weapon type as they progress.
