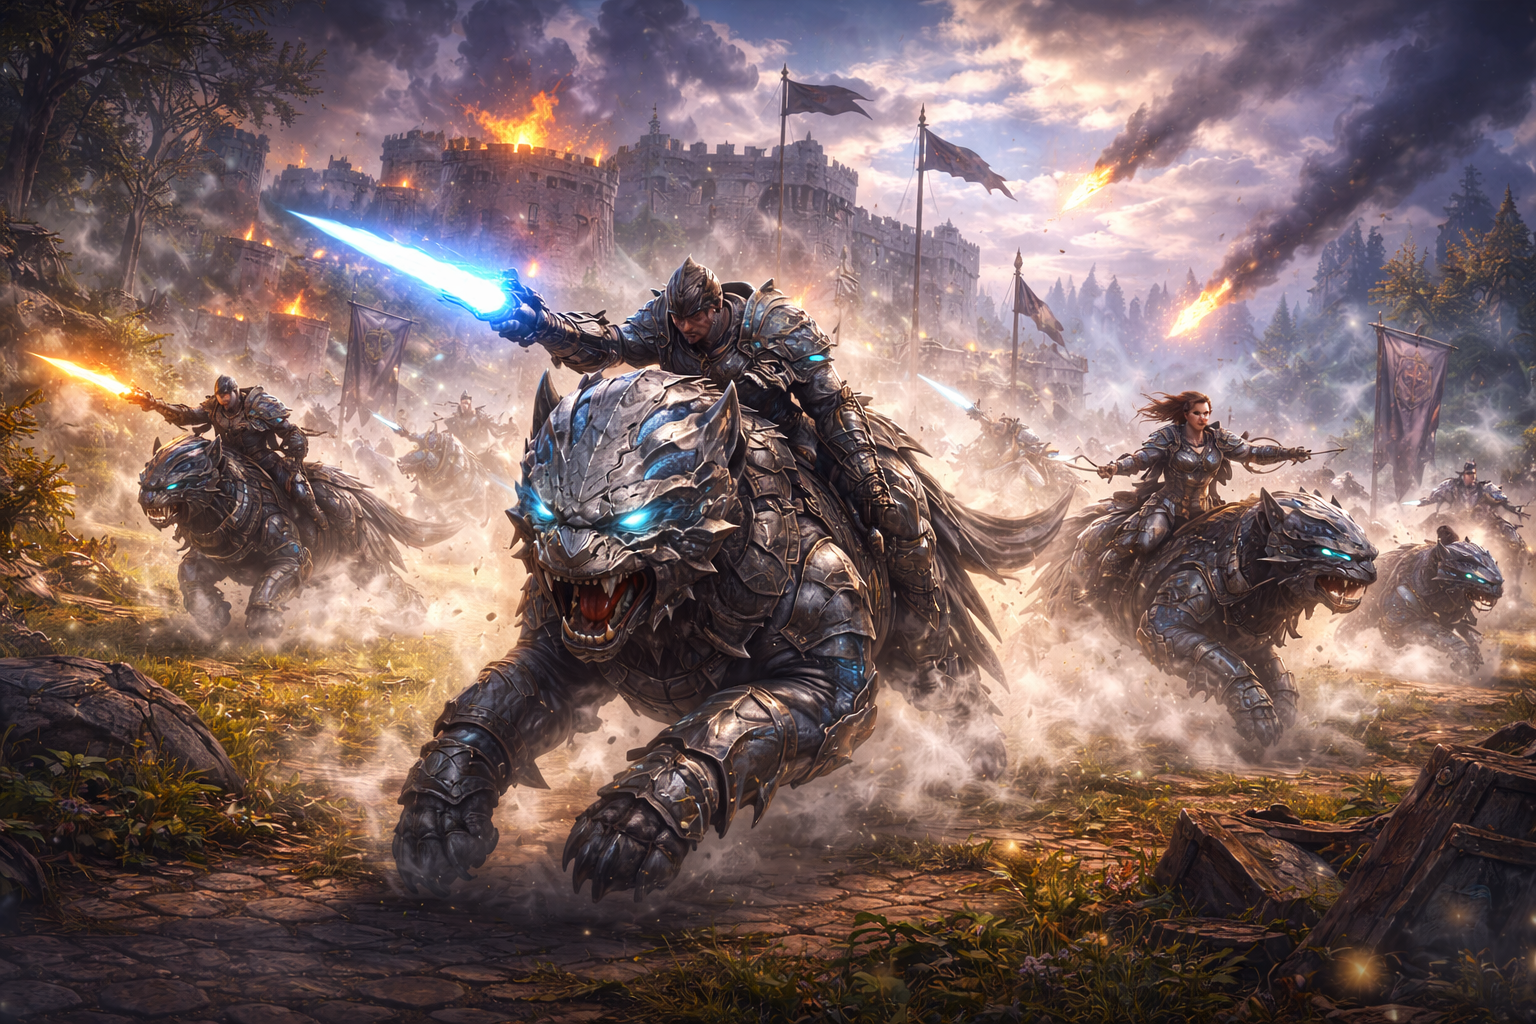
The practical takeaway: you can be a strong WvW Warclaw rider without Janthir Wilds, but Janthir Wilds is what turns Warclaw into a major PvE mount with masteries and a full “journeykin” identity.
2) Learn Warclaw’s real resource: endurance (and why bad riders feel slow)
Warclaw performance is mostly endurance discipline.
- Endurance = your safety, speed, and positioning. You spend it to evade/dash through danger and to keep your tempo when the fight turns messy.
- Bad habit to remove: spending endurance “because it’s there.” If you empty your endurance right before you crest a hill into enemy pressure, you’re dismount food.
- Good habit to build: keep a mental rule like “never drop below one endurance segment unless I’m escaping a lethal spike.”
In WvW, this matters more than any other mount because other players are actively trying to knock you off your ride.
3) Understand the dismount rules (how you lose fights before they start)
Most Warclaw deaths aren’t “I got outplayed on my class.” They’re “I got dismounted poorly.”
Key principles:
- Mounted health is not your health. Your mount can absorb damage and conditions first—then you can be forced off it.
- Forced dismount is a tempo loss. You get knocked down, you lose positioning, you lose initiative, and you often eat follow-up pressure.
- Dismount timing is a skill. Great riders dismount on purpose into advantage; weak riders get dismounted into disadvantage.
Your goal is to make dismounting a decision you control:
- Dismount to start a fight on your terms.
- Dismount to avoid taking a forced dismount in a terrible spot.
- Stay mounted only when it keeps you safe or fast.
4) Build your Warclaw muscle memory: the “3-button loop”
No matter your mode, you want this to be automatic:
- Approach with a plan (where you’ll dismount, where you’ll retreat)
- Keep endurance available (don’t spam movement)
- Commit your dismount cleanly (don’t hesitate and get lanced)
If you only master one thing from this guide, master this loop. Everything else becomes easier.
5) WvW playbook: Roaming (solo or small scale)
Roaming with Warclaw is about choosing fights and controlling distance. Your mount isn’t there to “fight for you”—it’s there to help you start fights you can win and avoid fights you shouldn’t take.
Roaming goal #1: win the “first 3 seconds”
Most roam fights are decided in the opening. Warclaw helps you:
- arrive with cooldowns ready,
- pick a good angle,
- force the other player to react,
- and deny them a free opener on you.
Roaming goal #2: never get dismounted in a dead zone
A dead zone is:
- open field with no cover,
- no friendly structure nearby,
- no line-of-sight escape,
- no terrain break to reset pressure.
If you ride into a dead zone while being chased, you’re giving the enemy a clean dismount into a clean kill.
How to use Lance intelligently (roam)
Lance is a mind game tool, not a spam tool.
- Save it for “commit moments.” If you lance too early, a good rider dodges it and you’ve lost your best mount control.
- Use terrain to make dodging harder. When the enemy must ride through a choke, a bridge, or a narrow slope, their dodge options shrink.
- Use the second charge like a threat. Even if you don’t throw it immediately, the enemy knows they can’t just ride freely without respecting it.
How to use Sniff intelligently (roam)
Sniff’s best use is information:
- check if enemies are close before you dismount into a camp fight,
- confirm whether a nearby structure has a damaged wall/gate worth pressuring,
- and avoid running into a stacked group while you’re alone.
Important mindset: Sniff is for decision-making, not for “finding a stealth player and deleting them.” Treat it like scouting intel.
How to use Battle Maul in roam
Battle Maul is your “commit” dismount tool.
- Use it when you’re confident you can convert the opening into advantage.
- In messy situations, don’t maul just because you reached your target—maul because the target is in a bad position or already pressured.
Roamer’s biggest Warclaw mistake
Dismounting just because you’re “close enough,” then realizing:
- they had backup,
- you’re outnumbered,
- or you dismounted into a defensive cooldown window.
Fix: sniff, scout, look at the minimap, watch movement patterns, then commit.
6) WvW playbook: Zerging (following a commander)
In a zerg, Warclaw is about tempo and discipline. You’re not a lone cat hunter. You’re part of a moving machine.
Zerg rule #1: mount when your commander mounts
If the commander is mounted, being dismounted behind the group is how you get isolated and deleted. Keep up, stay stacked, and don’t ego-chase.
Zerg rule #2: don’t “early maul” into enemy bombs
A common mistake is leaping in too early:
- You dismount in front of your support line,
- You eat crowd control,
- You die before your group’s pressure arrives.
Your job is to be patient:
- Ride with the group.
- Dismount on the call (or when the frontline commits).
- If you don’t have a call, dismount with the bulk of your group, not ahead of it.
Zerg rule #3: endurance is positioning insurance
Your endurance is what lets you:
- cross enemy pressure zones without losing your mount,
- avoid being clipped by random damage,
- and hold your place in the stack.
Spam-dashing because it feels fast often makes you slower—because you get dismounted and then you’re truly slow.
Zerg use of Lance
Lance becomes a utility tool:
- picking off mounted stragglers,
- punishing enemy riders trying to “peek” too close,
- and creating dismount chaos right before a push.
But it must be timed. Throwing lances randomly into the enemy blob usually wastes charges and doesn’t convert into kills.
Zerg use of Sniff
Sniff is underrated in zerg movement:
- it helps identify damaged breach points faster,
- it can confirm which walls are already softened,
- and it supports smarter siege choices.
The best zerg riders use Sniff as a “routing tool,” not a gimmick.
7) WvW playbook: Siege (attack and defense)
Siege is where Warclaw becomes more than movement.
Chain Pull is a siege amplifier, not a siege replacement
Chain Pull shines when:
- you already have rams or player pressure on a gate/wall,
- you want to increase structure damage taken via Warclaw’s siege-weakening effect,
- and your team can afford the supply cost without starving your siege line.
If your group is low on supply, spamming Chain Pull can actively slow your take by delaying ram builds, repairs, and critical siege placements.
How to use Chain Pull efficiently (attack)
- Treat Chain Pull as a coordinated tool, not individual spam.
- Use it when the group has already committed to that target.
- Stack it during the right moment: when you’re confident you can keep pressure on the structure for long enough to convert.
How to use Chain Pull on defense
Defensive Warclaw use is mostly:
- moving quickly between points,
- dismounting to spike attackers,
- and using scouting tools to identify which wall is being pressured.
If your defense is organized, Warclaw helps you respond quickly and deny momentum.
Sniff in siege scenarios
Sniff’s “structure awareness” is most valuable when:
- multiple objectives are being pressured,
- you’re trying to decide whether to commit to a defense,
- or you want to confirm the enemy’s likely breach.
Siege discipline tip
If you’re on Warclaw in a siege situation, decide your job:
- “I’m supplying and scouting,” or
- “I’m dismounting into fights,” or
- “I’m assisting siege pressure.”
Trying to do all three at once is how you end up doing none well.
8) Beyond WvW: Warclaw in PvE (why it’s actually worth using)
In PvE, Warclaw becomes a hybrid of:
- mobility (especially across uneven terrain),
- combat utility (stuns, pulls, knockdowns),
- and exploration upgrades via mastery tiers.
If you have Janthir Wilds, Warclaw is designed to feel like a real open-world companion:
- Chain Pull becomes an enemy pull tool.
- Battle Maul becomes a leap + area impact with a center stun.
- Sniff gains ally enhancement and (with mastery training) treasure detection tied to digging.
- Lance becomes a ranged strike that knocks down targets, and later gets extra control value through mastery upgrades.
Best PvE use cases
- Event tagging without face-pulling: you can hit packs quickly, then dismount into your normal AoE rotation.
- Grouping mobs for faster clears: Chain Pull can help pull enemies together so your AoE hits more targets.
- Breakbar moments: the Warclaw kit has control elements; used properly, it helps you contribute to CC checks without changing your entire build.
- Exploration efficiency: reduced fall damage (and later, no fall damage) plus jump extension makes map traversal smoother—especially in vertical or cliff-heavy areas.
- Safer farming routes: you can move through hostile areas, control a pack, and keep going without constantly swapping mounts.
9) The Warclaw mastery tiers (PvE) and how to use each one
If you train the Janthir Wilds Warclaw mastery line, the tiers aren’t “small bonuses.” They change what you can do with the mount.
Nine Lives (fall safety)
- Practical use: you can take aggressive shortcuts down cliffs without dismounting or swapping to another mount.
- Big advantage: faster route planning—your travel becomes “direct line” instead of “safe path.”
Feline Reflexes (jump extension)
- Practical use: you can correct jumps midair, reach awkward ledges, and cross broken terrain where other mounts feel clunky.
- This mastery is also a quality-of-life upgrade for exploration because it reduces “missed jump frustration.”
Wild Claws (dodge-through damage + endurance interaction)
- Practical use: ride through enemy packs to tag, then recover endurance and keep moving.
- This becomes a rhythm tool: dodge through, tag, reposition, dismount, clean up.
Feral Fury (damage + improved Lance control)
- Practical use: Warclaw becomes more relevant in combat moments, not just travel.
- The important value is control and tempo: your mount skills contribute more meaningfully when you need to stop an enemy, break a bar, or stabilize a chaotic event.
Well Rested (endurance regeneration for all mounts)
- Practical use: every mount you own feels better—more dodges, more movement uptime, more comfort.
- This is one of the few upgrades that pays you back constantly in every PvE map you travel.
10) A simple practice plan (so you stop “thinking” and start executing)
Do this in short sessions. You’ll improve faster than grinding WvW for hours while repeating bad habits.
Drill A: endurance discipline
- Ride point-to-point while keeping at least one endurance segment in reserve.
- Only dash to avoid hazards or when you must keep up with a moving group.
Drill B: clean dismount
- Pick a “dismount spot” before you commit.
- Dismount once, decisively, and immediately enter your combat plan (don’t hesitate).
Drill C: lance timing
- Don’t throw Lance on first sight.
- Wait until the target commits to a line or a choke, then throw.
- If you miss, don’t panic—reset and treat the second charge as a threat tool, not a desperation spam.
Drill D: siege awareness
- Before using Chain Pull, ask: “Is supply needed for rams or repairs right now?”
- Use Chain Pull only when the siege line is stable and your pull will convert into progress.
Loot
Warclaw mastery isn’t just “feels cool.” It converts directly into wins, efficiency, and better rewards.
More fights you choose, fewer fights you’re forced into (WvW)
When you control engagement distance, you:
- pick favorable openings,
- avoid being caught alone,
- and reset more often instead of donating bags to the enemy.
That translates into better participation consistency and smoother sessions.
Faster objective tempo
With modern Warclaw siege interactions (structure highlighting and siege weakening), organized groups make quicker decisions:
- where to hit,
- which breach is actually viable,
- and when to pivot.
Better tempo means more captures per hour.
More survival in chaotic pushes
A disciplined Warclaw rider stays with the commander, holds endurance, and dismounts cleanly. That’s fewer “random deaths,” fewer long walk backs, and more time in the fight.
PvE efficiency that stacks account-wide
If you have the PvE mastery line, Warclaw becomes:
- a reliable map traversal tool,
- a comfort pick for uneven terrain,
- and an exploration mount that reduces fall-risk and missed jumps.
And if you unlock the endurance regeneration mastery, you feel that value constantly on every mount.
Extraction
Extraction is the “take-home system” that turns this guide into repeatable results. Use these as rules of thumb, then refine based on your class, your server matchup, and your preferred content.
Extraction 1: Convert Warclaw into roles, not vibes
Every time you mount, silently pick a role:
- Scout: sniff, check lanes, avoid committing, report or reposition
- Chaser: lance threat, force dismounts, deny escape routes
- Escort: stay with the group, protect supports, dismount on command
- Siege helper: chain pull timing, supply discipline, breach support
- PvE explorer: fall safety, jump extension, route shortcuts
The moment you define your role, your decisions become cleaner.
Extraction 2: The “two distances” rule (keeps you from feeding dismounts)
Always know:
- your safe retreat distance (how far you need to reach cover, allies, or line-of-sight), and
- your commit distance (how close you must be to land your dismount skill cleanly).
If you’re riding in a space where you have neither, you’re gambling.
Extraction 3: Stop treating Lance like damage—treat it like control
The best Lance value is not the hit. It’s what it forces:
- the enemy dodges early and loses endurance,
- the enemy takes a bad line to avoid being hit,
- the enemy dismounts in a terrible spot,
- or the enemy stops chasing because they don’t want to be lanced.
If you chase Lance “hits” like a DPS skill, you’ll throw it into easy dodges and lose the real advantage.
Extraction 4: Siege discipline checklist (attack)
Before you Chain Pull:
- Is there already a plan to breach this wall/gate?
- Are rams built or being built?
- Is supply stable, or are we starving the siege line?
- Can we protect pullers long enough for the effect to matter?
If you can’t answer yes to most of these, Chain Pull is probably wasted.
Extraction 5: Sniff discipline checklist (movement)
Use Sniff when it answers a question:
- “Is this lane safe enough to commit?”
- “Which wall is already damaged?”
- “Should we defend that objective or rotate?”
Don’t use Sniff just because it’s off cooldown—information is only useful when it changes a decision.
Extraction 6: PvE skill conversion (how to make Warclaw matter in open world)
In PvE, your Warclaw skills should lead into your character kit.
A clean flow looks like:
- mount skill to group/stun/knock → dismount → AoE burst → continue event
If you stay mounted too long trying to “fight as a mount,” you usually lose time. Warclaw is your opener and your setup tool—your profession is the finisher.
Extraction 7: The “one mount for the job” mindset
Warclaw doesn’t replace every mount. It becomes your choice when:
- terrain is awkward,
- you want safer vertical shortcuts,
- you want quick combat setup tools,
- or you’re in WvW where it’s the mobility standard.
Use Warclaw because it solves a problem, not because it’s new.
Extraction 8: Build confidence with a simple weekly plan
- 1 session: roam practice (lance timing + safe retreat distance)
- 1 session: zerg discipline (mount with commander + dismount timing)
- 1 session: siege discipline (supply awareness + chain pull timing)
- Optional PvE session: mastery utility (fall shortcuts + jump extension routes)
Four small sessions beat one giant session where you get tilted and stop learning.
Practical Rules
- Your Warclaw power is endurance—protect it like a defensive cooldown.
- Never ride into open ground without a retreat plan.
- Don’t dismount “because close enough”—dismount because you’re committing to advantage.
- In zergs, mount when your commander mounts; don’t drift behind.
- Don’t early-maul into enemy bombs; dismount with your frontline timing.
- Treat Lance as control and threat, not as a damage button.
- Use terrain to make Lance dodges harder: chokes, slopes, bridges, corners.
- Sniff is for decisions; use it when you need information that changes your route.
- Don’t waste Chain Pull when supply is needed for rams, repairs, or critical siege.
- Chain Pull shines when coordinated—solo spam rarely converts efficiently.
- If you’re about to be dismounted in a terrible spot, dismount on purpose into a better one.
- In roam, avoid dead zones; fight near cover, line-of-sight, or friendly space.
- In siege fights, pick a job: supply/scout, fight, or siege assist—don’t do all at once.
- In PvE, Warclaw skills should lead into your profession burst; don’t overstay mounted.
- Use fall safety masteries to take direct routes and save time.
- Use jump extension to reduce “missed jump” downtime and speed up exploration.
- When pressured, keep one endurance segment reserved for emergency evasion.
- If you miss Lance, don’t panic—reset and use the second charge as a threat tool.
- If your Warclaw play is inconsistent, simplify: discipline first, fancy plays later.
- The best Warclaw rider looks boring—because they never get dismounted at the wrong time.
BoostRoom
If you want to level up Warclaw impact without wasting weeks learning through painful losses, BoostRoom helps you build the habits that actually matter in real WvW and PvE play.
BoostRoom can help you with:
- WvW readiness: endurance discipline, dismount timing, lance decision-making, and safe routing so you stop feeding forced dismounts
- Role clarity: roaming vs zerging vs siege responsibilities, plus practical “what should I be doing right now?” rules that stabilize your performance
- Objective efficiency: better supply routes, smarter siege timing, and how to add value even in messy pug groups
- PvE Warclaw mastery value: making Janthir Warclaw skills and masteries feel useful in open world instead of “cool but awkward”
- Confidence building: short practice plans that create measurable improvement fast
The goal isn’t to look flashy—it’s to be the rider who is always in the right place, survives pressure, and helps your group win more often.
FAQ
Do I need Janthir Wilds to use Warclaw in WvW?
No. WvW Warclaw access is tied to owning Heart of Thorns or Path of Fire and spending a World Ability point in the Warclaw track once you enter WvW. Janthir Wilds is for the separate PvE mastery line and the “enhanced” Warclaw experience in PvE maps.
What’s the biggest beginner mistake with Warclaw in WvW?
Burning endurance for no reason, then getting forced dismounted when pressure appears. Always keep endurance in reserve unless you’re escaping a lethal situation.
Does Sniff reveal stealth players?
Sniff is best treated as a scouting and awareness tool. Use it to make routing decisions, not as a guarantee that you can “hard reveal” stealth play.
When should I use Lance?
Use Lance when the target is committed to a line, in a choke, or riding predictably—moments when dodging is harder or more costly. Don’t throw it instantly on sight.
Should I Chain Pull every gate?
No. Chain Pull costs supply and is best used when your siege line is stable and your group is already committed to that breach. If supply is tight, build/maintain siege first.
How do I stop getting dismounted so often in zergs?
Stay mounted with the commander, don’t ride ahead, keep endurance available, and dismount with your frontline timing rather than early.
Is Warclaw good in PvE compared to other mounts?
With Janthir Wilds masteries, Warclaw becomes genuinely strong for uneven terrain, safe vertical shortcuts, and combat setup tools. It won’t replace every mount, but it becomes a “high comfort” pick that stays useful.
