Route Step 1: Choose your support identity (so you’re not trying to do everything at once)
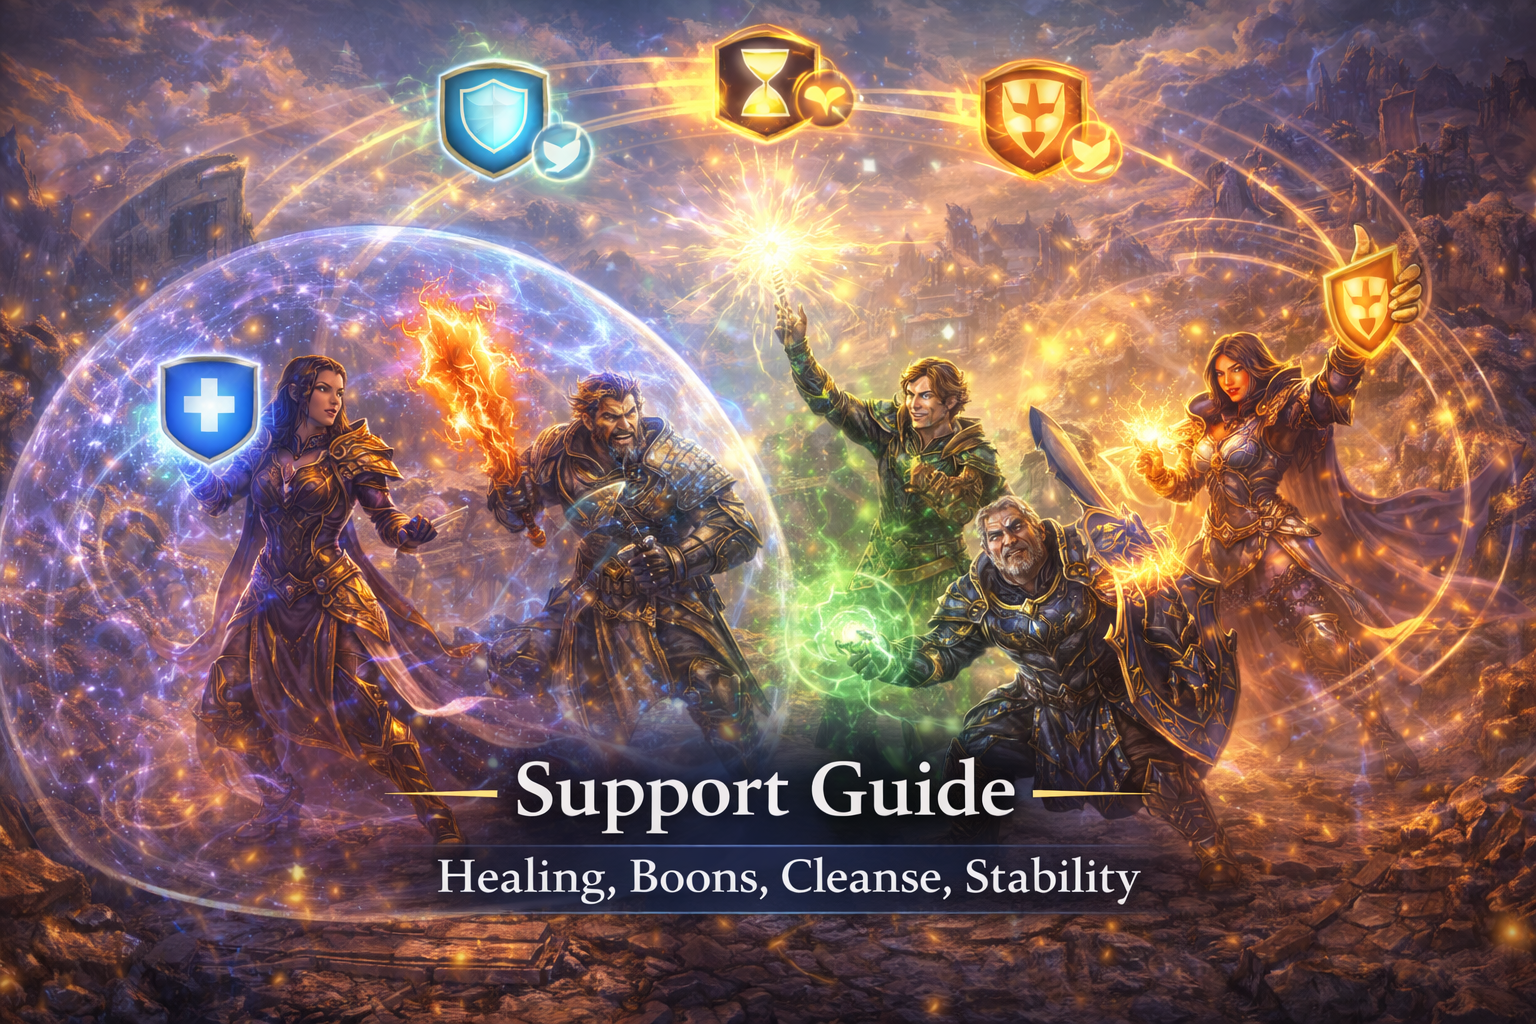
In modern PvE, “support” usually falls into one of these identities:
- Heal Quickness (HQ): healer that also provides quickness to the subgroup
- Heal Alacrity (HA): healer that also provides alacrity to the subgroup
- Quickness DPS (qDPS): damage build that provides quickness
- Alacrity DPS (aDPS): damage build that provides alacrity
- Hybrid/utility support: content-specific (often used when the group wants extra mitigation, revives, boonstrip, or special tools)
Your best beginner choice: pick one of Heal Quickness or Heal Alacrity and commit to it for a while. The easiest supports to improve are the ones with a clear responsibility: “my subgroup always has my key boon and stays alive.”
Route Step 2: Understand the subgroup rule (why your range matters more than your build)
In 10-player content, squads are divided into two subgroups of five because boon distribution is most reliable inside the subgroup. Many supports apply key boons in a radius around them, often prioritizing nearby allies. If your subgroup spreads out, your boons and heals miss—and then everyone’s gameplay feels broken.
Support positioning rule that fixes most problems:
If your subgroup doesn’t have your boons, you don’t need “more rotation.” You need better stacking and faster regrouping.
Your job is to make “standing near you” feel rewarding:
- stable boons
- steady healing
- emergency saves when things go wrong
Route Step 3: Build your “Boon Engine” first (the non-negotiables)
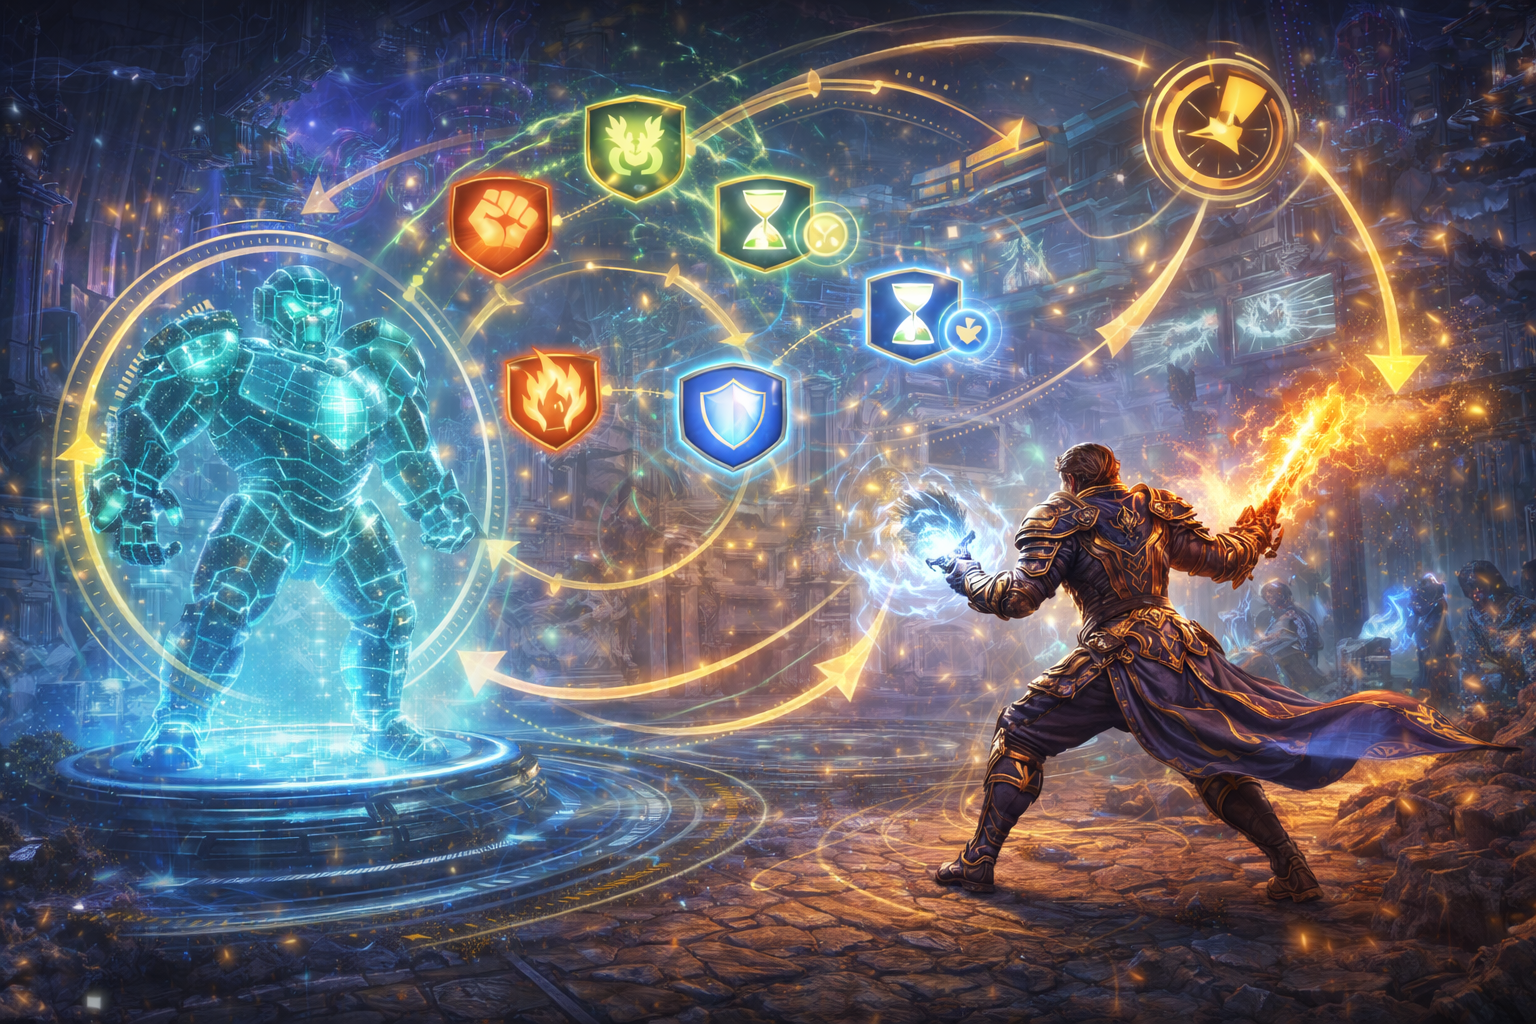
Support success is mostly about boon uptime, not heroic clutch healing. The core PvE boon engine looks like this:
Offensive engine (makes kills faster)
- Quickness: faster actions and animations
- Alacrity: shorter cooldowns
- Might (ideally 25 stacks): big offensive stat boost
- Fury: critical chance increase (huge for power builds)
- Vulnerability on the boss: usually covered by the team, but supports often contribute
Defensive engine (makes runs stable)
- Protection: reduces incoming strike damage
- Resolution: reduces incoming condition damage
- Regeneration: passive healing over time
- Vigor: more dodges over time
- Aegis/Stability: prevention tools, used intentionally
Your first goal as support:
Keep your key boon (quickness or alacrity) close to permanent on your subgroup during “normal” phases. If you can do that while staying alive, you’re already group-ready.
Route Step 4: Learn boon duration in one sentence (so your uptime stops feeling random)
Most boons stack by duration, meaning additional applications add time to the same boon rather than making it stronger. To maintain near-permanent uptime, you need enough boon duration (often from concentration) so your boon applications cover the gaps created by movement and mechanics.
Practical boon duration mindset:
You’re not trying to hit a magic number—you’re trying to create breathing room so your boon engine survives real fights.
If your boon drops every time the team spreads, you need either:
- better positioning and regroup timing, or
- more breathing room (duration/overcap), or
- a cleaner “maintenance loop” (your minimal skill pattern that refreshes boons reliably)
Route Step 5: Healing is rhythm, not panic (how good healers actually heal)
Most players who struggle on healer are either:
- overhealing constantly (wasting cooldowns and energy), or
- underhealing until panic (then they dump everything at once)
Good healing looks boring on the surface because it’s consistent.
The Support Healing Rhythm
- Maintain: small, frequent healing and regeneration to keep the group stable
- Spike: use burst heals only for real danger windows
- Recover: after a hit, stabilize quickly without emptying every cooldown
- Prepare: pre-cast protection, aegis, or barrier before predictable damage
- Reset: return to your normal rhythm once the danger passes
Support is like steering a car: constant small adjustments beat slamming the wheel.
Route Step 6: Cleanse has rules (and you win by timing, not spamming)
Condition pressure in GW2 is designed to punish random play. Cleanse is one of your strongest tools—but only if you respect two important truths:
- A cleanse removes a condition type, not “a little bit of damage.”
- If you remove bleeding, you remove that whole stack (which can be huge).
- Generic cleanse removes the most recently applied conditions first.
- This creates strategy:
- In PvE, many dangerous conditions are applied in bursts—your cleanse timing matters.
- In competitive modes, players “cover” important conditions with junk ones. (Even if you don’t play competitive, understanding this helps you predict why some cleanses feel “wasted.”)
Cleanse timing rule for PvE supports:
Don’t cleanse on cooldown unless the fight demands it. Cleanse when:
- a known condition burst hits
- the party is about to take follow-up damage
- the condition would force people to stop DPS (cripple/immob/slows that break positioning)
- the condition threatens downs (heavy burning/torment/poison stacks)
Route Step 7: Stability and Aegis are not “buffs”—they are answers
These two tools are why great supports feel like guardians of reality.
Stability
- Stacks in intensity (multiple stacks exist at once)
- Prevents control effects from disrupting the party
- Each incoming control effect typically consumes a stack
- Best used right before known CC, knockbacks, pulls, fears, launch chains
Aegis
- Blocks the next incoming attack
- Best used right before a heavy single hit (or a mechanic that applies a scary effect on hit)
- Can be wasted by small multi-hit “chip” attacks, so timing matters
Support secret:
If you use stability/aegis reactively after the party is already disrupted, you’re late. The power is in being early.
Route Step 8: Your “support rotation” is two loops: maintenance and moments
Support gameplay becomes easy when you stop thinking of it as one long rotation.
Loop A: Maintenance (what you do most of the time)
- Keep your key boon active
- Maintain regen/protection if your build supplies them naturally
- Provide might/fury through your normal pattern
- Heal lightly to keep the group stable
- Stay positioned so your subgroup receives everything
Loop B: Moments (what you do on purpose)
- Burst heal windows
- Cleanse windows
- Stability/aegis windows
- Emergency revive or barrier window
- Utility swaps used to solve encounter-specific mechanics
If you can separate “maintenance” from “moments,” you stop feeling overwhelmed and start feeling in control.
Route Step 9: Learn what groups expect in 5-player vs 10-player content
In 5-player content (fractals, small instances):
A common expectation is that the group has both quickness and alacrity covered, plus enough healing/mitigation to survive mistakes.
In 10-player content (strikes, raids):
Each subgroup usually wants:
- one healer providing either quickness or alacrity
- a boon DPS providing the opposite boon
- three DPS
You don’t need to memorize every meta composition. You need to know what you are providing and keep it stable.
Route Step 10: Your first support checklist (use this every run)
Before you start a fight, ask:
- Am I the quickness provider or alacrity provider?
- Do I know my “maintenance loop” that keeps it up?
- Do I know which mechanic window needs stability?
- Do I know when condition pressure spikes?
- Do I have at least one emergency tool ready (big heal, barrier, aegis, stability, revive support)?
- Am I standing where my subgroup can actually receive my boons?
If you can answer those six questions, you’re already a dependable support.
Loot
Support has “loot,” but it’s not only gold. Your reward is that you control outcomes: faster clears, fewer wipes, smoother groups, and a reputation that gets you invited again.
Loot 1: Your party’s DPS becomes real DPS
A lot of players think their DPS is “their build.” In reality, their DPS is their build plus boons. When you keep quickness and alacrity stable, you unlock your team’s actual performance. Rotations feel smooth. Cooldowns line up. Burst windows hit harder.
That’s why groups love stable supports: you don’t just heal—you make everyone stronger.
Loot 2: You erase the most common wipe causes
Most wipes in casual to mid-level groups happen from:
- chain CC (no stability)
- big predictable hits (no aegis/mitigation)
- condition spikes (late cleanse)
- panic spreads (boons drop, healing misses)
A good support prevents wipe causes before they happen. This makes content feel “easy,” even when the party is not perfect.
Loot 3: Support builds scale with knowledge, not gear
DPS often scales with gear and execution. Support scales massively with timing:
- using stability right before CC
- using aegis right before the heavy hit
- cleansing right after the spike
- pre-healing before damage
- positioning so boons never drop
That means support is one of the most rewarding roles for improving as a player. You feel your progress quickly.
Loot 4: You become the player people message
In GW2’s social ecosystem, good supports are always in demand. If you’re reliable, groups remember you. That translates into:
- faster group formation
- fewer toxic runs
- more “same group again” invites
- easier access to higher-tier content
Loot 5: Your account progression gets easier
Support play pushes you into content that rewards well:
- fractals for consistent daily value
- strikes for weekly rewards
- raids for long-term progression and achievements
- metas become smoother because you understand boon engines and positioning
Even if you started support “to help friends,” it often becomes one of the best ways to learn the whole game.
Extraction
Extraction is how you turn “I can play support” into “I can carry runs.” This section gives you systems—small rules you repeat—so your performance becomes consistent across random groups and different encounters.
Extraction 1: Build your support like a machine: reliability first
Support gear and traits should prioritize:
- boon uptime consistency
- healing throughput that matches the content
- survivability (if you die, the run collapses)
- utility access (stability, aegis, cleanse, CC)
A support that does slightly less healing but never drops key boons is often stronger than a support that can heal huge numbers but loses quickness/alacrity whenever the party moves.
Extraction 2: Learn boon uptime math in a practical way
You don’t need spreadsheets. You need one habit:
Check your key boon timer often.
If it’s falling under “comfortable” duration (for example, you see it at 1–3 seconds repeatedly), you’re playing on a knife edge. Any mechanic will drop it.
To fix knife-edge uptime, you can:
- tighten your maintenance loop
- add a small amount of boon duration
- position better so your boon application hits all allies
- avoid “over-saving” your boon skills until it’s too late
Extraction 3: Support is pre-emptive—build a timeline
Every encounter has a rhythm. Even without memorizing guides, you can build a simple timeline after 2–3 attempts:
- When does the first big hit happen?
- When does the first breakbar happen?
- When does condition pressure spike?
- When do people get forced to spread?
- When do adds spawn and cause chaos?
Now assign your support tools:
- stability right before the CC moment
- aegis right before the big hit
- cleanse right after the condition spike
- burst heal during the damage window
- re-stabilize boons right after a spread mechanic
This makes you feel “psychic” to your team.
Extraction 4: Your cleanse kit should have layers
A clean support build usually has:
- light cleanse that happens naturally during maintenance
- medium cleanse you can use often when pressure starts
- heavy cleanse reserved for the real spike or emergency
If you only have one cleanse button and you press it randomly, you will lose runs to condition bursts that hit right after your cleanse goes on cooldown.
Extraction 5: Understand the difference between healing, barrier, and prevention
Support isn’t just green numbers.
- Healing restores missing health after damage
- Barrier prevents health loss by adding a temporary shield layer
- Prevention stops damage or disruption entirely (aegis, stability, blocks, reflects, protection)
The safest parties are usually the ones with strong prevention, because prevention reduces panic:
- fewer downs
- fewer emergency revives
- fewer wasted DPS windows
When you have prevention, your healing becomes simpler.
Extraction 6: Stability and aegis timing drills (how to actually get good at them)
If you want to level up fast, practice these drills:
Stability drill:
- Identify one predictable CC moment in your content (fractals, a strike boss, a raid mechanic).
- Start casting stability slightly early until you consistently cover it.
- Adjust earlier/later until it feels perfect.
- Now you “own” that mechanic forever.
Aegis drill:
- Identify one heavy single hit.
- Apply aegis before it lands.
- Notice what wastes it (small hits) and adjust your timing.
Two drills, repeated across fights, turns you into a support people trust.
Extraction 7: Build a “utility swap” habit
The best supports don’t run the same utilities every fight. They run:
- one or two “always good” utility skills for their build identity
- one or two flexible slots that change based on encounter needs
Examples of encounter needs:
- projectile heavy → reflects/blocks
- lots of CC → extra stability
- heavy conditions → more cleanse or resistance tools
- frequent breakbars → extra CC
- chaos add waves → pulls, immobilize, or control tools
- “people keep going down” → stronger revive tools or barrier
Your flexible slot habit is what separates “healer” from “support.”
Extraction 8: Support performance is mostly positioning
If you want the simplest high-impact improvement:
- Stay close enough to hit your subgroup with boons
- Move with the stack
- When mechanics force spread, return quickly
- Don’t chase one player into the corner and abandon the other four
Support isn’t about saving one person heroically. It’s about keeping five people stable consistently.
Extraction 9: How to evaluate yourself without stress
If you use any kind of combat feedback (even just your own observation), focus on these three metrics:
- Did my subgroup have my key boon almost all the time?
- Did anyone die because I was late on a predictable moment?
- Did I waste my biggest tools on low danger moments?
Fixing just one of these per week makes you noticeably better.
Extraction 10: The “calm support” mindset
Support feels hard when you play scared. Calm support is:
- maintenance loop first
- save big tools for big moments
- predict instead of react
- position like a lighthouse
If you feel overwhelmed, you’re probably trying to solve everything at once. Go back to the route: uptime, then boons, then healing rhythm, then cleanse timing, then stability moments.
Practical Rules
- Your first job is uptime: be alive, be in range, be consistent.
- Commit to one support identity (heal quick or heal alac) before branching out.
- Build a maintenance loop that sustains your key boon without thinking.
- If boons drop, fix positioning and regroup speed before changing your build.
- Most boons stack by duration; stability stacks by intensity—treat them differently.
- Don’t spam stability. Use it for predictable CC windows.
- Don’t spam aegis. Use it for heavy hits or scary “on hit” mechanics.
- Healing is rhythm: small steady healing first, big heals on purpose.
- Cleansing removes recent conditions first—timing matters more than quantity.
- Keep layered cleanse: light/medium/heavy instead of one panic button.
- Prevention is stronger than recovery: protection, resolution, aegis, stability reduce panic and downs.
- Always bring meaningful CC; breaking bars often prevents damage and speeds clears.
- Use flexible utility slots—don’t run the same setup into every encounter.
- If the group spreads, your job is to re-stack the subgroup, not chase one player.
- Pre-cast mitigation before predictable damage; reactive support is often too late.
- If people keep dying to the same moment, that moment is your new “support checkpoint.”
- Keep your own survivability high; dead support is a wipe magnet.
- Don’t judge your value by heal numbers alone—boon uptime and prevention are the real win conditions.
- Communicate simply: “I’m heal quick” or “I’m heal alac,” and call stability moments if needed.
- Improve one skill per week: boon uptime, cleanse timing, aegis timing, stability timing, or positioning.
BoostRoom
If you want to become a genuinely trusted support—without spending weeks guessing—BoostRoom helps you turn support theory into clean, repeatable gameplay.
What BoostRoom can do for your support journey:
- Role selection that fits your goals: heal quick vs heal alac vs boon DPS, based on what content you actually run
- Boon uptime tuning: get your key boon stable even when fights force movement and spread mechanics
- Cleanse and stability planning: learn exactly when to press your “moment” tools so you prevent wipe situations
- Utility swap coaching: build a flexible toolkit so you can solve encounter problems instead of hoping the party survives them
- Confidence practice plan: short drills that improve positioning, timing, and calm decision-making fast
The end result is simple: you join groups, your subgroup feels safe and fast, and your runs become smoother immediately.
FAQ
What’s the difference between “healer” and “support” in GW2?
A healer focuses mainly on restoring health. A support focuses on health plus boons, cleanse, stability, aegis, mitigation, and utility that prevents wipe moments. In most organized PvE, the best “healers” are actually full supports.
Do I need to provide quickness or alacrity to be a real support?
In most organized 5-player and 10-player PvE, providing one of the two is strongly preferred because quickness and alacrity are central to party performance. Some niche supports can work without them, but they’re less common and more encounter-dependent.
How much boon duration do I need?
Enough that your key boon uptime stays comfortable even when the group moves. If your key boon drops every time mechanics happen, you either need better positioning, a tighter maintenance loop, or more boon duration breathing room.
Why does my party still die even when I’m healing a lot?
Because healing is not prevention. Many deaths happen from chain CC, heavy hits, or condition spikes. Adding stability, aegis, protection, resolution, and well-timed cleanse often solves the problem more than “bigger heals.”
When should I cleanse conditions?
Cleanse when the fight applies a condition spike, when conditions will force players off the boss, or when conditions threaten downs. Random cleanse on cooldown can leave you empty when the real spike arrives.
How does condition removal order work?
Generic condition removal usually removes the most recently applied conditions first. That’s why cleanse timing matters: cleansing immediately after a spike is often stronger than cleansing too early.
What’s the best way to learn stability timing?
Pick one encounter and one predictable CC moment. Use stability slightly early until you consistently cover it, then refine. Once you “own” one stability checkpoint, you can repeat the same learning process across other fights.
Is aegis always good?
Aegis is incredible when timed for a heavy hit, but it can be wasted by small multi-hit attacks. The skill is learning when the next meaningful hit is coming.
Do supports need to do DPS?
