Step 1: Lock in one build and stop “build hopping” for two weeks
Most DPS plateaus come from changing too many variables at once. For two weeks, choose:
- One build (traits, gear, runes, sigils)
- One weapon set setup (including swap habits)
- One food + utility habit (even if it’s budget)
- One role expectation (pure DPS vs boon DPS)
Your reward is clarity. When your DPS changes, you’ll know why.
How to pick the build (fast decision)
- If you’re new to endgame: pick a build known for forgiving rotation and good sustained damage.
- If you’re doing fractals: consider a build that can burst quickly and adapt to short phases.
- If you’re doing strikes/raids: consistent boon-friendly sustained builds often feel better.
You don’t need “the best DPS class.” You need “the build you can execute under pressure.”
Step 2: Set up the Special Forces Training Area correctly (so practice is honest)
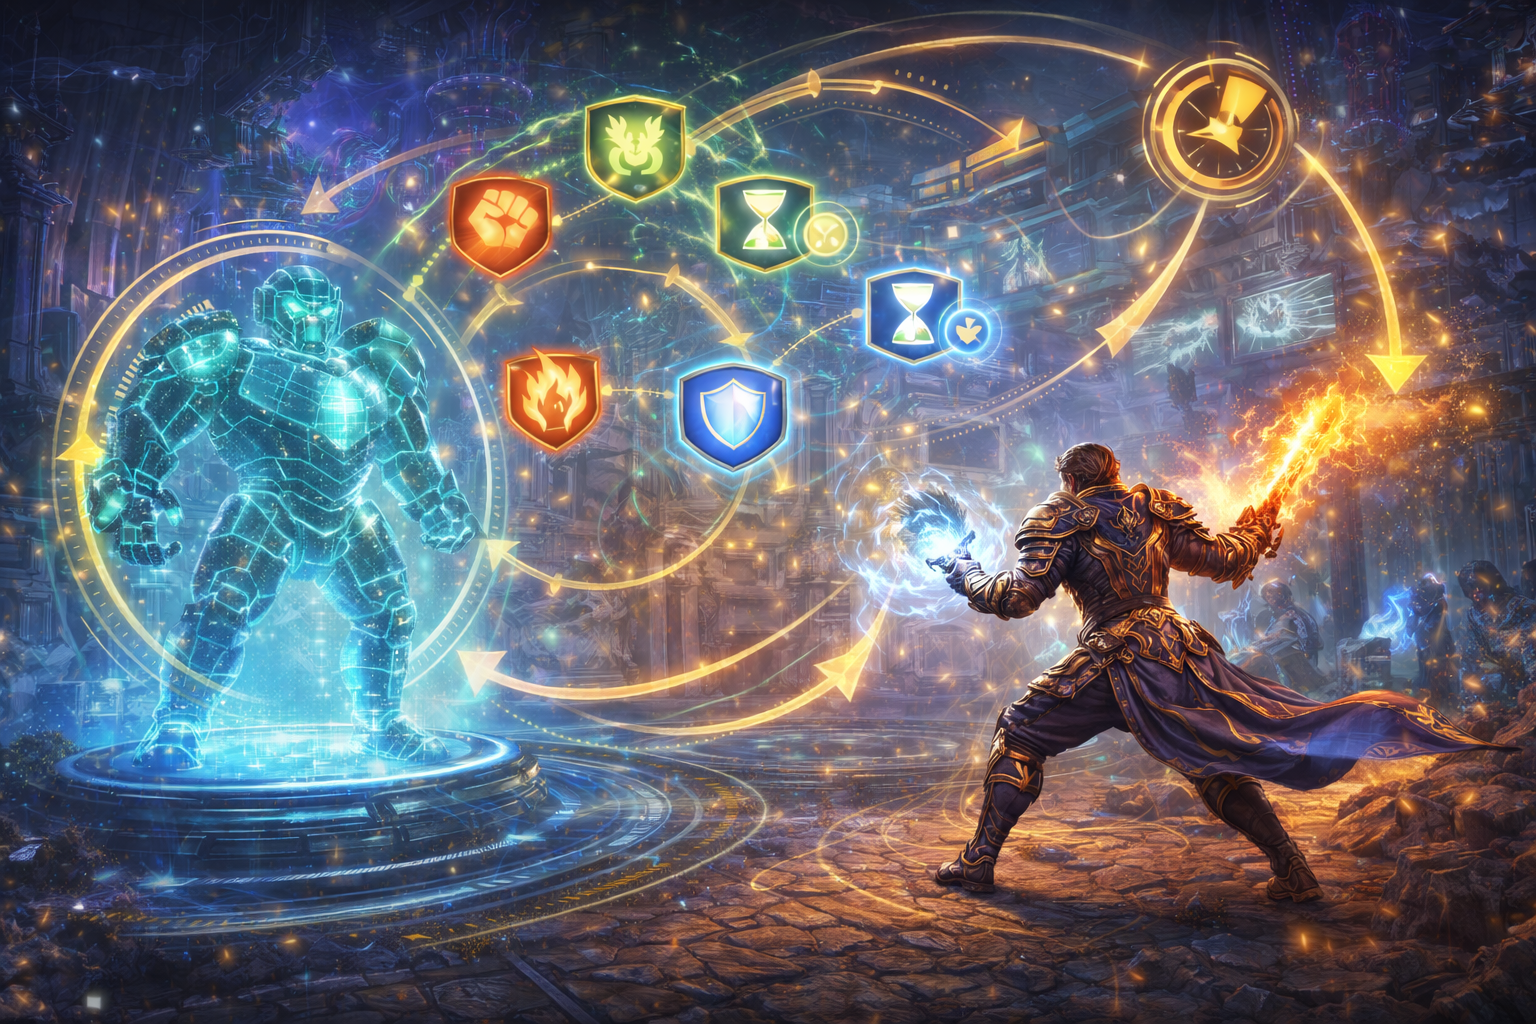
Practice is only useful if your test conditions resemble a real group. The Special Forces Training Area in Lion’s Arch Aerodrome lets you apply boons to yourself and conditions to the golem so you can test properly.
The golem setup that matches common benchmark standards
Use an Average hitbox golem with 4,000,000 health. This matches how many benchmarks are tested and gives you enough time to run a full rotation cycle.
Apply these self boons (so your rotation behaves like group PvE)
A “competent squad” baseline often assumes access to a broad boon package. In the training area, you can apply a realistic set that covers offensive, defensive, and utility boons:
- Offensive: Might (25 stacks), Fury
- Defensive: Protection, Resolution, Aegis
- Utility: Alacrity, Quickness, Regeneration, Swiftness, Vigor
Why this matters: many builds are tuned around quickness/alacrity timing, and many traits scale with boon presence. If you practice with no boons, you’re training a different game.
Apply these golem conditions (so your damage modifiers behave realistically)
A common “10 conditions on boss” baseline includes:
- Damage over time: Bleeding, Burning, Confusion, Poison, Torment
- Mobility-affecting: Chill, Cripple
- Combat-affecting: Slow, Weakness, Vulnerability (25 stacks)
Why this matters: many builds gain damage from enemy condition state (or from traits interacting with conditions), and vulnerability is a huge universal amplifier.
Important adjustment if your class accidentally applies an extra condition
Some builds naturally add an extra condition (for example, accidental immobilize). If your benchmark standard expects a certain condition count, swap one condition in the console so the total stays consistent with what your build realistically contributes.
Practice rule that prevents fake results
Only start attacking when you’re fully ready. If you accidentally enter combat early, your DPS readout gets dragged down by “standing around time.”
Step 3: Understand what DPS really is (so you stop chasing the wrong fix)
Your DPS is not just “damage stat.” It’s a product of multipliers:
DPS = (correct skills) × (boon uptime) × (target uptime) × (fight awareness)
Here are the biggest real-world multipliers that decide whether you do “benchmark-ish” DPS or “half of it”:
- Might: at level 80, each stack adds 30 power and 30 condition damage, up to 25 stacks. That’s a massive offensive stat injection.
- Fury: adds 25% critical chance in PvE, which turns many power builds from “inconsistent” into “stable.”
- Alacrity: increases skill recharge rate by 25% (skills recharge in 80% of original time), which reshapes rotations and increases how often you can use your highest-value skills.
- Vulnerability: increases damage taken by 1% per stack, up to 25 stacks. A boss with 25 vulnerability takes 25% more strike and condition damage.
If your group is missing these, your DPS will be missing too—even with perfect button presses.
Step 4: Turn your “rotation” into 3 layers (so it survives mechanics)
A rotation that only works on a stationary target isn’t a rotation—it’s a script. Real fights require a rotation that can bend without breaking. The easiest way to build that is to split your rotation into three layers:
Layer A: Your “must-cast” skills (highest value, highest priority)
These are your biggest damage buttons, typically:
- Your key burst skills
- Your strongest damage-over-time application
- Your “mode” skill (shroud/kit/attunement/virtue/legend loop)
- Your key weapon swap skills (if relevant)
If mechanics interrupt you, you protect Layer A first.
Layer B: Your “filler” skills (keeps damage flowing)
These are the medium-value skills that fill gaps while waiting for Layer A to come back. This is where many players lose DPS by hesitating or overthinking.
Layer C: Your “mobility and safety” skills (so you keep uptime)
These are movement tools, blocks, invulns, instant casts, and anything that keeps you alive without turning off damage. The goal is to solve mechanics with Layer C whenever possible.
Practical payoff:
When the boss moves or a mechanic hits, you don’t panic. You simply:
- keep Layer A on schedule
- fill with Layer B
- solve with Layer C instead of stopping
Step 5: Learn the two DPS skills that beat “perfect rotation”
Skill 1: Pre-planning phases (burst windows)
Many bosses have short burn windows, invulnerability phases, or forced movement moments. If you start your long “golem opener” right before the boss phases, you’ll miss your best damage skills.
Instead, build the habit of asking:
- “How long do I realistically have on target before it phases?”
- “Should I use my burst now or hold 3 seconds for the real window?”
- “What’s my ‘short opener’ if the phase is brief?”
This is why experienced players can “freestyle” and still do high DPS: they’re timing their big skills for the fight, not for a video.
Skill 2: Staying in boon range (position discipline)
Many boon applications are radius-based and require you to stay near your subgroup. If you drift away, you lose quickness/alacrity, and your rotation collapses.
A huge percentage of DPS loss in real logs comes from:
- “my boons dropped because I was out of range”
- “I chased a mechanic too far”
- “I played ranged when I didn’t need to”
Your first positioning goal is not “avoid damage.” It’s stay in boon range while avoiding damage.
Step 6: Practice the right way (the 20–5–2 method)
If you practice until your hands hurt and your brain is mush, you’re training bad habits. Use this method:
20 minutes: focused reps
Pick one specific goal per session:
- “Clean opener timing”
- “Weapon swap timing”
- “Never drop my main buff/stance”
- “Keep damage while moving” (use movement practice)
5 minutes: review
Look at what actually happened:
- Did you miss casts?
- Did you delay your highest-value skill?
- Did your boons drop?
- Did you interrupt your auto chain too often?
2 minutes: adjust and retry
Change one thing and run again.
This keeps your practice honest and efficient.
Step 7: Add “mechanics pressure” to golem practice (so it transfers to fights)
A stationary golem teaches you rotation, not combat. To teach uptime and mechanics:
- Practice while strafing around the golem (simulate moving boss)
- Practice with forced movement intervals (every 10 seconds, move 600–900 range, then return)
- Practice with interruption drills (simulate being knocked back by intentionally stopping, then restarting cleanly)
- If you’re a build with ground-target skills, practice fast placement without misfires
Your goal is to make “move + keep casting” feel normal.
Step 8: Learn breakbars and why CC is DPS
In many fights, breaking the defiance bar doesn’t just “help the team.” It creates massive damage advantage windows—especially in fractals, where Exposed can increase incoming damage for a set duration.
Practical DPS mindset:
- You are not “wasting time” using crowd control.
- You are buying a window where the whole team hits harder.
- Your job is to bring enough CC to contribute meaningfully without gutting your rotation.
A clean approach:
- Identify your two best CC skills and memorize their cooldowns.
- Save them for breakbars unless the fight requires frequent CC.
- Learn which CC skills are instant/low-disruption so you can use them without killing your damage flow.
Step 9: Use logs to find the real problem (not the emotional problem)
Players usually guess wrong about why their DPS is low. Logs tell you the truth.
If you use ArcDPS, you can:
- see boon uptime on yourself
- see your cast timeline
- see whether you’re missing key skills
- see how often you were not hitting the boss
The best first three checks (in order)
- Boon uptime: Were you missing quickness/alacrity/might/fury?
- Skill usage: Did you actually cast your top damage skills on cooldown?
- Uptime: Were you off-target, downed, running, or doing mechanics far away?
Most DPS problems are solved by fixing one of those three, not by changing gear.
Step 10: Build your “fight-ready rotation” (a rotation that doesn’t fall apart)
Once you understand Layer A/B/C, write your rotation as rules, not as a script:
Example structure (adapt to your class):
- “Always keep my mode/buff active.”
- “Use my #1 burst skill on cooldown unless boss will phase in <3 seconds.”
- “If forced to move, swap to my mobile filler and return quickly.”
- “If breakbar appears, use CC skill X then Y, then resume.”
- “If boons drop, stack back in range before continuing the loop.”
This is what real performance looks like: not memorization, but decision-making that keeps damage high.
Loot
Better DPS is not just ego. It converts into real account value because GW2 rewards speed, consistency, and successful clears.
More clears per hour (the obvious one)
- Faster fractal runs
- Cleaner strike clears
- More bosses per session
- More time left for gold-making or progression
Fewer wipes (the hidden one)
Wipes are a double loss: you lose time and you lose morale. Strong DPS shortens dangerous phases and reduces how long your group must survive pressure mechanics.
Better group invites (the social loot)
When you can reliably perform:
- you get invited faster
- you stay in groups longer
- you become a “known good” player for that role
More consistent rewards in burst-based content
Fractals and many strike encounters reward groups that can burst phases and handle Exposed-style windows correctly. Players who can align burst with windows often outperform players who only have “good sustained golem DPS.”
Less stress (the quality-of-life loot)
When you’re confident in your output, mechanics feel manageable instead of scary. You stop tunnel-visioning on your bar and start reading the fight. That alone improves both survival and damage.
Extraction
This section turns the route into a practical system you can run every week—so your DPS improves permanently, not just for one day.
Extraction 1: Fix boons first, always
Before you blame your rotation, check:
- Did you have quickness?
- Did you have alacrity?
- Did you have 25 might and fury most of the fight?
- Was the boss at 25 vulnerability consistently?
If the answer is “no,” your “rotation issue” may actually be a group/position issue.
What you can control:
- Stay in boon range
- Don’t outrange your supports unnecessarily
- Don’t stand behind a wall or at max range when the group is stacked
Extraction 2: Identify your top 5 damage sources and protect them
Most builds have a small set of skills that produce a huge percentage of their DPS. Your job is to:
- cast those skills on cooldown
- avoid missing them during movement
- avoid using them right before invulnerability phases
Once those five sources are clean, everything else becomes optimization.
Extraction 3: Stop canceling your own damage (common “invisible” DPS killers)
These mistakes are extremely common:
- Breaking auto-attack chains too early: many auto chains have a strong final hit; constantly restarting reduces DPS.
- Over-dodging: dodging is good, but dodge-spamming when you could sidestep or use a block turns your damage off.
- Late weapon swaps: swapping late often delays your best skills.
- Slow ground targeting: hesitating on AoE placement creates dead time.
Pick one of these per week and eliminate it. Your DPS will jump.
Extraction 4: Use “short opener” and “long opener” versions
Real fights are not consistent. Have two openers:
Long opener (full setup):
Use when you know you’ll have stable uptime for 15–30 seconds.
Short opener (fast burst):
Use when:
- a phase is short
- the boss will move soon
- mechanics are about to force spread
- you’re about to get a damage window and want immediate payoff
This one habit often raises real-fight DPS more than hours of golem practice.
Extraction 5: Burst windows and breakbars (how to farm damage without extra effort)
In fractals especially, damage spikes often come from:
- breaking the bar fast
- dumping burst during the window that follows
- avoiding wasting burst during invulnerability or boss movement
Your job:
- be ready to CC instantly
- then swap into burst mode immediately after
- don’t blow your big cooldowns half a second before the boss disappears
Extraction 6: Practice “mechanics without turning off” (the uptime skill)
Uptime is the largest real-fight multiplier. Here’s how to train it:
- When you must move: keep casting mobile skills while repositioning.
- When you must spread: spread just enough, then return quickly.
- When you must do an objective: do it efficiently, then rejoin stack.
- When you must kite: learn a kiting pattern that keeps you in range as much as possible.
The best DPS players don’t “ignore mechanics.” They do mechanics with minimal downtime.
Extraction 7: Use logs to track one metric at a time
Don’t drown in data. Track these in order:
- Quickness/alacrity uptime on you
- Time on target (how much time you were actually hitting)
- Casts of your top damage skills (did you miss them?)
- Deaths/downs (dead DPS is zero DPS)
- Breakbar contribution (are you helping create windows?)
Fixing just one of these can add thousands of DPS.
Extraction 8: Know when “benchmark rotation” is the wrong rotation
Benchmarks are usually sustained DPS on a stationary target. In real content:
- phases are shorter
- bosses move
- mechanics force reposition
- burst timing matters more
Your goal isn’t to copy a script. Your goal is to understand the script well enough to adapt it.
A simple adaptation rule:
- In short phases, prioritize your highest immediate value skills first.
- In long phases, settle into the full loop.
Extraction 9: Make your DPS sustainable (avoid burnout and hand pain)
High APM isn’t always the best answer. A slightly lower-intensity rotation you can execute perfectly can outperform a high-intensity rotation you drop under pressure.
Build a sustainable setup:
- a clean keybind layout you can repeat
- a rotation you can run while also watching mechanics
- a practice schedule that doesn’t fry your hands
Consistency beats intensity.
Practical Rules
- Pick one build and stick with it for at least two weeks.
- Practice with realistic boons and conditions so your training matches real groups.
- Benchmarks are a tool, not a promise—real fights require adaptation.
- Turn your rotation into priorities (Layer A/B/C), not a fragile script.
- Protect your top damage skills: cast them on cooldown unless a phase is ending.
- Fix boon uptime before you blame your rotation.
- Stay in boon range; most “mystery DPS loss” is range discipline.
- Improve uptime first: time on target is the biggest real-fight multiplier.
- Don’t over-dodge—use smarter movement, blocks, and timing where possible.
- Stop canceling auto chains unless your build specifically requires it.
- Weapon swap on time; late swaps are silent DPS loss.
- Use a short opener for short phases and a long opener for stable phases.
- Save CC for breakbars; CC is often DPS because it creates damage windows.
- Don’t dump burst into invulnerability or right before boss movement.
- Learn one mechanic at a time so your rotation doesn’t collapse under pressure.
- Practice movement casting: move and keep hitting, don’t move and stop.
- Ground-target skills should be placed fast—hesitation is downtime.
- Track one improvement metric per week instead of chasing everything at once.
- If you die, fix survival first; dead DPS is always the worst DPS.
- Choose sustainable intensity: perfect low-intensity beats sloppy high-intensity.
BoostRoom
If you want faster progress without guessing, BoostRoom helps you improve DPS in the way that actually works in real groups: clean rotation foundations, uptime habits, and mechanics-aware gameplay.
What BoostRoom can help you with:
- Build selection that matches your content: fractals vs strikes vs raids vs open world (and how that changes burst needs).
- Rotation simplification: turning “30-step scripts” into priority systems you can execute under pressure.
- Uptime coaching: positioning, boon-range discipline, movement casting, and phase planning so your DPS stays high in real fights.
- Log-based improvement: identify your real bottleneck (boons, casts, uptime, deaths, CC timing) and fix it efficiently.
- Low-intensity options: if you want strong DPS with less strain, BoostRoom can help you choose a sustainable setup that still performs.
The goal is simple: you join content confidently, you do mechanics, and your damage stays reliably high.
FAQ
What’s the fastest way to increase my DPS today?
Fix uptime and boons first: stay in range of quickness/alacrity providers, keep hitting the boss, and stop long “off-target” moments. Then tighten your top damage skill usage.
Should I practice on the training golem or just play real fights?
Do both. The golem teaches clean rotation fundamentals. Real fights teach uptime and mechanics adaptation. You improve fastest when you practice rotation on golem, then apply it in content.
Why is my golem DPS higher than my boss DPS?
Because bosses move, phase, and force mechanics. Real DPS is mostly uptime plus correct burst timing, not only the perfect golem loop.
Why is my boss DPS sometimes higher than my golem DPS?
In some content (especially fractals), damage windows and buffs can spike DPS in ways the golem doesn’t replicate. Burst timing and Exposed-style windows can create very high short-phase numbers.
How much do boons really matter?
A lot. Might, fury, quickness, alacrity, vulnerability—these are enormous multipliers. Missing them can cut your DPS dramatically even if you press the right buttons.
Do I need ArcDPS to improve?
You can improve without it, but logs make improvement much faster because they show whether your problem is boons, uptime, missed casts, or deaths.
What if I can’t do the benchmark rotation at full speed?
Use a rotation you can execute consistently. A slightly simpler rotation done cleanly usually outperforms a complex rotation done messily.
