Before You Fight: The Boss Prep Checklist
If you’re losing boss fights, it’s usually not because your weapon is “bad.” It’s because your prep is missing one of these basics. Use this checklist before every serious boss session:
Combat readiness
- You can defeat normal enemies in the area without losing most of your HP.
- Your armor is upgraded enough that you don’t get stun-locked into death.
- You understand your weapon’s attack speed and range (so you don’t whiff and get punished).
Movement readiness
- You can dash on command (not randomly).
- You know how long your dash cooldown feels like.
- You can reposition without running out of stamina at the worst moment.
Sustain readiness
- You have healing items ready.
- You have damage-boost items ready (when you want faster clears).
- You have a “panic plan” (a safe spot, a reset route, or a heal window).
Loot readiness
- Inventory space is not almost full.
- You know what drops you’re farming for today (gold, essences, runes, heart ore).
- You know what you’ll do with rare drops (save, craft, or sell) so you don’t panic-decide mid-session.
Boss farming is not just fighting — it’s routine. A good routine turns wins into progress.
Gear Targets That Actually Matter (Damage, Defense, and Consistency)
You don’t need an exact “best weapon.” You need a build that performs consistently under pressure.
For boss fights, prioritize these stats in order:
- Survivability first (armor tier, defense, and not dying to two mistakes)
- Reliable damage second (steady hits you can land safely)
- Burst damage third (crit spikes and max DPS are great, but only if you stay alive)
Weapon platform choice (what’s easiest to win with)
Different weapon types can win, but some feel easier for boss learning:
- Spears / Great Swords: safer because of range and stable damage windows
- Katanas / Axes: good for strong single-target damage and punishing openings
- Gauntlets: great if you’re comfortable being close and hitting often
- Daggers: high risk, high speed — strong when you know the fight, punishing when you don’t
If you’re learning a boss, choose the weapon that lets you stay safe while still landing hits. Winning with a “slightly weaker but safer” weapon beats losing with a “perfect DPS weapon.”
Armor choice (the difference between “hard” and “easy”)
Bosses punish low armor more than anything else. If you keep dying, upgrade armor first.
A simple progression approach:
- Early World 3: medium armor is usually the minimum comfort
- Boss sessions: heavy-style armor setups are ideal once you can craft them consistently
Quality matters more than many players admit
If you’re forging your gear at low quality, you’re losing free power. Boss fights are one of the best reasons to practice forging quality, because better quality improves:
- the stats you rely on to survive
- the damage that ends the fight sooner (shorter fight = fewer chances to mess up)
Parry, Dash, and Stamina: The Combat Skills That Win Bosses
Boss fights in The Forge are designed around telegraphed attacks and player reaction. If you master these three skills, you’ll feel like your gear “got better” overnight.
Parry
Parry is the strongest defensive tool because it can completely deny damage and create punish windows.
Parry rule:
Don’t parry “because the boss is near.” Parry because the attack is landing.
If you parry early, you get hit.
If you parry late, you get hit.
So your goal is not “spam parry.” Your goal is “parry when the animation says it’s time.”
Dash
Dash is your position reset button. It’s also the most common way players lose fights, because they dash at the wrong time and then have no dash when the real danger comes.
Dash rule:
Dash to avoid damage, not to chase damage.
You can win most boss fights by doing less damage — if you avoid damage consistently and take your hits during safe windows.
Stamina
Stamina management is how you avoid “panic deaths.”
Stamina rule:
Never spend your last stamina on greed.
If you empty stamina just to land one more hit, you lose your ability to:
- dash out of a slam
- parry cleanly
- reposition after a stun threat
A boss fight is a stamina economy. Keep a reserve.
Consumables and Buffs: Potions, Totems, and Smart Timing
Consumables win fights because they reduce your required “perfect play.”
The two most valuable consumables for boss fights:
- Healing items (keep you in the fight)
- Damage potions (shorten the fight so you take fewer attacks overall)
When to use damage buffs
Use damage buffs when:
- you already survive the fight reliably
- you want faster farming cycles
- you’re pushing for consistent clears instead of “barely winning”
When to prioritize healing
Prioritize healing when:
- you’re learning the boss
- you die to one stun chain or one slam
- you’re getting hit by the same move repeatedly (until you learn it)
Totems vs potions
Totems can be helpful, but many players find potions more consistent for boss runs because they’re straightforward and cost-effective for repeat farming. If you have both, use:
- potions for consistent sessions
- totems for “push attempts” when you want a big advantage
Team Strategy: Solo vs Duo vs Squad (How Scaling Works)
Some players assume teaming always makes bosses easier. In The Forge, it depends — because bosses can scale HP with player count, and teams can create chaos if you don’t play with structure.
HP scaling (why your team fight feels slower)
The Golem’s HP increases with more players. That means:
- Your team needs to add enough damage to justify the extra HP.
- If teammates spend time running around, you may not actually clear faster.
The best team roles
Even without formal classes, teams win faster when roles naturally form:
- Aggro dancer: stays in range, baits attacks, parries consistently
- Damage dealer: punishes openings hard, stays safe otherwise
- Support farmer: focuses on survival, keeps pressure, doesn’t get downed
- Safe reviver (if revives are part of your team behavior): stays ready to reset fights without wiping
Communication tip that matters
You don’t need voice chat. You need one simple rule:
- Don’t stack on top of each other.
When everyone stands in the same spot, AOE attacks punish the whole team at once.
The Golem Boss: Location, Timer, and Why It’s Worth Farming
The Golem is the centerpiece boss fight in The Forge’s World 3 content.
Where the Golem is
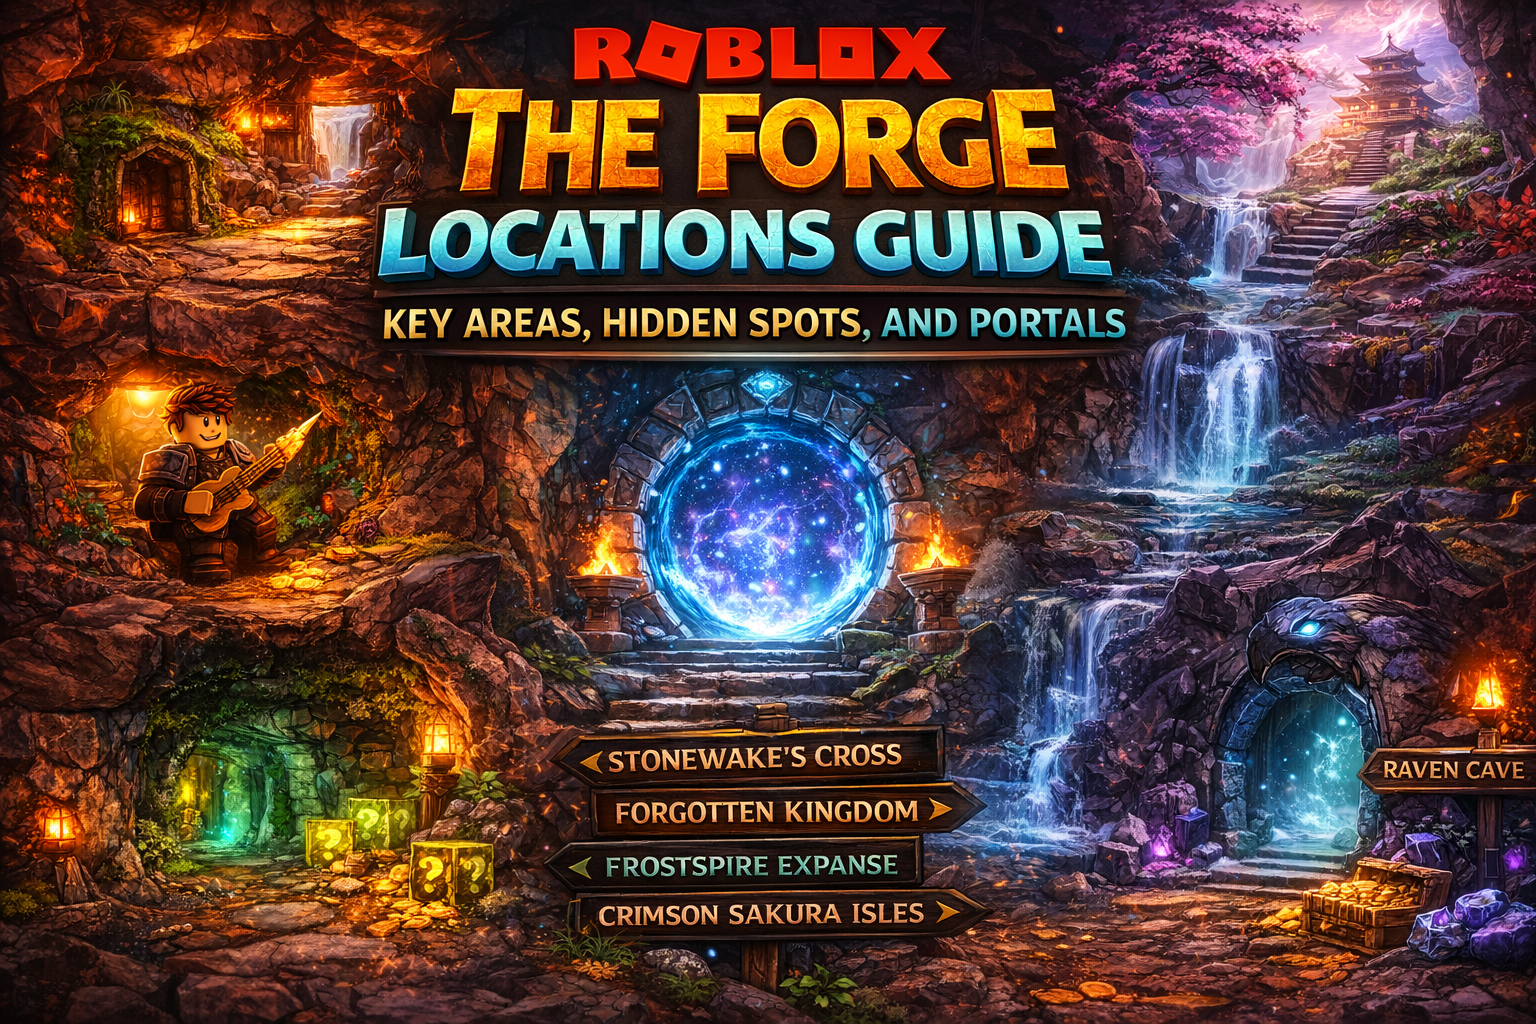
- Frostspire Expanse → The Peak
Access requirement that matters
- Frostspire Expanse entry is tied to level gating through the portal system, and The Peak is where the Golem encounter is located.
How often you can fight it
- The Golem can be challenged on a repeating cycle: every 30 minutes, with a 15-minute window to challenge it, and you can only fight it once per window.
This timer matters because it turns the Golem into a schedule farm: you can plan your session around the cycle and get consistent rewards.
Why the Golem is a top farm target
Even if you don’t care about “boss bragging,” the Golem is worth farming because it pays you in multiple currencies at once:
- Gold
- Essences (for upgrades/enhancing)
- Runes
- Heart ore chance
It’s a multi-reward boss, which is exactly what you want for efficient progression.
Golem HP Scaling (Know What You’re Signing Up For)
The Golem’s HP scales by party size:
- 1 player: 25,000 HP
- 2 players: 37,500 HP
- 3 players: 50,000 HP
- 4 players: 62,500 HP
This is why some players clear faster solo than in a weak team. If you team up, make sure the team adds real damage and doesn’t spend the fight running away.
Golem Attack Patterns and How to Counter Each One
The Golem’s moves are telegraphed through animations and warning indicators. Your job is to recognize them early and pick the correct response.
Attack 1: Basic melee combo (stun threat)
What happens: two close-range hits; if both connect, you can get stunned briefly.
Best counter: parry if you’re confident, dash out if you’re not.
Big rule: don’t stand in melee range if your parry timing is inconsistent. This move is the most common “I died suddenly” mistake.
Attack 2: Falling icicles (targeted drops)
What happens: the boss drops multiple icicles at your location, often in a sequence.
Best counter: consistent movement and dashing out of the landing zones.
Why dodging is safer than parry here: if you miss a parry, you can get hit and then get hit again by the next drop.
Attack 3: Ice spikes line (stomp telegraph)
What happens: the Golem lifts its leg, stomps, and sends a line of spikes aimed at you.
Best counter: dash sideways or parry if you read it cleanly.
Key detail: this move is heavily animation-based, so train yourself to recognize the stomp prep.
Attack 4: Mighty leap slam (big punish)
What happens: the Golem leaps and slams into the arena center after a short delay.
Best counter: parry on timing or dash out.
Best punish window: after you avoid the slam, you usually get a safe opening to deal damage.
Golem Fight Plan: Safe Rotation for Guaranteed Wins
If you want “consistent wins” instead of “sometimes wins,” follow this simple rotation:
1) Start at medium distance
Don’t open by standing in melee range. Give yourself time to read the first move.
2) Only enter melee on safe windows
Safe windows are usually:
- after a slam
- after a stomp line that misses
- after you successfully parry the melee combo
3) Never over-commit
Your rule is: two to four hits, then reset.
Greed is the #1 cause of boss deaths.
4) Save dash for the dangerous move you struggle with
Most players struggle with either:
- falling icicles chain, or
- slam timing
Save dash for the move that kills you most often.
5) Use “reset moments”
If you’re low HP, don’t panic in the arena center. Create a reset moment:
- back off
- heal
- re-enter on a safe window
A clean reset is a win-maker.
Best Builds for the Golem (Fast Clears, Safe Clears, Hybrid)
You can beat the Golem with many builds. The best build is the one that fits your skill level and farming goal.
Safe clear build (recommended for learning)
Weapon style: spear/great sword type (range + stable hits)
Armor style: medium to heavy survivability focus
Gameplay: hit during openings, reset often, never trade damage
Why it works: you maintain uptime without risking stun chains.
Fast clear build (recommended for farming once consistent)
Weapon style: crit-focused single-target damage
Armor style: enough survivability to avoid dying, but not overly heavy
Gameplay: parry more, punish harder, end fight sooner
Why it works: bosses are easiest when they don’t live long enough to punish you.
Hybrid build (best all-around)
Weapon style: consistent damage + one helpful trait (crit or slow/debuff)
Armor style: sustain (regen or damage reduction)
Gameplay: flexible — safe when needed, aggressive when the boss gives you space
Why it works: you don’t fall apart if you miss one parry.
Golem Drops Explained: Gold, Essences, Runes, and Heart Ore
Beating the Golem is not just a trophy. It’s one of the strongest “value fights” in the game.
Commonly listed Golem rewards include:
- Gold: 17,500
- Essence: 1 Epic Essence and 1 Legendary Essence
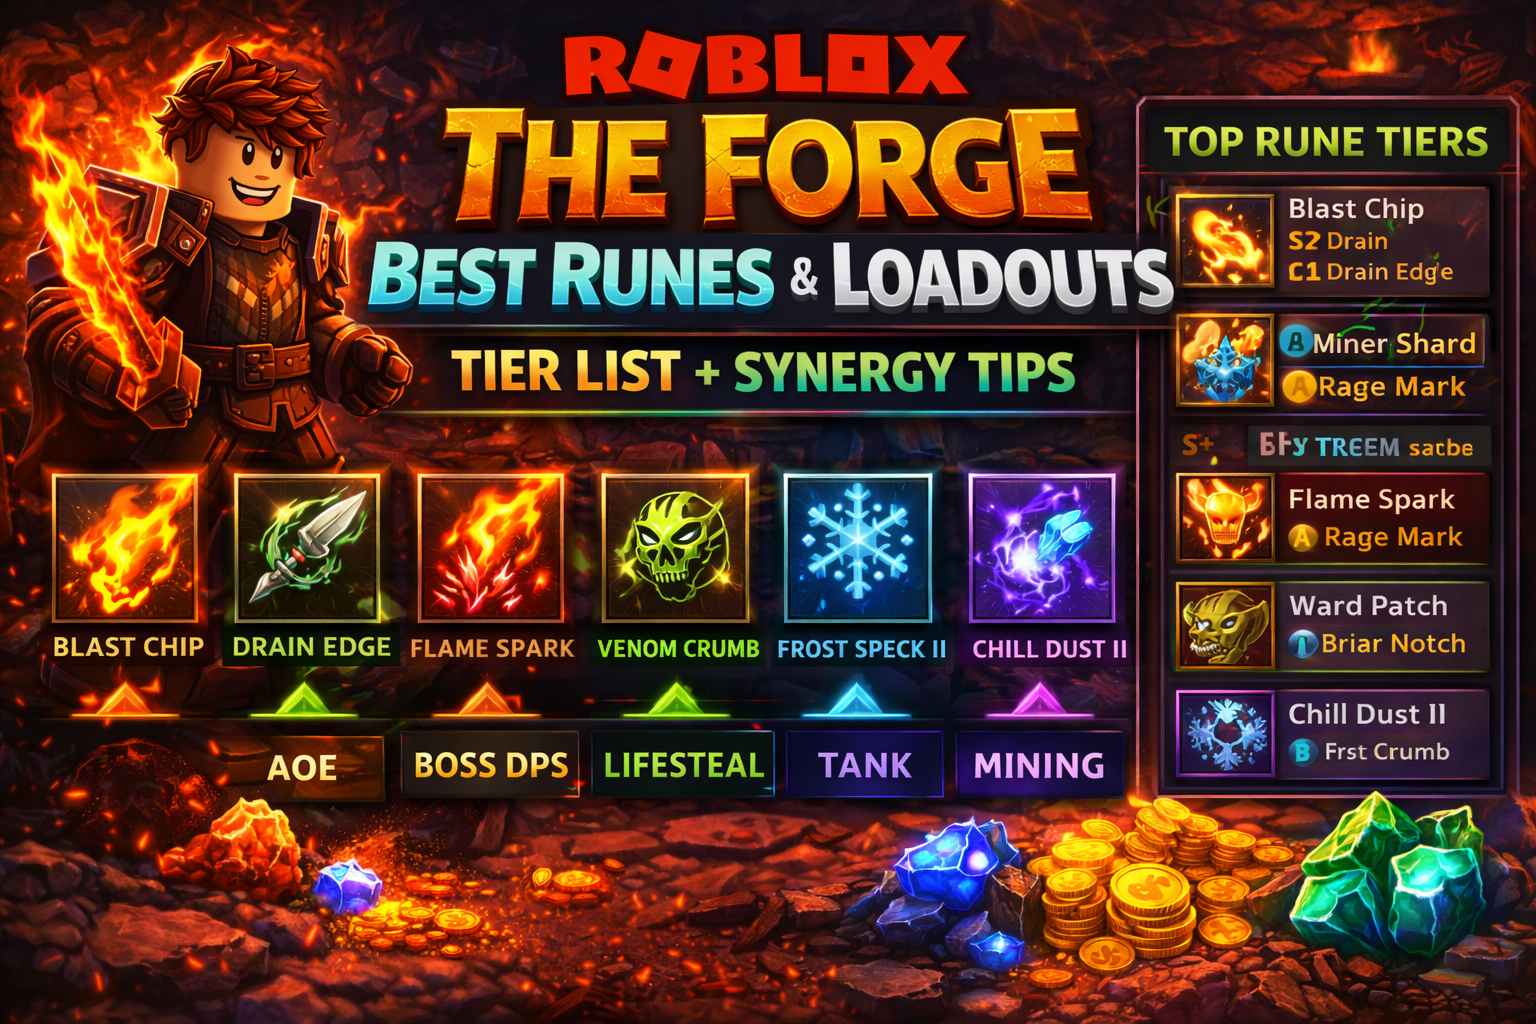
- Runes: Frost Speck II, Chill Dust II, Miner Shard II
- Ore drop chance: Golem Heart
What each drop is good for
Gold: direct upgrade fuel.
Essence: enhancement resources — this is part of why boss farming accelerates gear progression.
Runes: boss runes can become the difference between “good gear” and “great gear.”
Golem Heart: a heart ore used in high-value weapon crafting and late-game quest requirements.
Golem Farming Route: How to Use the 30-Minute Cycle
The best way to farm a timed boss is to turn the downtime into progress.
Here’s a clean cycle plan:
Phase A: Fight the Golem early in the window
Don’t wait until the last minute. Fight early so you have time to manage inventory, craft, and reset.
Phase B: Spend the downtime on something that increases your next kill speed
Choose one:
- mine ores for your next craft batch
- run rune/essence farming on nearby enemies
- do quests that pay gold and reduce future travel
Phase C: Craft + sell in a batch
Boss cycles are perfect for batch crafting because you have a predictable rhythm.
Phase D: Return early for the next window
If you show up late, you risk missing the window and losing an entire cycle of gold and drops.
This “cycle mindset” turns one boss into an income engine.
Prismarine Spider: Mini-Boss Guide for Prismatic Heart
Prismarine Spider is not the “official boss,” but it behaves like one for most players because:
- it’s dangerous in close quarters
- it has multiple attacks (including AOE and slows)
- it drops a heart ore players need
Where it is
- Spider Cave (within Frostspire Expanse)
Why people farm it
- It drops Prismatic Heart (and Frost Speck rune drops are also part of its drop pool)
- It’s a key target for players working through late-game requirements
Prismarine Spider drops (why it’s worth the effort)
Prismarine Spider is listed with drops that can include:
- Gold (a range per kill)
- Essence drops
- Frost Speck
- Prismatic Heart (listed as 1/15 in some drop tables)
This makes it a strong “target farm” if you’re specifically hunting Prismatic Heart.
Prismarine Spider Attacks and How to Win Cleanly
The Prismarine Spider has multiple attacks that punish players who stand still.
Basic slashes
Counter: keep spacing and don’t stand directly in front for too long.
Best approach: hit during recovery moments, then step out.
Ice projectiles
Counter: parry if you’re consistent, or side-move and dash if you’re not.
Tip: projectiles are easier to handle if you keep your camera wide and don’t fight with your back to cramped corners.
Roar slow
Counter: this can be parried; if you don’t parry, assume you’re slowed and avoid greed.
Why it’s dangerous: being slowed makes the slam and follow-up attacks much harder to escape.
Ground slam AOE
Counter: dash out early, don’t wait for the hit frame.
Punish window: after avoiding the slam, you often get a moment to attack safely.
The “real danger”: adds and pressure
Prismarine fights often become messy because smaller enemies or the environment restrict movement. Your goal is to keep the fight in a space where you can dash cleanly and see telegraphs.
How to Farm Prismatic Heart Efficiently
If you’re farming Prismatic Heart, your job isn’t “kill the spider once.” Your job is to turn it into an efficient loop.
Efficiency rules
- Don’t fight it when your inventory is full.
- Don’t fight it when your healing supply is empty.
- Don’t fight it when you’re tilted — this enemy punishes mistakes hard.
Speed rules
- Use a weapon that lets you hit consistently (range helps).
- Don’t chase the spider into awkward corners.
- Take safe punish windows and keep damage steady.
Drop management
Prismatic Heart is a “save or use” item for most players. If you’re still learning forging quality, saving it until you can craft reliably strong gear is usually smarter than panic-crafting.
Yeti: Mini-Boss Guide for Yeti Heart
Yeti is a boss-style enemy in The Peak that players farm for one reason:
Yeti Heart.
Why Yeti is farmable
Even though Yeti can hit hard, it’s often described as “manageable” because its attacks are slow and readable once you learn the pattern.
Yeti attack pattern (the key idea)
A common description of Yeti behavior:
- it swings its club at the closest player
- it cycles into a roar/slam style attack afterward
- the pattern repeats
What this means for you:
- Your job is to avoid the “big move” cleanly and punish during the slow recovery.
Yeti Heart drop
Yeti Heart is listed as a Mythical heart ore obtainable from killing Yetis, with a listed chance like 1/22 in some indexes.
How to Beat Yeti (Simple, Repeatable Plan)
1) Don’t stand inside swing range for long
Yeti’s club swings punish lingering. Step in, hit, step out.
2) Treat roar/special attacks as your “dash test”
If you waste dash earlier, you’ll get hit here. Save dash for the big moment.
3) Punish slow recovery
Yeti gives you time after big attacks. That’s where your damage comes from. Don’t try to “trade.”
4) Use control tools if you have them
Some players use effects that interrupt or slow enemies to make Yeti safer, but even without them, clean movement wins.
How to Farm Yeti Heart Efficiently
Best farming habits
- Fight Yetis when you’re fully stocked on healing.
- Stay in open space (don’t get pinned by terrain).
- Keep a consistent rhythm — greed is the only real enemy here.
What to do with Yeti Heart
Yeti Heart is valuable because it’s part of heart-ore progression and is also listed with strong weapon trait bonuses (attack speed and crit stats). That means:
- it can be a build core
- it can be a requirement item
- it can be a long-term craft investment
Raven Cave “Core” Farming: Heart of the Island and Stolen Heart
Raven Cave is not just a place — it’s a goal zone. It’s where players chase some of the rarest “core” drops in The Forge.
How to access Raven Cave
- Raven Cave access is tied to completing early steps of a questline from the Raven (in the Frostspire Expanse area).
What you’re farming
Raven Cave contains the special Heart of the Island Stone, and that stone can drop two famous items:
- Heart of the Island (Relic ore)
- Stolen Heart (Divine ore)
Heart of the Island (why it’s huge)
Heart of the Island is listed with:
- a health boost trait
- and a powerful “below HP threshold” buff that can increase physical damage and movement speed for a short time
This makes it valuable for both tank builds and clutch damage builds.
Stolen Heart (why people chase it)
Stolen Heart is listed with lifesteal when forged into weapons. Lifesteal is one of the strongest “comfort stats” in the game because it turns damage into sustain.
Drop chances (what to expect)
These drops are listed with extremely low obtainment chances. In practical terms: this is a long farm. If you come in expecting instant drops, you’ll hate it. If you come in with a routine and patience, it becomes a long-term power chase.
What to Do With Heart Ores (Best Uses and When to Save Them)
Heart ores are the game’s “premium ingredients.” They’re often used for:
- late-game crafting identity builds
- high value weapons with unique trait packages
- quest requirements for top-tier tools
The “save vs craft” rule
Save heart ores if:
- you can’t forge at consistently high quality yet
- you don’t have a stable supply (you can’t replace them)
- you’re still in a rapid gear replacement stage (early progression)
Craft heart ores if:
- you have stable gear foundations
- you can consistently craft high quality
- you’re ready to commit to a “main weapon” or “main build”
A smart middle path
If you’re unsure, store the heart ore and use it later when:
- your forging skill improves
- your build plan is clearer
- your next craft is truly a long-term upgrade
Late-Game Progression Connection: Why These Fights Matter
Boss and boss-style fights aren’t isolated content. They connect directly into major progression goals.
A famous example is the Dragon Head Pickaxe chain, which is described as requiring three heart-based quest steps:
- bring Prismatic Heart
- bring Yeti Heart
- bring Golem Heart
- …and then purchase the pickaxe for a very large gold cost once unlocked.
Even if you’re not chasing that exact pickaxe today, the lesson matters:
boss drops are progression keys, not just loot.
Common Boss Mistakes (And Fixes That Work Immediately)
These mistakes are why most players “feel weak” in boss fights even with decent gear.
Mistake 1: Greed hitting
Symptom: you die right after “one more hit.”
Fix: limit yourself to a set hit count per opening (2–4 hits) and reset.
Mistake 2: Dashing randomly
Symptom: you get hit by the slam because dash was on cooldown.
Fix: save dash for your most dangerous enemy move.
Mistake 3: Fighting in bad terrain
Symptom: you can’t see telegraphs and get pinned.
Fix: reposition the fight into open space, even if it costs a few seconds.
Mistake 4: Entering fights under-stocked
Symptom: you lose because you run out of heals.
Fix: don’t start a boss session without a heal plan. Boss farming is repeat content — treat it like a raid prep.
Mistake 5: Treating quality as “optional”
Symptom: your weapon feels weak compared to others using similar ores.
Fix: practice forging mini-games on cheap crafts until your average quality rises.
Mistake 6: Team chaos
Symptom: team fights feel harder than solo.
Fix: don’t stack, spread out, and let one player “bait” while others punish.
BoostRoom: Faster Boss Wins and Smarter Drop Farming
If you want to beat bosses consistently and farm heart drops without wasting hours, BoostRoom helps you build a real plan instead of guessing.
BoostRoom is designed to improve results that matter:
- Preparation planning (what gear tier and stats you actually need for each fight)
- Boss strategy coaching (how to react to attack patterns and avoid the moves that wipe you)
- Build tuning (safe clear builds vs fast farm builds)
- Drop farming routes (how to turn timers and cycles into consistent profit sessions)
If your goal is to win fights reliably, farm rare drops smarter, and stop losing time to trial-and-error wipes, BoostRoom helps you progress faster in 2026.
FAQ
Is the Golem the only official boss in The Forge right now?
In early 2026 content references, the Golem is treated as the primary boss fight. The game also has boss-style enemies like Prismarine Spider and Yeti that players farm like bosses because of heart drops.
Where is the Golem located?
The Golem fight is located in World 3 content, in The Peak area of Frostspire Expanse.
How often can I fight the Golem?
The Golem is on a repeating challenge cycle: every 30 minutes there’s a 15-minute window to challenge it, and you can fight it once per window.
What are the best Golem fight tips for beginners?
Start at medium distance, avoid greed hits, save dash for the move that kills you most, and punish after big moves like the slam.
What does the Golem drop?
Commonly listed drops include gold, essences, several runes (Frost Speck II, Chill Dust II, Miner Shard II), and a chance to get Golem Heart ore.
How do I get Prismatic Heart?
Prismatic Heart is listed as a drop from Prismarine Spider in the Spider Cave area. Players typically farm Prismarine Spider repeatedly for it.
How do I get Yeti Heart?
Yeti Heart is listed as a drop from killing Yetis in The Peak. It’s a targeted farm item for players building crit-speed weapons or completing heart-based requirements.