What Nightmare Dungeon Is in Aion 2
Nightmare Dungeon is designed as solo-focused PvE progression. The core concept is simple: you enter alone, face a boss-style encounter (or a sequence of boss stages depending on your region/version), and earn Nightmare-specific rewards that help push your character forward.
For beginners, that matters because solo progression content fixes two early problems:
- You don’t need a party to progress. Your upgrades aren’t blocked by group availability.
- You get predictable improvement. You can repeat runs, learn patterns, and feel your character get stronger week by week.
Depending on how your version is structured, Nightmare often plays like a ladder of stages: you clear a stage, then move to the next, with difficulty rising as you go. Even when it’s presented as “a boss fight,” the design goal is the same: mechanical consistency and build readiness.
Nightmare is not meant to be a casual “face-roll” activity forever. It’s meant to expose weaknesses in your setup:
- sloppy hotbars,
- under-upgraded core skills,
- missing defensive tools,
- inefficient rotations,
- and wasteful gearing.
That’s good news—because once you use Nightmare as feedback, your overall progression becomes smoother everywhere else too.
Why Nightmare Dungeon Is One of the Fastest Paths to Better Gear
Beginner gearing usually stalls for one of three reasons:
- You can’t get into groups consistently.
- You don’t know what to upgrade first, so you spend resources poorly.
- You don’t have a steady currency/material pipeline.
Nightmare directly addresses all three:
- It’s solo → no waiting on party roles.
- It’s repeatable → you can practice and improve, not just hope for luck.
- It’s progression-oriented → rewards typically include a Nightmare currency and/or materials that convert into upgrades.
The biggest hidden advantage: Nightmare teaches you how endgame works. Endgame isn’t about “having the best gear.” It’s about:
- entering content prepared,
- clearing cleanly,
- converting rewards efficiently,
- and repeating the loop without burnout.
If you master Nightmare early, you build the habits that make all future gearing easier.
Entry Limits and Why Your Plan Must Be Efficient
Most versions of Nightmare-style solo content use some kind of daily entry limit or recharge system. This is important because your attempts are valuable. If you spend your entries on messy runs, you slow down your weekly growth.
Your goal is not “beat the hardest stage today.” Your goal is:
- clear consistently,
- keep deaths low,
- keep clear times stable,
- and push difficulty only when you’re ready.
A great beginner rule is the two-run principle:
- Run 1: a clean, safe clear that you can repeat.
- Run 2: either repeat for rewards or test a push (only if Run 1 felt stable).
If your first run already feels shaky, don’t “force” a harder clear. Stabilize first. Nightmare punishes ego and rewards consistency.
The Nightmare Mindset: Consistency Beats Risk
Nightmare progression is like building a staircase:
- If you build a stable step, you can climb it forever.
- If you build a shaky step, you fall and waste time and entries.
So you want a build that is:
- Reliable (works even when you misplay slightly)
- Repeatable (doesn’t require perfect cooldown timing every second)
- Efficient (converts time into rewards at a steady rate)
A beginner mistake is building “maximum damage” and calling it progression. Maximum damage builds often cause:
- deaths to burst windows,
- panic resets,
- and slow runs because you’re constantly recovering.
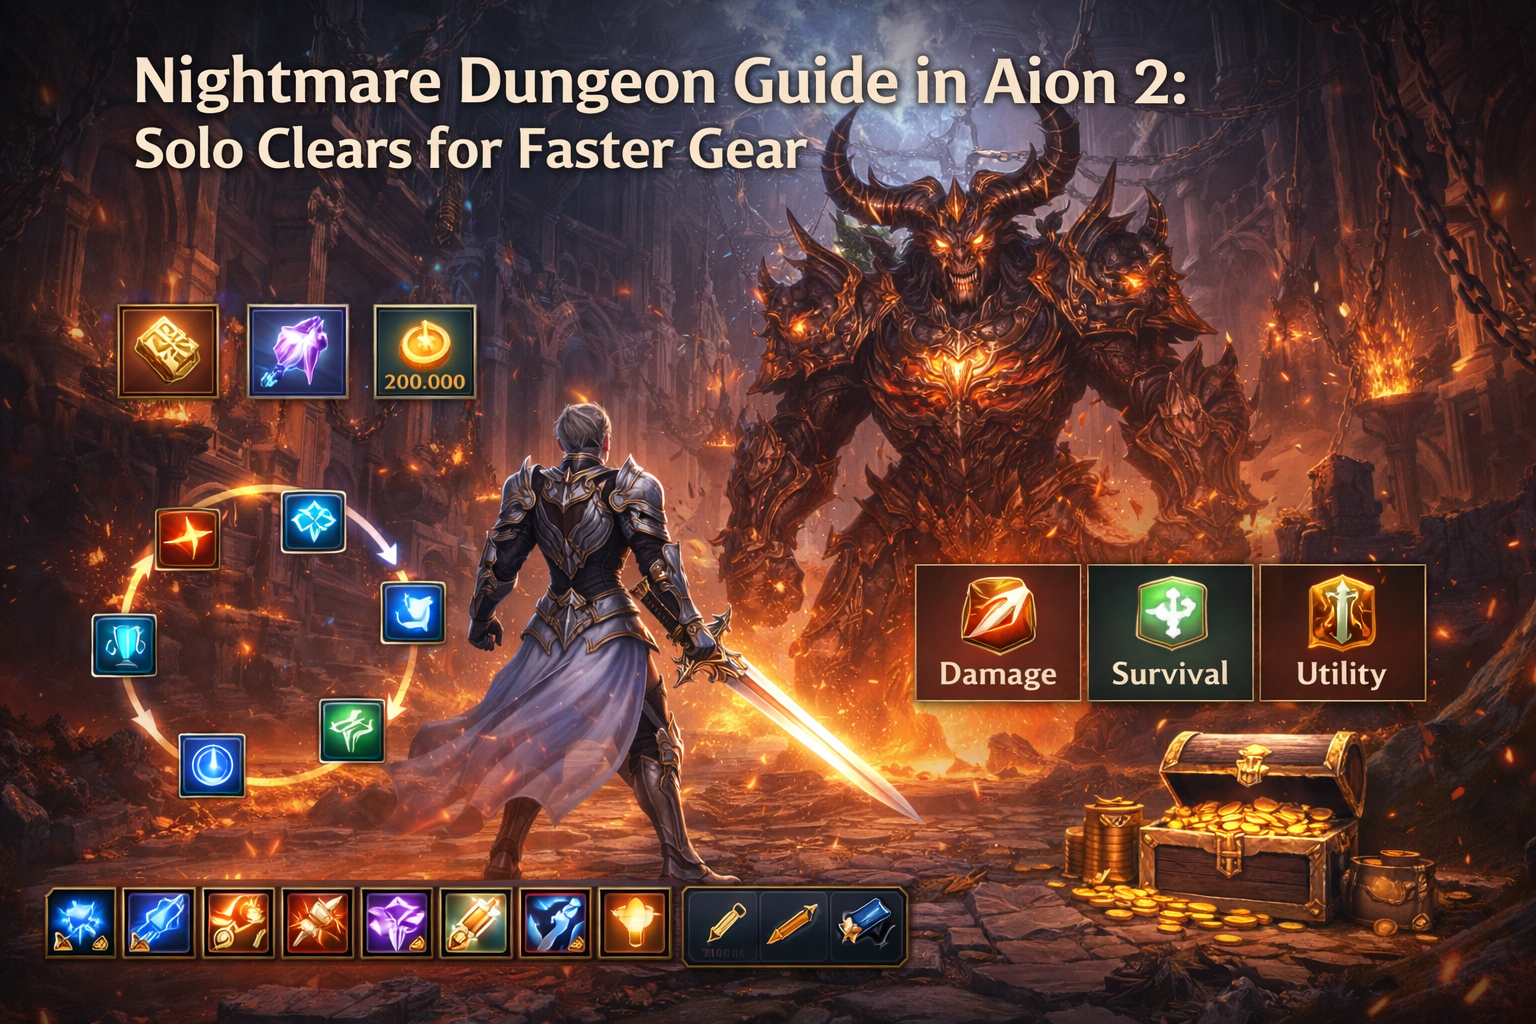
A real Nightmare build balances three pillars:
- Damage pillar: enough to clear comfortably and avoid time pressure
- Survival pillar: enough to survive mistakes and boss burst windows
- Utility pillar: enough to handle mechanics (interrupt, cleanse, control, mobility)
If you build all three, you clear more often—and that’s what produces faster gear.
Pre-Run Checklist: The 60-Second Setup That Saves Your Attempts
Before you enter Nightmare, do this checklist. It’s boring—and it’s the reason good players clear consistently.
1) Repair and inventory
- Repair fully.
- Clear your bags so you don’t leave rewards behind.
- Bring only what you need so you don’t waste time sorting mid-session.
2) Confirm your loadout
- Make sure you’re in your Nightmare preset (not your PvP bar, not your leveling bar).
- Confirm your emergency skills are on reachable keys.
3) Confirm consumables
- Basic healing/recovery items
- Any low-cost buffs you use consistently
- One “panic” consumable (if your version includes defensive potions or similar)
4) Confirm your objective
- Farm stage you can clear reliably
- or
- Push one stage higher (only if your farm stage is stable)
This keeps your session focused and prevents the classic mistake of “wandering into a run and hoping.”
Build Foundations for Nightmare: Make Your Character Solo-Complete
A solo-clear build must be “complete” on its own. In party play, teammates cover your weaknesses. In Nightmare, nobody covers anything.
A solo-complete build needs answers for:
- Burst damage windows (boss spikes)
- Sustained damage (so you don’t time out)
- Self-preservation (heals/shields/mitigation/escape)
- Mechanic control (interrupt/cleanse/CC/mobility)
- Resource stability (so you don’t go empty mid-fight)
The moment you remove one of these, the run becomes unstable.
The “one missing tool” problem
Most beginners fail Nightmare not because they are weak overall, but because they lack one specific tool:
- No interrupt → boss cast wipes you.
- No cleanse/anti-debuff answer → damage stacks overwhelm you.
- No movement tool bound correctly → you eat avoidable hits.
- No defensive cooldown timed properly → you die to predictable burst.
Nightmare is basically a test: “Do you have the tool, and can you press it on time?”
Hotbar and Keybind Setup for Nightmare
Nightmare punishes slow reactions. Your hotbar must be built for speed.
A beginner-friendly Nightmare layout:
- 1–4: core damage loop (or core heal loop for support)
- Q/E: mechanic buttons (interrupt, dodge tool, fast CC, quick heal)
- R/F: big cooldowns (burst button + major defensive)
- Z/X/C: utility (cleanse, secondary defensive, niche control)
- Mouse buttons (if you have them): emergency survival + movement
The single best bind advice for Nightmare:
Your defensive “save me” button should be easier to press than your biggest damage button.
Because living is DPS. Dead is zero.
Stigma Choices: The Best Type of Stigmas for Solo Clears
Since Stigmas shape your kit, Nightmare Stigmas should support solo completeness.
High-value Stigma types for Nightmare:
- Reliable damage enhancers (not gimmicks, not “win-more”)
- Defensive windows (shields, mitigation, damage reduction)
- Sustain tools (self-heal, resource recovery, leech effects)
- Mobility tools (escape, reposition, gap control)
- Mechanic answers (interrupt upgrades, dispel/cleanse tools, control reliability)
Low-value Stigma types for Nightmare (for most beginners):
- pure damage Stigmas that remove survivability,
- niche PvP-only tools,
- complex “setup” Stigmas that require perfect timing to function.
If you’re not sure what to pick, follow the “two safety, two speed” approach:
- two Stigmas that make you safer,
- two Stigmas that make your clears faster,
- then adjust once you’re stable.
Gear Readiness: The Two Benchmarks That Decide Clear Speed
You don’t need perfect gear to clear Nightmare, but you do need smart gearing.
Use these two benchmarks to judge readiness:
Benchmark 1: Kill-time and phase speed
- If fights feel like they drag forever, you need more reliable damage or better weapon upgrade timing.
- If the boss reaches dangerous mechanics because you’re slow, you need damage consistency, not risky burst.
Benchmark 2: Survival stability
- If you die to one mistake, you need more defensive stability.
- If you survive mistakes but take forever, you need damage efficiency.
Most beginners only think about damage. Nightmare requires you to balance both.
Upgrade priority that helps Nightmare immediately
In most cases:
- Weapon first (or your main damage scaling slot)
- Core survivability pieces (the pieces that reduce your biggest incoming damage problem)
- Secondary damage slots (to smooth kill-time)
- Everything else
Avoid over-upgrading gear you’ll replace soon. Nightmare progression should fund the upgrades you keep longer.
Consumables: The “Budget Buff” Approach
Consumables are powerful, but beginners often either:
- buy nothing and struggle, or
- overspend and go broke.
Use the budget buff approach:
- Always carry your basic recovery items.
- Use low-cost buffs you can maintain consistently.
- Save expensive buffs for push attempts, not farm runs.
A clean way to think about it:
- Farm runs: cheap consistency
- Push runs: full preparation
If you treat every run like a push run, you burn Kinah faster than you progress.
The Core Clear Strategy: Play the Fight, Not the Bar
Nightmare clears get dramatically easier when you stop staring at your hotbar and start reading the boss.
A practical solo-clear loop:
- Opener: apply your setup (buff/debuff/mark) and start your safe rotation
- Core loop: maintain steady damage while watching boss tells
- Defense timing: use defensives before burst hits, not after
- Mechanic response: interrupt or dodge the key cast/telegraph
- Burst package: use burst when the boss is vulnerable, controlled, or after a mechanic window
The key is timing. Nightmare bosses often have patterns that repeat. You want to:
- recognize the pattern,
- save the correct cooldown,
- and execute calmly.
When you do that, your clears become consistent even without perfect gear.
How to Read Nightmare Mechanics: The 3-Category System
Most boss mechanics fall into three categories. If you identify which category you’re dealing with, your response becomes automatic.
Category 1: Avoidable damage
- Big telegraph zones
- Ground hazards
- Cone attacks
- Your response: reposition early, don’t greed damage, maintain uptime from safety.
Category 2: Must-answer mechanics
- Interrupt-required casts
- Debuffs that stack or explode
- “Shield or die” moments
- Your response: use the correct tool (interrupt/cleanse/defensive) immediately.
Category 3: Punish windows
- Boss becomes vulnerable after a mechanic
- Boss pauses and can be burst safely
- Your response: burst package here, not randomly.
Beginners often treat everything like Category 1 and try to “dodge everything.” Nightmare punishes that. Some mechanics must be answered with a tool, not movement.
Stage Progression: How to Move From “I Can Clear” to “I Farm Fast”
Nightmare has two phases of mastery:
Phase A: Clear mastery
- You can finish reliably.
- You rarely die.
- Your runs are consistent.
Phase B: Farm mastery
- Your clear time improves steadily.
- You push higher stages without chaos.
- You convert rewards efficiently into upgrades.
Many players try to skip Phase A and jump to Phase B. That usually leads to:
- wasted entries,
- frustration,
- and slower overall progression.
If you want faster gear, your first goal should be:
Farm a stage you can clear reliably with low stress.
Then you push gradually.
A Practical “10-Stage Ladder” Approach (Works Even If Your Version Differs)
Even if your version doesn’t show “10 stages,” you can still use the ladder model. Think of your progress as a staircase:
- Lower stages: learn patterns and stabilize your build
- Middle stages: tighten your cooldown timing and fix weak spots
- Higher stages: test your damage efficiency and mechanic execution
Here’s how to approach each band.
Lower stages: build stability
- Don’t rush.
- Learn the boss tells.
- Practice interrupt timing and defensive timing.
- Confirm your hotbar is comfortable.
Middle stages: build discipline
- Stop using defensives late.
- Stop wasting burst on invulnerability windows.
- Learn your “safe damage” pattern (damage while moving).
Higher stages: build efficiency
- Your rotation must be clean.
- Your upgrade priorities matter more.
- Your mistakes must be fewer because punishment is higher.
This ladder approach is how solo content stays fun instead of becoming a brick wall.
Class Playstyle Tips for Nightmare Solo Clears
Nightmare rewards good fundamentals, but each archetype has specific advantages and traps.
Melee DPS: How to Clear Without Getting Deleted
Melee can clear fast, but melee also gets punished more for greed.
Melee priorities:
- Keep your movement tool available to escape danger, not just to engage.
- Treat boss positioning as part of your damage.
- Save one defensive tool for predictable burst windows.
Melee mistake that ruins runs:
- “One more skill” greed during a telegraph.
- If you eat avoidable damage repeatedly, you lose time to recovery and eventually die.
Melee win strategy:
- Short, safe uptime bursts.
- Reposition early.
- Burst only when the boss is vulnerable or after you’ve handled a mechanic.
Ranged DPS: How to Maintain Uptime Without Panic
Ranged is naturally safer, but the trap is getting lazy with mechanics.
Ranged priorities:
- Control space so you don’t get cornered.
- Use your range to avoid unnecessary damage.
- Keep interrupts and control tools ready for must-answer mechanics.
Ranged mistake that ruins runs:
- Standing still too long.
- You think you’re safe because you’re far, then a mechanic punishes your immobility.
Ranged win strategy:
- Move lightly while maintaining damage.
- Burst during safe windows.
- Use control tools to prevent boss pressure moments.
Tank-Style Builds: How to Turn Safety Into Speed
Tanky builds can be excellent for beginners because they reduce deaths. But you must maintain enough damage to avoid time pressure.
Tank priorities:
- Build for survival first until clears are stable.
- Then shift small pieces toward damage efficiency.
- Use defensives proactively.
Tank mistake that ruins runs:
- “I’m unkillable so I don’t need mechanics.”
- Nightmare will still punish you if you ignore must-answer tools.
Tank win strategy:
- Stable clears → then upgrade weapon/damage tools → faster farm.
Healer/Support-Style Builds: How to Avoid Slow Clears
Support builds can clear solo content in many systems, but you must respect kill-time.
Support priorities:
- Maintain sustain and safety while stacking enough damage tools to finish efficiently.
- Use utility intelligently (cleanse/mitigation timing often becomes your win condition).
Support mistake that ruins runs:
- Overhealing and under-damaging.
- If you spend the whole fight “playing safe,” you can lose to time pressure or fatigue.
Support win strategy:
- Heal efficiently (small heals as default, big heals only for big moments)
- Deal damage during safe windows
- Control mechanics cleanly with interrupts/cleanses
Summon/Control-Style Builds: How to Win With Stability
If your class style includes sustained pressure, debuffs, or control tools, Nightmare can be very consistent.
Control priorities:
- Keep fights predictable by managing boss windows (control/utility).
- Use sustained damage rather than gambling on one burst.
- Make sure your hotbar isn’t overloaded with niche tools.
Control mistake that ruins runs:
- Overcomplicating your kit.
- You can drown in buttons and forget to press the one that matters.
Control win strategy:
- Simple rotation + consistent mechanic answers + steady upgrades.
The Nightmare Upgrade Loop: Convert Rewards Into Power
Nightmare only becomes “faster gear” if you convert rewards intelligently.
After a run, do this:
- Collect rewards and clear inventory
- Convert Nightmare currency/materials into the upgrade step you planned
- Upgrade one meaningful item (or save until you can do a meaningful upgrade)
- Stop spending once you hit your planned breakpoint
The biggest beginner trap is “reward drift”:
- You finish Nightmare, then buy random stuff, upgrade random pieces, and your power doesn’t increase meaningfully.
Instead, pick a weekly goal:
- weapon upgrade breakpoint,
- a key gear piece upgrade,
- or a core Stigma upgrade milestone,
- and let Nightmare feed that.
Daily Routine: How to Fit Nightmare Into Busy Schedules
Nightmare is ideal for busy players because it’s structured and solo.
A simple daily plan:
- Do Nightmare early in your session (when you’re focused).
- Then do your other content (quests, dungeons, gathering, PvP).
- End your session with economy cleanup (sell, store, upgrade if planned).
A simple weekly plan:
- Pick 1–2 major upgrades to chase.
- Use Nightmare to fund them.
- Push a higher stage only after your farm stage is stable.
This keeps your progress steady without burnout.
Troubleshooting: Why You’re Failing and the Fast Fix
Here are the most common Nightmare failure points and the fastest way to solve them.
Problem: You die to one big hit
- Fix: bind your defensive to an easier key, and use it earlier.
- Add: one survivability upgrade or one defensive Stigma.
Problem: You run out of resources mid-fight
- Fix: simplify rotation, stop overcasting expensive skills, and use efficient tools more.
- Add: one sustain tool or resource efficiency choice.
Problem: The fight takes too long
- Fix: improve core damage consistency, not risky burst.
- Add: weapon upgrade, core damage Stigma, and tighten your burst timing.
Problem: You fail the same mechanic repeatedly
- Fix: identify whether it’s avoidable, must-answer, or punish window.
- Add: practice interrupt timing or movement timing on that one mechanic.
Problem: Your run feels chaotic
- Fix: remove unnecessary skills from the hotbar and create a clean loadout.
- Add: a “safe rotation” you can do while watching mechanics.
Nightmare isn’t a mystery. It’s feedback. Once you listen to it, you climb fast.
Practical Rules
- Farm a stage you can clear reliably before you try to push higher difficulty.
- Build around three pillars: damage, survival, utility—solo clears need all three.
- Bind your defensive save button to an easy key and use it early, not late.
- Use a priority rotation (opener → core loop → burst package → recovery loop), not a complicated script.
- Treat Nightmare entries as valuable: don’t waste them on messy, unprepared runs.
- Upgrade with a plan: weapon first, then the pieces that fix your biggest survival or time issue.
- Convert rewards immediately into your next planned upgrade step, not random spending.
BoostRoom Promo
If you want Nightmare Dungeon clears that feel smooth and repeatable, BoostRoom helps you build a solo-clear plan that actually scales: the right loadout, the right Stigma priorities, and the right upgrade order so you stop wasting entries and start farming gear faster. Whether you’re stuck on a stage, struggling with survivability, or just want faster clear times without burning Kinah, BoostRoom support turns Nightmare into a reliable daily progression engine.
FAQ
Is Nightmare Dungeon worth doing every day?
Yes if your version has daily entries or recharge. It’s one of the most consistent solo sources of progression because it doesn’t depend on party schedules.
What’s the best way to get faster gear from Nightmare?
Farm a stage you can clear reliably, then convert the rewards into planned upgrades (weapon and core power spikes). Consistency beats risky pushes.
How do I know if I should push a higher stage?
Push when your farm stage feels stable: low deaths, clean mechanic handling, and a clear time that doesn’t feel stressful.
Why do I keep dying even after upgrading gear?
Most Nightmare deaths are timing problems: late defensives, missed interrupts, or poor movement. Fix binds and timing before you spend more.
Do I need a special build just for Nightmare?
You don’t need a completely different class, but you should use a specific loadout. Nightmare rewards a solo-complete kit with survival and utility.
What should I upgrade first to improve Nightmare clears?
Usually weapon (or main damage slot) first, then the gear/stats that reduce your biggest incoming damage problem. After that, improve damage consistency.
Should I use expensive consumables in Nightmare?
Use budget consumables for farm runs. Save expensive buffs for push attempts so you don’t go broke.
My damage is fine, but mechanics keep killing me—what do I do?
Identify whether the mechanic is avoidable or must-answer. If it’s must-answer, bind the correct tool (interrupt/cleanse/defensive) to an easy key and practice timing.
Is a tanky build better for beginners?
Often yes. A tankier build clears more reliably early. Once stable, you can shift some choices toward faster clear speed.
How do I stop wasting entries on bad runs?
Do the pre-run checklist, use the same safe loadout each time, and only push difficulty after you can farm consistently.
