Why Mirage Smokes Matter So Much
Mirage rewards teams that understand spacing. The map has strong defender positions, but those positions become weaker when smokes remove their vision. A CT player in Window is dangerous when mid is open. A CT player in Stairs is dangerous when A Ramp and Palace are exposed. A CT player in Market is dangerous when B Apartments players have no cover. Smokes reduce that danger.
Mirage is built around mid control:
Mid connects to Connector, Catwalk, Window, Underpass, B Short, and A rotations. If the T side controls mid, they can split A, split B, fake pressure, punish rotations, and keep the CT side guessing. If the CT side controls mid, they can gather information, rotate faster, and pressure the T side early.
A site needs layered smokes:
A site is hard to enter because defenders can play Ticket, Stairs, Jungle, Connector, Sandwich, Default, Triple, Firebox, and Palace angles. A single smoke is rarely enough for a clean A take. The strongest A executes usually combine Ticket, Stairs, and Jungle or Connector pressure.
B site needs Market control:
B site is smaller, but Market is a huge problem. If Market Window and Market Door are open, CT rotators can fight from safety. Smokes that block Market let the T side plant and move into post-plant positions.
CT smokes delay and deny:
On CT side, smokes are not only for retakes. They stop fast A hits, block B Apartments rushes, delay mid pressure, and help defenders escape bad fights. A smart CT smoke can buy enough time for teammates to rotate.
How to Practice Mirage Smoke Lineups Correctly
The best way to learn Mirage smokes is not to watch 30 lineups once and expect to remember them. Practice one small group at a time. Start with the three smokes you will use most often, then add more after they become automatic.
Practice by purpose:
Do not only memorize where to stand. Memorize why the smoke matters. A Window smoke is for mid control. A Ticket smoke is for A execution and safer planting. A Market Window smoke is for B site isolation. Purpose helps memory.
Practice throw type:
Some smokes are simple left-click throws. Some need jump-throws. Some need running jump-throws. Some require crouch movement. If the throw type is wrong, the smoke may miss even if your crosshair looks correct.
Practice timing:
A perfect smoke thrown too late can still be useless. Window smoke should land before mid players are exposed. A execute smokes should land before entries cross into site. CT defensive smokes should delay the hit before the attackers already explode through the choke point.
Practice recovery:
Smokes sometimes miss. Learn what to do when they do. If your Window smoke misses, do not run mid blindly. If your Market smoke leaves a gap, communicate it. If your Ticket smoke blooms too late, wait or flash before crossing.
Practice with teammates:
Mirage smokes are stronger when combined. One player throws Ticket, another throws Stairs, another throws Jungle, and entries move at the right time. Solo lineups help, but team timing wins rounds.
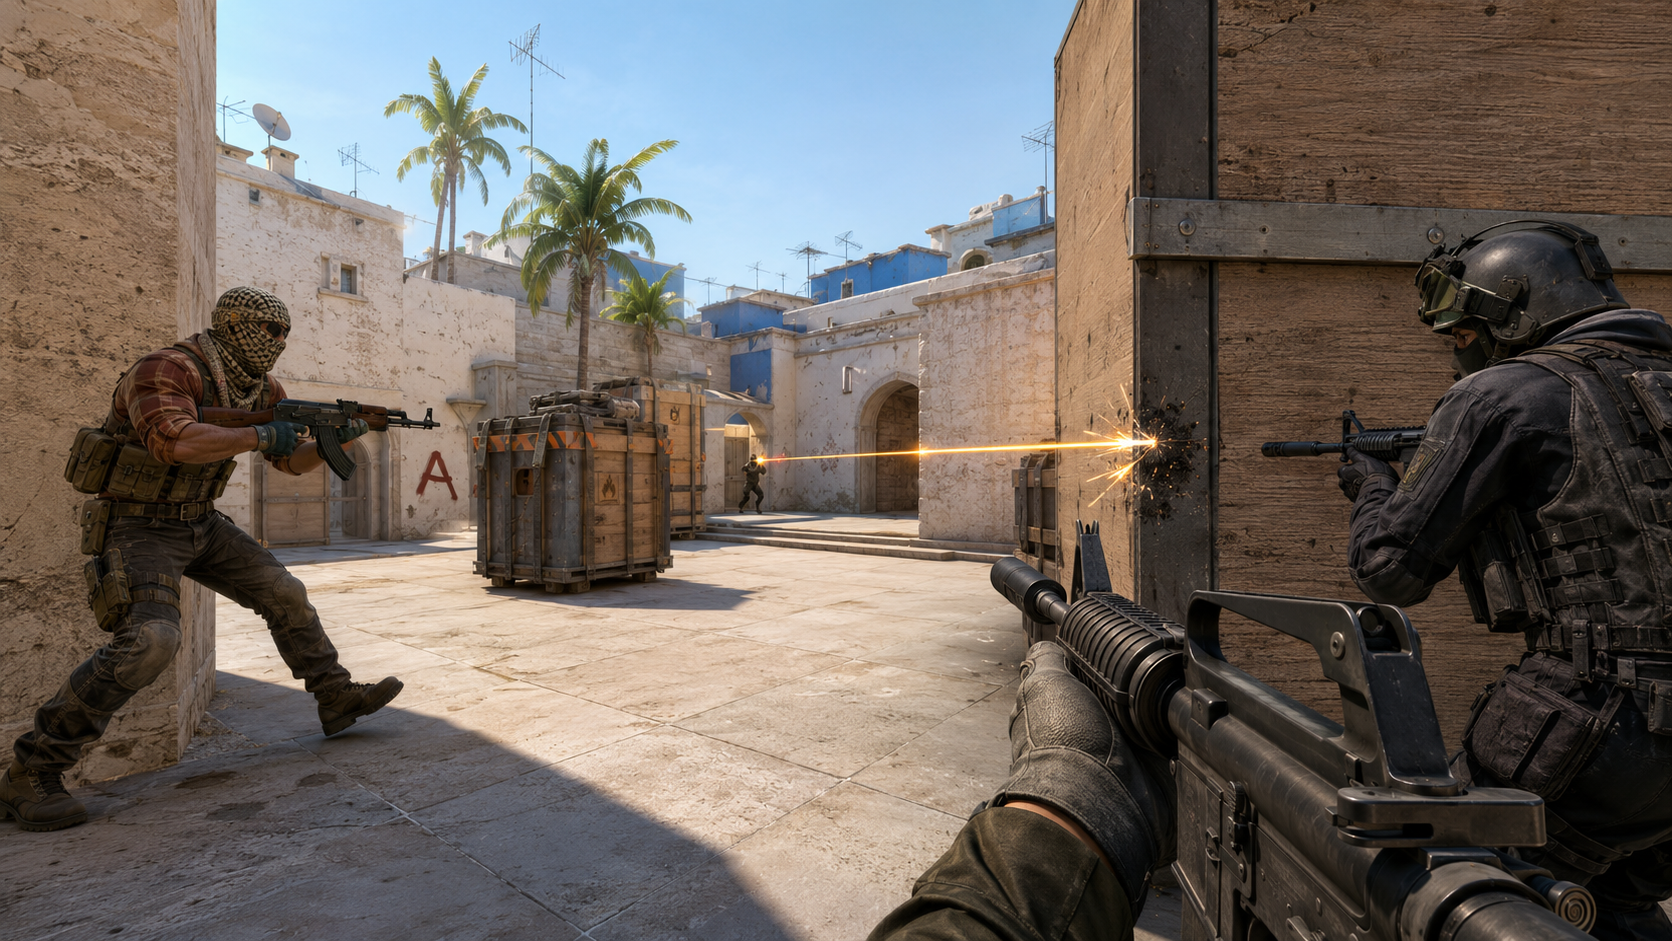
T-Side Mirage Smoke Lineups
T-side smokes are mostly about taking space safely. You use them to block the CT side’s strongest vision, isolate defenders, split sites, and protect plants. These ten T-side smokes cover mid control, A executes, and B executes.
Lineup 1: T Spawn to Mid Window Smoke
Purpose:
The Window smoke is one of the most important smokes on Mirage. It blocks the CT player in Window from seeing top mid, boxes, and early mid movement. Without this smoke, a CT AWPer or rifler can punish the T side before the round begins properly.
How to use it:
Start from the T Spawn area and use the common Window smoke lineup. Depending on the version you practice, this may involve standing near the T Spawn trash can or nearby reference points and using a jump-throw or running jump-throw. The smoke should land inside or directly in front of Window, blocking the CT’s view into mid.
When to throw it:
Throw it early when your team wants mid control. The timing should allow mid players to move before the CT side gets free vision. If your team is not going mid, you may hold the smoke for a later fake or delayed mid split.
Beginner mistake:
Do not throw Window smoke and then send nobody mid. If you spend the smoke, use the space. Even one player holding top mid can make the smoke valuable.
Lineup 2: T Spawn to Top Mid Smoke
Purpose:
Top Mid smoke helps your team move into mid without being exposed to every early CT angle. It can block vision from Window, Connector, Catwalk, or aggressive mid pressure depending on where it lands and how the round develops.
How to use it:
Use a T Spawn lineup, often near the trash can or spawn-side reference area. This is usually a left-click throw or simple lineup depending on the version. The smoke should land around top mid to reduce early CT vision and support teammates moving from T side into mid.
When to throw it:
Use it when your team wants a slower mid default or when you expect CTs to fight early. It can be paired with Window smoke for safer control.
Beginner mistake:
Do not treat Top Mid smoke as a replacement for Window smoke every round. They do different jobs. Window smoke removes the strongest direct CT vision from Window. Top Mid smoke helps control the entry into mid.
Lineup 3: T Side to Connector Smoke
Purpose:
Connector is one of the most important CT rotation and fighting positions on Mirage. A Connector smoke blocks defenders from watching mid and prevents easy rotation into A site. It also helps the T side move through mid or split A.
How to use it:
Common Connector smokes are thrown from T Spawn, near TV, or from mid-side lineup positions. The smoke should land in or near Connector so CT players cannot freely see top mid or underpass movement.
When to throw it:
Use it when your team wants mid control, an A split through Connector, or a delayed mid default. It is especially strong when combined with Window smoke.
Beginner mistake:
Do not walk through your own Connector smoke without a plan. CTs can sit inside or behind it. Flash, clear carefully, and trade if you push through.
Lineup 4: Top Mid to Catwalk / Short Smoke
Purpose:
A Catwalk or Short smoke helps the T side move mid without being pressured from B Short. It also helps when your team wants to split B from mid or stop CT players from peeking from Catwalk.
How to use it:
This smoke is commonly thrown from top mid or nearby mid positions. The smoke should block the Catwalk/Short line so CTs cannot freely see or fight mid players.
When to throw it:
Use it after or alongside Window and Connector pressure. It is especially useful when your team wants to move toward B Short or stop a CT player from holding mid from Catwalk.
Beginner mistake:
Do not smoke Catwalk and ignore Connector. Mid control is layered. If Catwalk is smoked but Connector is open, CTs can still fight you from another powerful angle.
Lineup 5: A Ramp to Ticket / CT Smoke
Purpose:
Ticket, also called CT or CT Spawn smoke, is essential for many A executes. It blocks CT players rotating from spawn and makes it safer to cross onto site, plant, and fight site defenders.
How to use it:
Stand at a practiced A Ramp or T-side lineup position and use a jump-throw or left-click version depending on the lineup. The smoke should land near Ticket Booth or CT Spawn entrance, blocking the deep defender vision into A site.
When to throw it:
Use it when your team commits to A. It should land before teammates cross into exposed plant areas. It is also useful in late-round A hits when CTs are likely rotating from spawn.
Beginner mistake:
Do not rely only on Ticket smoke for an A execute. Stairs and Jungle can still destroy the entry if they are open.
Lineup 6: A Ramp to Stairs Smoke
Purpose:
Stairs is one of the strongest defender positions on A. A player on Stairs can see Ramp, Palace exits, Tetris, Default, and parts of site. Smoking Stairs removes a major angle and helps Palace and Ramp players enter together.
How to use it:
Use a lineup from A Ramp or near the first steps outside T Spawn/A Ramp path. Most common versions are stationary left-click throws. The smoke should land on Stairs and fully block the defender’s view.
When to throw it:
Use it during A executes, especially when Palace players are part of the hit. Stairs smoke is much stronger when combined with Jungle and Ticket smoke.
Beginner mistake:
Do not throw Stairs smoke alone and assume A is safe. CTs can still play Ticket, Jungle, Firebox, Sandwich, Triple, and Default.
Lineup 7: T Roof or A Ramp to Jungle / Connector Smoke
Purpose:
Jungle and Connector are key rotation zones. A smoke here stops CTs from rotating easily into A and blocks defenders from fighting the site take from safety. It also protects players crossing into default plant positions.
How to use it:
This smoke can be thrown from T Roof, A Ramp, or nearby lineup spots depending on the version. It should land between Jungle and Connector, blocking the rotation and cutting off vision into A site.
When to throw it:
Use it in full A executes or mid-to-A splits. If your team already controls Connector, this smoke may be less important. If CTs still own Jungle, it is extremely important.
Beginner mistake:
Do not leave a gap between Jungle and Connector. Even a small gap can let a CT player punish the plant or entry.
Lineup 8: A Ramp to Deep Jungle Smoke
Purpose:
Deep Jungle smoke is useful when you want to block deeper CT rotation vision and make the A site hit safer for Ramp and Palace players. It can also help when you plan a post-plant setup and do not want CTs peeking freely from Jungle.
How to use it:
Use a practiced A Ramp lineup and aim for a deeper Jungle landing. The exact lineup depends on your preferred version, but the smoke should cover the deeper Jungle sightline rather than only clipping the edge.
When to throw it:
Use it when CTs frequently rotate through Jungle or when your team has trouble planting because of late Jungle pressure.
Beginner mistake:
Do not confuse Jungle smoke with Connector smoke. They can overlap, but the exact landing position changes what vision gets blocked.
Lineup 9: Back Alley to Market Window Smoke
Purpose:
Market Window is one of the most important B execute smokes. It blocks CT rotators from seeing into B site and makes it harder for them to stop the plant from Market.
How to use it:
Use a Back Alley or B Apartments approach lineup. Most common versions use a jump-throw from a corner outside or near the apartment path. The smoke should land in Market Window or directly block the window view.
When to throw it:
Use it before a B execute from Apartments or when your team wants a mid-to-B split. It is strongest when paired with Market Door smoke.
Beginner mistake:
Do not forget that CTs can still push through Market Door, Bench, or Short if those areas are not controlled.
Lineup 10: Back Alley to Market Door Smoke
Purpose:
Market Door smoke blocks the second major Market angle. When Market Window and Market Door are both smoked, CT rotators lose their easiest view into the site, and the T side has more room to plant and set up.
How to use it:
Use a Back Alley lineup similar to the Market Window smoke, but adjust the aim point so it lands at Market Door. This is often a jump-throw lineup.
When to throw it:
Use it together with Market Window smoke during B executes. The two-smoke combo is much stronger than either smoke alone.
Beginner mistake:
Do not enter B too slowly after these smokes land. Market smokes have a time limit. If your team waits too long, CTs regain vision.
Lineup 11: Back Alley to Bench Smoke
Purpose:
Bench is a common B site defender position. A Bench smoke can isolate site fights and reduce the number of angles Apartments players need to clear when entering B.
How to use it:
From Back Alley or Apartments approach, use a stationary lineup that lands near Bench. This smoke should block the Bench player’s view or force them into a weaker position.
When to throw it:
Use it when CTs keep anchoring Bench or when your team wants a cleaner B Apartments entry. It can also support a fast B hit if timed with flashes.
Beginner mistake:
Do not assume Bench smoke clears the player. A CT can hide inside, behind, or around the smoke. Clear carefully and trade.
Lineup 12: B Apartments to Van Smoke
Purpose:
Van is a classic B site position that can punish players exiting Apartments. Smoking Van can help the first player out of Apartments survive and create space.
How to use it:
From B Apartments, use a short-range lineup or running throw that lands at Van. This is usually easier than long-distance smokes but still needs practice so it does not bounce badly.
When to throw it:
Use it before or during a B burst when you know a CT likes close Van or when your entries keep dying immediately out of Apartments.
Beginner mistake:
Do not smoke Van and then forget about Short, Bench, and Market. B site has multiple layers.
Lineup 13: Mid to Window Smoke From Top Mid Boxes
Purpose:
This is a useful secondary Window smoke when your first Window smoke fades, misses, or was never thrown. It allows mid players to re-block Window from a forward position.
How to use it:
From top mid boxes or nearby mid cover, throw the smoke toward Window using the practiced lineup. This is often a left-click or movement-based throw depending on your exact position.
When to throw it:
Use it during delayed mid control, late mid splits, or when CTs retake Window after the first smoke fades.
Beginner mistake:
Do not stand exposed while lining it up. Mid is dangerous. Have a teammate hold Connector, Catwalk, or Window pressure while you throw.
Lineup 14: Apartments Ramp to Bottom Connector Smoke
Purpose:
Bottom Connector smoke helps when the T side wants to pressure mid, underpass, or Connector without being exposed to the full Connector angle. It can support mid splits and reduce early CT information.
How to use it:
From Apartments Ramp or nearby T-side approach, use a stationary jump-throw lineup that lands at Bottom Connector. The smoke should block the lower Connector path and make it harder for CTs to fight mid freely.
When to throw it:
Use it when your team plans a mid-to-A split or wants to deny CTs easy Connector control.
Beginner mistake:
Do not smoke Bottom Connector and then ignore Window or Short. This smoke helps one part of mid, not all of mid.
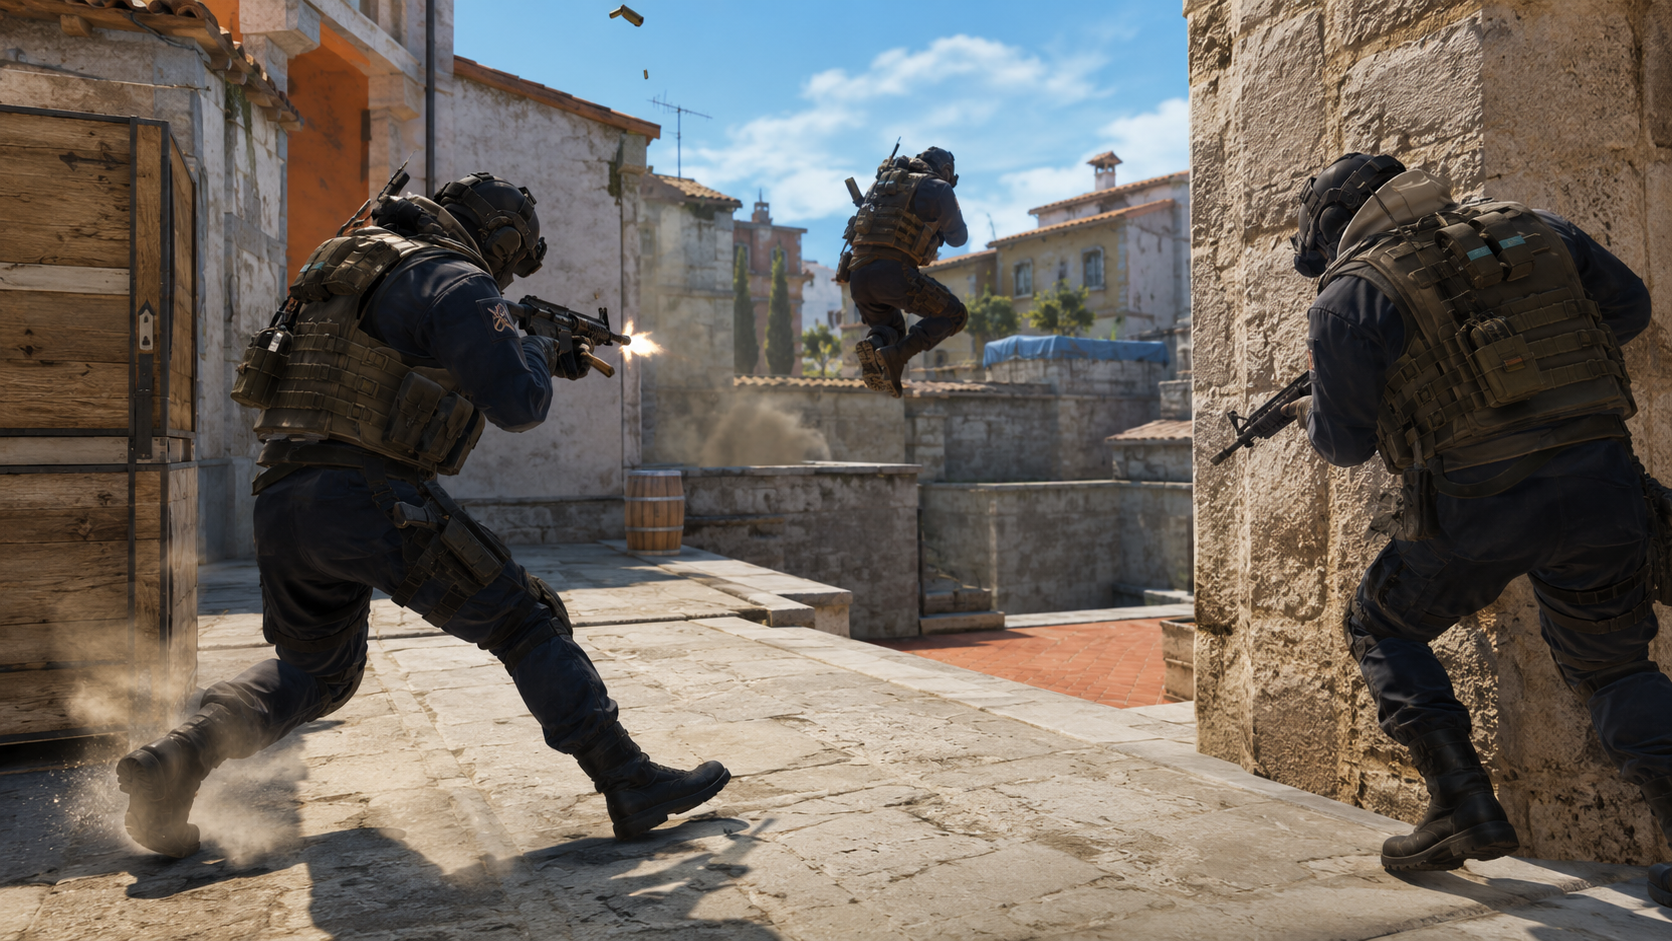
CT-Side Mirage Smoke Lineups
CT-side smokes are about slowing the T side, blocking rushes, denying information, and creating safer rotations. A good CT smoke does not always need to get a kill. Sometimes it wins the round by delaying the attack long enough for teammates to arrive.
Lineup 15: A Site Default to A Main Smoke
Purpose:
A Main smoke from Default blocks T players pushing from A Ramp. It is useful for delaying A executes, breaking T timing, and creating room for defenders to reposition.
How to use it:
From Default or nearby A site cover, use a running or simple throw toward A Main/Ramp entrance. The smoke should land in a way that blocks the Ramp player’s vision into site.
When to throw it:
Use it when you hear A Ramp pressure, when your teammate needs to escape, or when you want to delay a fast A hit.
Beginner mistake:
Do not throw it too early every round. If you smoke A Main instantly every time, the T side may wait it out and execute after it fades.
Lineup 16: Triple Box to A Ramp Smoke
Purpose:
A Ramp smoke from Triple Box is another defensive A smoke that blocks attackers before they fully enter the site. It can stop fast hits and force the T side to use more utility.
How to use it:
From Triple Box, use a running or quick throw toward A Ramp. The smoke should block the Ramp exit or the immediate view from Ramp into A.
When to throw it:
Use it when you hear heavy Ramp presence, when Palace pressure is also possible, or when your team needs rotation time.
Beginner mistake:
Do not stand in the open after throwing. Use the smoke to reposition, not to stare at the same angle and get flashed.
Lineup 17: CT Spawn to Palace Smoke
Purpose:
Palace smoke blocks one of the most annoying A split angles. If Palace is smoked, A defenders can focus more on Ramp and site pressure without worrying as much about a Palace swing.
How to use it:
From CT Spawn or A rotation area, use a jump-throw lineup that lands at Palace exit. The smoke should block Palace players from seeing into site.
When to throw it:
Use it when you suspect an A split, when Palace has been quiet for too long, or when your A anchor calls Palace pressure.
Beginner mistake:
Do not assume Palace is empty because it is smoked. Attackers can still push through. Have someone ready to punish the smoke push or listen for sound.
Lineup 18: B Site to B Apartments Smoke
Purpose:
B Apartments smoke is one of the most important defensive B smokes. It blocks attackers inside Apartments and slows fast B hits.
How to use it:
From B site, use a simple throw toward the Apartments exit. The smoke should land deep enough to stop Apartments players from getting clean vision into B.
When to throw it:
Use it when you hear multiple players in Apartments, when you expect a B rush, or when your teammate needs time to rotate from Short, Market, or CT.
Beginner mistake:
Do not push through your own Apartments smoke alone. Attackers may be waiting on the other side.
Lineup 19: Trash to B Apartments Smoke
Purpose:
This is another defensive B Apartments smoke, often thrown from the Trash/near-site area. It can be more precise and safer depending on where you are holding.
How to use it:
From Trash or nearby B defensive cover, throw the smoke into Apartments entrance. The goal is to block the B Apps exit and make attackers hesitate.
When to throw it:
Use it when playing close B site or when you want to delay without exposing yourself from deeper site positions.
Beginner mistake:
Do not waste both B Apartments smokes from different players at the same time unless the rush is real. Layer them so one smoke fades and another replaces it.
Lineup 20: B Site to Back Apartments Smoke
Purpose:
Back Apartments smoke is useful when you want to slow the T side deeper in Apartments and deny them setup space before they reach the exit. It can make a B execute feel awkward for attackers.
How to use it:
From B site, use a running jump-throw or practiced lineup that lands deeper in Apartments. It is more advanced than a simple Apps exit smoke because the distance and timing matter.
When to throw it:
Use it when your team wants early B control, when the T side keeps grouping in Apartments, or when you want to disrupt their execute before it starts.
Beginner mistake:
Do not throw it if your teammate is trying to push Apartments unless you coordinate. A smoke in the wrong place can block your own information.
Bonus CT Smokes Worth Learning After These 20
Once the 20 essential smokes feel comfortable, add more CT mid smokes to your practice. Mirage CT side becomes much stronger when you can fight mid without exposing yourself to every T angle.
Top Mid from Triple:
This can delay top mid pressure and slow T players before they establish control.
Catwalk from B Short:
This can block mid pressure and help Short players reposition or escape.
Mid Window from Jungle:
This is useful when you need to re-smoke Window from the CT side or stop mid players from abusing Window control.
Top Mid Boxes from Window:
This can deny top mid information and help Window players apply pressure safely.
These are not mandatory for beginners, but they are excellent for players who want deeper Mirage CT utility.
Best Mirage Smoke Combos for Real Matches
Individual smokes are useful, but smoke combinations are what make Mirage feel organized. You do not need a full five-player pro execute. Even two or three smokes thrown together can create a much better round.
Mid control combo:
Window smoke plus Connector smoke plus Catwalk smoke gives the T side a much safer mid setup. Add a flash over mid and one player underpass, and CTs suddenly have to respect multiple threats.
A execute combo:
Ticket smoke plus Stairs smoke plus Jungle/Connector smoke is the classic A-site structure. This blocks the deepest rotation, the main A defender angle, and the Jungle rotation path.
B execute combo:
Market Window smoke plus Market Door smoke is the foundation of a B execute. Add Bench or Van smoke if your team keeps dying to close site players.
CT A delay combo:
A Main smoke plus Palace smoke can slow a full A hit and force the T side to wait, push through smoke, or spend flashes and molotovs.
CT B delay combo:
B Apartments smoke plus a second delayed Apartments smoke can waste a lot of T-side time. If the attackers wait both out, the round clock becomes a problem for them.
Common Mirage Smoke Mistakes
Many players know smoke names but still use them badly. Fixing these mistakes can improve your Mirage results quickly.
Throwing smokes without a plan:
A smoke should support movement, a plant, a fake, a delay, or a retake. If nobody uses the smoke, it becomes wasted utility.
Throwing A smokes too early:
If A smokes land and your team waits too long, CTs can reposition, spam through smoke, or prepare counter-utility. Execute smokes need action behind them.
Leaving smoke gaps:
Small gaps are dangerous on Mirage. A gap in Ticket, Jungle, or Market can give CTs a free fight.
Ignoring smoke pushes:
Smokes block vision, not players. CTs and Ts can push through them. Hold the edge, use flashes, and communicate.
Using the same timing every round:
If you always throw the same smoke at the same second, good opponents will adapt. Mix early, delayed, and fake timings.
Not practicing throw movement:
Jump-throws and running jump-throws require timing. Practice the movement, not just the crosshair placement.
Simple Mirage Smoke Practice Routine
A good smoke routine should be short and repeatable. You do not need to spend hours every day.
Five minutes: mid smokes:
Practice Window, Connector, Top Mid, and Catwalk smokes. These build your default foundation.
Five minutes: A smokes:
Practice Ticket, Stairs, and Jungle/Connector. These are your basic A execute tools.
Five minutes: B smokes:
Practice Market Window, Market Door, Bench, and Van. These help with B hits and late-round calls.
Five minutes: CT defensive smokes:
Practice A Main, Palace, B Apartments, and Back Apartments. These help you delay instead of taking every fight dry.
One match focus:
Use only two or three smokes in your next match and focus on timing. It is better to throw three useful smokes correctly than remember 20 and use none well.
Practical Rules for Mirage Smokes
Rule 1: Learn Window first.
If you play Mirage, Window smoke is one of the first lineups you should master.
Rule 2: Pair A smokes together.
Ticket, Stairs, and Jungle are strongest as a package.
Rule 3: Pair B Market smokes together.
Market Window and Market Door should usually be used together for clean B executes.
Rule 4: Do not waste CT delay smokes early.
Layer defensive smokes so attackers lose time.
Rule 5: Communicate missed smokes.
If your smoke leaves a gap, say it immediately.
Rule 6: Use flashes with smokes.
Smokes block vision, but flashes help you move through dangerous space.
Rule 7: Do not walk through smoke blindly.
Use sound, teammates, and flashes before pushing through.
Rule 8: Practice from both sides.
Mirage is not only about T executes. CT defensive smokes win many rounds.
Rule 9: Use the smoke before the fight.
A smoke thrown after teammates die is usually too late.
Rule 10: Keep improving your utility package.
Start with 20 essentials, then add map-specific variations as you become more comfortable.
How BoostRoom Helps You Improve Mirage Faster
Mirage is a map where small mistakes are punished quickly. A missed Window smoke can lose mid. A late Ticket smoke can get the planter eliminated. A bad Market smoke can ruin a B execute. Utility knowledge matters, but using that knowledge in real matches under pressure is the real challenge.
BoostRoom helps players build structure:
Instead of randomly learning lineups, players can focus on the smokes that match real match situations: mid defaults, A executes, B executes, CT delays, and retakes.
BoostRoom helps with confidence:
When you know what utility to use and why, Mirage feels less chaotic. You stop guessing and start making round plans with purpose.
BoostRoom supports better team impact:
Not every player needs to top frag to be valuable. A player who consistently throws Window, Ticket, Stairs, Jungle, Market, and Apartments smokes can make the whole team better.
BoostRoom is useful for stuck players:
If you already know some smokes but still lose Mirage often, the issue may be timing, communication, positioning, or round decisions. BoostRoom helps players think about improvement more clearly.
FAQ
What is the most important smoke on Mirage in CS2?
The Window smoke is one of the most important Mirage smokes because it helps the T side take mid control safely and stops early CT vision from Window.
How many Mirage smokes should a beginner learn first?
A beginner should start with five core smokes: Window, Connector, Ticket, Stairs, and Market Window. After that, add Jungle, Market Door, Catwalk, B Apartments, and A Main smokes.
What are the best T-side Mirage smokes?
The best T-side Mirage smokes are Window, Connector, Top Mid, Catwalk, Ticket, Stairs, Jungle/Connector, Market Window, Market Door, Bench, and Van.
What are the best CT-side Mirage smokes?
The best CT-side Mirage smokes include A Main, A Ramp, Palace, B Apartments, Back Apartments, Top Mid, Catwalk, Mid Window, and Top Mid Boxes smokes.
Do Mirage smokes still work in CS2?
Yes, Mirage smokes are still extremely important in CS2. Some lineups changed compared to older versions, and CS2 smokes behave differently, so players should practice current CS2 lineups before using them in matches.
Should I learn instant Window smokes?
Yes, instant Window smokes are very useful if you play Mirage often. They help your team take mid faster, but they require precise movement and practice.
Why do my Mirage smokes leave gaps?
Gaps usually happen because of wrong positioning, wrong aim point, wrong movement timing, or wrong throw type. Practice the lineup in a private server and repeat it until the smoke lands consistently.