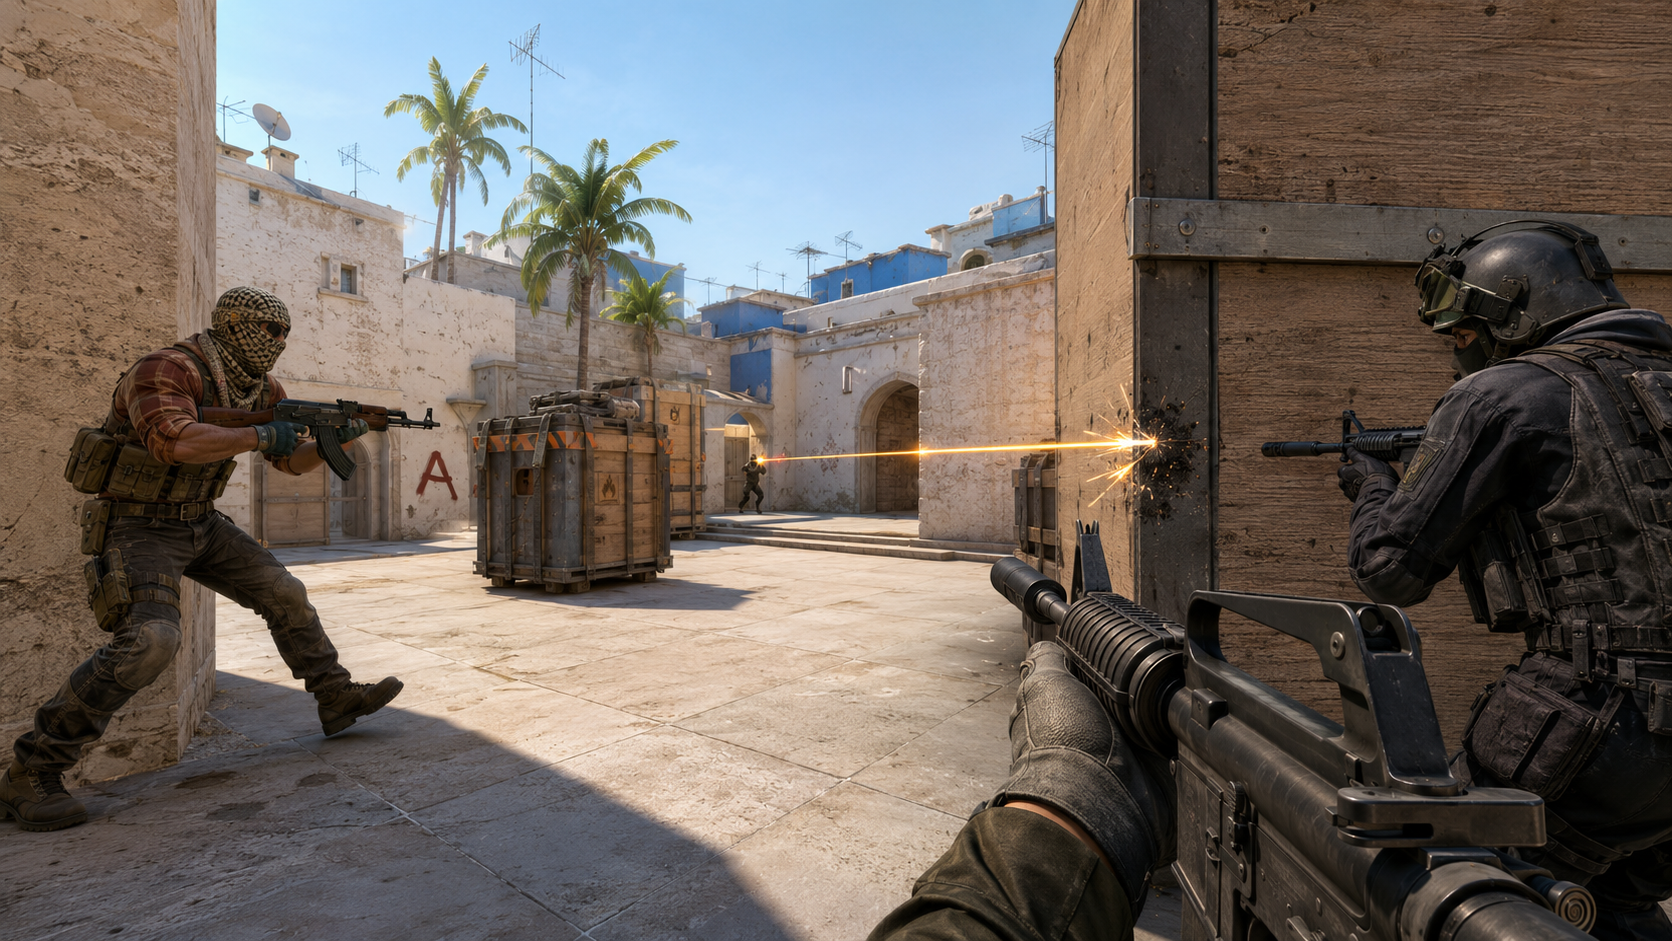
Why Inferno Is So Utility-Heavy
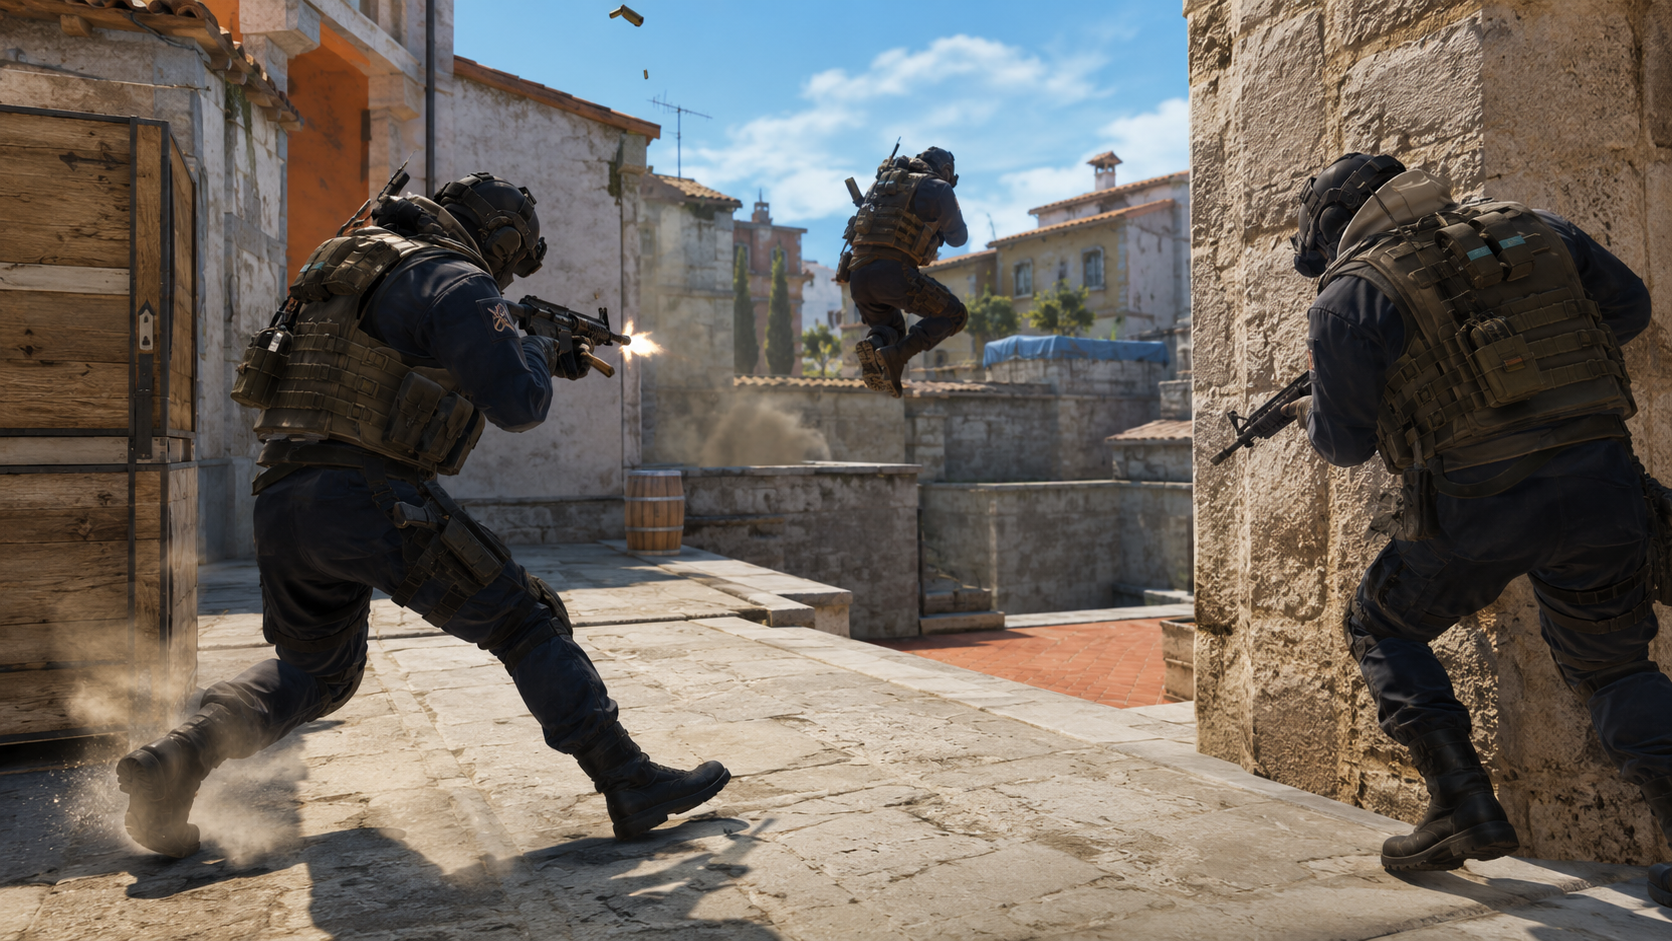
Inferno is built around narrow paths and layered defensive positions. That means players often cannot simply walk into important areas and expect fair duels. The map rewards teams that use utility to control timing, deny vision, and force opponents into uncomfortable choices.
Banana is the heart of the map:
Banana control is one of the most important parts of Inferno. If the T side controls Banana, they can pressure B, force rotations, fake late, and keep the CT side uncertain. If the CT side controls Banana, they can stack A, gather information, and make the T side’s late-round options much weaker.
B site is hard without smokes:
B site has strong defensive angles. CT, Coffins, New Box, Oranges, and Dark can all punish attackers. Without smokes, entering B from Banana is extremely risky. With the right smokes, attackers can isolate the site and plant safely.
A site has too many angles:
A site is difficult because defenders can play Pit, Balcony, Short, Long, Truck, Site, Graveyard-style areas depending on current layout, and Library rotation. A smoke or flash can remove one of those threats long enough for the attack to move.
Flashes are powerful because chokepoints are tight:
Inferno has many places where players must move through small gaps. A good flash in Banana, Mid, Apartments, Short, or B entrance can blind several players at once. That makes flash timing extremely valuable.
Utility creates time:
CTs need time for rotations. Ts need time to take control and execute. Smokes and flashes help both sides control the clock. Ranked teams that manage utility timing usually look much more organized than teams that throw everything randomly.
The Ranked Mindset for Inferno Utility
Ranked Inferno is different from team-practice Inferno. In a full team, everyone may know exact execute timing. In ranked, teammates may not know your plan unless you communicate. That means your utility must be easy to call and easy to use.
Simple utility beats complicated utility:
A basic CT smoke thrown correctly is better than an advanced lineup you miss under pressure. Start with essential smokes and flashes before learning advanced variations.
Use utility with a purpose:
Every smoke and flash should answer a question. What angle are you blocking? Who are you flashing? What space are you taking? What push are you delaying?
Say your utility out loud:
Short calls are enough. “Smoking CT,” “flashing Banana,” “flash over B,” “smoking Long,” or “I flash Short” can completely change how teammates play.
Do not die with full utility:
One of the biggest ranked mistakes is buying grenades and dying before using them. If you are about to take a dangerous fight, ask whether a smoke or flash should come first.
Do not throw everything early:
Inferno rounds often slow down. If your team uses all smokes and flashes in the first 20 seconds without taking space, the late round becomes much harder.
Must-Know T-Side Inferno Smokes
T-side smokes on Inferno are mostly about taking map control and executing onto bombsites. You should first learn smokes that support Banana control, B site hits, A site pressure, and late-round safety.
T-Side Smoke 1: Banana CT Smoke
Purpose:
The Banana CT smoke is one of the most important T-side smokes on Inferno. It blocks the CT rotation angle at the back of B and makes it much safer to enter the site from Banana. Without this smoke, CT players rotating from spawn can hold the entrance and stop the plant.
When to use it:
Use it when your team is committing to B, when you have Banana control, or when you want to fake B pressure. It is especially strong when paired with a Coffins smoke.
How to think about it:
This smoke should land deep enough to block CT vision clearly. A weak CT smoke can leave gaps, allowing defenders to see your players crossing or planting.
Ranked tip:
Call “I smoke CT” before throwing it. Teammates will be more likely to prepare for a B hit instead of waiting in Banana.
T-Side Smoke 2: Coffins Smoke
Purpose:
Coffins is one of the strongest B site defender positions. A CT player at Coffins can see Banana entry, fight the planter, and delay the entire hit. Smoking Coffins cuts off this powerful angle.
When to use it:
Use it during B executes, especially when you expect a defender playing deep site or when your team keeps losing to players behind Coffins.
How to think about it:
The Coffins smoke and CT smoke work as a pair. CT smoke blocks rotation vision, while Coffins smoke blocks the deep site anchor. Together, they make B much easier to enter.
Ranked tip:
After Coffins is smoked, do not ignore Oranges, Dark, New Box, or close site. Smokes block vision, but they do not clear the site.
T-Side Smoke 3: Top Banana Smoke
Purpose:
Top Banana smoke helps the T side control Banana without being exposed to every CT angle. It can block deep vision and make it harder for CTs to fight comfortably from top Banana or B entrance areas.
When to use it:
Use it during early Banana control, especially if CTs keep fighting aggressively with flashes and incendiary utility.
How to think about it:
This smoke is not always a full execute smoke. It is often a map-control smoke. It lets your team move up, hold ground, and decide whether to commit later.
Ranked tip:
Do not throw Top Banana smoke and then leave Banana completely. If you spend utility to take space, someone should use or hold that space.
T-Side Smoke 4: Deep Banana / CT Pressure Smoke
Purpose:
A deeper Banana smoke can force CTs away from forward Banana positions and make it uncomfortable for them to gather information. It can also create a timing window where Ts can take logs, car, half-wall, or top Banana control.
When to use it:
Use it when the CT side is constantly contesting Banana early. It is useful against aggressive CTs who like to fight before the T side sets up.
How to think about it:
This smoke is about pressure. It tells the CT side that Banana will not be free. If they want information, they must use utility, push through smoke, or take a risk.
Ranked tip:
Pair it with a flash or HE-style support from teammates. A smoke alone may slow the CT side, but a flash can punish them if they push through.
T-Side Smoke 5: Arch / Long Smoke
Purpose:
Arch and Long control are key parts of A-side pressure. A smoke toward Arch or Long can block CT rotation vision and help the T side split A from Short, Long, and Apartments.
When to use it:
Use it when your team wants to pressure A from Mid or take control away from Long-side defenders.
How to think about it:
A Long smoke can help isolate A site defenders and prevent fast rotations through Arch. This makes A hits easier and can also sell a fake.
Ranked tip:
If you smoke Long, communicate whether your team is actually going A or just creating pressure. A smoke with no follow-up may not create enough value.
T-Side Smoke 6: Moto / Library Smoke
Purpose:
Moto and Library are dangerous rotation areas for CTs defending A. A smoke here can block defenders rotating from Library and make it easier for Ts to cross, plant, or fight site positions.
When to use it:
Use it during A executes, especially when you are hitting from Short and Apartments or when CT rotations keep stopping your plant.
How to think about it:
This smoke helps reduce the number of angles your team must fight. Instead of worrying about deep Library vision and site defenders at the same time, you can focus on closer positions first.
Ranked tip:
A Moto or Library smoke is strongest when paired with flashes over A. Do not simply smoke and walk in silently if defenders are waiting close.
T-Side Smoke 7: Short / Lane Pressure Smoke
Purpose:
Short and Lane areas are important for A control. A smoke here can help your team cross, isolate Pit, or pressure the site without being destroyed by a defender holding from the opposite side.
When to use it:
Use it when entering A from Mid or when your team wants to force CTs away from Short-side angles.
How to think about it:
This smoke is situational. It should help your specific A plan. Do not throw it randomly if your team is not ready to move.
Ranked tip:
If Pit is still alive and unpressured, a Short-side smoke alone will not win A. Use flashes and trades to clear Pit and Balcony-style positions.
T-Side Smoke 8: Apartments Exit / Balcony Support Smoke
Purpose:
Apartments can be powerful, but exiting Apartments without support is risky. A support smoke near the exit or Balcony side can make it harder for site defenders to isolate the apartment player.
When to use it:
Use it when your team wants an Apartments split onto A or when you know CTs are playing aggressive Balcony/Pit setups.
How to think about it:
Apartments pressure is strongest when synchronized with Short or Long pressure. A smoke can help the Apartments player survive the exit and create a crossfire.
Ranked tip:
Do not jump out Apartments alone with no flash and no timing. Even a good smoke cannot fix a disconnected attack.
Must-Know T-Side Inferno Flashes
Flashes are what turn smokes into action. On Inferno, T-side flashes are essential for Banana control, B entries, A splits, and Apartments pressure.
T-Side Flash 1: Early Banana Flash
Purpose:
The early Banana flash helps your team fight for Banana control. It can blind CTs trying to peek from car, half-wall, or top Banana.
When to use it:
Use it at the start of rounds when your team wants Banana control, especially if CTs have been aggressive.
How to think about it:
The flash should pop where CTs are looking, not behind your teammates. Timing matters. Your teammate should swing as the flash pops.
Ranked tip:
Say “flashing Banana” before throwing. Your teammates need to know when to turn and when to swing.
T-Side Flash 2: Car / Half-Wall Pop Flash
Purpose:
This flash is designed to punish CTs playing around car or half-wall. It is useful when the CT side keeps taking early Banana fights.
When to use it:
Use it after your team reaches lower Banana or when you are about to clear close Banana positions.
How to think about it:
A pop flash should explode quickly after becoming visible, giving defenders less time to turn away.
Ranked tip:
Do not overuse the same flash timing every round. Good CTs will learn to turn or fall back.
T-Side Flash 3: Top Banana Entry Flash
Purpose:
This flash helps your team swing into top Banana or B entrance. It can blind defenders holding from sandbags-style areas, B entrance, or close site angles.
When to use it:
Use it before your team commits to a B execute or when you want to force CTs off top Banana.
How to think about it:
This flash should support movement. If nobody swings with it, the flash is wasted.
Ranked tip:
One player should throw, another should enter. Team flashes are usually stronger than self flashes because the entry player keeps their weapon ready.
T-Side Flash 4: B Site Pop Flash
Purpose:
A B site pop flash blinds defenders playing close site, Oranges, New Box, or near Coffins depending on where it pops. It helps entries move through the choke point.
When to use it:
Use it right as your team moves through Banana into B site, especially after CT and Coffins smokes are active.
How to think about it:
The flash should explode as your entries cross into danger. If it pops too early, defenders recover. If it pops too late, your teammates get blinded.
Ranked tip:
Call “flash site, go after it” so teammates understand the timing.
T-Side Flash 5: Mid / Top Mid Flash
Purpose:
A Mid flash helps Ts fight CTs peeking Top Mid, Short, or Long-side angles. It is useful for taking Mid control without giving CTs clean duels.
When to use it:
Use it when your team wants to pressure A, split Mid, or stop CTs from freely taking information.
How to think about it:
A good Mid flash gives your teammate a timing advantage. It should be thrown before the peek, not after the duel starts.
Ranked tip:
If you are solo queueing, a simple “I flash Mid, swing” can create easy kills with random teammates.
T-Side Flash 6: Short / A Entry Flash
Purpose:
This flash supports an A hit through Short. It can blind defenders holding close site, Pit-side angles, or Short pressure positions.
When to use it:
Use it when your team is moving up Mid and preparing to enter A through Short.
How to think about it:
Short flashes must avoid blinding your own front player. Practice timing and communicate clearly.
Ranked tip:
Short entry is much stronger when Apartments also applies pressure. Use the flash as part of a two-direction attack when possible.
T-Side Flash 7: Apartments Pop Flash
Purpose:
Apartments pop flashes help clear close Apartments, Balcony, or exit pressure. They are useful when CTs fight aggressively from Apartments or when a player wants to jump out.
When to use it:
Use it before clearing Apartments, before jumping out, or when supporting a teammate leaving Apartments into A.
How to think about it:
Apartments fights are close and fast. A flash here must be quick and hard to dodge.
Ranked tip:
Do not flash your own Apartments player as they jump out. The timing should help them, not blind them.
Must-Know CT-Side Inferno Smokes
CT-side smokes are mainly used to delay, deny information, and survive pressure. On Inferno, a good CT smoke can stop a rush, force Ts to waste time, or allow a defender to escape.
CT-Side Smoke 1: Banana Entrance Smoke
Purpose:
A Banana entrance smoke blocks T-side vision and slows early Banana pressure. It can stop attackers from taking control quickly.
When to use it:
Use it early when your team wants to delay Banana or when you expect a fast B setup from Ts.
How to think about it:
This smoke buys time. It does not win Banana by itself. Combine it with flashes, sound discipline, and teammate support.
Ranked tip:
Do not stand too close to the smoke without a plan. Ts may push through with a flash.
CT-Side Smoke 2: Half-Wall Smoke
Purpose:
Half-wall smoke helps CTs contest or delay Banana without exposing themselves too deeply. It can make it harder for Ts to take top Banana control.
When to use it:
Use it when your B pair wants to fight Banana early or delay T-side progress.
How to think about it:
This smoke changes the shape of the Banana fight. It can force Ts into awkward movement or make them spend utility to continue.
Ranked tip:
If you smoke half-wall, be ready for Ts to wait it out. Do not waste all your B utility at once.
CT-Side Smoke 3: Deep Banana Smoke
Purpose:
A deep Banana smoke pushes the T side away from comfortable Banana control. It can deny information and force attackers to wait before setting up.
When to use it:
Use it when your CT side wants early map control or wants to disrupt T-side default timing.
How to think about it:
This is an aggressive control smoke. It is strongest when paired with a flash or teammate ready to punish.
Ranked tip:
Do not throw deep Banana smoke and then ignore Banana completely. If you use it for control, listen for footsteps and watch for push-throughs.
CT-Side Smoke 4: Bottom Mid Smoke
Purpose:
Bottom Mid smoke can slow T-side Mid pressure and make it harder for attackers to take fast control toward A.
When to use it:
Use it early if Ts are rushing Mid, or later if you need to block information and reposition.
How to think about it:
Bottom Mid smoke is a delay and information-denial tool. It can make Ts hesitate and buy time for CTs to set their defense.
Ranked tip:
If you always smoke Bottom Mid instantly, Ts may wait and execute after it fades. Mix your timing.
CT-Side Smoke 5: Apartments / Boiler Smoke
Purpose:
Apartments or Boiler smoke helps slow Apartments pressure and can stop Ts from easily setting up an A split.
When to use it:
Use it if Ts are repeatedly taking Apartments control or jumping out Balcony.
How to think about it:
This smoke protects A defenders from being overwhelmed by multiple angles at once.
Ranked tip:
Do not use it as your only Apartments answer. Pair it with sound information, flashes, or a teammate holding close.
CT-Side Smoke 6: A Short Delay Smoke
Purpose:
A Short delay smoke can stop or slow Ts entering A from Short. It can also let defenders reposition from site, Pit, or Long.
When to use it:
Use it when you hear Mid pressure or when Ts are setting up an A hit.
How to think about it:
This smoke breaks the timing of the attack. Even a few seconds can let rotators arrive or allow defenders to reposition.
Ranked tip:
After throwing it, do not assume the push is canceled. Ts may wait, flash through, or split from Apartments.
CT-Side Smoke 7: B Retake CT Smoke
Purpose:
A CT-side B retake smoke can block post-plant vision from Banana or site positions and help defenders enter B with less exposure.
When to use it:
Use it during B retakes when attackers have planted and are playing from Banana, site, or dark corners.
How to think about it:
Retake smokes are not only for defusing. They help isolate fights and force attackers to move.
Ranked tip:
Call the retake before throwing. If teammates are not ready, the smoke may fade before anyone uses it.
Must-Know CT-Side Inferno Flashes
CT flashes on Inferno are extremely important because they stop rushes, help teammates escape, and allow defenders to take map control. A good CT flash can win Banana or shut down an A hit before it begins.
CT-Side Flash 1: Banana Anti-Rush Flash
Purpose:
This flash stops fast Banana pressure. It can blind Ts running up Banana and allow B defenders to fight or fall back.
When to use it:
Use it when you hear fast steps, utility explosions, or repeated T-side Banana rushes.
How to think about it:
The flash should pop in front of the rushing Ts, not behind them. It should support your teammate’s position.
Ranked tip:
Tell your B teammate when the flash is coming. A simple “flash Banana now” can create an easy multi-kill opportunity.
CT-Side Flash 2: Half-Wall Fight Flash
Purpose:
This flash helps CTs fight around half-wall or top Banana. It is useful when you want to contest Banana rather than give it away.
When to use it:
Use it early when both B players are ready to fight, or mid-round when retaking Banana control.
How to think about it:
This is a team flash. One player throws while the other swings. If both players are holding grenades, nobody is ready to kill.
Ranked tip:
Do not fight Banana alone every round. Use flashes with teammates or fall back when utility is gone.
CT-Side Flash 3: Car Retake Flash
Purpose:
A Car retake flash helps CTs regain Banana space after the T side takes it. This can be important if your team wants information before the late round.
When to use it:
Use it when Ts have top Banana control but have not committed to B yet.
How to think about it:
The flash should force Ts off angles long enough for CTs to peek, gather information, or retake space.
Ranked tip:
Do not overextend after the flash if you do not have support. Getting one piece of information and surviving can be enough.
CT-Side Flash 4: Mid Anti-Rush Flash
Purpose:
This flash slows or stops fast Mid pressure from Ts. It can help A defenders fight Top Mid, Short, or Long-side entries.
When to use it:
Use it when Ts repeatedly rush Mid or when your A players need help holding early pressure.
How to think about it:
The flash should pop where Ts are looking as they move up Mid. It is strongest when a teammate peeks off it.
Ranked tip:
If your teammate calls “they rush Mid,” use the flash immediately. Delayed anti-rush flashes often arrive too late.
CT-Side Flash 5: Apartments Flash
Purpose:
Apartments flash helps CTs clear or contest Apartments. It is useful when Ts lurk there, when you suspect an Apartments split, or when a teammate is trapped.
When to use it:
Use it before peeking Apartments or before helping a teammate escape from close pressure.
How to think about it:
Apartments is close-range and dangerous. A flash can turn a risky clear into a favorable fight.
Ranked tip:
Do not dry peek Apartments if Ts keep abusing it. Ask for a flash or smoke before clearing.
CT-Side Flash 6: A Retake Flash
Purpose:
A retake flash helps CTs enter A site after Ts take it. It can blind players in Pit, site, Short, or Apartments-side post-plant positions depending on the throw.
When to use it:
Use it when rotating from Library, Long, or Short and your team is ready to retake together.
How to think about it:
Retake flashes need coordination. If one player flashes and nobody swings, the attackers recover.
Ranked tip:
Say “flash over A, swing after” so teammates know the timing.
Inferno Banana Control Utility Plan
Banana is the most important area to understand on Inferno. Both sides can win rounds by controlling it, denying it, or faking pressure around it.
T-side Banana plan:
Start with a flash or smoke to stop early CT aggression. Move up carefully. Clear close angles. Use another flash to take top Banana. Once you own Banana, decide whether to hit B, fake B, or leave one player holding while the rest pressure A.
CT-side Banana plan:
Use smoke and flash combinations to delay Ts. Fight only when supported. If you lose Banana, do not panic. Fall back to site, save utility, and prepare a coordinated retake or site hold.
Common Banana mistake:
Teams often spend utility to take Banana and then do nothing with it. If Ts control Banana, they should use that pressure to force rotations, execute B, or fake. If CTs control Banana, they should communicate and adjust the defense.
Best ranked habit:
Every Inferno round should have a Banana plan. Even if your team is going A, someone should know whether Banana is controlled, smoked, ignored, or being faked.
Inferno B Site Execute Utility Plan
B site is difficult because the entrance from Banana is narrow. The T side needs utility to block deep defenders and rotators.
Basic B execute:
Smoke CT. Smoke Coffins. Flash over site. Clear close angles. Trade through the choke. Plant safely. Set up post-plant positions.
Why the CT smoke matters:
It blocks rotations and stops defenders from freely seeing the plant. Without it, CT players can delay the hit from safety.
Why the Coffins smoke matters:
It removes one of the strongest B anchor positions. A Coffins player can be extremely hard to clear without utility.
Why the flash matters:
Smokes do not blind site players. A flash forces close defenders to turn or hide, giving entries time to move.
Ranked problem:
Many teams throw CT and Coffins smokes, then wait in Banana. This wastes the execute. Once smokes are active and flashes are ready, the team must move.
Inferno A Site Execute Utility Plan
A site is more open than B but has more angles. Good A utility is about splitting defender attention and blocking rotation vision.
Basic A execute:
Smoke Long, Moto, or Library depending on the plan. Flash Short or site. Pressure from Mid and Apartments if possible. Clear Pit and close site positions. Plant with cover.
Why Long or Arch smoke matters:
It blocks rotation and makes it harder for CTs to fight from deep positions.
Why Moto or Library smoke matters:
It stops defenders from freely rotating and holding the plant from safety.
Why Apartments pressure matters:
A site becomes much easier when defenders must worry about both Short and Apartments. A single-direction A hit is easier to stop.
Ranked problem:
Many T players hit A from one path only. Inferno A is stronger when teammates split pressure from Mid and Apartments, even with simple flashes.
Inferno Retake Utility Plan
Retakes on Inferno are hard because both sites allow strong post-plant positions. Utility makes retakes possible.
B retake plan:
Use a smoke to block Banana or site vision. Flash over site. Clear close corners together. Do not enter one by one. If attackers are playing Banana, isolate them with smoke and force them to peek.
A retake plan:
Use flashes from Library, Long, or Short to blind site and Pit players. Smoke key post-plant lines when possible. Clear angles in order instead of running into the site randomly.
Communication matters:
Retakes fail when one player throws a flash, another is saving, and another runs in alone. Say whether the team is retaking, saving, or waiting for utility.
Ranked tip:
Use utility before you cross dangerous lines. Dying with a smoke and flash in a retake is usually worse than using them imperfectly.
Common Inferno Utility Mistakes in Ranked
Inferno punishes bad utility habits quickly. Fixing these mistakes can improve your ranked results faster than simply grinding more matches.
Throwing Banana utility but not taking Banana:
If Ts use flashes and smokes for Banana, they should take space or create pressure. Utility without map control is wasted.
Using CT smoke too late on B:
A CT smoke that lands after two teammates die entering B is not useful. Throw execute smokes before the team crosses.
Flashing teammates in choke points:
Inferno choke points are tight, so bad flashes hurt your team badly. Always call flashes and understand where teammates are looking.
Smoking without knowing what it blocks:
A random smoke can help the enemy. Know whether your smoke blocks CT, Coffins, Long, Moto, Library, Bottom Mid, or Banana.
Using all CT utility too early:
If CTs throw all Banana utility instantly and Ts wait it out, B becomes weak late round. Layer utility instead of dumping it all.
Never saving utility for retakes:
A smoke or flash in a retake can win the round. Do not use every grenade in the first few seconds unless there is a clear reason.
Ignoring Apartments:
Many ranked teams focus only on Mid and Banana. Apartments pressure can break A defenses, and Apartments flashes can prevent surprise deaths.
Simple Inferno Utility Routine for Ranked Players
A short practice routine can make these smokes and flashes feel natural. You do not need to practice every lineup in the game. Start with the essentials.
Five minutes: Banana utility:
Practice one T-side Banana flash, one CT-side Banana smoke, and one Banana retake flash. Banana is too important to ignore.
Five minutes: B execute utility:
Practice CT smoke, Coffins smoke, and one B site pop flash. This gives you a basic ranked B hit.
Five minutes: A utility:
Practice one Long or Arch smoke, one Moto or Library smoke, and one A entry flash. This gives you a basic A structure.
Five minutes: CT delay utility:
Practice Bottom Mid smoke, Apartments smoke, and B Apartments/Banana delay smoke. These help you survive ranked rushes.
One match focus:
In your next ranked match, focus on only two or three utility pieces. Use them correctly instead of trying to remember everything at once.
Practical Rules for Inferno Smokes and Flashes
Rule 1: Always have a Banana plan.
Inferno rounds often revolve around Banana. Know whether your team is fighting it, smoking it, giving it up, or retaking it.
Rule 2: Pair B smokes together.
CT smoke and Coffins smoke are much stronger as a pair than alone.
Rule 3: Flash before entering.
Smokes block vision, but flashes help you beat defenders still inside the site.
Rule 4: Do not waste all utility early.
Inferno late rounds are common. Save at least one useful grenade when possible.
Rule 5: Communicate simple calls.
“I flash Banana,” “smoke CT,” and “flash site” are enough to make ranked teammates play better.
Rule 6: Do not dry clear every corner.
Use flashes for close fights and smokes for dangerous long angles.
Rule 7: Respect smoke pushes.
Smokes are not walls. Enemies can push through them, especially in ranked.
Rule 8: Practice current CS2 lineups.
Old lineups may not always work the same way after map and engine changes. Practice in CS2 before ranked.
Rule 9: Use utility to create fair fights.
The point is not to throw grenades because you bought them. The point is to remove bad fights and create good ones.
Rule 10: Become useful even without top fragging.
A player who throws good smokes and flashes every round can have huge impact even without the highest kills.
How BoostRoom Helps You Improve Inferno Utility
Inferno can feel frustrating when your team has no structure. One player rushes Banana alone, another holds Apartments forever, someone throws a late smoke, and the round falls apart. BoostRoom helps players approach maps like Inferno with more confidence and clearer goals.
BoostRoom helps with structured improvement:
Instead of randomly learning lineups, you can focus on the utility that matters most for ranked: Banana control, B executes, A pressure, CT delays, and retakes.
BoostRoom helps players become better teammates:
Good utility makes your team stronger. If you can flash teammates into Banana, smoke CT for B, and support A retakes, you become valuable in almost every Inferno match.
BoostRoom helps when aim is not enough:
Many players lose Inferno because they take bad fights without utility. BoostRoom can help players focus on smarter round habits, not just mechanics.
BoostRoom supports ranked confidence:
When you know what to throw and why, ranked feels less random. You can enter matches with a plan, communicate better, and build more consistent progress.
FAQ
What are the most important Inferno smokes in CS2?
The most important Inferno smokes include Banana CT smoke, Coffins smoke, Top Banana smoke, Long or Arch smoke, Moto or Library smoke, Bottom Mid smoke, Apartments smoke, and B retake smokes. For ranked, CT and Coffins smokes on B are especially important.
What are the best Inferno flashes for ranked?
The best Inferno flashes for ranked include early Banana flashes, Half-Wall pop flashes, B site pop flashes, Mid flashes, Short entry flashes, Apartments flashes, CT Banana anti-rush flashes, and A retake flashes.
Why is Banana control so important on Inferno?
Banana control decides how much pressure exists on B site. If the T side controls Banana, they can execute B, fake B, or force CT rotations. If the CT side controls Banana, they can gather information and strengthen the rest of the map.
What utility should I learn first on Inferno?
Start with Banana utility, CT smoke for B, Coffins smoke, one B pop flash, one Long or Arch smoke, one Moto or Library smoke, and one CT-side Banana delay smoke. These are practical and useful in most ranked games.
Should I learn exact Inferno smoke lineups?
Yes. Text explanations help you understand the purpose, but exact lineups need practice. Use a private server or utility practice map to repeat each smoke until it lands consistently.
Why do my Inferno smokes leave gaps?
Gaps usually happen because of wrong positioning, wrong aim point, wrong movement, or wrong throw timing. Practice the same lineup repeatedly and check whether the smoke fully blocks the intended angle.
How do I avoid flashing my teammates on Inferno?
Call your flashes before throwing them and understand where teammates are looking. Use short calls like “flashing Banana” or “flash site now.” Timing and communication prevent most team flashes.