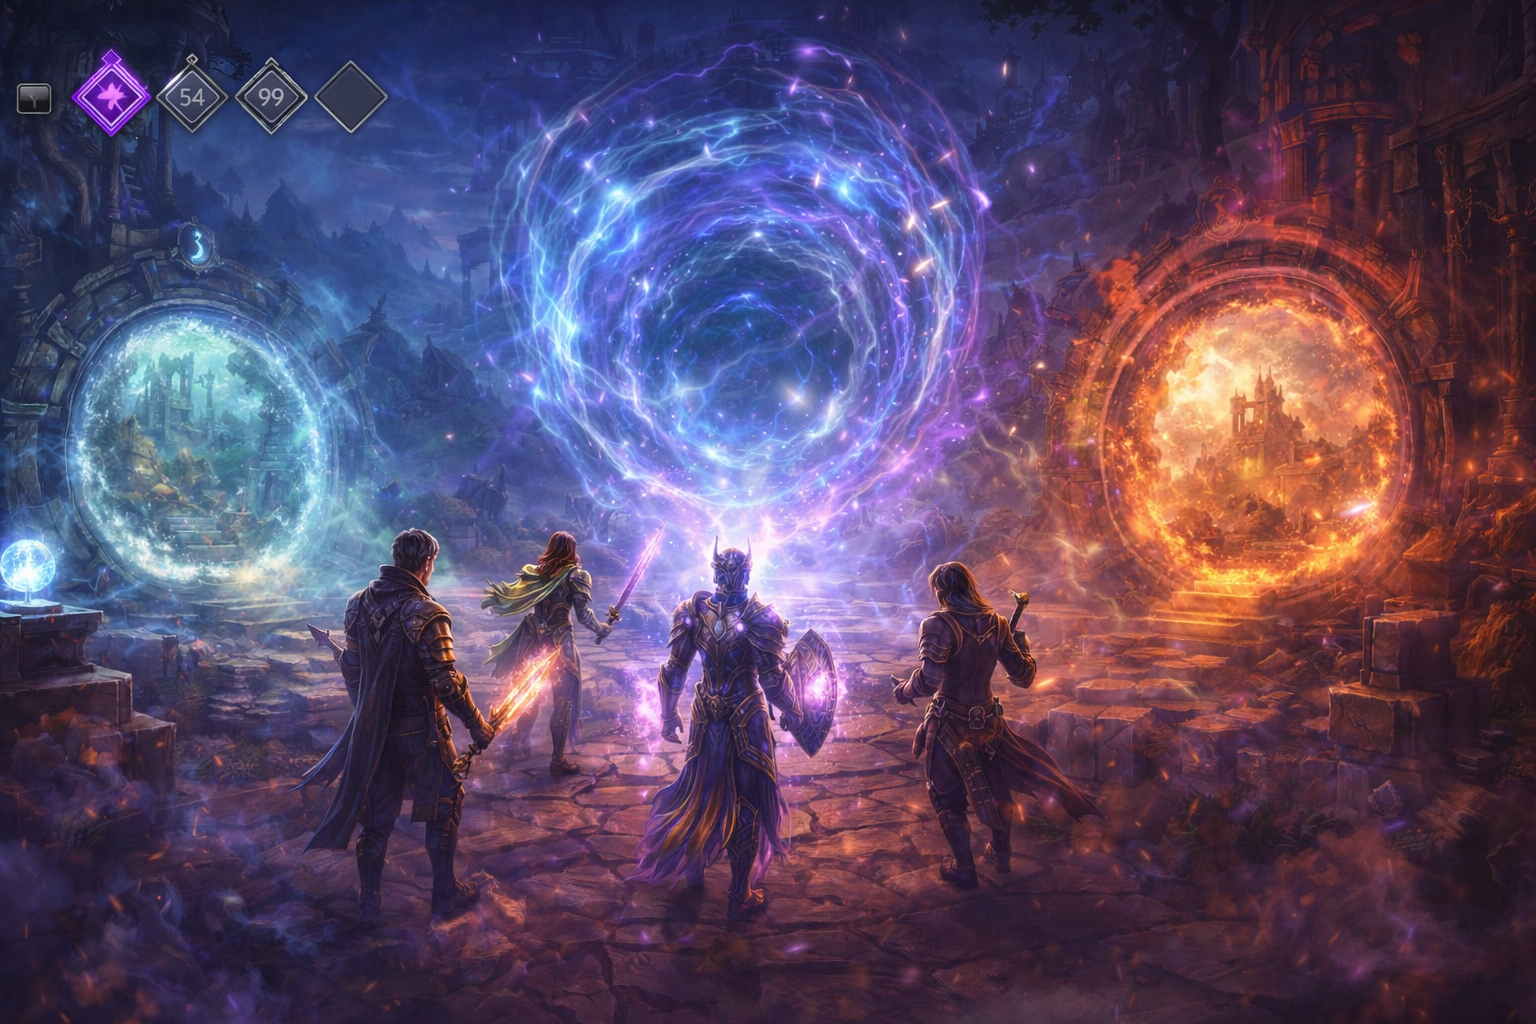
- Tier 1: scales 1–25 (intro tier)
- Tier 2: scales 26–50 (one instability begins, more damage, first real AR pressure)
- Tier 3: scales 51–75 (two instabilities, higher mechanics and expectations)
- Tier 4: scales 76–100 (three instabilities, serious AR requirement, fastest daily value)
Two daily systems matter:
- Tier-based dailies: daily fractals selected for each tier
- Recommended fractals (recs): extra daily fractals that add rewards and help you raise personal fractal level
And one late-game switch matters:
- Challenge Modes (CMs): optional “hard mode” versions of a few specific fractals for high-end groups (not required for reaching T4)
Step 2: Gear baseline for your first fractals (before you worry about AR)
Tier 1 is forgiving, but you’ll feel 10x better if you enter with a real baseline.
Minimum baseline that feels good
- Full level 80 exotic armor in coherent stats (not random leveling leftovers)
- Level 80 weapons (weapon strength affects feel and performance)
- Proper runes and sigils (even budget sets)
- One “fractal utility pocket” (skills you can swap in when a fractal demands it)
The “fractal utility pocket” idea (beginner-friendly)
No matter what profession you play, keep 3–5 utility options in mind that you can rotate:
- a stunbreak (you will get chained by CC later)
- a cleanse (instabilities and bosses stack conditions)
- a hard crowd control button (breakbars = free safety + faster kills)
- projectile defense (reflect, block, absorb, or destroy projectiles)
- a stability source (or a way to avoid knockdowns and pulls)
You don’t need a meta build to start. You need a functional build you can play without panic.
Step 3: Your AR plan (the ladder that unlocks T4)
Agony Resistance (AR) is the stat that protects you from Agony—a fractal-specific damage effect that becomes relevant as scales rise. AR comes primarily from Agony Infusions placed into infusion slots on ascended/legendary gear (and a few temporary boosts/potion effects).
Here is the clean “tier milestones” plan that keeps you moving without overspending:
- Tier 1: up to ~17 AR maximum needed by the end of the tier
- Tier 2: up to ~61 AR maximum needed by the end of the tier
- Tier 3: up to ~106 AR maximum needed by the end of the tier
- Tier 4: up to 150 AR maximum needed (scale 100)
Key mindset: You do not need to hit the tier max instantly. You need to grow into it while you raise your personal fractal level.
Step 4: Tier 1 route (scales 1–25) — learn + earn
Tier 1 is where you build skill habits and start your currency engine.
What to do in Tier 1
- Run Tier 1 dailies whenever you can (they’re the best “value per minute” early)
- Run a few additional scales to raise your personal fractal level (so you unlock more variety)
- Start collecting:
- Fractal Relics (core currency)
- Pristine Fractal Relics (daily-focused currency that matters a lot later)
- +1 Agony Infusions (they drop frequently and become your infusion upgrade path)
What to focus on learning in Tier 1
- Breakbars (defiance bars): learn to save CC for the blue bar, not spam it randomly
- Stacking behavior: most groups stack tightly for boons and healing—learn when to stack and when to spread
- Downstate discipline: reviving is good, but “revive at any cost” gets you killed—learn safe revives
- Projectile awareness: some fractals punish you for ignoring ranged pressure
- Simple boss tells: most fractal bosses have repeatable patterns—learn to recognize them
Tier 1 “fast track” tip (without stress)
If your AR is low but you want to push a few higher T1 scales, a temporary AR boost (like the AR potion option) can smooth the experience. Use boosts to bridge, not to skip learning.
Step 5: Gear your first ascended pieces the smart way (before Tier 2 pressure hits)
You don’t need full ascended to move into Tier 2. You need infusion slots to start building AR reliably.
Best early ascended priorities
- Ascended rings (because they’re easy to obtain through fractals and later can gain extra infusion slots)
- Ascended backpiece (often accessible through multiple routes)
- Ascended accessories (strong stat value, helps AR growth later)
Why rings are the early MVP
Rings can be upgraded via fractal processes (attuning/infusing) that add extra infusion slots. That means rings can carry a surprising amount of your early AR growth.
Your goal before Tier 2 feels smooth
- Have at least two ascended rings and start putting low-cost infusions into them
- Have a plan for a backpiece and accessories so your AR doesn’t stall in Tier 2
Step 6: Tier 2 route (scales 26–50) — start respecting instabilities
Tier 2 adds a major new variable: Mistlock Instabilities. Instabilities are randomized modifiers that can punish lazy habits or reward smart play. Tier 2 has one instability active at a time.
What changes in Tier 2
- Enemies hit harder and live longer
- Groups become more sensitive to mistakes
- Agony becomes more relevant (and AR starts to matter more consistently)
- Instabilities begin shaping how you position, stack, and handle mechanics
Tier 2 progression priorities
- Keep doing dailies (reliable currency and infusion drops)
- Upgrade AR gradually toward the tier’s needs
- Start using fractals potions more often (especially if groups ask for them)
- Practice “instability reading” as a habit: you glance at today’s instability and immediately adjust your play
The most common Tier 2 wipe reasons
- Nobody brings enough CC, so breakbars fail and the boss becomes chaos
- Players ignore instability rules (stack when you should spread, or spread when you must stack)
- People treat Agony like “healable damage” and then wonder why healing feels weak
Step 7: Fractal potions and why experienced groups care
Fractal potions are deceptively important because they:
- reduce incoming damage (defensive)
- increase damage output (offensive)
- improve mobility and endurance comfort (mobility)
- and, with fractal masteries, convert your AR into bonus stats (making you stronger the more AR you have)
Beginner rule of thumb
- Tier 1: optional
- Tier 2: recommended when learning gets bumpy
- Tier 3–4: very commonly expected (especially in “p&f” groups)
If you want to feel instantly more comfortable in fractals, using potions consistently is one of the easiest wins.
Step 8: Tier 3 route (scales 51–75) — the “T3 phenomenon” and how to beat it
Tier 3 is where many players stall. Not because Tier 3 is impossible—but because Tier 3 is the first tier that demands adaptation:
- two instabilities at once
- higher damage and stricter mechanics
- more expectation that each player contributes something beyond “I press my DPS rotation”
Tier 3 success formula
- Your AR is high enough that you’re not constantly melting to agony ticks
- Your build is coherent and your rotation is stable
- You bring at least one of these: stronger CC, better cleanse, projectile hate, stability, or emergency support
- You understand stacking/spreading rules under instabilities
Tier 3 “upgrade checkpoint”
If Tier 3 feels miserable, don’t keep slamming your head into it. Instead, do an upgrade checkpoint:
- Add more ascended pieces (especially armor/weapon if you’re committing to fractals long-term)
- Upgrade your infusions (many players move toward +7 to +9 strategy over time)
- Make sure your trinkets match your role (wrong stats is hidden pain)
- Commit to using potions and food consistently
Tier 3 mechanical habits that pay off forever
- Pre-positioning: you move before the attack lands, not after
- Breakbar discipline: you hold CC until it matters
- Cleave discipline: you focus adds that create chaos instead of tunneling boss
- Personal survival: a living DPS does more damage than a downed DPS waiting for a revive
Step 9: Tier 4 route (scales 76–100) — build your “daily-ready” profile
Tier 4 is where fractals become one of the best daily routines in GW2—fast runs, strong rewards, and steady ascended gear access. Tier 4 also has the strictest expectations because people run it daily and want consistency.
Tier 4 essentials
- 150 AR to comfortably access everything up to scale 100
- Comfort with three instabilities at once
- Understanding of your role (DPS, boon support, healer-support)
- Reasonable group etiquette (you’re not expected to be perfect—just consistent)
The most beginner-friendly Tier 4 mindset
Tier 4 is not “only for elite players.” Tier 4 is for players who:
- learned Tier 1–3 mechanics,
- upgraded gear steadily,
- and treat fractals like a team mode (not a solo game with four bystanders).
Step 10: The cleanest “0 to 150 AR” plan (simple and realistic)
There are many ways to reach 150 AR. The simplest beginner plan is:
- Use fractals to earn your first ascended rings and start infusing
- Add an ascended backpiece and accessories as you can
- Craft or earn ascended armor gradually (or mix in strike/raid rewards if you already do them)
- Upgrade your infusions over time toward the common efficient endpoint: +9 infusions in most slots
- If you’re short for a specific day, use a temporary AR boost to bridge—but don’t rely on it forever
Important: infusion slots are the real bottleneck
You can’t build AR effectively if you don’t have infusion slots. That’s why ascended trinkets and rings matter so early for fractal progression.
Step 11: Fractal masteries and why they matter (especially for long-term players)
Fractal masteries (Central Tyria masteries) are a long-term power and convenience system for fractals. They can:
- unlock extra vendors
- increase loot value
- improve potion conversions
- unlock Mistlock Singularities (a huge quality-of-life tool for high-tier play)
Beginner priority order
- Unlock the early mastery that improves your lobby functionality and daily value
- Progress toward Mistlock Singularities if you plan to live in fractals long-term
- Treat mastery progression like a background project: steady, not rushed
Step 12: Group composition basics (what LFG usually expects)
Early tiers: almost anything works.
Later tiers: groups trend toward a clean structure.
Common Tier 4-friendly structure
- 1 healer-support (often provides either quickness or alacrity)
- 1 boon DPS (quickness or alacrity provider)
- 3 DPS
This isn’t the only way, but it’s a very common, stable setup.
Beginner tip for joining LFG
If you’re new, join groups labeled:
- “chill”
- “learning”
- “no KP”
- “first time”
- Or create your own listing with honest text. Fractals have a huge audience, and many players are happy to help if expectations are clear.
Step 13: Instabilities you must respect (and how to not get bullied by them)
You don’t need to memorize every instability. You need a simple reaction system.
Your 10-second instability checklist
- Does it punish stacking?
- Does it punish spreading?
- Does it spawn extra hazards (bombs, pools, chasing AoEs)?
- Does it punish healing, boons, or conditions?
- Does it require more cleanse or stability?
Practical examples of what “respecting instabilities” looks like
- You stop face-tanking when a chasing AoE instability exists
- You avoid dropping harmful cones or pools on your stacked party
- You time your dodges for repeated pressure patterns instead of random panic dodging
- You position so “bad stuff” goes to safe space, not into the group
Step 14: Daily routine that takes you from casual to consistent
If you want Tier 4 without burnout, use a routine:
Tier 1–2 phase (foundation)
- Do fractal dailies 3–5 days per week
- Spend relics smartly (don’t buy random cosmetics early if you want fast progression)
- Build ascended trinkets/rings and start your infusion plan
Tier 3 phase (break the stall)
- Focus on “upgrade checkpoints” whenever you feel stuck
- Use potions and food consistently
- Practice one skill goal per week (breakbars, positioning, rotation stability)
Tier 4 phase (daily-ready life)
- Do Tier 4 dailies + recommended fractals when you can
- Upgrade infusions and finish ascended set over time
- Consider CMs only after T4 feels comfortable (CMs are not required to be “good at fractals”)
Loot
Fractals feel great because the rewards are tightly linked to progression. You don’t just get “stuff”—you get tools that help you push higher tiers and earn even more.
The main fractal reward buckets
Currency
- Fractal currencies fund ascended rings, infusion materials, and long-term upgrades.
- Daily-focused currency is especially important for consistent players.
Infusions
- +1 infusions drop frequently and form the base of your AR growth.
- Upgrading infusions is part of the long-term fractal journey—do it gradually, not in a panic.
Ascended gear drops
- Fractals can drop ascended gear from daily reward structures, which is one reason fractals are such a strong “gear up to ascended” route.
Encryption and matrices
- Fractal loot includes items that convert into crafting value and long-term progression purchases (and can also become a gold engine once you’re consistent).
What to spend your fractal currency on first (beginner priorities)
Priority 1: Anything that helps you reach Tier 4
- Ascended rings and key infusion upgrades
- Progress tools that reduce AR friction
- Long-term convenience that keeps you running fractals consistently (so you keep earning)
Priority 2: Quality-of-life that increases consistency
- Infinite potion options (once you’re committed)
- Long-term upgrades tied to fractal masteries and vendors
Priority 3: Cosmetics and flex items
- Fractals have great skins and cosmetic infusions, but those are best treated as “after progression” rewards unless fashion is your main goal.
The daily chest stacking idea (why Tier 4 is so valuable)
One of the reasons Tier 4 is attractive is that completing higher-tier daily structures can reward you in a way that makes your time feel “compounded.” In other words: the higher you go, the more your daily routine pays you back.
How to turn loot into faster progression (without feeling greedy)
Use this simple loop:
- Run dailies → earn currency/infusions → upgrade AR/slots → unlock higher tiers → earn better rewards → repeat.
That’s why fractals are so popular: the mode funds itself.
Extraction
Extraction is the “make it permanent” phase—turning fractal rewards into account power: stable AR, stable gear, and a routine that makes you richer and stronger over time.
Extraction 1: Convert early fractals into ascended trinkets (the fastest permanent power)
The biggest early “account power jump” is building ascended trinkets and rings because:
- they give strong stats immediately
- they unlock infusion slots that become AR growth
- they reduce the “I can’t join that group” problem
If you do nothing else, do this: get your two ascended rings early and start building around them.
Extraction 2: Use ring attuning/infusing strategically
Rings are special in fractals because upgrading them can increase infusion slots (which increases your AR ceiling without buying ridiculous high-value infusions).
Beginner strategy
- Don’t rush ring upgrades the moment you get your first ring.
- Upgrade when you’re about to push into a tier that needs the extra AR headroom.
- Keep your upgrades organized so you don’t accidentally waste materials redoing steps.
Extraction 3: Build a sustainable infusion upgrade plan
Infusions can become expensive if you try to “finish instantly.”
Sustainable plan
- Start with what you can afford
- Upgrade slowly toward the efficient long-term endpoint
- Extract and reuse infusions when you replace gear (don’t throw progress away)
Extraction 4: Make potions and masteries part of your identity
Players who “become good at fractals” usually do two things consistently:
- They use potions and food without being asked
- They invest in fractal masteries and understand how the lobby tools help (vendors, singularities, extra rewards)
This isn’t about sweating. It’s about removing friction so you can play smoothly.
Extraction 5: Learn the 3 skills that separate Tier 4-ready players
If you want to jump tiers confidently, focus on these:
1) Breakbar timing
- Save CC for defiance bars
- Know your strongest CC skills and their cooldowns
- Coordinate lightly (“cc next bar”) when needed
2) Position discipline
- Stack for boons when safe
- Spread when instabilities demand it
- Place hazards away from the group, not inside it
3) Survival uptime
- Dodges used on purpose beat random panic dodges
- A dead player does zero damage and gives zero boons
- Good survival is a DPS increase for the whole team
Extraction 6: The “Tier 4 daily-ready checklist”
When you can say “yes” to most of these, you’re basically there:
- 150 AR (or close enough that a temporary boost bridges cleanly)
- Potions understood and used
- Comfortable reacting to instabilities
- One stable role you can perform (DPS, boon DPS, healer-support)
- You can clear Tier 3 without feeling like you’re gambling
Practical Rules
These rules keep fractals efficient, fun, and drama-free.
- Don’t rush Tier 3. Upgrade into it.
- If Tier 3 feels like pain, it’s usually a sign your AR/gear/comfort needs a checkpoint.
- Treat AR like a staircase, not a purchase.
- Build infusion slots first, then fill them, then upgrade infusions gradually.
- Rings first. Always.
- Two ascended rings are the cleanest early AR foundation.
- Potions are not “extra.” They are part of the mode.
- Especially in Tier 3–4, potions can be the difference between smooth clears and endless downs.
- Breakbars are your team’s speed and safety button.
- Bring at least one meaningful CC option even as pure DPS.
- Instabilities are the real boss in many runs.
- Read them, adjust positioning, and you’ll feel instantly better.
- Make your build swappable.
- Have one stunbreak and one flex slot you can change depending on the fractal.
- Use honest LFG labels.
- “Chill,” “learning,” “no KP,” “first time” saves everyone time and stress.
- A smooth run beats a fast wipe.
- If your group is struggling, slow down, explain one mechanic, and finish.
- Fractals reward consistency more than intensity.
- Three solid days a week beats one exhausting binge.
BoostRoom
If you want to go from “Tier 1 beginner” to “Tier 4 daily-ready” without guessing your way through AR math, LFG expectations, and build decisions, BoostRoom can help with a structured, beginner-friendly fractal plan.
BoostRoom fractal support is built around real progression steps:
- a personal Tier 1 → Tier 4 roadmap based on your schedule
- AR planning (what to buy, when to upgrade, and how to avoid wasting gold)
- role prep (DPS vs boon support vs healer-support) so LFG feels easy
- instability coaching so you stop dying to the same patterns
- “daily-ready” routines that turn fractals into steady ascended gear and gold progress
The goal is simple: clearer learning, cleaner upgrades, and a smoother path to Tier 4 confidence.
FAQ
What are fractals in GW2?
Fractals are 5-player instanced mini-dungeons accessed from Mistlock Observatory. They scale from 1 to 100 and are grouped into four tiers, gradually introducing harder mechanics, instabilities, and Agony/AR requirements.
Can I start fractals in exotic gear?
Yes. Exotic gear is enough to begin Tier 1 and even early Tier 2. Ascended becomes important as you need infusion slots for Agony Resistance to progress smoothly into higher tiers.
When does Agony start affecting me?
Agony becomes relevant as you climb scales, and you’ll feel the pressure more strongly as you approach the end of Tier 1 and beyond. AR is the long-term answer.
How much Agony Resistance do I need for Tier 4?
Tier 4 progression ultimately expects up to 150 AR for the highest scales. Many players aim for a setup that meets or slightly exceeds that requirement so every daily feels comfortable.
What’s the fastest way to build AR without wasting gold?
Build infusion slots first (ascended rings, backpiece, accessories), then fill slots with affordable infusions, then upgrade gradually. Avoid trying to buy ultra-high infusions to compensate for missing slots.
Why do people talk about “the Tier 3 wall”?
Tier 3 introduces two instabilities at once and expects better mechanical consistency, better builds, and stronger AR planning. Many players hit it before they’re ready, which makes runs feel chaotic.
Do I need potions in fractals?
In Tier 1 they’re optional. In Tier 3–4 they are commonly expected, and they noticeably increase smoothness, survivability, and performance—especially with fractal masteries.
What are Mistlock Instabilities?
Instabilities are randomized modifiers that change how each fractal plays. They can punish stacking, punish spreading, add hazards, or change enemy behavior. Learning to react to them is a major part of “getting good at fractals.”
How do I find groups for fractals?
Use the in-game LFG under the Fractals category. If you’re learning, look for “chill” or “learning” groups, or create your own listing with honest expectations.
Do I need a perfect team composition in Tier 1–2?
No. Early tiers are flexible. Composition becomes more important in Tier 3–4 because boons, healing, and stability make runs far more consistent.
