What “Average Duck” Actually Means (And Why It’s Enough)
An “average duck” isn’t weak—just incomplete. It usually means:
- You can extract if you play carefully, but it’s not consistent.
- You win some fights, but long fights drain your meds and money.
- Your stash is messy and you’re never sure what to keep.
- Your quests are moving, but slower than you’d like.
- You’ve unlocked a couple systems, but you’re not chaining them together.
The roadmap below turns that “average” stage into a compounding advantage. Your account becomes stronger even when you have a bad day, because you’re upgrading systems that permanently reduce difficulty.
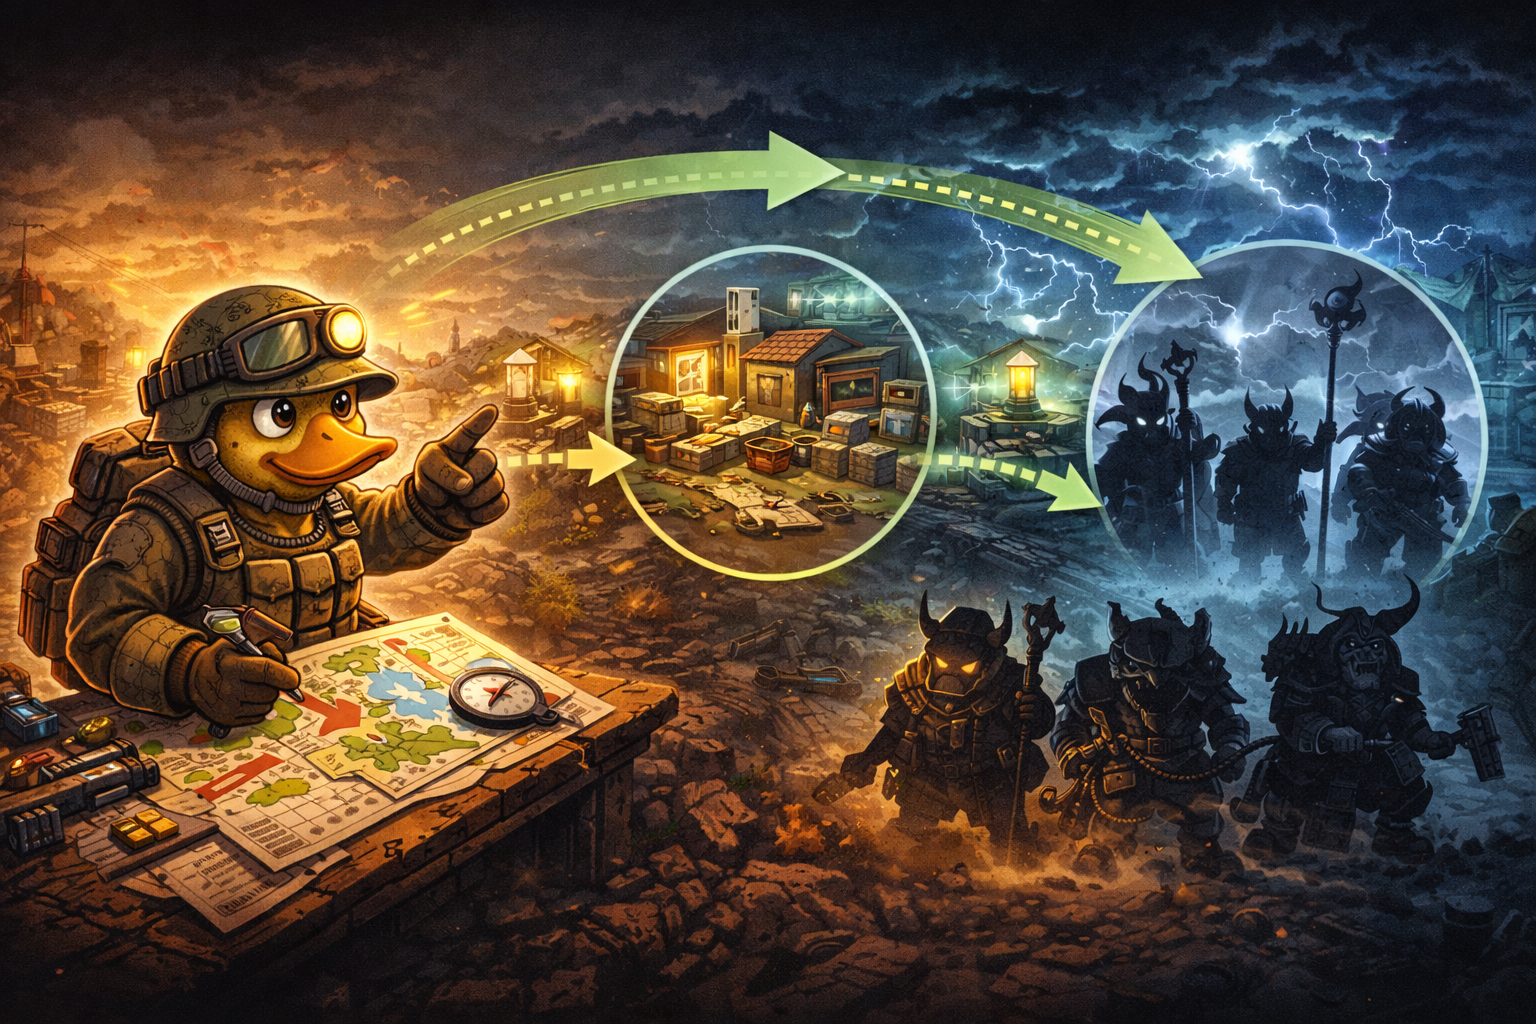
What Counts as Endgame in Escape from Duckov
“Endgame” in Duckov isn’t a single moment. It’s when you can do most of the following on demand:
- Enter Storm Area reliably (without dying to the storm timer or protection requirements).
- Complete the major Storm Area quest chain steps (including fighting endgame bosses like the Four Horsemen and Koko Koko).
- Maintain a stable gear loop with crafting and repairs instead of gambling on random drops.
- Run high-risk maps without going broke after one death.
- Have your main travel shortcuts online (beacons), your inventory friction reduced (key registration), and your economy stabilized (Black Market upgrades and repeatable routes).
In other words: endgame is repeatability. You don’t need perfect raids. You need a plan that works 8 times out of 10.
The Roadmap at a Glance (The Whole Journey in One Screen)
Use this as your “north star” checklist:
- Phase A: Ground Zero mastery + first beacon
- Learn extracts, build your first consistent kit, unlock Beacon I at Road Camp, start totem usage, build foundational hideout pieces.
- Phase B: Unlock Warehouse Area + Beacon II
- Blow through the gate/route into Warehouse Area, activate the Gas Station beacon, start stacking quests per run, begin real crafting progression.
- Phase C: Farm Town stabilization (money + materials + turn-ins)
- Use Farm Town to stabilize your economy, collect upgrade bottlenecks, and unlock the systems that eliminate “mid-game wall.”
- Phase D: J-Lab gate (certificate progression)
- Learn the J-Lab loop and secure the Lv.3 J-Lab Certificate for Storm Area entry.
- Phase E: Storm readiness (protection math + timer discipline)
- Get storm protection gear and injectors, build a Storm-ready kit, and learn how to move with purpose under constant Phase 2 pressure.
- Phase F: Storm Area endgame (boss chain + Storm Gun + Koko Koko)
- Fight the Four Horsemen, unlock the Storm Gun blueprint via helmet submissions, then push Koko Koko and endgame rewards.
- Phase G: Endgame loop (repeatable money + crafts + upgrades)
- Your account becomes self-sustaining: money runs, parts runs, and boss runs—without fear of losing momentum.
Phase A: Ground Zero Mastery (Your First 20–40 Raids)
This phase is about speed and safety, not hero fights.
1) Learn the “three-extract mindset” on Ground Zero
A huge portion of early frustration comes from not knowing exits. Ground Zero extraction is more forgiving than many extraction shooters, but it’s not explained clearly. Build these habits:
- Always know your “turn around and leave” exit (often simply returning to the bunker route).
- Always know your “map-marked exit” option for when your route pushes you away from bunker.
- Unlock and remember alternative bunker entrances so you can enter/exit from different sides when you start running Road Camp objectives.
2) Treat Road Camp as your first real milestone
Road Camp is where early danger and early progress collide. It’s also where one of your first major multipliers lives: Beacon I (commonly tied to a Jeff quest that sends you to Road Camp to activate it). Once that beacon is online, your future travel gets shorter, safer, and faster.
3) Make a “default beginner kit” you can replace instantly
If you need 10 minutes to rebuild after every death, you’ll feel stuck forever. A practical Ground Zero kit should be:
- A weapon you can control under stress
- Enough ammo for 2 real fights
- Bleed control + a medkit
- One movement/escape plan (light weight, stamina discipline)
- No “museum items” (gear you refuse to lose)
4) Start totems early (don’t wait for perfect totems)
Totems are free power. They’re generated at the Summoning Circle using Fading Feathers, and the common exchange options are designed for frequent use (not once in a lifetime).
Your goal in Phase A isn’t “perfect totems.” It’s “any useful totems,” especially ones that reduce your most common death reason: weight, sustain, or survival.
5) Build the habit that protects your runs: extract when your objective is done
If you only take one lesson from this roadmap, take this:
- Objective complete = extract.
- You can do a dedicated loot run later. Protect your progress first.
Phase A Hideout Priorities (What to Build So You Stop Bleeding Time)
Early hideout upgrades should remove friction—things that make every future raid smoother.
Top priorities for most players:
- Workbench (foundation for crafting, dismantling, repairs, and blueprint handling)
- Medic-related crafting capability (so basic meds stop being a constant store drain)
- Storage improvements (so you can actually keep bottleneck items instead of panic-selling them)
The point: you’re building an account that doesn’t collapse after one bad raid.
Phase B: Unlock Warehouse Area + Beacon II (Your First Big Acceleration)
Warehouse Area is where Duckov starts rewarding players who plan routes instead of wandering.
1) Unlocking Warehouse Area is a progression gate, not a sightseeing trip
The most common beginner error is unlocking Warehouse and then “exploring.” Don’t. Treat your first entries as missions:
- Enter → activate what you came for → extract.
2) Beacon II at Gas Station is one of the best time multipliers in the game
Warehouse Area’s beacon is located at the Gas Station area and is commonly tied to an early Jeff quest (often arriving alongside the “Explore Warehouse Area” quest). Activating it pays you back for the rest of your playthrough:
- Less travel time
- Fewer random fights
- Easier quest stacking
- Faster farming routes
3) Start quest stacking immediately in Warehouse Area
Warehouse is built for stacking because many objectives share landmarks. Your “average duck” breakthrough is finishing 3–6 quest steps per run instead of 1.
A strong stacking pattern is:
- One beacon objective
- One “reach location” objective
- One collect/interaction objective
- One “extract from map” objective
- Then extract immediately.
4) Tools become non-negotiable in this phase
Warehouse progression often introduces objectives that require tools such as a Marker (for marking objectives) or a Wrench (for repair-type objectives). The fastest way to waste a raid is to reach the objective and realize you forgot the tool.
Create a simple rule: if a quest requires a tool, that tool is as essential as ammo.
Phase B Hideout Priorities (Where the Mid-Game Wall Is Born or Avoided)
Most “mid-game walls” are actually Workbench walls. If you neglect your Workbench upgrade path, you’ll keep looting “junk” forever and never convert it into real upgrades.
A reliable Workbench progression mindset:
- Get the unlocks that let you repair and dismantle first (consistency)
- Then pursue processing upgrades that unlock higher-tier crafts (power)
- Then pursue armor/ammo crafting that lets you scale into hard content (endgame readiness)
If your Workbench can convert unwanted loot into needed parts, you stop being at the mercy of RNG.
Phase C: Farm Town Stabilization (Where Average Ducks Become Rich Ducks)
Farm Town is where you stop being poor “because of deaths” and start becoming stable “because of systems.”
1) Farm Town’s real value is repeatable routes
The key to Farm Town is not clearing the whole town. It’s learning a route that reliably produces:
- upgrade bottleneck items
- submission quest items
- crafting inputs
- sellable high-density loot
2) Use Farm Town to pre-stage quest turn-ins
Mid-game quest lines often include “submit X items” steps. These are easy progress if you keep a “quest shelf” in your stash. Farm Town is a great place to stock those shelves because you can run container-heavy routes.
3) Decide your run type before you deploy
To break through the mid-game wall, rotate three run types:
- Progress Run: You are hunting one upgrade requirement or a quest gate item. You extract immediately once you have it.
- Money Run: Container-heavy, light kit, minimal fighting, fast exit.
- Parts Run: You are collecting specific crafting inputs (circuits, metal plates, drives, medicine) that unlock Workbench and base upgrades.
When you mix all three into one “everything run,” you stay too long and die more.
Phase D: J-Lab Gate (How to Stop Being “Locked Out” of Endgame)
For many players, the biggest “endgame wall” is Storm Area access. The key is the Lv.3 J-Lab Certificate, which is widely referenced as the item used to open the fenced/gated access to the Storm portal area from Ground Zero.
1) Treat J-Lab like a mission map, not a loot map
J-Lab progression is about success rate, not jackpot loot. A strong approach is:
- Go in with a kit you can replace
- Bring enough meds and ammo for a hard fight
- Focus on certificate progress
- Extract the moment your objective is secured
2) How Storm Area entry is commonly described
Players commonly describe Storm Area entry as:
- Secure the Lv.3 certificate from J-Lab progression
- Use it at a specific fenced/gated location in Ground Zero to reach the Storm portal path
- Prepare for Storm Area being under constant high-level storm pressure (commonly referenced as constant Phase 2 / Level 2 storm)
The practical takeaway: you do not “try Storm Area for fun.” You prep for it like a raid boss.
Phase E: Storm Readiness (Protection Math + Timer Discipline)
Storm content is where “average ducks” usually die—not because of aim, but because they treat storms like normal damage.
1) Understand the protection rule that most players use
Community explanations commonly frame storm survival like this:
- Phase 1 storm requires 1 storm protection
- Phase 2 storm requires 2 storm protection
- Storm Area is often described as constant Phase 2 pressure, so you must plan for Phase 2 survival.
2) The Weak Space Storm Protection Injector is a core tool
Many current item databases describe the Weak Space Storm Protection Injector as providing early-stage storm protection for about 180 seconds, with a hunger penalty. The biggest mistake is using it too early.
Correct usage:
- Pop it right before the hazardous segment
- Move with purpose
- Complete your objective quickly
- Extract or transition as planned
3) Storm gear is not optional for consistent runs
Injectors alone are usually not enough for repeated Storm Area success. Your storm kit should include:
- protection gear pieces that contribute storm protection
- the correct injector timing
- enough meds for chain fights
- a route that minimizes wandering
4) Build a Storm-ready kit that’s repeatable
Endgame progression dies when your storm kit costs so much that you avoid using it. Instead:
- Build a “storm baseline kit” you can replace
- Save your best gear for your actual boss attempts
- Use lighter kits for beacon unlocks and learning routes
Phase F: Storm Area Endgame (Four Horsemen → Storm Gun → Koko Koko)
This is the final stretch where you turn preparedness into completion.
1) Your first Storm Area goal isn’t bosses—it’s navigation and beacon progress
If you can unlock Storm Area travel tools (like the Storm Zone beacon quest many players reference), your future attempts become dramatically less painful. Your first few entries should focus on:
- learning safe lanes
- learning where camps and elevators are
- learning how long your protection window lasts
- extracting alive with any progress
2) The Four Horsemen quest chain (why it matters)
The “Four Horsemen” are commonly referenced as key Storm Area bosses, and guides often describe them as having different strengths and resistances—meaning you’ll do better when you prepare resistances and damage types instead of brute forcing every fight the same way.
A practical “average duck” boss approach:
- Focus on one boss per run
- Extract after the kill (don’t chain bosses until you know the map)
- Treat each kill as a gear upgrade opportunity, not just an achievement
3) Unlocking the Storm Gun (the helmet submission mechanic)
A commonly described endgame step for unlocking the Storm Gun blueprint involves collecting the Four Horsemen helmets and submitting/dropping them in specific spots near a landmark in Storm Area (often described as a circle of trees in the northwest/top-left area). Once submitted correctly, the Storm Gun blueprint appears.
Your safe approach:
- Don’t attempt helmet submissions on a “learning run”
- Do a dedicated “helmet run” when you already know your safe lanes and extraction plan
- Extract immediately after you complete the submission
4) Koko Koko (the “be fully prepared” boss)
Koko Koko is widely described as a major endgame fight tied to Storm Area progression. The practical reality is: this boss punishes sloppy prep. If you rush it, you’ll feed kits.
A realistic plan:
- Enter Storm Area with the goal of one thing only: progress toward the Koko Koko attempt
- Use the Storm Gun blueprint path and horsemen kills as your gear and power ramp
- Attempt Koko Koko when you have a full plan: protection, sustain, ammo, and a known route in and out
Phase G: The Endgame Loop (How to Stay Endgame Instead of Visiting It Once)
Many players reach endgame once, then fall back into “I’m broke again.” The endgame loop fixes that.
Your weekly loop should include:
- 2 money runs (short, safe, repeatable routes)
- 2 parts runs (target specific upgrade inputs)
- 2 progress runs (quests, beacons, certificates, boss attempts)
- 1 flex session (whatever you feel like, because fun keeps you consistent)
Endgame stash discipline
Your stash becomes a strategy tool. Maintain:
- A ready-to-go standard kit (so deaths don’t stall you)
- A dedicated storm kit shelf (so Storm attempts don’t become a 30-minute rebuild)
- A “quest shelf” for submissions (so progress doesn’t pause)
- A clean sell pile (so you don’t waste time sorting forever)
Endgame economy discipline
- Don’t gamble your entire bankroll on one “dream run.”
- If you have a high-value progress item, extract.
- Use crafting and repairs to reduce the cost of staying geared.
Key Systems That Break the Mid-Game Wall (Do These and You’ll Feel Progress Again)
These upgrades aren’t flashy, but they’re the most important for reaching endgame as an “average duck”:
1) Key Registration Device
Registering keys gives you permanent access without carrying them, reducing inventory clutter and death risk. It requires the Workbench and basic parts (commonly listed as a Circuit Board, CD Drive, and Metal Plate). This is a huge quality-of-life and efficiency multiplier.
2) Black Market upgrades
Black Market upgrades often require Black Market Contact Notes and improve refresh cooldowns and storage capacity. Upgrading it turns the market into a reliable “missing piece” solver when RNG refuses to give you one specific part.
3) Totems that solve your biggest weakness
If you die because you’re overweight, a carry/backpack-focused totem (like Sturdy variants) is a huge comfort upgrade. If you die because you can’t survive burst windows, survival-focused totems can stabilize your fights. Totems are not “extras”—they’re account power.
4) Workbench progression into armor and AP ammo crafting
Endgame content demands scaling. Workbench paths that lead to higher-tier armor crafts and armor-piercing ammo crafting are commonly referenced as the turning point where hard fights become manageable instead of exhausting.
How BoostRoom Helps You Go From Average to Endgame Faster
If you want to reach endgame without wasting weeks on trial-and-error, BoostRoom is built for exactly this moment. BoostRoom helps you turn your current account state into a clear plan: which upgrades to prioritize first, which quests to stack per run, which beacon missions are worth doing immediately, how to prep J-Lab certificate runs safely, and how to build a Storm-ready kit that’s repeatable—not a one-time miracle.
Instead of guessing why you feel stuck, you follow a structured progression route that keeps you upgrading even when raids go badly. The result is simple: more consistent extracts, faster unlocks, and a smoother path into Storm Area bosses and endgame blueprints.
FAQ
How long does it take an “average duck” to reach endgame?
It depends on how often you play, but the biggest difference is whether you prioritize multipliers (beacons, key registration, Workbench scaling). With those online, progress accelerates hard.
What’s the single most important early milestone?
Unlocking beacons. Beacon I at Road Camp and Beacon II at the Warehouse Gas Station massively reduce travel time and make quest stacking easier.
Why do I keep extracting but still feel stuck?
Because you’re looting without targeting bottlenecks. Progress comes from upgrades, crafts, and quest gates—not from random full backpacks.
When should I start attempting J-Lab seriously?
When you have a repeatable kit and you’re ready to treat it like a mission map. Your goal is certificate progress, not endless looting.
How do I stop dying to storms?
Meet protection requirements and respect timers. Pop your storm injector right before the hazardous segment and move with purpose. Storms are math and timing, not toughness.
Do I need Black Market upgrades to reach endgame?
Not strictly, but they reduce RNG pain and help you acquire missing parts and items when the game refuses to drop what you need.
What should I do if I’m missing one upgrade item for days?
Run short container routes (money/parts runs), upgrade your Black Market capacity if you use it, and stop doing long “everything raids” that end in deaths and wasted time.
