Practical rules
- Plan for conditions, not dreams. If it’s night and you’re not built for night, don’t force a “deep loot run.”
- Your raid goal must match the weather. Rain = certain farms become efficient. Storm = either avoid or go prepared.
- Loot is randomized, but your route shouldn’t be. Repeat a safe route; let the loot randomness be the bonus.
- Extract when you hit your win condition. Don’t wait for perfect drops—perfect drops kill progress.
- Keep a flexible kit. One kit that works “fine” in all conditions beats a kit that’s amazing only when the sun cooperates.
- Use the bunker like a control room. Time passes in the bunker—use that to dodge bad weather windows.
- Treat storms as scheduled content. Either skip them intentionally or build for them intentionally—never “accidentally storm.”

How weather actually changes your raid options
Duckov weather isn’t cosmetic. It changes the raid in three main ways:
1) Visibility and threat angles
Rain, darkness, and storm haze all reduce how far you can safely read a fight. That makes long sightlines less predictable and pushes you toward cover-heavy routes.
2) Spawns and special enemies
Some enemies only show up in specific windows (like certain night spawns). Rain can trigger specific enemies/farms. Storm phases can introduce entirely different danger.
3) What’s worth doing right now
The “best objective” changes with conditions. Sometimes the smartest play is a short run for crafting materials. Sometimes it’s a targeted farm. Sometimes it’s sleeping past the problem.
When you adapt well, weather becomes an advantage. When you don’t, it becomes a gear tax.
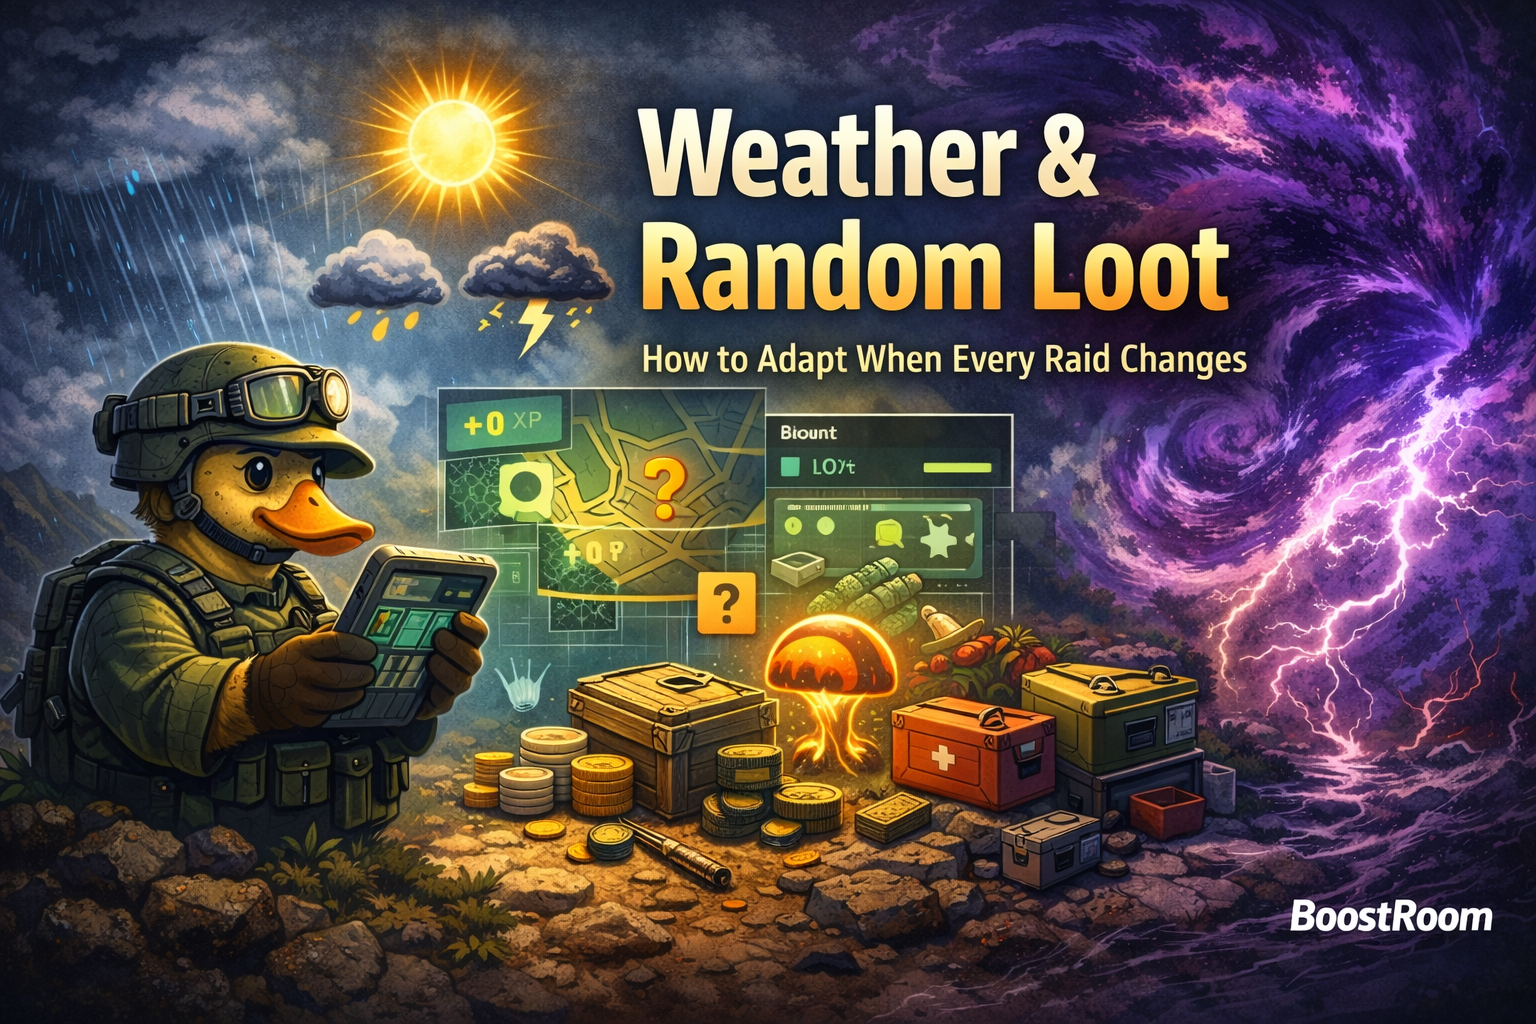
The big three weather states: clear, rain, and the purple storm
Clear / normal conditions are your baseline: best visibility, fewer special surprises, easiest time to learn routes.
Rain is a “target farm” weather. It can unlock or strongly improve certain activities—especially anything tied to rain-specific spawns and rain-dependent fishing conditions.
The purple storm is its own content layer. Early on, it can delete you fast if you walk into it unprepared. Later, it becomes a high-risk, high-reward window where you can chase storm-specific goals, storm creatures, storm fishing, and storm progression.
The key isn’t memorizing everything. It’s making one decision each raid:
Is this a normal run, a rain run, or a storm plan?
Storm phases and protection: why some storms feel “instantly lethal”
Storms aren’t all equal. Players talk about storm “phases,” and the most useful mental model is:
- Phase 1: entry-level storm conditions
- Phase 2: dramatically harsher storm conditions
The practical difference for your planning is storm protection requirements:
- Phase 1 typically requires 1 total storm protection
- Phase 2 typically requires 2 total storm protection
Protection is built by combining gear + injectors. Common early examples players use:
- A Weak Space Storm Protection Injector provides a chunk of storm protection for a short window (and it stacks with gear).
- Some storm-themed protective gear pieces contribute fractional protection, while higher-tier “space protection” pieces can contribute larger amounts.
If you walk into Phase 2 with Phase 1 protection, you’ll still take lethal damage—fast. That’s why storms feel “unfair” to new players: they aren’t meant to be brute-forced early without the correct protection plan.
Weak Space Storm Protection Injector: what it’s for and how to use it correctly
The Weak Space Storm Protection Injector is the entry tool for early storm exposure. Important details to build your plan around:
- It provides temporary storm resistance (a timed window).
- It’s small and stackable, but it’s not meant to replace proper storm gear forever.
- It’s commonly unlocked as part of storm-related quest progression, and it can also appear through certain shops and drop systems.
Practical usage rules:
- Don’t treat it like a “pre-buff.” Use it when you enter storm danger, not minutes earlier while you’re still safe.
- Pair it with gear. The injector is strongest when it pushes you over a protection threshold (like reaching the Phase 2 requirement).
- Bring healing. Even with protection, storm runs often require you to stabilize quickly after entry and after fights.
If your plan is “inject and hope,” you’re gambling. If your plan is “inject to hit a known protection threshold, do one objective, and leave,” you’re playing it correctly.
Night windows: why raids can feel more rewarding after 22:00
Night isn’t just darker—it changes what spawns. Some creatures only appear at night, commonly within a window like 22:00 to 5:00. The important part:
- Time doesn’t magically boost drop rates, but different spawns can change what you can farm.
- Night can feel more rewarding because additional spawns stack on top of existing daytime presence, meaning more total targets and more total chances at loot.
Translation: night can be profitable, but it’s also riskier unless your kit, visibility, and route discipline are ready.
If you’re new, the simplest safe approach is: raid at dawn for visibility and consistency, then expand into night farming once your route is stable.
Rain runs: the “secret schedule” for certain farms
Rain is one of the most misunderstood parts of Duckov because it can feel rare in real-time. But when it shows up, it can turn into one of the most efficient windows for specific goals.
A classic example is rain-tied mushroom farming. Players report that certain mushroom-type enemies spawn during rain and drop a resource used in physical progression. These enemies can be dangerous if you stand still, but the fight becomes manageable when you keep moving and don’t tunnel-vision the loot.
Practical rain rules:
- If you need a rain-only resource, don’t waste rain doing “normal raids.”
- Do short, repeatable rain loops and reset quickly.
- Extract or reset the moment you hit your resource goal. Rain is a multiplier—use it like one.
Fishing and weather: one of the best examples of “every raid changes”
Fishing in Duckov isn’t just “press a button.” Weather and time can decide which fish are even possible.
Examples of weather/time windows players chase:
- Fish that are Rainy Days only
- Fish that are Daytime while Raining
- Fish that are Nighttime during Storm
- Fish that are Daytime during Storm
- Fish that are Sunny Days only
This matters because it proves the bigger point: weather isn’t random flavor. It’s a schedule.
If you treat weather like a schedule, you stop feeling unlucky and start timing your goals.
If you’re building a “weather plan,” fishing is a perfect model:
- Pick the fish or quest you want
- Identify its weather/time window
- Sleep/prepare until the window
- Run a short, focused route
- Repeat while the window lasts
That same mindset works for storms, rain farms, and night spawns.
Random loot explained: why the same route doesn’t pay the same every run
Duckov’s loot feels chaotic until you realize two key truths:
1) Loot boxes and containers are randomized every run
Many players notice that when they leave the bunker and start a new run, loot appears refreshed. This effectively means you can do repeat scav loops without waiting “days.”
2) Loot quality is mostly tied to the scene (map), not your level
Players debate “loot scaling,” but the strongest evidence from community digging is that difficulty doesn’t change loot box multipliers, and your character level isn’t the main driver either. What matters most is where you are (the scene/map), and sometimes which sub-area you’re looting (locked rooms and higher-risk zones).
So the game isn’t “cheating you.” It’s rolling dice each run—with better dice in some maps.
Scene multipliers: the hidden reason some maps feel richer
One of the most useful community discoveries is that each scene can have its own multipliers, such as:
- An item count multiplier (more random items per container)
- A high-quality chance multiplier (better odds of higher-quality results)
A practical way to think about it:
- Ground Zero feels like a standard baseline.
- Farm Town and Warehouse can feel richer than baseline.
- J-Lab and Storm Area can feel even richer because their multipliers can be higher.
This is huge for adaptation because it tells you what to do when a raid “feels dry”:
- If you need volume (crafting materials), run the map that gives you more item count.
- If you need upgrades (higher-tier loot), run the map with better high-quality odds—but only if you can survive it.
Loot probability basics: fixed drops vs random pools (in normal human language)
Duckov loot boxes can generate items in different ways. You don’t need the math to adapt, but knowing the concept helps.
Fixed drops
Some containers have a chance to spawn specific fixed items. If it hits, you get that item.
Random drops
Other items come from a random system that can be:
- Pulled from a random pool (weighted roll)
- Built from tag + quality (the box rolls a tag type, then a quality tier, then chooses an item that matches)
Why you should care:
- Some routes are better because they hit more containers, which means more total dice rolls.
- Some routes are better because they hit better container types (more “good tags,” better quality odds).
- This is why pros love short routes with many quick containers: it’s not about one jackpot crate—it’s about many rolls per minute.
Difficulty settings and loot: what changes and what doesn’t
A common assumption is “harder difficulty = better loot.” In Duckov, that’s not how loot boxes typically behave. Community file digging strongly suggests that loot box drop multipliers and quality settings are tied to the scene config, and that difficulty doesn’t alter those multipliers.
What difficulty does change is usually how fights feel, how punishing mistakes are, and how costly it is to reach the good loot zones. So your adaptation should be:
- Choose difficulty for your survival consistency
- Choose maps/routes for your loot quality
If you want to feel richer, don’t crank difficulty and pray. Choose a richer route you can actually extract from.
Time changes spawns more than it changes loot
Here’s a powerful mental model:
- Loot tables don’t magically become “better at night.”
- Night changes what shows up, which changes what you can farm.
Example: a night-only enemy type that drops a specific core resource can turn night into the best time to farm that resource—even though container loot itself didn’t improve.
So when a raid changes, you ask:
- “Is this a time window for a spawn I need?”
- “Or should I avoid this window because it makes my route too dangerous?”
Adaptation toolkit: the 60-second pre-raid weather and loot plan
Before every raid, take 60 seconds and run this checklist:
Step 1: Identify conditions
- Is it clear, raining, or storming?
- Is it day, night, or near night?
Step 2: Choose one objective
Pick exactly one:
- Crafting materials run
- Money/value-per-slot run
- Quest turn-in run
- Target farm (rain resource, night core, storm creature, fishing window)
- Shortcut/beacon unlock run
Step 3: Choose the route type
- Cover-heavy route (safer in rain/night/storm)
- Speed route (good in clear daytime when you can see threats)
- Edge route (best when you’re undergeared or conditions are bad)
Step 4: Choose the “exit rule”
Examples:
- “Extract when I get 3 cores.”
- “Extract when I catch the storm fish.”
- “Extract after I hit 10 high-roll containers.”
- “Extract after I unlock the shortcut.”
If you do this every raid, “randomness” stops feeling like chaos and starts feeling like variety.
How to adapt your loadout to weather without overspending
You don’t need three different kits. You need one flexible kit with small swaps.
Clear daytime
- Prioritize mobility and sustain
- You can afford slightly longer sightline fights
- Bring enough ammo for a clean fight, not a war
Rain
- Prioritize close-to-mid range control
- Visibility can drop; choose routes with cover breaks
- Bring a little extra healing if your farm target involves aggressive enemies
Night
- Prioritize survivability and escape tools
- Choose weapons you can control under stress
- Avoid “loud, long fights” unless your goal is farming a specific spawn
Storm
- Only enter with a real plan: protection threshold + timed objective + exit
- Bring emergency healing and a clean escape route
- Don’t overload: storms punish slow movement
Your core money-saving habit:
Spend money on consistency, not on “hoping you’re ready for anything.”
Weather-based objectives you can rotate to stay efficient
When conditions change, your best move is often to swap objectives instead of forcing your usual plan.
Here are reliable objective swaps:
If it’s raining:
- Do rain-tied resource farms (like mushroom-related progression)
- Fish for rainy-day fish (or daytime-while-raining fish)
- Run short loops and reset fast
If it’s night:
- Farm night-only spawns you actually need
- Do quests that require night kills or night resources
- Use tighter routes and extract early
If it’s storming (and you’re not ready):
- Sleep past the storm
- Do bunker management, crafting, and stash cleanup
- Build your storm kit plan instead of gambling your gear
If it’s storming (and you are ready):
- Enter for a single storm goal (one quest step, one beacon, one farm target)
- Watch your protection timing
- Leave before greed starts
Rotating like this keeps your progression smooth even when the raid conditions swing.
Sleep, reset, and control time: the bunker is your weather remote
One of the most underrated survival tools in Duckov is simple: time passes while you’re in the bunker, and the bunker is safe. That means you can ride out storms, wait for daylight, or prep for a specific window instead of forcing a bad run.
Smart bunker usage looks like this:
- Sleep to dawn when you want visibility and safe learning runs
- Wait out storms early game instead of donating kits to purple haze
- Use downtime for crafting (ammo, meds, upgrades) so your next run is stronger
- Do quick “weather checks” before committing to a big objective
This is how experienced players avoid feeling trapped by the weather system: they treat the bunker like a scheduler.
Rain farm example: mushrooms without losing your mind
If you need rain-only resources, your goal is not “one long raid.” Your goal is fast repetitions.
A good rain farm pattern:
- Enter → go straight to known spawn zones → clear quickly
- If the target spawns: secure it and extract/reset
- If it doesn’t spawn: reset immediately instead of wandering
Why this works:
- Loot resets on new runs, so you’re not “wasting time” resetting
- You keep risk low by avoiding deep routes while the weather window is precious
- You get more target checks per hour
Rain is a limited-time multiplier. Treat it like a limited-time event.
Night farm example: spider-bots and cores (efficient, not heroic)
Some enemies only appear at night and can drop important progression resources (like computational cores). That makes night the best time to chase those specific resources—if you handle it intelligently.
Efficient night farming principles:
- Choose a route with predictable cover and minimal open lanes
- Don’t chase every fight—chase your target spawn type
- Extract the moment you hit your target count
Night runs become profitable when they are short and intentional. Night runs become expensive when they turn into “one more area” exploration while you can’t see what’s shooting you.
Storm readiness checklist: how to stop wasting storm injectors
Storm consumables and storm gear feel rare early on, which makes storm mistakes extra painful.
Before entering storm conditions, confirm:
- Your total storm protection meets the phase you expect
- Your injector timing plan is clear (when you inject, where you go, when you leave)
- You have enough healing to stabilize after entry and after one fight
- Your path to extraction is short and familiar
- Your stash can afford the loss if something goes wrong (if not, don’t go)
If any answer is “no,” do a different objective and come back later. Storm content rewards preparation—not bravery.
Random loot adaptation: how to profit even when drops feel bad
Even with perfect play, you’ll have “dry” runs. The key is to build a system where dry runs still pay.
Rule 1: Value-per-slot beats “cool item”
Small valuables and stackables usually outperform bulky items when you’re trying to extract consistently.
Rule 2: More containers per minute beats deeper risk
Because loot is randomized, you win by rolling more dice safely—not by gambling on one deep room.
Rule 3: Don’t judge a route by one run
Random loot will lie to you. Judge routes by 10-run averages.
Rule 4: Use “reset loops” on bad RNG days
If a run starts cold, don’t tilt. Extract/reset and run it again. Loot refresh makes repetition a valid strategy.
Rule 5: Let the map multipliers guide your grind
If you need better loot odds, go to the richer scene you can survive. If you need bulk crafting supplies, go to the scene that yields more items.
This is how you stop feeling unlucky: you stop relying on single outcomes.
The best “flex plan” for unpredictable raids
A flex plan means you always have a good move, no matter what the game gives you.
Here’s a simple flex structure:
Plan A: Primary objective
Example: “Farm materials for Workbench upgrades.”
Plan B: Weather swap objective
- If rain: switch to rain farm or rainy-day fishing
- If night: switch to night spawn farm
- If storm: either skip or do one protected storm objective
Plan C: Safety objective
A short route you can always extract from for steady money and stash stability.
When every raid changes, a flex plan keeps your session productive instead of emotional.
BoostRoom promo
Want a simple system that tells you what to do when the weather flips and loot feels random? BoostRoom helps you build a personalized “raid decision tree” for Duckov: which maps to run for your current upgrades, what to farm in rain vs night vs storm, how to set a safe extraction rule, and how to stop wasting storm consumables. Instead of guessing each raid, you’ll have a repeatable plan that keeps your stash growing—even when the game decides today is chaos.
FAQ
How often does loot reset in Escape from Duckov?
For most players, loot refreshes when you start a new run from the bunker, which is why short repeat routes are so effective.
Does higher difficulty give better loot?
Container loot is mostly driven by scene/map configuration and container rules, not difficulty. Harder difficulty usually increases risk more than it increases container rewards.
What’s the safest way to handle storms early game?
Sleep past storms and use the time to craft and upgrade. Storm runs are best treated as intentional content once you can meet storm protection thresholds reliably.
Why does night feel more rewarding sometimes?
Night changes spawns. More or different enemies can appear during night windows, which can increase total loot opportunities even if container rates don’t change.
Is rain actually useful, or just annoying?
Rain is extremely useful when you’re targeting rain-specific spawns or rainy-day fishing windows. If you don’t need rain targets, treat rain as a signal to run safer, tighter routes.
How do I stop wasting storm protection injectors?
Only enter storms with a timed objective, a known exit route, and a protection threshold plan. Inject at the moment you need protection, not earlier.
What should I do when loot feels terrible for multiple runs?
Don’t tilt deeper. Run a high-container short route for more “dice rolls,” or swap maps to a scene with better multipliers that you can survive consistently.
What’s the simplest adaptation plan for beginners?
Raid at dawn for visibility, avoid storms until you’re ready, use rain for targeted farms, and judge routes by 10-run averages—not by one “bad RNG” run.


