Best Runes & Loadouts in Roblox The Forge: Tier List + Synergy Tips
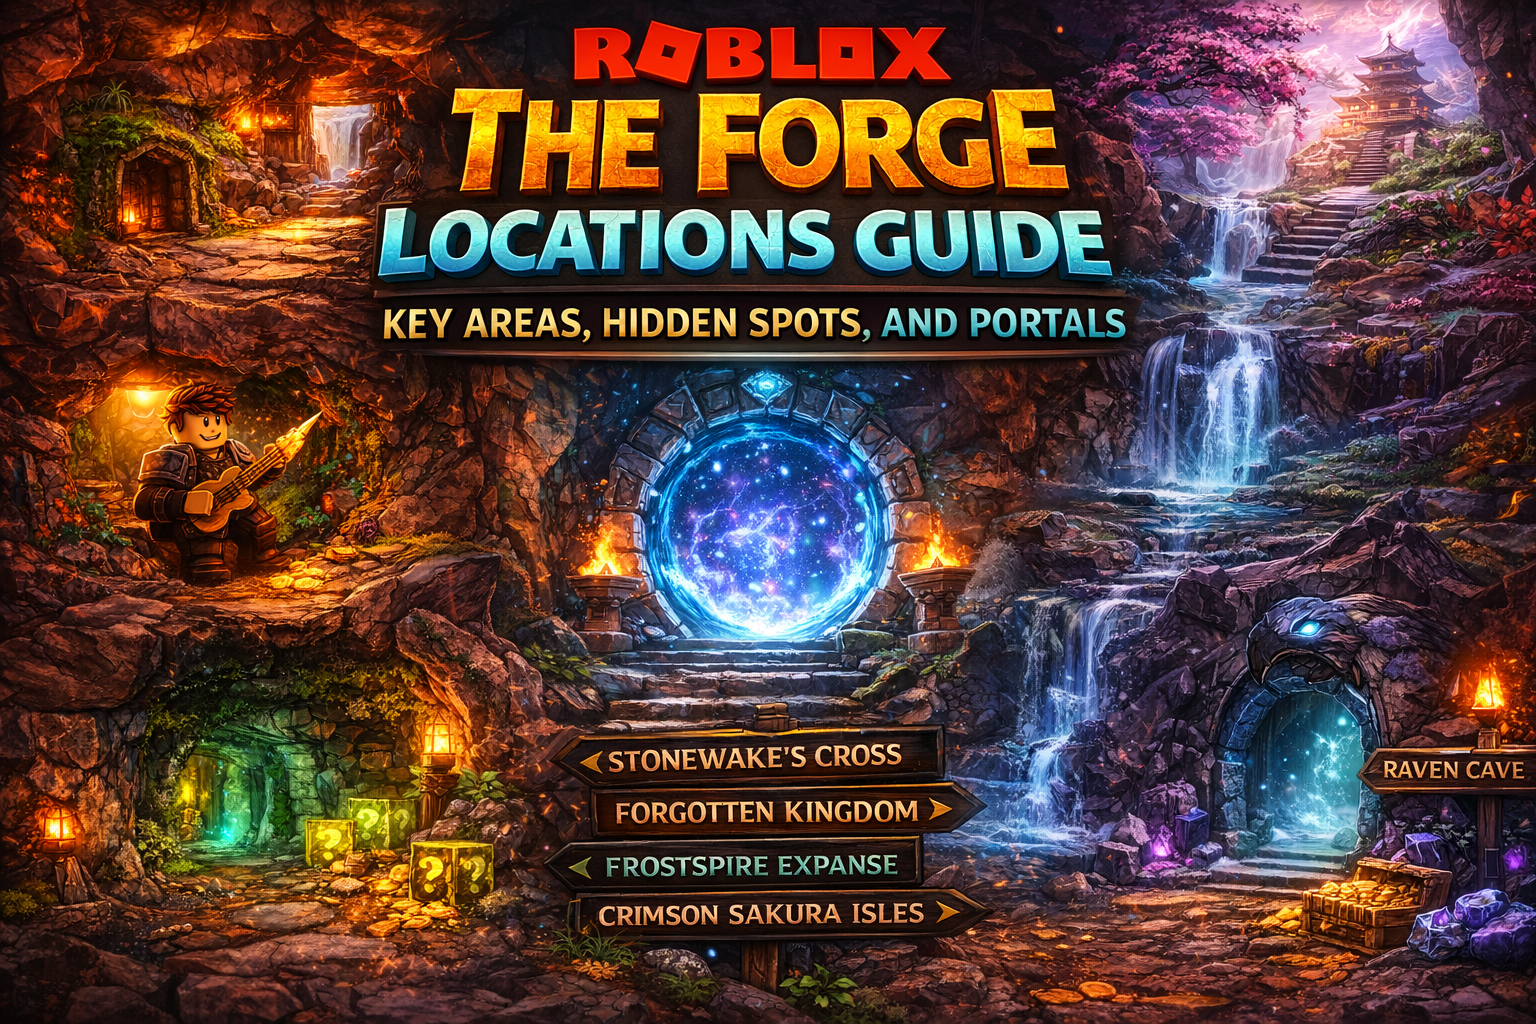
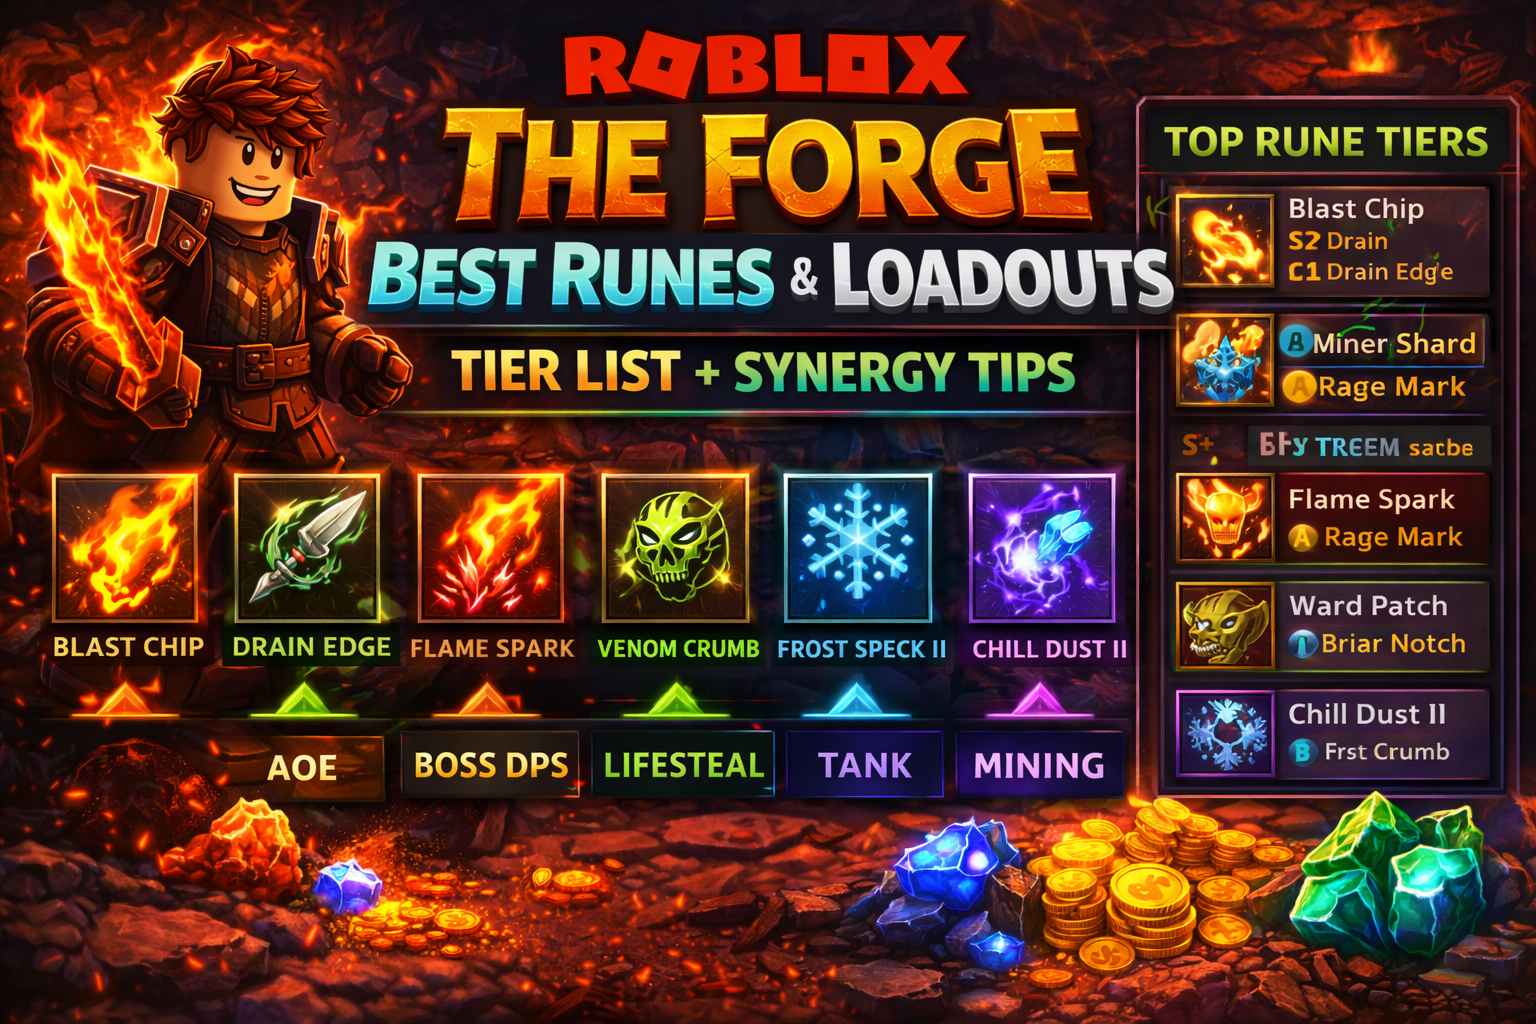
Runes 101: What They Are and Why They Matter Runes are enchantment items that you socket into your gear to gain two kinds of power at the same time: A main effect (example: Explosion, Burn, Life Steal, Shield, Thorns, Berserk, Freeze, Slow, Luck/Yield/Mine Speed) Secondary stat bonuses (random extra stats like Attack Speed, Lethality, Crit Chance, Dash cooldown reduction, more HP, and more) That’s why rune value is not only “what rune it is,” but also how it rolled. Two players can both have Blast Chip, but the player with a strong Attack Speed roll and a better overall quality roll will feel dramatically stronger. Runes matter because they buff three parts of your account at once: Combat speed (more damage, more procs, more sustain) Survivability (damage reduction triggers, emergency buffs, better mobility) Mining efficiency (luck, yield, mine speed, mine power) If you want faster progression in 2026, runes are one of the best “time multipliers” in the game. Rune Types: Weapon vs Armor vs Pickaxe The Forge has three rune categories, and they don’t mix: Weapon runes only go on weapons. Armor runes only go on armor pieces (helmet, chestplate, leggings). Pickaxe runes only go on pickaxes. This matters when you’re planning your stash. A “great rune” that can’t be slotted into your current gear is not useless—it’s just a future investment. How Rune Slots Work: Enhancing Is the Gate You can’t just slap runes onto new gear right away. Rune slots are locked until you enhance the item. A practical way to think about it: Enhancement levels are the “progress bar” for unlocking rune slots. As you enhance, you earn rune slot unlocks at specific milestones. Failing enhancements can reduce the enhancement level, and depending on your timing, that can also remove a slot you just unlocked. That means rune power is a two-step system: Craft or acquire good gear Enhance it to open slots Then rune it (and later re-rune it if you upgrade) If you want maximum efficiency, don’t socket your rarest rune into “temporary gear.” Save premium runes for gear you plan to keep. How to Attach and Detach Runes (Runemaker Basics) Runes are applied at the Runemaker station (available in multiple worlds). The basic flow is: Open the Runemaker Select the gear piece that has an unlocked rune slot Choose the slot and attach a compatible rune Confirm the socket Detaching (removing) runes is possible, but it costs money. This is why “planning your loadout” matters: constant swapping can turn into a gold leak. Best habit: build one loadout you use most of the time, then build a second specialized loadout later (bossing or mining), instead of swapping constantly. Rune Quality: Why One Blast Chip Feels Better Than Another Runes drop with different quality levels, and quality influences: the strength of the main effect within its possible range the strength of the secondary stat bonus within its possible range For example: Explosion effects can roll in a range of damage percent and a range of proc chance. Attack Speed secondary can roll within a range too. Your goal isn’t “get the rune.” Your goal is “get the rune with a secondary roll that matches your build, at a strong value.” Secondary Stats: The Real Reason You Keep Farming the Same Rune Each rune has a main effect, but its possible secondary bonuses are what turn it into a perfect fit for your build. Here’s the practical secondary-stat priority most players use: Best secondary stats for weapon runes Attack Speed (more hits = more DPS + more procs) Lethality (strong consistent physical damage boost) Critical Chance (especially good for boss builds) Critical Damage (best when you already have crit chance) Fracture (more stun damage; useful but usually not your top priority) Best secondary stats for armor runes Surge (lower dash cooldown = fewer hits taken) Phase (more dash invincibility frames) Vitality (bigger health pool) Endurance (more stamina comfort) Swiftness (movement speed) Stride (more dash distance) Best secondary stats for pickaxe runes Luck (boosts drop chances) Swift Mining (mine faster) Mine Power (break nodes faster) Yield (chance to gain an extra ore per node) You don’t need perfect rolls to progress, but targeting the right secondaries makes your loadout feel “built,” not random. Caps and Stacking Rules (So You Don’t Waste Great Rolls) Some traits stack freely; others have caps. Understanding caps prevents you from chasing bonuses that don’t give full value. Here are the caps that matter most for loadouts: Shield damage reduction has a high overall cap when stacked across sources. Phase (dash invincibility) has a cap, so stacking it endlessly can waste potential. Stride (dash distance) caps, same idea. Surge (dash cooldown reduction) caps, same idea. Attack Speed caps (important for fast weapons). Critical Chance and Critical Damage each have caps (so there’s a point where more becomes less valuable). Practical rule: Once you notice a stat is already extremely high on your character, stop forcing it and invest in the next best stat that still has room to grow (example: swap from more crit chance into crit damage, or from more dash distance into dash cooldown). Best Runes Tier List (2026 Meta) This tier list is based on how useful a rune is across the whole game (farming + bossing + progression), and how much impact it has even with average secondary rolls. S+ Tier (Build-Defining, Works Almost Everywhere) Blast Chip (weapon) – AoE explosion turns any farm route into faster clears Drain Edge (weapon) – lifesteal-style sustain keeps you fighting longer without resets Miner Shard / Miner Shard II (pickaxe) – your best progression rune for faster rare ore grinding S Tier (Extremely Strong, Best in Specific Playstyles) Flame Spark (weapon) – strong sustained damage over time, especially good on bosses Rage Mark (armor) – high-risk “below HP” power spike; fun and powerful in aggressive builds A Tier (Very Good, Often Chosen for Specific Roles) Ward Patch (armor) – reliable survivability layer, especially for deep caves and learning bosses Briar Notch (armor) – passive reflect that becomes better when you’re tanky and taking lots of small hits Chill Dust II (weapon) – powerful crowd-control slow for safer farming and boss control B Tier (Useful, But Usually Not the First Choice) Venom Crumb (weapon) – poison damage over time; better as a secondary rune than a main build core Frost Speck / Frost Speck II (weapon) – freeze utility can be strong but is often less consistent than raw DPS choices C Tier (Low Value or Limited Availability) Rot Stitch (situational / often listed as unobtainable in normal play) Developer-only sigil runes (not part of normal progression) Rune-by-Rune Breakdown (Best Secondary Rolls and Best Use Cases) Use this section when you already own the rune and you want to know what to do with it. Blast Chip (Explosion) – Best Rune for AoE Farming What it does: creates an explosion at the victim’s location for a percent of your weapon damage, with a chance on hit. Best for: mob farming, cramped caves, clearing groups fast, farming essence and runes. Best secondary rolls: Attack Speed Critical Chance Lethality Critical Damage Synergy tip: Blast Chip scales with how often you hit. Put it on fast weapons or rune for Attack Speed and you’ll see explosions constantly. Drain Edge (Life Steal) – Best Rune for Staying Alive What it does: heals you for a percentage of your weapon damage, with a cap per heal. Best for: long dungeon sessions, boss learning, risky zones where you take chip damage. Best secondary rolls: Attack Speed (more hits = more healing triggers) Lethality (more damage = more healing value) Critical Damage (strong on crit builds) Synergy tip: Drain Edge feels strongest when your weapon hits frequently. It’s one of the best “comfort” runes in the whole game because it turns damage into time saved. Flame Spark (Burn) – Best Boss Melter Rune What it does: burn damage based on a percent of your base weapon damage per second, for a short duration, with a chance on hit. Best for: high-HP targets, bosses, elites, long fights where DoT gets full value. Best secondary rolls: Attack Speed Critical Chance Critical Damage Lethality Synergy tip: Flame Spark is perfect when you want sustained damage without needing perfect crit gear. You’ll feel it most on bosses because they live long enough for burn to matter. Venom Crumb (Poison) – Good Utility DoT What it does: poison damage per second based on your base weapon damage, with a chance on hit. Best for: adding extra damage to builds that already have strong base hits, especially on fast weapons. Best secondary rolls: Attack Speed Lethality Critical Chance Synergy tip: Poison feels best as “extra damage while you move.” If you like hit-and-kite play, it can be a comfortable secondary rune. Frost Speck (Freeze) – Control Tool for Safety What it does: chance to freeze enemies briefly, with a cooldown. Best for: safer farming, controlling dangerous elites, reducing incoming hits during chaos. Best secondary rolls: Attack Speed Lethality Critical Chance Synergy tip: Freeze effects shine when you’re undergeared. If you’re struggling to survive, Frost Speck can be a “learning rune” that buys you time. Frost Speck II – The Better Freeze Version Frost Speck II increases freeze duration and proc chance significantly compared to Frost Speck I, and it can roll additional traits more flexibly than many lower-tier runes. If you enjoy control playstyles, Frost Speck II is the freeze rune that finally feels consistent. Chill Dust II (Snow) – The Slow Rune That Makes Fights Easier What it does: applies a movement speed and attack speed slow, with a chance on hit. Best for: controlling bosses and elites, reducing damage intake, keeping enemies “manageable” in tight mines. Best secondary rolls: Attack Speed Critical Chance Lethality Synergy tip: Slow is not “damage,” but it increases your real DPS by improving uptime. When enemies hit slower, you can stay closer and land more hits safely. Ward Patch (Shield) – The Reliable Defense Layer What it does: chance to reduce incoming physical damage when hit. Best for: tank builds, deep mine sessions, new bosses, any time you’re taking repeated physical hits. Best secondary rolls: Surge (dash cooldown reduction) Phase (dash invincibility) Vitality (HP) Endurance (stamina) Important tip: Ward Patch is commonly a one-time tutorial reward. If you sell it early, you may not be able to get it again. Treat it like a permanent account treasure. Briar Notch (Thorns) – Passive Damage for Tanky Players What it does: reflects a percentage of physical damage taken, with a cap per proc. Best for: tanky builds that take lots of small hits, swarm farming, “retaliation” playstyles. Best secondary rolls: Vitality (bigger HP = stronger thorns value ceiling feeling) Surge or Phase (survivability uptime) Endurance (comfort) Synergy tip: Briar Notch is not a “main DPS engine.” It’s a passive bonus that shines when you are already durable and fighting many enemies at once. Rage Mark (Berserk) – High Risk, High Reward What it does: when your HP is below a threshold, you gain a short burst of damage and movement power with a cooldown. Best for: aggressive builds, clutch moments, “low HP” builds that intentionally stay risky. Best secondary rolls: Vitality (makes the low-HP threshold safer to hover near) Surge (more dashes to survive at low HP) Phase (safer dashes) Important warning: Rage Mark is fun, but it rewards risky play. If you’re dying often, don’t force this rune—stability beats drama. Miner Shard (Pickaxe) – The Progression Rune Miner Shard is the reason many players suddenly “start getting better ores.” It can roll multiple mining traits (luck/yield/mine speed/mine power) and turns your pickaxe into a real build piece. Best mining plan: aim for a Miner Shard with strong Luck and/or Swift Mining first, then add more Miner Shards as you unlock more pickaxe slots. Miner Shard II – The Premium Pickaxe Upgrade Miner Shard II is a stronger version obtained from high-end content. If you’re serious about rare ore grinding, Miner Shard II is one of the best upgrades you can chase because it stacks with your entire mining setup and remains useful forever. Best Weapon Loadouts (Ready-to-Use Setups) These are practical loadouts you can copy. Each assumes you have 1–3 rune slots depending on enhancement progress. Loadout 1: Fast AoE Farm (Best for Essence, Runes, Gold) Goal: clear groups fast while staying safe and efficient. Weapon runes (priority order): Slot 1: Blast Chip Slot 2: Drain Edge Slot 3: Flame Spark or Chill Dust II (choose based on comfort) Best secondary rolls to chase: Attack Speed on Blast Chip Attack Speed or Lethality on Drain Edge Crit Chance on your third rune if you want more burst Why it works: Blast Chip wipes packs, Drain Edge keeps you alive in long sessions, and the third slot adds either extra boss damage (Flame Spark) or safer control (Chill Dust II). Loadout 2: Boss Melter (Best for High-HP Targets) Goal: stable single-target damage that scales through long fights. Weapon runes: Slot 1: Flame Spark Slot 2: Drain Edge Slot 3: Chill Dust II or Blast Chip (depending on the boss arena and adds) Best secondary rolls to chase: Crit Chance + Crit Damage across your weapon runes Attack Speed whenever possible Lethality as your “always good” damage booster Why it works: Burn gives sustained damage, lifesteal lets you stay in the fight longer, and slow makes boss patterns easier and safer. Loadout 3: Lifesteal Sustain (Best for Deep Mines and Learning Content) Goal: never leave the dungeon unless you choose to. Weapon runes: Slot 1: Drain Edge Slot 2: Blast Chip or Flame Spark Slot 3: Frost Speck II (if you want safety) Best secondary rolls: Attack Speed (top priority) Lethality Crit Damage (once you have decent crit chance) Why it works: This loadout sacrifices a little “peak DPS” for massive comfort. If your goal is long sessions and fewer resets, it’s one of the best ways to play. Loadout 4: Crowd Control Safety (Best for Hard Zones and Squishy Builds) Goal: reduce incoming hits and keep fights under control. Weapon runes: Slot 1: Chill Dust II Slot 2: Frost Speck II Slot 3: Drain Edge or Blast Chip (choose sustain or damage) Best secondary rolls: Attack Speed (for more procs) Lethality Crit Chance Why it works: Slow + freeze makes enemies feel less dangerous. This setup is perfect when you’re undergeared but still want to farm efficiently. Best Armor Loadouts (Tank, Speed, and “Never Get Hit”) Armor runes define your survivability style. Choose a plan, then stack the secondaries that support it. Armor Loadout 1: Shield Wall Tank (Most Consistent Defense) Best for: bosses, elites, deep caves, safe progression. Armor runes: Ward Patch on at least 1–2 pieces (if you own it) Briar Notch as a third piece if you want passive value Rage Mark only if you enjoy risky play Secondary roll priority: Surge Phase Vitality Endurance Why it works: Dash uptime prevents damage. Shield procs reduce damage when you do get hit. This build makes mistakes less punishing. Armor Loadout 2: Mobility Tank (Best “Real Survival” for Skilled Players) Best for: players who dodge and parry well, but want extra safety. Armor runes: Briar Notch + Rage Mark (aggressive) or Briar Notch + Ward Patch (safer) Secondary roll priority: Surge Phase Stride Swiftness Why it works: You survive by being hard to hit. The build rewards movement skill and feels amazing once your dash timing is solid. Armor Loadout 3: Retaliation Tank (Best for Swarms) Best for: lots of melee enemies, swarm farms, “let them hurt themselves” play. Armor runes: Briar Notch on multiple pieces (if you have slots) Ward Patch if available (stability) Secondary roll priority: Vitality Endurance Surge Why it works: Thorns reflects damage; big HP keeps you alive; stamina lets you keep repositioning while enemies chip themselves down. Best Pickaxe Loadouts (Luck, Speed, and Ore Volume) Pickaxe runes are the most “always worth it” category because mining is the core of the whole game. Even if you don’t care about combat builds, pickaxe runes speed up your entire account. Pickaxe Loadout 1: Rare Ore Hunter (Best for Long Farming Sessions) Runes: Miner Shard (or Miner Shard II) in every available pickaxe slot Priority traits: Luck Swift Mining Mine Power Yield Why it works: Luck improves rare drop odds, speed increases how many nodes you roll per minute, and mine power reduces time-to-break on harder rocks. Pickaxe Loadout 2: Fast Route Farmer (Best for Profit and Volume) Runes: Miner Shard (bulk) with Swift Mining and Mine Power-focused rolls Priority traits: Swift Mining Mine Power Luck Yield Why it works: If your goal is ore volume and money routes, speed beats everything. More breaks per minute means more profit, even before rare drops. Pickaxe Loadout 3: “Extra Ore” Focus (Yield Build) Yield is powerful because it directly adds ore count. But it has a big limitation: Yield is often treated as a non-stacking trait, so you don’t want to chase it endlessly at the cost of everything else. Practical approach: Aim for one good Yield roll, then build the rest around Luck + Speed. Synergy Tips: Make Your Rune Match Your Weapon Speed Your weapon’s attack speed controls how often “on hit” runes trigger. Fast weapons = more procs per minute Slow weapons = fewer procs, so you want bigger per-hit impact (crit, heavy damage, sustain) Best matches Blast Chip → fast weapons (more explosions) Drain Edge → fast weapons (more heal triggers) Flame Spark → medium to fast weapons (more burn procs; bosses live long enough) Chill Dust II → any weapon, but feels best on fast hits (consistent slows) Frost Speck II → any weapon, but faster hits increase your chance to trigger freeze when cooldown is ready If you’re unsure what to build, take a fast weapon you enjoy, add Attack Speed secondaries, and you’ll feel immediate value from almost every rune. Synergy Tips: Don’t Stack the Same Thing Past Its Real Value Some stats feel great until you hit practical limits. Examples: If your Attack Speed is already extremely high, stacking more gives smaller gains than adding crit or lethality. If your dash feels nearly constant, adding even more Surge might be less valuable than Vitality or Phase. If your build is already safe, shift into damage to clear faster and earn more. Rule: once your weakness is fixed, stop investing into that weakness and invest into your next bottleneck. Synergy Tips: Runes + Ore Traits (How to Avoid “Overlapping” Builds) Ores can already provide effects like explosion, burn, poison, crit boosts, and sustain behaviors. Runes can stack on top of those, but smart builds avoid wasting slots. Good pairings: Explosion ore traits + Blast Chip = farming monster Burn ore traits + Flame Spark = boss melting Lifesteal-style weapon identity + Drain Edge = extremely long dungeon sessions Tanky ores + Ward Patch = stable survival Mobility ores + Surge/Phase secondaries = smoother farming routes Bad pairing pattern: “A little of everything” with no focus. When your runes and ores don’t support a single plan, your build feels average at everything. Where to Get Runes (Farming Guide by Enemy Type) If you want to farm runes efficiently, you don’t roam randomly—you target enemies that have the rune in their drop pool. Here’s a practical drop roadmap: Stonewake’s Cross Miner Shard – farm the enemy type known for dropping it early (the “delver” variant) Forgotten Kingdom Blast Chip – farm bomber-type enemies Flame Spark – farm deathaxe-style enemies and certain stronger mobs Briar Notch – same family as Flame Spark drops Drain Edge – farm reaper-type enemies (harder, but worth it) Venom Crumb – farm pyromancer-type enemies Frostspire Expanse Frost Speck – farm spider-type enemies Rage Mark – farm orc-type enemies and Yetis Level II runes (Miner Shard II, Frost Speck II, Chill Dust II) – farm the golem/ice golem boss content Special notes Ward Patch is commonly tied to the tutorial quest reward. Treat it as irreplaceable unless you’re 100% sure you can get another. Some runes (like Rot Stitch) are often listed as unobtainable in normal progression, so don’t plan your build around them. When to Chase Level II Runes (And When You Shouldn’t) Level II runes are powerful, but not every player should chase them immediately. Chase II runes when: your gear is stable and you aren’t replacing it every hour you have enough enhancement progress to use multiple rune slots you can defeat the boss source consistently without wiping Don’t chase II runes yet when: you’re still early progression and need pickaxe upgrades more than perfect runes your forging quality is still inconsistent you don’t have the survivability to farm the boss safely Level II runes are best treated as “mid-to-late game polishing,” not a beginner requirement. Rune Management: What to Keep, What to Sell, What to Store Your stash gets messy fast. Here’s the simple system that keeps you efficient. Always keep Blast Chip, Drain Edge, Miner Shard (and II versions) High-quality versions of Flame Spark and Chill Dust II Any rune with a perfect secondary roll for your main build (Attack Speed for weapons, Surge for armor, Luck for pickaxe) Usually sell Low-quality duplicates with bad secondaries Runes you don’t plan to use and that don’t have a “perfect roll” value Always store instead of selling Ward Patch (unless you are absolutely sure you can re-obtain it) II runes with good rolls (even if you don’t have slots yet) BoostRoom: Get the Right Rune Loadout Faster If you want the best rune setup in The Forge but you don’t want to waste weeks farming the wrong enemies or socketing runes into gear you’ll replace tomorrow, BoostRoom helps you build a clear plan. BoostRoom is built for results that actually speed up progression: Which rune to farm next based on your current world and gear strength Which secondary rolls matter for your exact playstyle (farming, bosses, tanks, mining) When to enhance for more slots vs when to replace gear How to build a two-loadout system (main farm loadout + boss loadout) without wasting gold on constant detach costs If you want your character to feel “fully built” in 2026, BoostRoom helps you get there with fewer mistakes and faster upgrades. FAQ What is the best overall rune in The Forge? Blast Chip is widely considered the best overall for general play because AoE explosions speed up farming and progression. What is the best survival rune? Drain Edge is one of the strongest survival tools because it converts damage into healing and keeps you in dungeons longer. What is the best rune for mining? Miner Shard (and Miner Shard II) is the best mining rune because it can roll luck, yield, mining speed, and mine power traits that improve ore farming. Can I put weapon runes on armor? No. Weapon runes go on weapons, armor runes go on armor pieces, and pickaxe runes go on pickaxes. How do I unlock rune slots on my gear? You unlock rune slots by enhancing gear. Enhancement levels are the gate to adding more runes. What secondary stats should I chase for weapons? Attack Speed is the top roll for most weapon builds, followed by Lethality and crit stats (Crit Chance and Crit Damage). What secondary stats should I chase for armor? Surge and Phase are top-tier because they improve dash uptime and safety, followed by Vitality and Endurance for comfort. Is Ward Patch rare? Ward Patch is often tied to the tutorial quest reward and may be limited per account, so it’s commonly treated as a “don’t sell” rune. Are Level II runes worth farming? Yes, but they’re best once you can farm the boss source consistently and once you have gear you plan to keep long enough to justify the upgrade. What’s the best “two rune” weapon combo? A very popular combo is Blast Chip + Drain Edge because it gives both AoE clearing and sustain at the same time.
Read more