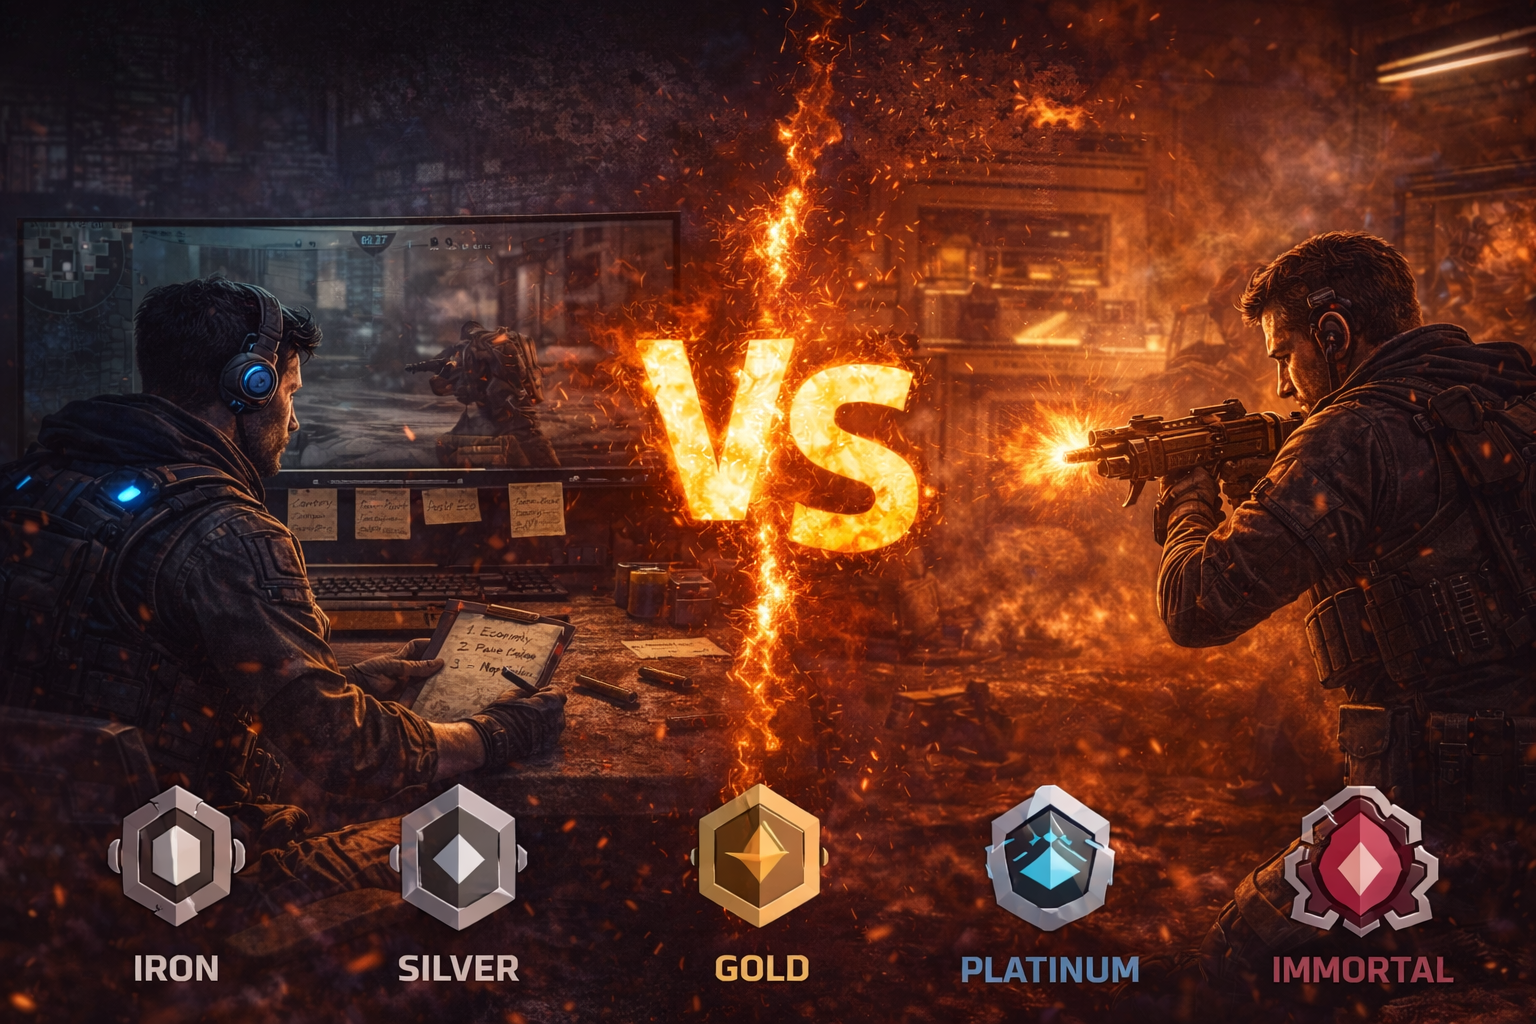
Role mastery becomes simple when you follow this rule:
- If you’re a Duelist, you should be first to claim space (with support).
- If you’re an Initiator, you should be first to make space safe (with info/flash/stun).
- If you’re a Controller, you should be first to shape the battlefield (smokes/walls that create favorable fights).
- If you’re a Sentinel, you should be first to make the round stable (flank control, site anchoring, and setups that punish pushes).

Duelists: Space Creation, Entry Discipline, and Surviving for Trade Value
Duelists are the most misunderstood role in ranked. Many players think “Duelist = top frag.” In reality, Duelist = space creator. Sometimes that creates kills. Sometimes it creates a clean plant, a safe rotate, or a free trade that wins the round.
Your job in one sentence: take the first piece of contested space so your team can follow safely.
What “creating space” actually looks like
Creating space isn’t “running in and dying.” It’s forcing defenders to react:
- You force defenders off strong angles (so your team can cross safely).
- You pull utility early (so your team hits with fewer obstacles later).
- You create a tradeable fight (so your teammate can instantly trade you).
- You make defenders turn their crosshair away from the choke (so your team can enter).
Entry isn’t a solo mission. Your best entry rounds look like:
- Initiator utility lands,
- Controller smokes cut dangerous angles,
- You take space,
- Your team trades immediately.
Attack-side Duelist rules that win rounds
Rule 1: Don’t entry without a “go” signal.
Your “go” signal can be a flash, a stun, a smoke timing, or info confirming the angle is clear. If you entry blind into full vision, you’re gambling the round.
Rule 2: Your first movement must have a purpose.
Every entry should answer a question:
- Are you taking site?
- Are you taking a key lane for a split?
- Are you taking space to force a rotate?
If you don’t know your purpose, you’ll drift into useless duels.
Rule 3: Take space in layers (not all at once).
Good Duelists don’t sprint into the deepest part of site instantly. They often:
- take first contact space,
- clear a dangerous pocket,
- then push deeper once teammates are close enough to trade.
Rule 4: If you get entry and live, your value spikes.
Living after entry means:
- you can fight post-plant,
- you can pressure rotates,
- you can play off teammates’ utility,
- you can be the “second wave” that wins the round.
Dying after entry is sometimes acceptable. Dying without being tradeable is the real failure.
Defense-side Duelist rules that win rounds
Defense Duelist is not “sit on site and hope.” You should often be the role that contests early space—but only with a plan.
High-value defense Duelist patterns:
- Take an early angle with an escape plan.
- Play a crossfire with a Sentinel anchor.
- Push with Initiator info (not random solo pushes).
- Reposition often so you’re not predictable.
The best defense Duelists do one of two things:
- Pressure: deny attackers free map control by challenging safe areas.
- Punish: set up for a trade or a trap when attackers commit.
Trading: The Duelist skill that gets you out of “coin flip” games
A lot of ranked Duelists feel like their games are random because they don’t build trade structure.
Your goal is not “get the first kill.” Your goal is “make the first fight tradeable.”
Practical spacing:
- If you are first in, you want a teammate close enough to trade within a second or two.
- If your team is far behind, slow down. You are about to die alone.
Practical communication that actually works:
- “Flash me and I go.”
- “Smoke this angle and I dash.”
- “Trade me—stay close.”
Duelist utility discipline
Duelists lose tons of value by wasting mobility/escape tools too early or too late.
Clean rule: use movement/entry tools to take space, not to recover from a mistake.
Common mistakes to avoid:
- using your entry movement to peek mid for fun, then not having it for the execute
- entrying with no support then blaming the team
- lurking every round as the only Duelist (sometimes good, often terrible)
- hunting kills after plant instead of playing crossfires and time
Duelist checklist you can follow every round
Before the round starts
- Where are we hitting (or defaulting)?
- Who is flashing/scanning for me?
- Which angle is the biggest threat?
- What is my escape route if I get contact?
During the execute
- Wait for utility timing.
- Take the first slice of space.
- Force defenders to react.
- Don’t over-clear alone—let teammates close the distance.
After plant
- Stop hunting. Start trading.
- Take a position that punishes the retake timing.
- Play off your Controller’s smokes and your Sentinel’s flank control.
Initiators: Information, Disruption, and Making Duels Unfair
Initiators are the role that makes everyone else look better. When Initiators are played well, Duelists look “unstoppable,” Controllers look “perfect,” and Sentinels get easier holds. When Initiators are played poorly, your team walks into stacks, dry-peeks Operators, and loses to setups you could have dismantled.
Your job in one sentence: use info and disruption to make fights unfair for your team.
Two styles of Initiators (and why it matters)
Most Initiator play falls into two categories:
- Recon-focused Initiators: build advantage through information, clearing space safely and denying lurks.
- Disruption-focused Initiators: build advantage through flashes, stuns, and forced movement—creating openings for entries.
You don’t have to label your agent every game, but you should label your plan:
- Are you trying to see where they are and take space safely?
- Or are you trying to force them off angles so your team can flood?
Attack-side Initiator rules that win rounds
Rule 1: Your utility should create a “go moment.”
Initiator utility isn’t decoration. It’s a countdown to action:
- info lands → team shifts
- flash lands → team swings
- stun lands → team takes space
If your utility lands and nobody moves, it’s low value.
Rule 2: Clear the most dangerous angles first.
In executes, your first goal is usually to remove:
- Operator lanes
- close corners that stop your entry
- common anchor positions that stall the hit
Rule 3: Don’t spend everything before your team commits.
A common ranked failure is burning your best tools during the default, then hitting with nothing.
A strong pattern is:
- use light info early to guide the round,
- save heavy utility for the commit (the moment your Duelist takes space).
Rule 4: Make re-hits possible.
Sometimes the best Initiator play is to help your team not die on the first hit. That means preserving at least one tool (flash/info/stun) for:
- a late rotate
- a re-hit after a fake
- a post-plant retake denial
Defense-side Initiator rules that win rounds
Initiators on defense often win by creating early info and early damage without dying.
High-value defense Initiator habits:
- gather info safely (don’t stand in open lanes)
- delay the rush with disruption
- call rotations early and accurately
- help retakes with structured utility, not panic throws
The retake difference-maker:
Many ranked retakes fail because everyone peeks one-by-one. A great Initiator makes retakes feel coordinated:
- one piece of utility forces defenders off an angle,
- team swings together,
- second utility clears the next pocket.
Initiator timing: why “good utility” still fails
Even perfect utility is useless if the timing is wrong.
Good timing looks like:
- Your Duelist is close enough to capitalize.
- Your Controller smokes are about to land.
- Your team has enough numbers to trade.
Bad timing looks like:
- You throw a flash while teammates are reloading or rotating.
- You reveal info when nobody is ready to act.
- You stun after the enemy already repositioned.
A practical timing rule:
- If your team can’t swing within the next 1–2 seconds, you probably shouldn’t pop your key utility yet.
Initiator checklist you can follow every round
Before the round starts
- Are we defaulting or executing?
- Which area do we need info on first?
- Which angle is the hardest to clear?
- Who is playing off my utility (who swings when I flash)?
During the round
- Use light info early.
- Keep one strong tool for the commit or retake.
- Communicate your countdown (“flashing in 2,” “scanning now”).
After plant / during retake
- Use utility to force movement, not to “hope.”
- Clear one pocket at a time.
- Swing with teammates—your job is to make their fights easier.
Controllers: Vision Control, Tempo, and Winning Without Taking Fights
Controllers decide what the map looks like. A team with a strong Controller feels like it’s always fighting on its terms. A team without proper smokes feels like it’s constantly walking into crossfires and dying before the fight even begins.
Your job in one sentence: control sightlines and tempo so your team fights only the fights it wants.
What Controllers really do (beyond “put smokes down”)
Controllers don’t just block vision. They shape decisions:
- They remove defenders’ strongest angles.
- They force defenders into close-range fights.
- They deny information (defenders can’t safely see how many are hitting).
- They stall pushes and buy rotations time.
- They create “safe lanes” for teammates to cross.
Smokes are a timing tool. Walls are a territory tool. Mollies and slows are a time tool.
Attack-side Controller rules that win rounds
Rule 1: Smoke for the plan, not for comfort.
A “comfortable” smoke is not always a “winning” smoke. Your smoke should:
- isolate defenders,
- protect your entry path,
- remove the most lethal angle.
Rule 2: Sync smokes with entry.
Smokes that land too early fade before you hit. Smokes that land too late mean your Duelist dies entering.
Simple habit: call a countdown and place smokes as the team is ready to move.
Rule 3: Don’t waste the second wave.
Many Controller players smoke for the first hit then have nothing for:
- post-plant defense
- mid-round rotates
- re-hits
- late-round executes
A high-value Controller thinks in phases:
- phase 1: take map control / deny key vision
- phase 2: execute smokes
- phase 3: post-plant or re-hit smokes
Rule 4: Keep your team’s tempo stable.
Controllers often become the “tempo leader” without meaning to. If you place smokes instantly every round, your team will rush mindlessly. If you never smoke until late, your team will freeze.
A good Controller helps the team choose a tempo:
- fast hit (smokes early and decisive)
- default into hit (smokes after info)
- fake into rotate (smokes as deception tools)
Defense-side Controller rules that win rounds
On defense, Controllers win rounds by:
- denying early info,
- stalling hits,
- forcing attackers into uncomfortable timings.
Rule 1: Your first smoke should buy time, not just block a lane.
A defensive smoke is powerful when it:
- forces attackers to wait,
- forces them to use utility,
- forces them to walk into your crossfire timing.
Rule 2: Don’t give free re-hits.
If attackers see you smoke one area every round, they will wait it out and hit after it fades. Mix it up:
- sometimes smoke early,
- sometimes hold smokes and fight for info first,
- sometimes counter-smoke mid-round.
Rule 3: Retake smokes are often more valuable than “perfect holds.”
Not every site hold is meant to be a full stop. Many rounds are designed to be:
- delay + survive
- regroup + retake with utility
If you spend everything trying to hero-hold alone, you remove your team’s best retake tools.
Controller survival is a win condition
Controllers are high-impact late because they:
- can re-smoke during retakes,
- can isolate angles in 2v2s,
- can stall defuses,
- can deny info in clutches.
A simple climbing rule:
- If you are the Controller, your life is often worth more than one risky duel.
Controller checklist you can follow every round
Before the round starts
- What is the enemy’s strongest lane?
- Where does our entry need protection?
- Which smoke(s) must be saved for post-plant or retake?
During the round
- Sync smoke timing with your team.
- Don’t panic-smoke the first sound cue.
- Keep one “emergency smoke” if your kit allows.
After plant / during retake
- Use smokes to isolate angles (turn 4 angles into 2).
- Smoke for the defuse timing, not for decoration.
- Communicate what your smokes are doing (“this blocks heaven,” “this isolates back site”).
Sentinels: Locking Space, Watching Flanks, and Turning Time Into Wins
Sentinels win games quietly. They are the role that makes rounds feel stable: flanks are covered, pushes are punished, and post-plants become miserable for the enemy.
Your job in one sentence: secure space and waste enemy time with setups and information.
What Sentinels own that no one else does
A Duelist can’t watch flank while entrying. A Controller can’t anchor and also be everywhere. Sentinels provide:
- early warning (so your team rotates correctly)
- flank security (so executes don’t collapse)
- site anchoring (so your defense doesn’t fall instantly)
- post-plant structure (so attackers can play time, not duels)
Attack-side Sentinel rules that win rounds
Sentinel on attack is often misplayed. Your goal is not “sit behind everyone and do nothing.” Your goal is to make your team’s attack safe and repeatable.
Rule 1: Flank control is your default job.
If your team is hitting, someone must:
- watch flank,
- detect pushes,
- prevent backstabs during post-plant.
If you do this well, your team can focus forward and win more executes.
Rule 2: Be present when the round commits.
A common mistake is staying too far back and arriving late. Your setup should allow you to:
- lock flank with utility,
- then move closer to trade and hold post-plant.
Rule 3: Post-plant is where you farm value.
Sentinel kits often shine after plant:
- you can deny space,
- punish retake paths,
- and force enemies to clear utility before they can fight.
Rule 4: Lurking is a tool, not a lifestyle.
Sentinel lurks can be powerful because you punish rotations and catch timing—but only if your team is stable without you. If your team has no flank control and no post-plant structure, your lurk becomes selfish value that loses rounds.
Defense-side Sentinel rules that win rounds
Defense Sentinel is about time. You don’t always need to kill everyone; you need to:
- delay the hit,
- survive long enough for rotations,
- and force attackers to spend utility.
Rule 1: Your setup must be unpredictable.
If you place the same utility in the same place every round, attackers will pre-clear it, break it, or avoid it.
A strong Sentinel rotates patterns:
- different setup locations
- different timings
- sometimes passive hold, sometimes aggressive trap
Rule 2: Don’t anchor alone without a plan to survive.
Anchoring isn’t hero mode. Anchoring is:
- stall,
- trade,
- escape,
- retake with team if needed.
Rule 3: Information is a weapon.
If your utility tells you where they are not, that’s still value. The best Sentinel players call fast, clean info:
- “No contact here yet.”
- “Utility broke; they can be close.”
- “Flank is clear; hit is likely coming.”
Sentinel checklist you can follow every round
Before the round starts
- What is my job: anchor, flank control, or mid control?
- Where is the enemy most likely to pressure?
- What is my “survival plan” if they hit my site?
During the round
- Update info clearly and quickly.
- Don’t over-rotate too early (your utility is often the reason the rotate is safe).
- Reposition after contact so you’re not predictable.
After plant / during retake
- If you’re attackers: protect flank and punish retake paths.
- If you’re defenders: clear utility methodically and trade together—don’t peek one-by-one.
How Roles Work Together: The Round Blueprint That Feels Like “Teamplay”
The easiest way to understand roles is to see how they connect in a clean round flow. Most strong rounds follow a blueprint like this:
Phase 1: Early round (map control and information)
- Initiator gathers safe info.
- Controller denies or challenges key sightlines.
- Sentinel locks flank or anchors a lane.
- Duelist holds presence, ready to take space if an opening appears.
Phase 2: Mid-round (decision and pressure)
- Team decides: hit, fake, or rotate.
- Controller prepares smokes/walls to isolate defenders.
- Initiator prepares the “go moment” utility.
- Duelist takes first contested space.
- Sentinel ensures flank safety so the hit doesn’t collapse.
Phase 3: Execute (space conversion)
- Controller smokes land to remove lethal angles.
- Initiator utility lands to force defenders off positions or reveal them.
- Duelist enters to claim the first zone.
- Team trades and clears pockets.
- Spike goes down with structure.
Phase 4: Post-plant (time game)
- Sentinel secures flank and traps retake routes.
- Controller re-smokes/isolate angles during the retake timing.
- Initiator uses utility to clear and disrupt defuse attempts.
- Duelist plays off contact and trades, not solo hunts.
The secret sauce: roles don’t work in isolation. They work like a relay race. If one role misses the handoff, the round becomes a brawl instead of a plan.
A simple team comms script that improves solo queue instantly
- Controller: “I can smoke A in 3.”
- Initiator: “Flashing when smokes land.”
- Duelist: “I go on flash—trade me.”
- Sentinel: “Flank secured—play post.”
Even if your team isn’t coordinated, saying these lines increases the chance that at least two teammates sync with you—and that often decides the round.
Role-Specific Practice Routines That Actually Improve Ranked
If you want role mastery, you need practice that matches role tasks—not just aim training.
Duelist practice
- Entry route rehearsal: pick one map, choose one site, and mentally rehearse your first 5 seconds on entry (what space you take, what angle you avoid, where you can retreat).
- Trade discipline drill: in matches, focus on one goal: never die alone on entry. If you’re about to be alone, stop.
- Post-plant restraint: play 10 matches where your rule is “no post-plant hunting unless it’s a guaranteed trade.” You’ll win more rounds immediately.
Initiator practice
- Timing habit: every key utility use should have a verbal or mental countdown (“in 2”). This forces you to think about teammate positioning.
- Info-to-action drill: whenever you get info, immediately decide what it means: hit, rotate, pressure, or hold.
- Retake structure: practice using utility to clear one pocket at a time instead of throwing everything at once.
Controller practice
- Smoke timing discipline: stop smoking instantly on sound. Wait until you confirm the plan or timing window.
- Isolate-angles mindset: every smoke should reduce the number of angles your teammates must clear.
- Emergency smoke habit: try to keep at least one flexible smoke for the late round or the defuse moment.
Sentinel practice
- Setup variety rule: never use the exact same setup three rounds in a row.
- Flank stability: focus on being early to flank control, then moving up to trade once your utility is active.
- Anchor survival plan: every round, decide where you retreat if the site collapses—before it happens.
Common Role Mistakes That Keep Players Hardstuck
These are the patterns that lose “easy” rounds in ranked.
Duelist mistakes
- Entrying before utility lands.
- Lurking every round while the team hits 4v5.
- Getting first blood but giving an instant trade back with no value.
- Post-plant hunting and throwing a numbers advantage.
Initiator mistakes
- Using utility with no follow-up (nobody swings, nobody moves).
- Wasting the best tools during default, then hitting with nothing.
- Flashing/stunning teammates or forcing them into bad swings.
- Retaking with random peeks instead of layered clearing.
Controller mistakes
- Smoking too early (smokes fade before the hit).
- Smoking too late (entry dies before angles are blocked).
- Panic-smoking off sound cues with no info.
- Taking unnecessary duels and dying first (removing the team’s late-round structure).
Sentinel mistakes
- No flank control on attack (team gets backstabbed).
- Over-rotating too early on defense (site collapses behind you).
- Predictable setups every round.
- Anchoring in a spot with no escape or trade plan.
Team-wide mistakes (every role contributes)
- Not trading.
- Not communicating basic timing (“go now” moments).
- Playing for KDA instead of round win conditions.
- Refusing to adapt when the enemy reads your patterns.
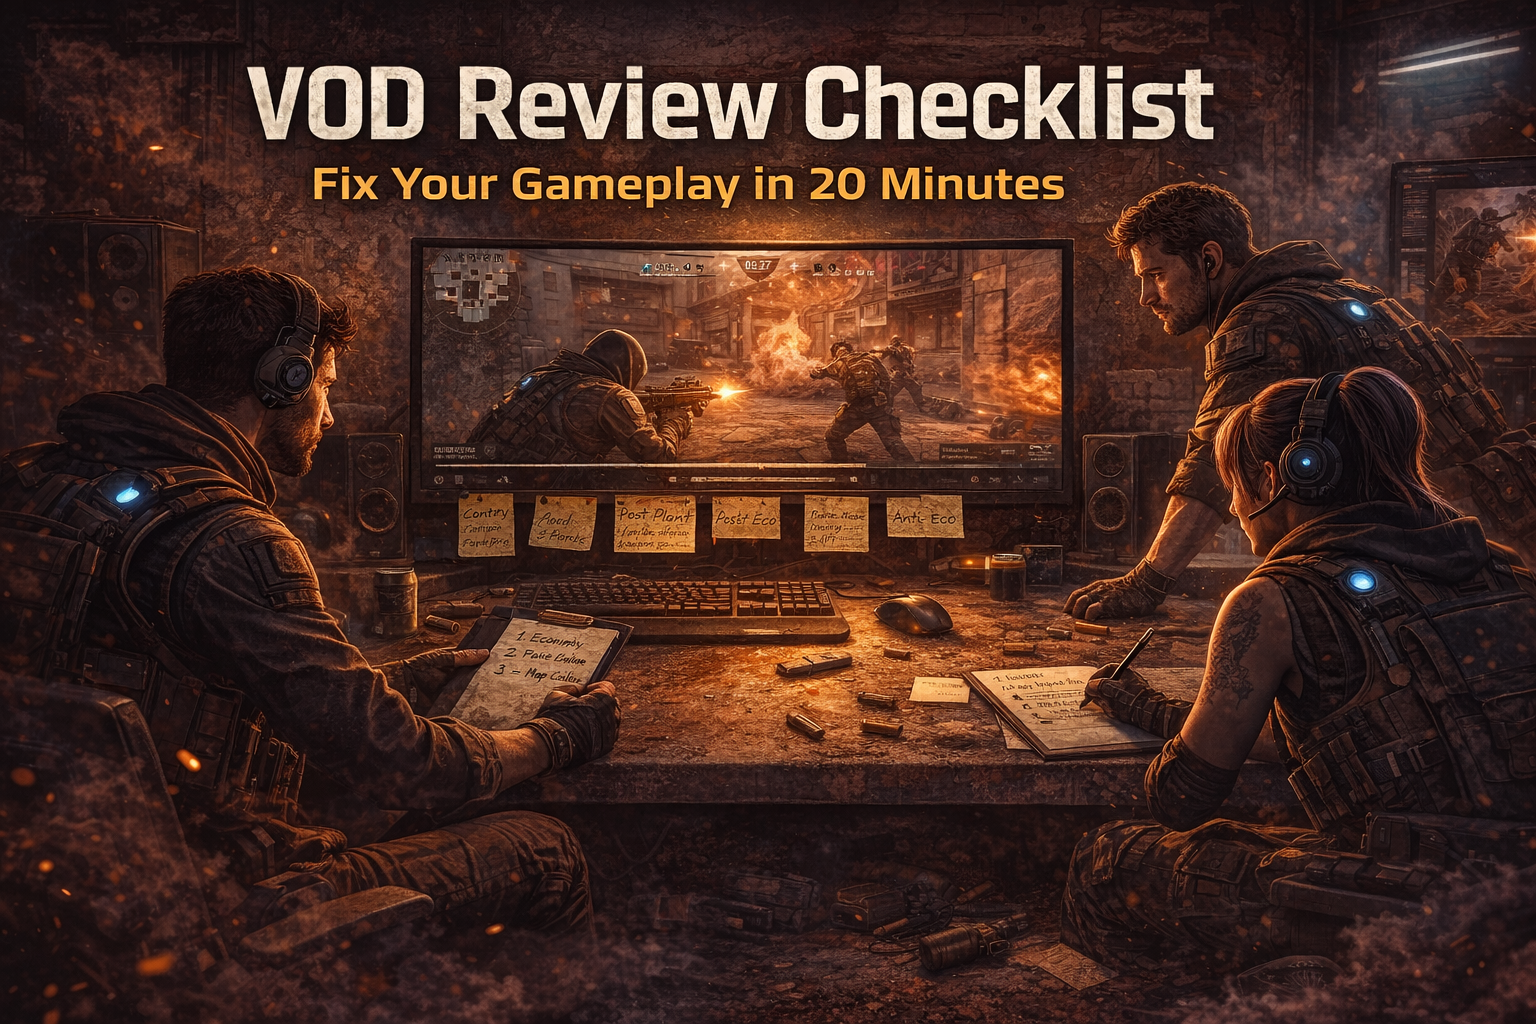
BoostRoom: The Fastest Way to Master Your Role and Climb
Reading a guide gives you the rules. Climbing consistently comes from applying those rules under pressure—especially in the messy rounds where ranked falls apart.
BoostRoom helps you master your role with coaching built around real match decisions:
- Role-focused VOD reviews: learn exactly where your role value dropped (entry timing, smoke timing, flank control, retake structure).
- Personal role playbook: simple, repeatable rules tailored to how you actually play in ranked.
- Utility timing improvement: stop “using abilities” and start using them to create guaranteed advantages.
- Climb strategy by role: how to carry games ethically through decision-making, not just aim—so your impact stays consistent even on off days.
If you want your matches to feel less random and your wins to feel repeatable, role mastery is one of the highest-ROI skills in VALORANT—and BoostRoom is built to teach it.
FAQ
Which role is best for climbing in ranked?
The best role is the one you can play consistently with high-impact decisions. Duelists can create fast momentum, Controllers make rounds easier for everyone, Initiators enable clean fights, and Sentinels stabilize chaotic games. Climbing usually comes from mastering one role deeply rather than swapping every match.
Do Duelists have to top frag?
No. Duelists need to create space and be tradeable. If you entry, pull utility, and enable a clean plant, you can be winning the game even without top fragging.
What should I do if my Duelist won’t entry?
Build a plan that doesn’t rely on hero entry. Use Initiator utility to take space safely, use Controller smokes to isolate angles, and take space as a group. If you’re a Duelist and you won’t entry, consider switching roles—because your team loses structure.
Why do my flashes feel useless as an Initiator?
Usually it’s timing or distance. If your team can’t swing within the flash window, the flash doesn’t convert into space. Use a countdown, make sure teammates are close, and flash for a specific swing—not “somewhere on site.”
How do I know if my smokes are good as a Controller?
Good smokes reduce the number of angles your team must fight at once and land at the moment your team is ready to move. If your Duelist dies before the smoke matters, it’s late. If your team waits until it fades, it’s early.
Is Sentinel supposed to lurk on attack?
Sometimes. Lurking is valuable when it punishes rotations and creates back pressure, but your first job is usually flank control and post-plant structure. Lurk when your team is stable without you and your lurk creates a clear timing advantage.