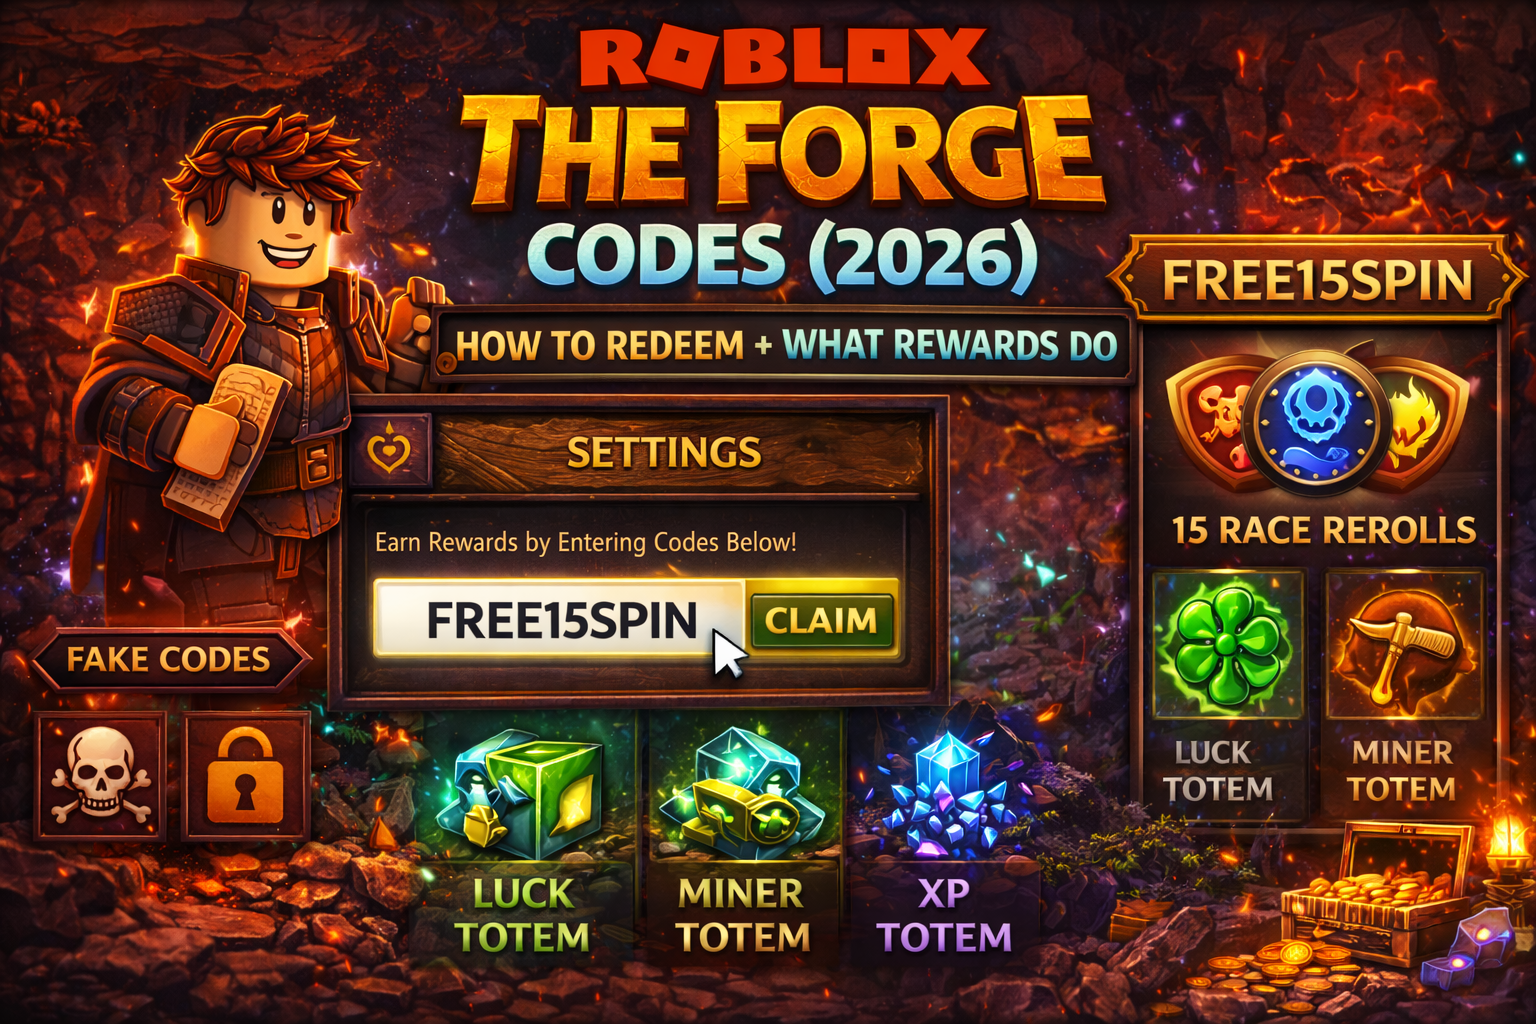
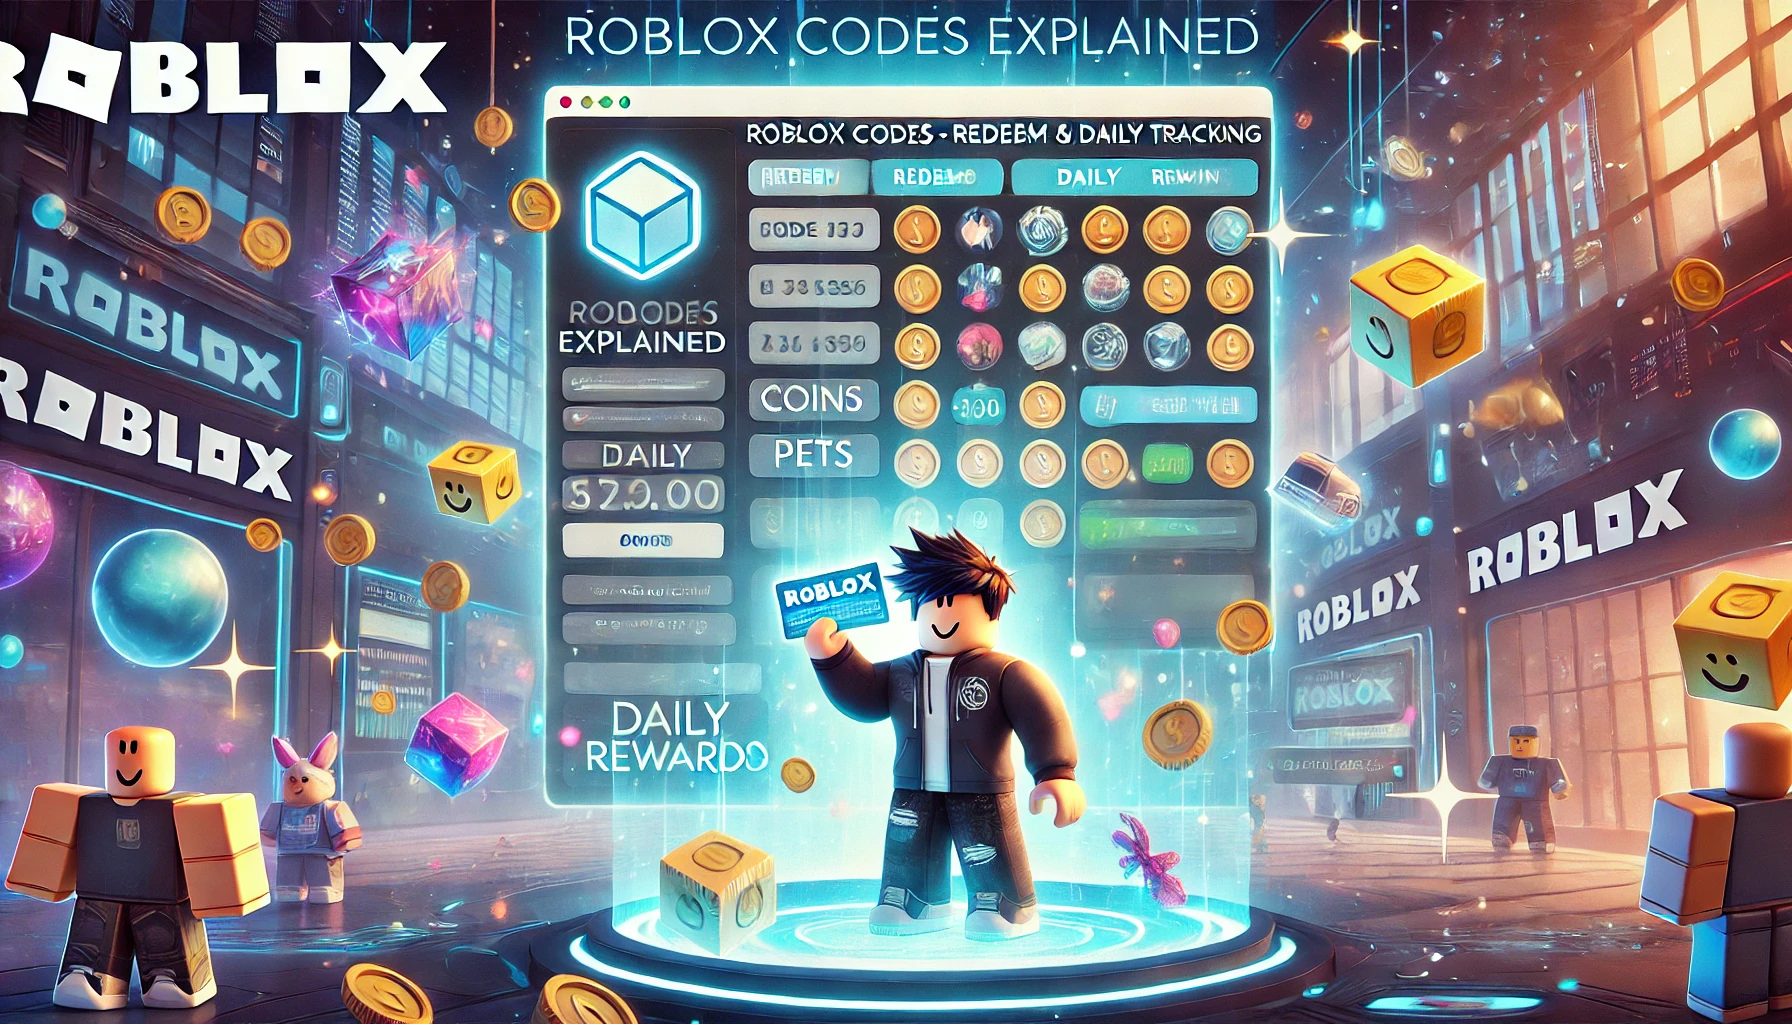
Roblox Codes Explained – Redeem & Daily Tracking 🧾
Free rewards always feel good — and in Roblox, codes are your golden ticket to bonus coins, cosmetics, and exclusive items. 💎
Every month, developers across different Roblox games drop new promo codes that can unlock cash, boosts, limited accessories, or in-game currencies. The trick is knowing where to find them, how to redeem them safely, and how to track them daily without wasting time on fake lists.
This 2025 guide will show you everything you need to know about Roblox codes — how they work, how to use them, and the smartest way to stay updated. Whether you play Blox Fruits, Pet Simulator 99, or Brookhaven, this is your one-stop source for code redemption mastery.
What Roblox Codes Are and How They Work 🎯
Roblox codes are short combinations of letters and numbers that unlock free rewards when entered in the right place.
Developers release them for events, milestones, or promotions — think of them as small thank-you gifts for loyal players.
There are two main types:
- Official Roblox promo codes – Redeemable at roblox.com/redeem for avatar gear or accessories.
- Game-specific codes – Entered inside individual games for in-game rewards (money, boosts, pets, etc.).
Codes are usually time-limited, so keeping track of them is key if you want to collect everything before they expire.
Where to Find Roblox Codes 🔍
1. Official Roblox Channels
Roblox often releases promo codes on their Twitter (X), YouTube, and events pages. Following the official Roblox account ensures you never miss new codes.
2. Developer Social Media
Many games have their own Discord servers or X profiles. Examples include:
- Blox Fruits (@BloxFruits)
- Pet Simulator 99 (@BuildIntoGames)
- Anime Adventures and others regularly post codes after updates.
Join their communities — codes usually appear minutes after an update goes live.
3. Roblox Events & Collabs
Limited-time partnerships (like NikeLand or Spotify Island) often drop unique codes tied to real brands. These can grant rare items that become collectibles later.
4. Trusted Fansites & Wikis
Sites like the official Fandom maintain daily-updated lists of valid codes. Bookmark them and check every morning — consistency pays off.
How to Redeem Roblox Codes (Step-by-Step) 🪙
The process differs slightly between general Roblox codes and game-specific ones. Here’s how both work:
Redeeming Roblox Promo Codes
- Visit https://www.roblox.com/redeem.
- Log into your account.
- Enter the code exactly as shown (case-sensitive).
- Hit Redeem and check your inventory for rewards.
Redeeming Game Codes
- Launch the game (like Blox Fruits or Pet Simulator 99).
- Find the Codes or Rewards button, usually in settings or the shop menu.
- Paste the code and confirm.
- Collect your reward instantly — no rejoin needed.
💡 Pro tip: Always copy and paste codes instead of typing manually to avoid typos.
How to Spot Fake or Expired Codes 🚫
Sadly, Roblox’s popularity means fake “free Robux” and scam code lists appear daily. Stay safe by following these rules:
- Never use third-party “generator” sites. Roblox codes are always free and official.
- Avoid links asking for your password or account info.
- Trust official developers and verified fan communities only.
- If a code sounds too good to be true (like “1MFreeRobux”), it’s fake.
The safest way to stay updated? Stick to BoostRoom, official sources, and the Roblox Fandom page for verified updates.
Daily Code Tracking Routine 📅
Staying organized helps you never miss a reward. Try this quick daily checklist:
- Check Roblox’s official social media.
- Visit your favorite games’ Discord channels.
- Scan the Fandom wiki page for newly added codes.
- Mark expired ones in a simple notes app.
- Redeem before new events roll out (usually every Friday or weekend).
Doing this takes less than five minutes a day — but can easily save you hundreds of Robux worth of rewards over time.
Top Game Examples: Where Codes Matter Most 🏆
Blox Fruits
Redeemable codes grant experience boosts, stat resets, and in-game currency. They help players level faster and experiment with different fruit builds.
Pet Simulator 99
Codes here often reward diamonds, luck boosts, and event-exclusive pets — perfect for speeding up your grind.
Anime Adventures
Codes drop after each update, usually granting summon tickets or gems for unlocking new heroes.
Adopt Me!
While Adopt Me doesn’t use traditional code systems anymore, older players remember promo codes that once granted bucks or items — a system that may return in future updates.
Tower Defense Simulator
This game’s codes reward premium currency and towers — valuable for both new and veteran defenders.
Tips to Maximize Rewards 🧠
- Redeem codes immediately after they’re released — some have short time limits.
- Join group giveaways where developers post early-access codes.
- Combine boost codes with double-reward events for stacked bonuses.
- Keep a simple notes file with the last date you redeemed each game’s codes.
It’s about efficiency — being early often doubles your rewards.
How Roblox Developers Use Codes 💼
Game creators use codes for:
- Player retention: Rewarding returning users.
- Update marketing: Encouraging players to revisit new content.
- Event engagement: Building hype for holidays or collabs.
- Community appreciation: Thanking loyal followers on milestones.
By tracking code patterns, you’ll even start predicting when new drops are coming — for example, every time a Blox Fruits update releases, new codes almost always follow.
Troubleshooting Roblox Code Errors 🧩
“Invalid Code” Error – Double-check spelling or spacing. Codes are case-sensitive.
“Expired Code” – Most codes have short lifespans; check the date of the post.
“Already Redeemed” – Each account can only use a code once.
Nothing Happens – Rejoin the game or reset your character to refresh rewards.
Still stuck? Visit the game’s help section or Roblox Support for official troubleshooting.
Benefits of Tracking Codes Daily 🌟
Keeping up with codes pays off beyond just free items.
- You learn update schedules before they’re announced.
- You build a consistent habit that saves Robux.
- You grow your collection with rare cosmetics.
- You gain an edge in new events and challenges.
Think of it like a loyalty program — the more consistent you are, the more you earn.
Frequently Asked Questions (FAQs) 💬
Q: Do all Roblox games have codes?
A: No, only some games include code systems. Usually simulators, anime games, and tycoons use them.
Q: Can I get banned for using codes?
A: Never. Official codes are meant for everyone — they’re part of the game’s design.
Q: How often do new codes appear?
A: Usually weekly or after major updates, but it depends on the developer.
Q: Why didn’t my code work?
A: It’s likely expired or case-sensitive. Always check trusted sources for current ones.
Q: Are code sites safe?
A: Only use verified communities and pages like the Roblox Fandom. Avoid random “free Robux” pages.
Why Choose BoostRoom 💪
At BoostRoom, we make your Roblox experience faster, smoother, and safer. Our professional services help players get results without stress — whether you’re farming event rewards, chasing collectibles, or optimizing time between updates.
We provide:
- Safe, trusted service
- Quick progress completion
- Affordable pricing options
- Real-time updates and 24/7 support
We’ve been part of the Roblox community for years — we know exactly what players need to reach their goals faster.
How to Order on Our Website 🛒
Getting started with BoostRoom is easy:
- Visit the Roblox section.
- Pick your desired service (grind, levels, or items).
- Click Buy Now — skip the cart, go straight to checkout.
- Confirm your order.
- Relax while we handle the progress professionally.
It’s fast, safe, and transparent from start to finish.
Rewards from Using BoostRoom 🎁
When you choose BoostRoom, you gain:
- Faster growth and achievements
- Access to verified and safe rewards
- Exclusive event services and discounts
- Peace of mind through secure transactions
Your time matters — let professionals handle the grind so you can enjoy Roblox’s fun side.
Conclusion 🌟
Roblox codes are an easy, safe, and rewarding way to collect bonuses and enjoy updates to the fullest. From in-game currency to exclusive cosmetics, they’re small treasures that keep the experience exciting.
Remember: only trust official sources, stay consistent with daily checks, and redeem quickly before expiry.
And when you’re ready to maximize results, explore boosting, browse trusted accounts, and discover exclusive items — all safely available through BoostRoom.
For up-to-date verified code lists and community insights, visit the official Fandom — your most reliable companion for Roblox knowledge. 🧾