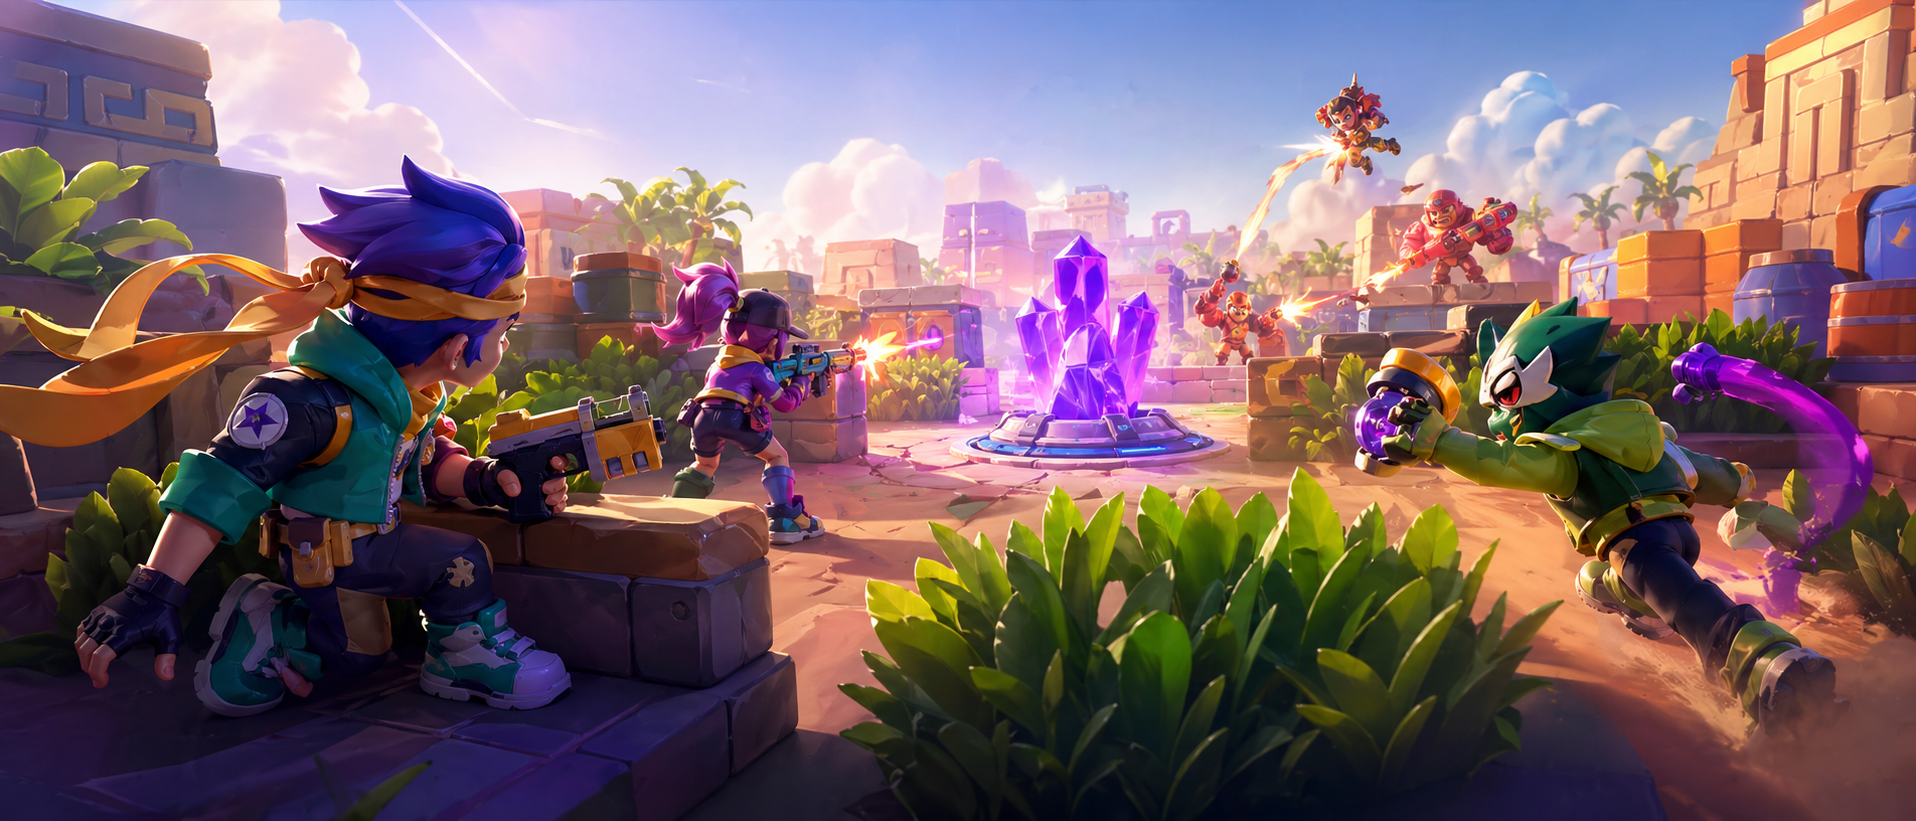
The One Rule That Fixes Most Losses: Objective First
Here’s the simplest “rank up faster” rule in the game:
If a fight doesn’t create objective value, it’s usually not worth risking your life for.
This doesn’t mean “never fight.” It means fight with a reason:
- to take mid control for gems
- to open a goal window
- to get safe damage time in Heist
- to hold or retake a zone
- to secure the first pick in Knockout
- to protect a lead in Bounty/Wipeout
When you start thinking “objective first,” you stop chasing random duels and start winning matches that used to feel like coin flips.
Mistake #1: Lane Stacking and Broken Map Structure
This is the most common reason teams lose without realizing it.
What it looks like:
- Two teammates stand in the same lane early
- The third teammate gets pinched (attacked from multiple angles)
- Mid collapses (in objective modes)
- Your team loses space and spends the rest of the match trying to retake
Why it loses games:
- Stacking one lane gives the enemy a free flank route
- The enemy gets easier shots (because you’re grouped)
- You lose information: nobody sees rotations until it’s too late
- You force your team into constant 2v3 situations
Fix it fast (even with randoms):
- Start left / mid / right by default
- If teammates stack, you take the empty lane and hold it calmly
- Don’t sprint across the map to “help”—hold your lane so flanks don’t happen for free
- Rotate only when you can create a real advantage (pinch or 2v1)
Quick self-check:
If you keep dying from the side or “out of nowhere,” your lanes are broken.
Mistake #2: Fighting in the Wrong Space
Many players lose fights before they even shoot because they choose bad terrain.
What it looks like:
- Taking duels in open lanes with no cover
- Walking through the middle of the map “because it’s faster”
- Fighting inside enemy-controlled choke points
- Standing where two enemies can see you at once
Why it loses games:
- Open space makes you easier to hit and harder to dodge
- No cover means no safe reset (you either win instantly or die)
- Choke points amplify enemy control tools
- Being seen from two angles creates pinches you can’t out-aim
Fix it fast: “one-side-safe” positioning
Always keep one side protected by:
- a wall
- the map edge
- safe retreat space
- or a teammate’s angle
If you’re exposed on both sides, you’re one mistake away from getting deleted—especially when the enemy team rotates correctly.
Mistake #3: Bad Peeking and Free Damage
Peeking is how you “show yourself” to fight. Bad peeking turns you into free Super charge.
What it looks like:
- Wide peeks that expose your full body
- Standing outside cover for too long
- Re-peeking the same losing angle repeatedly
- Peeking while low HP “just to get one shot”
Why it loses games:
- You take unnecessary chip damage
- You lose the heal/reset battle
- You feed enemy Supers
- You get finished by a burst you could have avoided
Fix it fast: the peek rhythm
- Peek briefly → shoot → return to cover
- If you miss, don’t instantly re-peek—change timing
- If the angle is losing, rotate a few steps to create a new angle
- If you’re low HP, reset first (survival is value)
Carry habit:
A player who takes less free damage wins more games even with average aim, because they stay in lanes longer and deny enemy pressure.
Mistake #4: Wasting Ammo and Losing the Reload War
Ammo is pressure. When you’re empty, you can’t hold space, stop a push, or punish a mistake.
What it looks like:
- Spamming shots into walls or empty lanes
- Emptying ammo to “win damage” but not securing anything
- Rotating while low ammo and losing the next fight instantly
- Chasing a low target with no ammo left to finish
Why it loses games:
- The enemy steps forward when you’re empty
- You lose control of key space (mid, zone entrance, goal line)
- You become vulnerable to dives
- You can’t defend objective moments
Fix it fast: ammo discipline
- Shoot only when you can hit, deny a path, or force a retreat
- Keep at least one shot for defense if divers exist
- Reload before rotating into new space
- If you’re empty, don’t “pretend pressure”—back up and reset
Simple rule:
If you feel forced to retreat constantly, you’re probably wasting ammo and losing tempo.
Mistake #5: Feeding Supers and Ignoring Enemy Big Buttons
Most Brawlers have a “big button” that flips fights—usually a Super or a high-impact gadget.
What it looks like:
- Taking unnecessary damage early and charging enemy Supers
- Forgetting which enemies have their Super ready
- Grouping up when the enemy has area control tools
- Using your own Super randomly instead of saving it for a swing moment
Why it loses games:
- Enemy Supers create snowball moments: team wipes, goal breaks, zone clears, carrier kills
- Once you’re down tempo, you lose space and get trapped
- You burn your own comeback tools too early
Fix it fast: Super awareness
- Track the enemy’s most dangerous tool (the one that kills you or breaks the objective)
- When you suspect it’s ready, play one step safer and don’t stack
- Save your best defensive tool to stop the commit
- Use your Super to secure a real swing: kill, stop, or objective conversion
Carry habit:
The best players don’t “use Super on cooldown.” They use Super to win the moment that decides the objective.
Mistake #6: Not Converting Wins Into Objective Value
This is the #1 reason teams say “we got kills but still lost.”
What it looks like:
- Winning a fight, then wandering or chasing instead of scoring/capping/collecting
- Getting a pick in Knockout, then still peeking and trading until it becomes even
- Clearing a zone, then leaving it empty while the enemy retakes for free
- Winning mid in Gem Grab, but nobody safely collects gems or sets up countdown defense
Why it loses games:
- Brawl Stars has fast resets—enemies return quickly
- If you don’t convert immediately, your advantage disappears
- The match becomes an endless loop of “almost winning”
Fix it fast: the conversion question
After any takedown or forced retreat, ask:
“What objective value is free right now?”
Then take it immediately:
- score a goal
- step into the zone
- collect gems safely
- hit the safe briefly
- take a stronger position that denies the next push
Conversion is what turns “good fighting” into actual wins.
Mistake #7: Chasing Kills and Giving Up Position
Chasing feels fun. It also loses matches constantly.
What it looks like:
- Leaving the objective to chase a low enemy into enemy territory
- Running into bushes or behind walls with no vision
- Overextending after a win and dying to the respawn wave
- Abandoning your lane so the enemy flanks mid or touches objective
Why it loses games:
- You trade a good position for a risky duel
- You get pinched by returning enemies
- You open the map for counter plays (counter goals, countdown flips, zone touches)
Fix it fast: “freeze the advantage”
When you win a fight or force a retreat:
- Don’t chase deep
- Take forward cover and hold it
- Set up angles to deny the next enemy wave
- Let the enemy come to you through bad space
The goal is not “more kills.” The goal is “make the next fight easier than the last one.”
Mistake #8: Poor Endgame Discipline
Many matches are decided in the final moments, and random teams throw leads by panicking.
What it looks like:
- Countdown defense in Gem Grab turns into chasing
- Brawl Ball teams push all-in and give a counter goal
- Hot Zone teams chase off point and lose progress
- Heist teams ignore defense while ahead and lose to a rush
- Bounty/Wipeout teams hunt kills while leading and donate deaths
Why it loses games:
Endgame changes the win condition:
- When you’re ahead, your job is denial, not aggression
- The enemy must take risks, so your job is to punish those risks safely
Fix it fast: “ahead vs behind” rules
- When ahead: slow down, hold angles, protect the objective, avoid trades
- When behind: group your risk into one strong play (pinch, pick, team push) instead of three separate desperate duels
Endgame discipline is a rank-up accelerator because it turns close games into consistent wins.
Mistake #9: Wrong Role for Your Brawler
A Brawler can be strong and still lose if you play them like the wrong role.
What it looks like:
- A tank playing like a sniper (standing back, never taking space)
- A sniper playing like a tank (standing in open mid, getting rushed)
- A support chasing kills instead of stabilizing teammates
- A controller leaving the choke point to chase, giving up the whole map
Why it loses games:
Your team needs role coverage:
- someone holds space
- someone converts
- someone stabilizes/denies
If you don’t do your job, even “good aim” won’t matter.
Fix it fast: role clarity
Before the match starts, decide:
- Am I the space-holder?
- Am I the converter?
- Am I the stabilizer/denier?
Then play that job consistently. When random teammates are chaotic, role clarity is what carries.
Mistake #10: Weak Team Composition and Draft Choices
Even outside draft modes, team composition matters. Some matches feel impossible because your team stacks the same weakness.
What it looks like:
- Three squishy long-range picks with no anti-dive
- Three short-range picks on an open map with no approach tools
- Double thrower with no protection against divers
- No wall break on a map where walls decide everything
- No anchor in Hot Zone, so nobody can touch safely
Why it loses games:
A good comp covers:
- space-holding
- damage conversion
- stability/denial
- and at least one “answer tool” (anti-dive, wall break, anti-thrower, extra range)
Fix it fast (simple comp rule):
Try to ensure your team has:
- one stable presence (anchor/control)
- one reliable damage converter
- one flex answer (peel, wall break, or extra control)
In draft modes, save your sharpest counter for late pick. In non-draft, choose the pick that fixes the team’s missing job.
Mistake #11: Bad Builds (Gadgets, Star Powers, Gears)
A surprising number of losses come from picking the wrong build for the map and mode.
What it looks like:
- Picking a “win-more” gadget instead of an escape/peel tool
- Ignoring bush maps and refusing Speed/Vision style options
- Taking pure damage upgrades while dying instantly to burst
- Choosing a Star Power that rarely triggers in real matches
Why it loses games:
Builds change your consistency:
- survivability in open lanes
- reset speed in control modes
- gadget frequency for clutch moments
- information control on bushy maps
Fix it fast: build for your losing condition
Ask: what causes your deaths or failed pushes most?
- dying to burst → prioritize survivability tools
- losing pressure because you’re always healing → prioritize faster resets
- losing to dives → prioritize peel/escape tools
- losing to bushes → prioritize information and bush mobility tools
Correct builds won’t replace fundamentals, but they remove unnecessary losses.
Mode-Specific Mistakes That Throw Games
This section is your “instant rank-up” checklist by mode. These are the throws that happen constantly.
Gem Grab
- Carrying too many gems and stepping forward into danger
- Starting countdown, then chasing kills instead of denying entry routes
- Grabbing dropped gems in open space and dying
- Ignoring flanks while the enemy sets up a last-second carrier dive
- Fix: protect the gem carrier, hold lanes, and defend countdown with discipline.
Brawl Ball
- Dribbling into three defenders instead of passing
- Leaving nobody behind and giving free counter goals
- Clearing the ball straight into enemies
- Using all resources to attack and having nothing to defend
- Fix: score after a numbers advantage, keep a safety player, and clear diagonally.
Heist
- Rushing the safe without winning the lane fight first
- Overstaying on the safe and dying to the respawn wave
- Defending only at the safe instead of defending the path to it
- Ignoring side lanes and giving free safe angles
- Fix: create short damage windows, reset early, and rotate defense before the push arrives.
Hot Zone
- Stacking on the circle and getting wiped by area control
- Chasing kills off point while the enemy touches for free
- Retaking one-by-one and feeding staggered deaths
- Forgetting to set up retake denial after you win the zone
- Fix: control entrances, swap touches when low, and retake as a group.
Knockout
- Peeking the same losing angle repeatedly
- Taking low-HP peeks instead of resetting
- Getting first pick, then still forcing trades until it’s even
- Wasting gadgets/Supers when you already have numbers advantage
- Fix: survival discipline, pinch angles, and slow play when ahead.
Bounty/Wipeout
- Chasing into enemy cover and donating deaths
- Trading when you’re ahead
- Ignoring divers and letting your backline get deleted
- Spreading damage and failing to confirm kills
- Fix: play for safe kills, deny trades, and protect your most valuable teammate.
Solo/Duo Showdown
- Taking long fights in open space and getting third-partied
- Face-checking bushes with low HP
- Greedy cube collection that leads to a cleanup death
- Entering endgame with no cover and no ammo
- Fix: fight selection, safe bush checking, heal before looting, and endgame cover control.
Carry Habits: How to Fix These Mistakes Fast
You don’t need to fix everything at once. Start with habits that give the biggest win-rate boost:
- Be the lane stabilizer: take the open lane, stop flanks, don’t stack.
- Take less free damage: smaller peeks, faster resets, fewer “one more shot” greed peeks.
- Confirm kills: focus low targets and stop target swapping mid-fight.
- Convert every advantage: takedown → objective value → reset positions.
- Protect leads: when ahead, slow down and deny comeback paths.
- Track the enemy’s big button: play safer when their swing tool is ready.
- Stop chain-feeding: if a teammate dies, don’t run in one-by-one—stall and regroup.
If you want the shortest path to ranking up:
Reduce avoidable deaths first. Fewer free deaths means more 3v3 fights and more objective control.
A Simple Practice Plan to Rank Up Faster
Use this plan in short blocks so it actually sticks.
Block 1: Death audit
For several matches, focus on one goal: no “free deaths.”
If you die, ask:
- Was I in open space?
- Did I peek too long?
- Did I chase?
- Did I fight while low HP?
- Fixing any one of these instantly boosts win rate.
Block 2: Conversion habit
For several matches, after every takedown, force yourself to do one conversion action:
- step into zone
- push goal pressure
- collect gems safely
- hit safe briefly
- take forward cover
- This trains the “wins become wins” muscle.
Block 3: Endgame discipline
For several matches, focus only on:
- denial when ahead
- one grouped play when behind
- This is where close games become consistent wins.
Block 4: Replay learning
Use your replays to find repeated mistakes:
- same death spot
- same greedy chase
- same bad peek angle
- One small correction repeated is worth more than a thousand random tips.
BoostRoom
If you want to rank up faster, the fastest improvement is usually not learning more tricks—it’s removing the same few mistakes that keep repeating: lane stacking, greedy peeks, wasted Supers, and weak objective conversion.
BoostRoom is built for players who want a clear improvement system instead of guesswork. You can use it to:
- identify your most common match-losing habit (and fix it with a focused plan)
- build mode-specific checklists so you stop throwing endgame moments
- learn lane and rotation rules that work even with random teammates
- improve objective conversion so every advantage becomes real progress
- create a small “rank-up pool” of Brawlers with the right roles and builds for your playstyle
The goal is simple: fewer throws, calmer games, and faster climbing because your fundamentals stay consistent.
FAQ
Why do I lose even when I get lots of kills?
Because kills don’t automatically win objectives. You must convert takedowns into progress (score, zone time, safe damage, gems) and then reset positions before the enemy returns.
What is the biggest mistake that loses matches most often?
Lane stacking and broken map structure. When lanes collapse, you get pinched, lose space, and fight every battle from worse positions.
How do I stop throwing when my team is ahead?
Slow down, deny entry routes, and stop chasing. Save your strongest tool for the enemy’s comeback attempt and avoid trading deaths.
What should I do when a teammate dies early?
Don’t rush in to “fix it.” Stall, take safer positions, and wait for the reset. Chain-feeding turns one death into a guaranteed loss.
How do I win more with random teammates?
Play a stabilizer role: hold a lane, avoid free deaths, protect the objective, and convert advantages quickly. Your structure makes random teammates perform better automatically.