Practical rules that instantly reduce “stuck” feeling
- Progress comes from unlocks, not loot piles. Loot is only useful if it completes upgrades, crafts, or quests.
- One “big upgrade” per session beats ten random raids. Decide today’s upgrade target before you deploy.
- Your best run is the one you can repeat. A consistent medium-profit route beats a lucky jackpot route you can’t survive twice.
- Extracting is a multiplier. Every death is not just lost gear—it’s lost time, lost momentum, and delayed upgrades.
- Don’t upgrade everything. Upgrade what removes friction. Workbench functions, storage capacity, beacons, and key access reduce friction the fastest.
- Fight only when the fight supports the mission. Mid-game walls often come from taking too many “optional” fights.
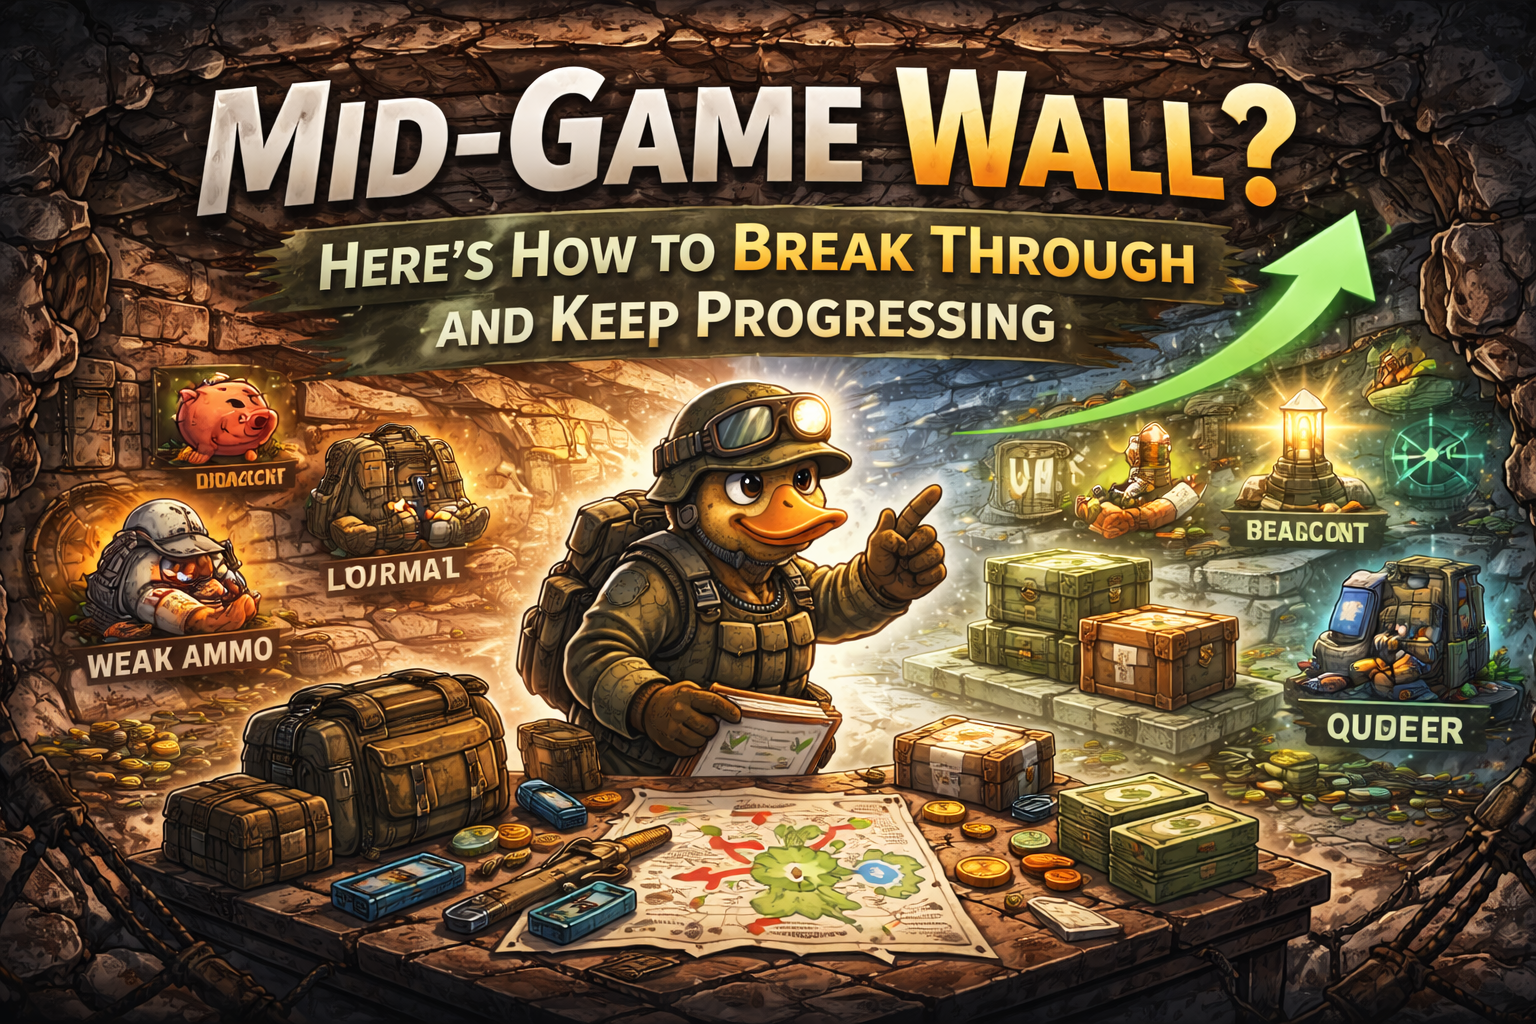
What the mid-game wall actually looks like
Most players describe the wall in one of these ways:
- “I’m always broke.” You can’t buy consistent meds/ammo, and one bad run wipes your bankroll.
- “My stash is full, but I’m still underpowered.” You hoard junk, but you’re missing the exact parts your upgrades need.
- “Quests slowed down.” Early quests were easy chains; now objectives are longer, riskier, and more map-specific.
- “Enemies feel tanky.” Your ammo and armor quality didn’t scale with the game’s difficulty curve.
- “I can’t push J-Lab / Roadblock / Storm.” You’re missing protection planning, gear thresholds, or the crafting unlocks that make the content fair.
- “I keep extracting but nothing changes.” That’s the biggest sign: you’re doing raids that generate loot, but not progress.
The wall isn’t a skill issue. It’s a progress structure issue.
The 6 real causes of getting stuck (and the one you probably have)
- You’re missing a crafting chain (Workbench functions, Refined Processing upgrades, disassembly/deconstruction).
- Your economy has no safety net (no reliable money loop, no stash discipline, no “extract early” rule).
- Your storage is bottlenecking you (you can’t keep upgrade parts, so you sell what you’ll need later).
- You didn’t prioritize time multipliers (beacons and key registration).
- Your combat scaling is behind (ammo upgrades, armor access, totem synergy).
- Your questing is inefficient (doing one quest per run instead of stacking multiple objectives on a single route).
Most mid-game walls are a mix of #1, #3, and #5.
The Breakthrough Roadmap (10 runs to feel “unstuck”)
If you want a simple plan, do this for your next 10 runs:
- Runs 1–2: Build/upgrade the Workbench path
- Unlock functions that convert “junk” into targeted progress.
- Runs 3–4: Expand storage and stop selling future upgrades
- Storage space is freedom: it lets you keep parts and stack turn-ins.
- Runs 5–6: Upgrade your damage curve
- Push ammo/weapon consistency so fights stop draining your meds and time.
- Runs 7–8: Time multipliers
- Beacons + key registration = faster runs, safer routes, easier quest stacking.
- Runs 9–10: Gate content prep
- Build the minimum kit and protection plan that makes J-Lab/Storm attempts realistic.
You’ll still loot, but now every raid has a progress job.
Step 1: Fix your “standard kit” so you can actually repeat raids
Mid-game pain often comes from a kit that’s either:
- too expensive to replace, or
- too weak to survive consistent fights.
You want a standard kit that you can run 10 times without thinking.
Your standard kit should include:
- One stable weapon you can control (consistency > “high DPS fantasy”)
- Enough ammo to win 2–3 real fights (not just one)
- Bleed control plus a medkit that won’t run out mid-raid
- A movement plan (light weight, stamina-friendly)
- One “reset tool” (anything that helps you disengage and heal safely)
Your kit should NOT include:
- Rare gear you’re afraid to lose
- Extra attachments “because they look cool”
- Heavy loot items before you’ve done the objective
- Anything that makes you overweight at spawn
Mid-game progress is built on repetition. Repetition requires a kit you can replace.
Step 2: Stop dying to mid-game pressure (timing beats toughness)
The mid-game wall is full of “soft deaths”—not instant wipes, but slow losses from bad timing:
Use this survival sequence under pressure:
- Break line of sight first
- Stop ticking damage second (bleed, burn, poison, storm exposure)
- Stabilize HP third (quick heal, not a full heal)
- Reposition fourth
- Full heal only when safe
Two habits that remove 50% of random deaths:
- After any fight: reload → stop bleed → listen → then loot
- After any heal: change angle (don’t re-peek the same lane)
Mid-game enemies punish stationary play. Your real defense is mobility + timing.
Step 3: Your stash is either a progress engine or a progress prison
A full stash feels like success… until you realize it’s blocking you.
The mid-game stash trap:
- You hoard everything “just in case”
- You can’t find key parts quickly
- You sell what you actually need because you ran out of space
- Your bunker upgrades stall
Fix it with three stash zones:
- Upgrade Box: items for your next 1–2 targeted upgrades (only)
- Quest Shelf: common turn-ins you see often (small meds, medicine piles, basic components)
- Sell Pile: everything else that isn’t immediately useful
If an item isn’t for a near upgrade, a near craft, or a near quest turn-in, it’s usually better as money.
Step 4: Storage Expansion is a mid-game “difficulty slider”
A lot of players hit the wall because they literally cannot hold the items needed for upgrades.
Storage expansion in Duckov isn’t just “nice.” It changes your whole account:
- You can keep upgrade parts instead of selling them.
- You can pre-stage quest turn-ins for instant completions.
- You can stockpile craft inputs so you’re not constantly forced to farm.
What to do:
- Start upgrading storage as soon as the game nudges you.
- Expect that storage expansions start requiring specific bulky items (including expansion crates).
How to handle heavy expansion crates without throwing your run:
- If you find an Expansion Crate (S/M/L), treat it like a mission item.
- Extract immediately. Don’t keep looting while carrying a huge weight anchor.
- Use the safest extraction route—even if it’s slower—because losing a crate hurts more than losing a weapon.
Storage unlocks feel boring until you realize they remove the wall completely.
Step 5: Build the Workbench path that turns “junk” into upgrades
Most mid-game walls are actually Workbench walls.
If your Workbench progress is behind, you’ll feel stuck because:
- You can’t repair gear efficiently
- You can’t dismantle items into the parts you need
- You can’t unlock important crafts (including ammo scaling and armor supply)
High-impact Workbench goals:
- Disassembly/Deconstruction functions (turn unwanted items into required parts)
- Processing upgrades (unlock higher-tier crafting paths)
- Armor crafting path (so armor stops being purely RNG)
- Ammo crafting path (so damage scaling stops being a gamble)
When you unlock dismantling, the game changes: suddenly, everything you loot can be converted into progress.
Step 6: The Ammo Wall (why enemies suddenly feel tanky)
A classic mid-game problem: enemies feel like bullet sponges and fights drain your meds.
That usually means your ammo curve didn’t scale with the content you’re running.
What “ammo wall” feels like:
- You win fights, but you’re always low HP after
- You burn too many rounds per enemy
- Boss attempts feel impossible because you can’t sustain damage
How to break it:
- Upgrade to more consistent ammo crafts when available (this is often tied to Workbench upgrade chains).
- Build one “default ammo plan” per weapon type so you stop swapping randomly.
- Use ammo that you can actually control—shots that miss are the most expensive ammo in the game.
When your ammo scales, your survival scales, because fights end faster and cost fewer heals.
Step 7: Armor Crafting stops the “gear lottery”
Mid-game players often die because their armor supply is random:
- One raid you have decent protection
- Next raid you’re wearing scraps because you couldn’t find replacements
If you can unlock armor crafting paths, you gain consistency, and consistency breaks walls.
A practical armor mindset:
- Armor is not about being invincible.
- Armor is about surviving one extra mistake long enough to heal and reposition.
When you craft your own baseline armor, you stop waiting for luck.
Step 8: Key Registration is a massive mid-game quality-of-life upgrade
If you’re carrying keys into raids (or avoiding key doors because you forgot the key), you’re wasting runs.
Key registration systems exist so you can:
- Open doors linked to registered keys without carrying them
- Reduce death risk (you’re not risking keys in your inventory)
- Keep your kit lighter and your inventory cleaner
Mid-game result:
- You loot faster
- You route better
- You access more consistent value rooms
- You stop losing progress to “I forgot the key again”
This is one of the highest value “boring upgrades” in Duckov.
Step 9: Black Market upgrades (when they’re worth it)
The Black Market is a powerful mid-game tool—but only if you upgrade it efficiently.
What Black Market upgrades help with:
- Faster refresh cycles (more chances to buy what you need)
- More refresh storage capacity (so you can hold good deals longer)
The mid-game trap:
- Players ignore Black Market Contact Notes early
- Then later realize upgrades need a lot of them
- Now they’re stuck farming notes instead of progressing naturally
Practical approach:
- If you see contact notes, treat them like upgrade currency—keep them.
- Upgrade only when you’ll actually use the market actively (don’t invest if you never check it).
- Use the Black Market to patch missing pieces: quest items, upgrade bottlenecks, or craft inputs.
If you build it intentionally, the Black Market becomes a progression accelerant instead of a distraction.
Step 10: Where players commonly find Black Market Contact Notes
If you’re stuck because upgrades want notes and you never see them, you’re not alone.
Community farming habits commonly focus on:
- File cabinets and office drawers
- Safes
- Boss-adjacent rooms with lots of storage containers
- High-density “administrative” interiors (like town hall–style offices)
The key is volume: do short, repeatable container routes instead of long “hope and pray” raids.
Step 11: Totems are mid-game power spikes (use them like tools, not trophies)
Mid-game feels hard if you’re running with weak or mismatched totems.
Totems can provide:
- Mobility
- Resistances
- Combat comfort
- Resource efficiency
A practical totem selection method:
- Pick one totem that fixes your biggest death reason.
- Pick one totem that improves your run economy (carry capacity, resource drain, or survival sustain).
Example: Sturdy totems are popular because they reduce the weight wall
Community guides often describe Sturdy variations like this:
- Sturdy I: increases carrying capacity
- Sturdy II: increases backpack space
- Sturdy III: increases both (but not always as strongly as earlier tiers)
Even without perfect min-maxing, the point is simple: your totems should solve problems you actually have right now.
Step 12: Don’t build your progression around “maybe-bug” tricks
Some versions of Duckov had community-discussed behavior where certain totem effects could apply when stored inside a Tote Bag. Patch notes and discussions have suggested changes to how that interaction works across updates.
Best mid-game advice:
- Treat Tote Bag totem behavior as temporary/patch-sensitive.
- Build your core progression assuming only your proper totem slots count.
- If your current version still allows extra interactions, consider it a bonus—not your plan.
Walls break fastest when your strategy survives patches.
Step 13: Quest stacking is the fastest legal “speedrun” through mid-game
If your quests slowed down, the fix is rarely “grind harder.”
It’s “stack smarter.”
Stack quests by:
- Map
- Landmark route
- Tool requirement (Marker/Wrench)
- Extract path
Your goal: 3–6 quest steps per run, not 1.
Simple stacking example:
- One reach-location objective
- One mark objective (if you brought the Marker)
- One collection objective in the same zone
- One “extract from map” objective
This turns each raid into a progress burst instead of a slow errand.
Step 14: Beacons are time multipliers (and mid-game walls hate time multipliers)
Beacons shorten routes, reduce exposure to random fights, and make quest stacking easier.
If you delayed beacon unlocks, you created your own wall:
- longer runs
- more attrition
- more deaths
- fewer completions per hour
Breakthrough rule:
When a beacon unlock is available, treat it like a priority mission: reach it, activate it, extract.
Beacons don’t just save time. They save kits.
Step 15: The Roadblock / J-Lab gate (why your progress feels “locked”)
A common mid-game wall is the feeling that “late game exists, but I can’t reach it.”
Players often report a major quest surge and new content flow after defeating Roadblock in J-Lab—followed by a new layer of progression tied to farming protection items and moving into Storm content.
What this means for your mid-game plan:
- Stop treating J-Lab as “just another map.”
- Treat it as a gate run: prep, route, objective, extract.
- Your goal is progression access—not loot greed.
If you keep failing J-Lab, your wall isn’t skill—it’s prep and route discipline.
Step 16: Storm readiness isn’t optional math
Storm content punishes half-prep. The mid-game wall often appears when you try to push Storm without meeting protection expectations.
Community explanations commonly describe the protection requirement like this:
- Phase 1 requires 1 storm protection
- Phase 2 requires 2 storm protection
- Storm Zone content is often treated as Phase 2
The minimal storm survival mindset:
- You don’t “tank” storms with meds.
- You meet protection requirements and time your injectors correctly.
Step 17: Timers matter (especially storm protection injectors)
One of the most common mid-game failures is using a timed injector too early.
A widely referenced storm injector provides protection for a short window (often listed as 180 seconds) and includes a hunger penalty. That means:
- If you inject in safety, then loot for two minutes, you waste most of the timer.
- You want the timer covering your hazardous movement and objective window.
Simple rule:
Inject right before the danger segment, not at the start of the raid.
Step 18: Build three run types and rotate them to avoid burnout and stalls
Mid-game walls get worse when every raid is the same kind of frustration. Rotate three run types:
Progress Run
- Your goal is one upgrade or gate objective (beacon, J-Lab step, crafting unlock)
- Extract as soon as it’s done
Money Run
- Container-heavy route
- Light kit, fast extract
- No ego fights
Parts Run
- Target specific parts for your next Workbench/storage upgrade
- Extract early when you get the bottleneck item
Rotating these keeps you progressing even when one category is temporarily unlucky.
Step 19: The “Bottleneck List” trick (the fastest way to feel progress again)
Write (mentally or literally) a list of your next 5 bottlenecks:
- 1–2 Workbench upgrade requirements
- 1 storage expansion requirement
- 1 key registration requirement
- 1 ammo/armor crafting requirement
Now every time you loot, you’re not asking “Is this valuable?”
You’re asking “Does this break a bottleneck?”
When you loot with bottlenecks in mind, progress accelerates immediately.
Step 20: Common mid-game mistakes that keep you stuck
- Upgrading random buildings instead of the ones that remove friction (Workbench, storage, access tools)
- Doing one quest per run instead of stacking
- Staying after completing objectives
- Carrying heavy “maybe useful” items and becoming overweight
- Ignoring beacons and complaining about long travel
- Selling contact notes and later needing them badly
- Trying Storm content without meeting protection requirements
- Expecting better gear to fix bad timing and bad routes
Mid-game walls are usually self-made. That’s good news—because it means you can unmake them.
BoostRoom: the fastest way to break the wall without trial-and-error
If you want to break through the mid-game wall quickly, BoostRoom can turn your current messy progression into a clean plan.
BoostRoom focuses on the exact systems that mid-game players get stuck on:
- Which Workbench upgrades to prioritize for your specific bottlenecks
- How to build a stable economy loop that survives deaths
- How to route beacon unlocks and quest stacks safely
- How to prep for J-Lab/Roadblock attempts with consistent success
- How to plan Storm protection and timing so your runs stop melting mid-route
The goal is simple: fewer wasted raids, fewer “almost had it” attempts, and faster unlocks that make the late-game content feel achievable instead of locked.
FAQ
How do I know if I’m truly mid-game stuck or just unlucky?
If you’ve extracted multiple times but haven’t unlocked a meaningful upgrade (Workbench function, storage expansion, beacon, key registration, ammo/armor craft path) in a full session, you’re system-stuck, not luck-stuck.
What upgrade breaks the wall fastest for most players?
Workbench functions that let you dismantle/convert loot into the exact parts you need, plus early storage expansion so you can actually keep bottleneck items.
Should I focus on money or quests when stuck?
Do both, but separate them into run types. Money runs stabilize your kit supply; progress runs push gates and unlocks. Mixing them tends to create long, risky raids that end in deaths.
Why do enemies suddenly feel so tanky mid-game?
Your ammo/weapon consistency didn’t scale with the content. When fights take longer, you take more damage, spend more meds, and lose momentum.
Are Black Market upgrades worth it?
Yes—if you actively use the market and you’re collecting contact notes. If you never check it, don’t sink money and rare notes into it yet.
What’s the safest way to attempt J-Lab or Roadblock progress?
Treat it as a gate mission: prep, route, objective, extract. Don’t loot-heavy, don’t chase extra fights, and don’t enter overweight.
Why does Storm content feel impossible?
Because it’s protection math + timing. If you don’t meet protection requirements or you waste your injector timer, the environment will kill you regardless of aim.
