The “Don’t lose everything” mindset
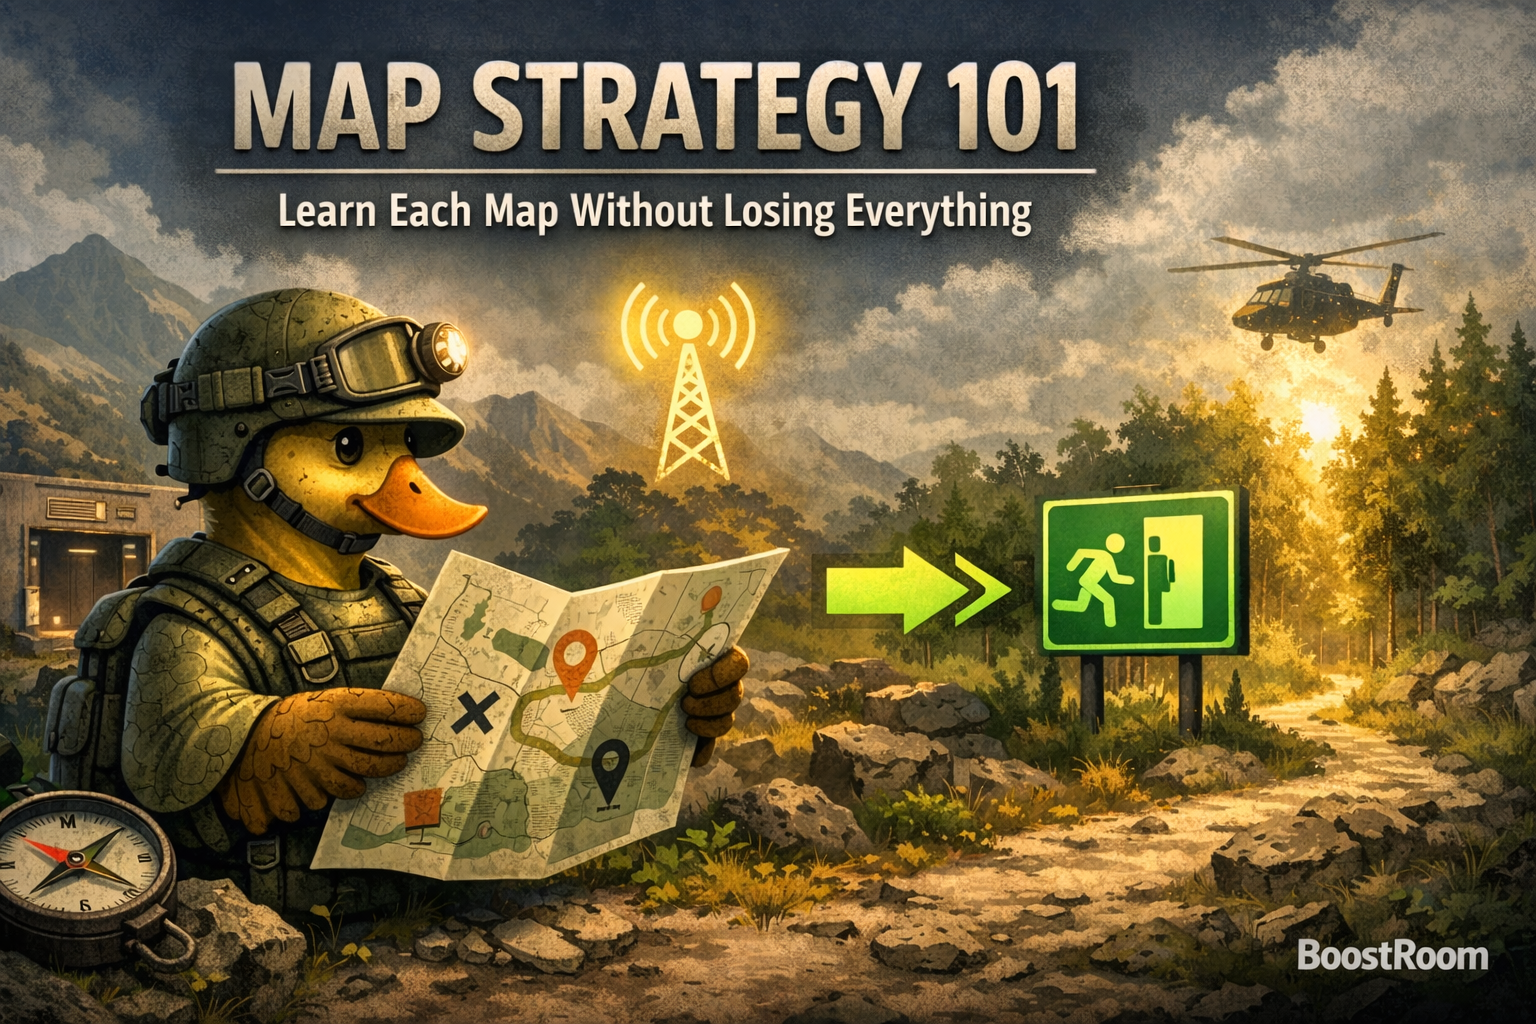
When you load into a new map, your job is not to “win the raid.” Your job is to bring back information—and keep it.
Think of every new map as having three layers:
- Layer 1: The Safe Edge (where you can move, loot lightly, and retreat)
- Layer 2: The Working Route (a repeatable path you can extract with consistently)
- Layer 3: The Profit Core (high-value areas you only farm once you can leave safely)
New players often sprint straight into Layer 3 while still guessing where Layer 1 ends. That’s how gear disappears.
Your goal is to unlock Layer 2 quickly. Once you have a working route, profits come naturally because you’re extracting more often.
Your first 10 runs on any new map (the exact learning plan)
If you want a simple recipe that works on every map, do this:
Run 1: “Exit Proof” run
- Open the map screen immediately.
- Identify your closest extraction option (even if it’s “go back the way you came”).
- Walk a short loop near the edge and extract early on purpose.
- Result you want: “I can leave this map reliably.”
Run 2: “Landmark Anchor” run
- Choose 2–3 landmarks you can recognize instantly (a gas station, a bridge, a big building, a road bend, a camp, a unique fence line).
- Move between them slowly.
- Extract the same way again.
- Result you want: “I can point to where I am without panicking.”
Run 3: “Route Stitch” run
- Connect your entry area → landmark → extraction in one clean path.
- Loot lightly (only high value per slot).
- Extract.
- Result you want: “I have a path I can repeat.”
Runs 4–6: “Shortcut” runs
- Your goal is not loot—your goal is opening shortcuts and beacons.
- Bring the right tool (dynamite/grenade/hammer if needed).
- Grab the unlock, then leave.
- Result you want: “This map is now easier forever.”
Runs 7–10: “Profit Practice” runs
- Start adding one risky step at a time: a new building, a new corridor, a new camp, a new locked area.
- If you find rare progression items, secure them (more on that below).
- Extract before greed takes over.
- Result you want: “I can expand without collapsing.”
This plan prevents the classic disaster: 10 deaths in a row with no progress and no confidence.
The low-risk “mapping kit” (what to bring when learning)
When you’re learning, you don’t need the “best” gear. You need gear that makes mistakes survivable.
Bring:
- A reliable, cheap weapon you can control (something you can land headshots with under stress).
- Enough ammo to win one unexpected fight (not five fights).
- Basic meds (enough to stop bleeding and recover from one bad moment).
- One tool slot dedicated to map progress (shovel or explosives depending on your goal).
- Lightweight armor or whatever keeps you mobile (being able to reposition matters more than being tanky while you’re still lost).
Don’t bring:
- Your rarest weapon “because you might need it.”
- Heavy loot containers that slow you down (unless you can safely store them).
- A backpack loadout that turns you into a walking statue.
A simple truth from Duckov’s movement/weight system: the more overloaded you are, the worse your escape options get. Staying light is a survival strategy, not a preference.
Extraction-first planning (the habit that saves your account)
Before you loot, you must know how you leave. Make this a ritual:
1) Identify your “panic exit.”
This is the extraction you can reach even if you get surprised. On some maps, that might simply be backtracking to your entry.
2) Identify your “planned exit.”
This is the extraction you intend to use after your objective.
3) Decide your “turnaround point.”
Pick a landmark where you stop going deeper and start heading out—no debate, no “one more room.”
4) Choose a hard time limit.
New players should avoid late-night danger spikes while learning. A common community tip is to extract before 22:00 (10 p.m.) early on, because tougher enemies can appear later.
If you do only one thing from this entire page, do this: Plan the exit first.
How to build a “mental map” fast (without memorizing everything)
You don’t need to memorize every building. You need a navigation skeleton.
Use the 3–3–3 method:
3 Anchors (big, obvious landmarks)
Examples: a gas station, a large warehouse, a bridge, a mall-like building, a road camp, a mountain ridge.
3 Paths (how you move between anchors)
- One safe path (cover, fewer sightlines)
- One fast path (roads, open lanes)
- One emergency path (a back alley, a fence gap, a shortcut, a return-to-entry)
3 Danger Zones (places you treat as “red”)
These are areas where you died, got trapped, or got pinned by ranged enemies. You don’t avoid them forever—you just don’t treat them like normal ground while learning.
Write these down somewhere if you want to learn even faster. After a few runs, your brain stops feeling “lost” because it has anchors and routes, not a blurry full-map memory.
Movement and survival rules while you’re still learning
Move like you’re being watched—even when you’re not. That alone prevents most deaths.
Practical rules that work on every map:
- Never cross open ground twice in a row. Cross, reset in cover, then cross again.
- When entering a new building, clear the first corner before you loot.
- If you hear trouble, break line of sight first—then decide to fight.
- Loot after control, not before. Clear the area, then loot.
- Keep your stamina for escapes. Sprinting everywhere feels fast but leaves you empty when you need it most.
- Use melee for mobility when appropriate. Some players prefer swapping to melee while repositioning for speed, then swapping back for fights.
These rules matter more on unfamiliar maps because you don’t know where the next threat angle is.
Looting while learning (how to profit without greed)
Mapping runs can still be profitable if you loot with discipline.
Use this priority order:
- Progress items (beacons, keys, credentials, rare crafting materials you know you need)
- High value per slot (compact valuables, electronics, stackables)
- Only then bulky items (big items that slow you)
And adopt the best “new-map” money habit:
Extract the moment you find something that would hurt to lose.
A good economy comes from consistent survives, not legendary hauls that end in death.
What “losing everything” actually means (and how to reduce the damage)
Duckov’s loss rules matter for how you learn maps:
- On normal difficulty, community guides commonly describe your gear dropping in a recoverable grave—meaning you can potentially recover it, but a second death before reaching it can delete the chance.
- On harder modes, the penalty can be harsher and you may lose carried items outright.
So your learning strategy should be built around not needing recovery runs.
If you’re learning a new map, assume:
- Your first death is “information,”
- Your second death is “bankruptcy.”
That’s why this guide emphasizes early extracts, safe routes, and low-risk kits.
The safest “keep it no matter what” mechanic: your pet inventory
One of Duckov’s best safety mechanics is the pet (dog) inventory.
Players widely report two huge advantages:
- Items stored on your pet aren’t lost when you die.
- Pet storage ignores weight, meaning you can store heavy items there without becoming overloaded.
This changes how you learn maps:
- If you find a rare progression item, put it on the pet immediately.
- If you find an extremely heavy “account progress” item (like storage expansion-related loot), the pet can carry it without slowing your movement.
Treat your pet like a “map learning insurance policy.” It lets you explore deeper without turning every discovery into a panic sprint.
Shortcuts that make mapping 10x easier (beacons, cracks, and fast travel)
Mapping becomes easier the moment you stop walking the same dangerous path every run.
Three shortcut systems matter most:
1) Beacons (teleport unlocks)
Beacons turn a long, risky approach into a fast repeatable route. Early beacon quests commonly point you to activate them at key locations (for example, a Ground Zero beacon associated with the road camp, and a Warehouse beacon near the gas station).
2) Crackable walls / obstacles
Cracked walls often hide shortcuts or high-value areas. Community guides mention using dynamite, grenades, and sometimes heavy tools (like a large hammer/sledge) to open these.
3) The “Teleport Bubble” style shortcut near the base entrance
Community guides commonly recommend opening the shortcut outside the base entrance early, using explosives to break a wall and unlock faster travel behavior.
When you’re learning maps, prioritize shortcuts first. They’re permanent difficulty reduction.
Bunker strategy: learn your home base like it’s a map
Most players think “maps” start outside the bunker. In Duckov, the bunker itself is part of your map strategy.
Key bunker advantages commonly described by community resources:
- Health, hunger, and thirst regenerate while you’re inside, and time passes normally—useful for waiting out harsh conditions.
- Ammo isn’t consumed while in base, making practice safer.
- The north ladder takes you into the southern edge of Ground Zero.
- The sewer provides an alternate access route into Ground Zero and includes a shrine where you can exchange certain feathers for random totems.
- A ferryman can take you to Farm Town, and you can also fish at the dock for minor fish.
How to use this for safe map learning:
- If you’re unsure about timing or conditions, reset inside the bunker, heal up, and go again.
- Practice weapons at the target range before trying a new map route.
- Use alternate exits (ladder/sewer) to reduce repeat exposure to the same danger area.
A strong player’s bunker routine is what makes their raids feel calm.
Ground Zero strategy: your starter map learning blueprint
Ground Zero is commonly described as a compact starter zone with early-game loot and lower-tier threats. It’s where you learn the core Duckov habit: extract on purpose.
What to learn first on Ground Zero:
- Your “return-to-bunker” exit habit. Many players miss that returning to the bunker entrance can function as a valid extraction method on this map. When learning, this should be your panic exit.
- Your first beacon path. Early beacon objectives often point toward the road camp area.
- Your first shortcut wall. If you can open a cracked wall near the base entrance area, your future movement becomes easier.
A safe 3-step Ground Zero practice loop:
- Leave bunker → clear one enemy near the safe edge → loot a couple containers
- Walk to one recognizable landmark (a camp or a road bend)
- Turn back and extract the same way
A smart “expand” plan after you’re comfortable:
- Add one new landmark per run.
- Push toward a new extraction option only after you’ve done 3 clean extracts in a row.
Ground Zero’s biggest beginner mistake:
Going deep while heavy. This map teaches you to stay light, grab value, and extract early.
Warehouse Area strategy: wider sightlines and “don’t over-peek” rules
Warehouse Area is commonly described as having wider sightlines, heavier patrol behavior, and mid-tier quest routes. Translation: you get punished for standing in the open.
How players typically reach it while progressing:
Quests and community walkthroughs commonly mention using the zipline at the top of North Mountain in Ground Zero to reach the Warehouse Area, and using explosives if needed to open certain paths.
Warehouse learning priorities:
- Find the gas station area early, because beacon progress commonly involves a teleport beacon near that location.
- Learn 2 cover-heavy routes, not just one. Wide sightlines mean the “obvious road” often becomes a death lane.
- Practice door discipline. Warehouse interiors create corner fights. Don’t loot first. Clear first.
A beginner-safe Warehouse plan (first runs):
- Enter → immediately identify one big anchor (gas station, major warehouse building, open yard)
- Loot only containers you can reach without crossing open lanes
- Extract as soon as you can confirm a working path
Tool advice for Warehouse learning:
Bring explosives when your goal is unlocking or opening routes, but don’t turn the run into a demolition tour. Do one unlock and leave. Safe progress beats ambitious progress.
Farm Town strategy: open fields + ambush vegetation = choose your lane
Farm Town is commonly described as a mix of open fields and dense vegetation, which is basically the perfect recipe for ambushes. It’s not “hard” once you know the lanes—it’s punishing when you wander without a plan.
Farm Town beacon progress tips that keep you safe:
- Some guides describe a first beacon approach involving a wooden gate near the beacon that can be opened by interacting with it—no explosives required.
- A second route toward a beacon area is described as being blocked by a rock bundle that requires two sticks of dynamite, and you should interact to place/trigger it rather than throwing it.
How to learn Farm Town without losing everything:
- Pick one lane: either commit to a cover-heavy edge route (trees, fences, terrain breaks) or commit to a speed route (roads) with planned cover stops. Don’t mix styles mid-run.
- Use vegetation like walls. If you can’t see far, assume something can see you.
- Don’t chase fights into open fields while you’re still learning extractions.
A low-risk Farm Town practice loop:
- Start with the edge route near your entry
- Loot compact containers only
- Identify one beacon-related landmark or gate/obstacle
- Leave early, even if the run “feels short”
Farm Town profits are massive once you have a clean path. Until then, treat it like a stealth map.
J-Lab strategy: complex interiors, hidden exits, and access discipline
J-Lab is commonly described as having large industrial interiors and complex layouts. This is where many players die not because they lose fights—but because they can’t leave.
The key J-Lab learning problem: extraction points can be confusing. Players commonly report seeing extraction zones represented as green circles on the map without clear labeling, which makes “panic exit” planning essential.
How to learn J-Lab safely:
- First run: don’t go deep. Your only goal is to identify one anchor room and one extraction indicator.
- Second run: connect floors. Learn how stairs connect areas and where you re-enter familiar hallways.
- Third run: pick a single objective room. Loot it, then immediately leave via your known exit.
Access / fast-travel discipline:
Some community discussions mention finding a teleporter on the right side of the map after reaching the area, enabling faster return later—often requiring a level 1 access item for repeat use. Whether you use that system or not, the lesson is the same: unlocking map access tools is part of learning the map.
Combat rule for J-Lab:
If you haven’t cleared the hallway behind you, don’t commit to a long loot animation in a deep room. J-Lab punishes tunnel vision.
Storm Area strategy: endgame mapping where “prep is the map”
Storm Area is widely treated as endgame content. If you try to “learn it like a normal map,” it will erase your gear.
Community and guide sources commonly describe a progression chain that includes:
- Activating power switches (including a first-floor switch and a basement switch)
- Obtaining a Level 2 credential from specific high-risk areas
- Defeating a boss (often referred to as the Roadblock Boss) which is described as guaranteed to drop a Level 3 credential
- Using that Level 3 credential to access the Storm Zone/Storm Area
- Preparing multiple storm protection injectors (some guides recommend bringing at least five)
Storm learning rules (non-negotiable):
- Do not treat your first Storm run as a loot run. Treat it as a route discovery run.
- Bring the survival items first, loot second. If you’re short on protection, you’re not “learning,” you’re gambling.
- Pull one objective per run. One beacon, one route, one landmark, then exit.
Tactical tips commonly shared by players:
- Use view controls to improve spotting in chaotic conditions.
- Fight storm creatures from range; getting mobbed is the fastest way to die.
- Some players discuss element/weapon matchups (like using fire-themed weapons against storm creatures), but your safest advantage is still: distance + cover + controlled pacing.
Storm Area is where your map strategy becomes your survival strategy. If your route isn’t clear, you leave.
Universal “map learning” tools and habits that pay forever
If you want your account to keep growing while you explore, build these habits:
Register keys whenever possible
Some community tips mention registering keys in a master registry so you don’t need to carry them constantly. That reduces risk on learning runs because you can stay lighter.
Always carry the right tool for your goal
Community tips commonly recommend:
- Shovel for digging hiding spots and loot spots
- Dynamite / grenades for cracked walls and obstacles
- Pick one tool focus per run so you don’t overload your inventory.
Use totems early, but don’t risk what you can’t replace
Many players treat totems as “always-on” buffs. Great—just don’t let a buff mindset turn into reckless routing.
Keep heavy “account progress” items safe
If you find items that expand storage or unlock major progression, store them safely (pet inventory when possible) and extract immediately.
The biggest mistakes that get beginners wiped while learning maps
Mistake 1: “I’ll learn by exploring everything.”
No. You learn by extracting reliably, then expanding.
Mistake 2: Taking expensive kits into unknown layouts.
Your best kit belongs on routes you already understand.
Mistake 3: Looting first, clearing later.
That works only when you already know the angles.
Mistake 4: Crossing open ground while overloaded.
You don’t die because you’re weak—you die because you can’t move.
Mistake 5: Ignoring shortcuts and beacons.
Shortcuts are permanent safety. Loot is temporary.
Mistake 6: Staying out too late while still learning.
If tougher threats appear later, extract earlier until you’re confident.
BoostRoom promo
If you want to learn maps faster without donating your stash to Duckov, BoostRoom can help you build a personalized “safe route plan” for each stage of progression: which beacons to unlock first, which shortcuts reduce risk the most, what to bring on scouting runs, and how to turn early extracts into steady money. The result is simple: fewer wipe streaks, faster unlocks, and a route-first playstyle that makes every map feel manageable.
FAQ
How many runs does it take to learn a map in Duckov?
If you follow an extraction-first plan, you can build a safe working route in 3–6 runs. Full mastery takes longer, but you don’t need mastery to profit.
What should I do if I keep dying while learning a new map?
Shrink your goal. Do “Exit Proof” runs until you can extract three times in a row. Then add one new landmark per run.
Is it better to fight enemies or avoid them while mapping?
Early mapping favors avoiding unnecessary fights. Fight only when you need to clear your route or complete a specific objective.
How do I avoid getting lost in J-Lab?
Pick one anchor room and one exit indicator, then repeat that route until it’s automatic. Don’t add a second objective until the first route is reliable.
Should I loot a lot while learning maps?
Loot lightly and selectively. High value per slot items and progress items only. Extract early when you find something painful to lose.
What’s the safest way to protect rare items during exploration?
Use your pet inventory for rare/progression items when possible, then extract. Don’t keep “account progress” items in your main carry if you’re still lost.
When should I attempt Storm Area?
Only after you can comfortably fund your kits and you have the required access/credentials and protection supplies. Treat your first Storm runs as route discovery, not loot runs.
Do beacons really matter for learning maps?
Yes. Beacons reduce travel time, reduce repeat exposure to danger routes, and make practice runs faster—which accelerates learning.
