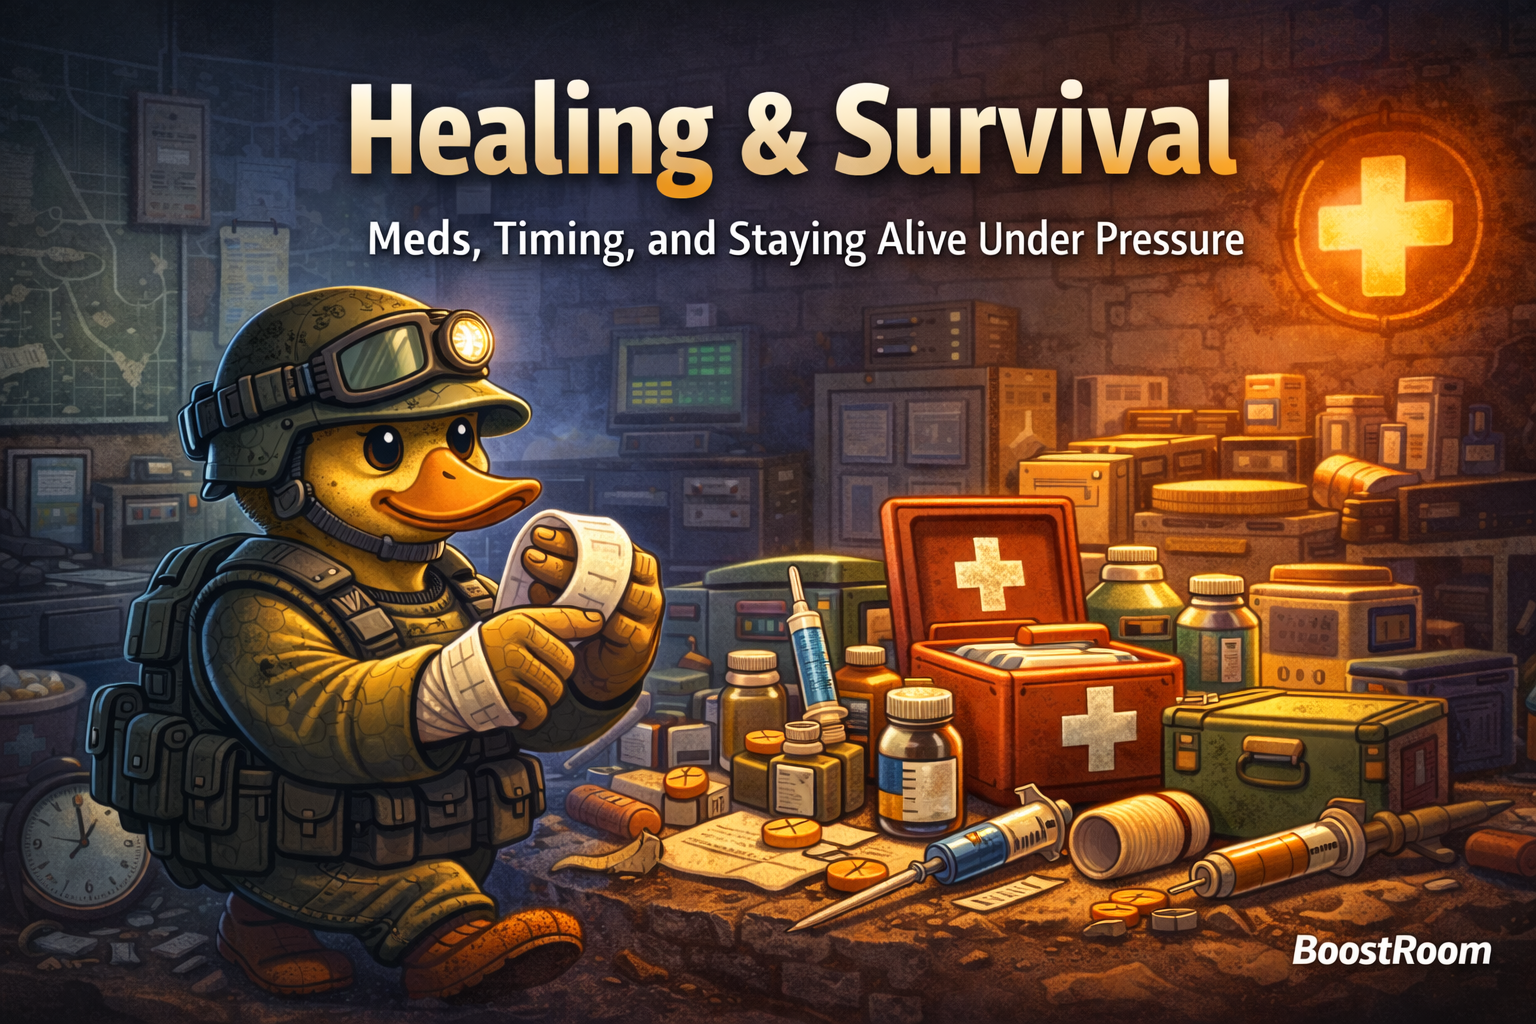
Your real “HP bar” in Duckov is bigger than health
In Duckov, survival is a stack of systems working together:
- HP (health): the obvious one.
- Damage-over-time effects: the silent killers (bleed, elemental damage, storm effects).
- Movement ability: stamina, speed, and whether you can reposition safely.
- Inventory weight: being heavy turns small mistakes into guaranteed deaths.
- Hydration & hunger: the slow pressure that makes meds hurt more (because many injectors drain these).
- Time: healing takes time, and time is a resource enemies punish.
If you only focus on “heal HP,” you’ll still die—because the real danger is when you’re forced to stand still, slow down, or lose the ability to sprint at the exact moment the map demands movement.
Your goal isn’t to be at 100% all the time. Your goal is to stay functional:
- Stop what’s actively killing you.
- Restore enough HP to win the next contact.
- Keep your movement and decision-making intact.
- Leave the danger zone before you “finish the heal.”
The four survival priorities (memorize these)
When you take damage, decide in this order:
- Am I taking damage right now?
- If yes, break line of sight first. If you can’t break line of sight, you usually can’t safely heal.
- Do I have a ticking problem?
- Bleed, burn/ignite, poison, shock-like effects, storm exposure—anything that keeps draining you must be handled early. These are what turn “I’m fine” into “I’m dead” mid-rotation.
- Can I still move?
- If you’re slowed, out of stamina, or injured in a way that punishes sprinting (advanced debuffs), you need movement solutions—not just HP.
- Is this area safe enough to do a long heal?
- If not, do the shortest, highest-impact action and relocate.
This priority order is what separates consistent survivors from “I had heals, I swear.”
Core medical items explained (what each one is really for)
Below are the most important med categories and how to use them like a pro. The idea isn’t to carry everything. The idea is to carry a complete toolkit with minimal slots.
Bandage (the “stop losing HP for free” button)
A bandage is your most important early-game survival item because it solves the most common early death: bleeding you ignore too long.
Use a bandage when:
- You’re bleeding and you need the simplest, fastest fix.
- You’re about to rotate to extraction and don’t want to lose HP while running.
- You just won a fight and want to stabilize before you do a bigger heal.
A key habit: bandage first, then medkit (when you have time).
Stopping the bleed prevents your bigger heals from getting “wasted” while your HP keeps dropping.
First Aid Kit (S), First Aid Kit, First Aid Kit (L) (your HP refill tools)
Think of these as three tiers of “HP economy.”
First Aid Kit (S)
- Great for early raids, budget runs, and topping up after small fights.
- Small and cheaper, but you’ll need more “uses” over time.
First Aid Kit (standard)
- A balanced mid-game option: good heal per use, decent durability.
- Ideal when you want one medkit that covers most raids.
First Aid Kit (L)
- Heavy and more expensive, but built for harder content, boss fights, and long raids.
- Best when you expect repeated engagements and don’t want to run out of durability mid-run.
Practical rule: if you’re losing raids because you run out of med durability, upgrade the medkit tier before you upgrade your weapon.
Pain relief (Aspirin vs Painkiller injector)
Pain management is survival because it keeps you moving and making decisions instead of panicking.
Aspirin
- A lightweight option that helps you stay functional and recover a bit of HP.
- Great as a “daily driver” early on.
Painkiller (injector)
- Stronger “keep moving under pressure” option.
- Costs hydration, so it’s best used intentionally—not spammed.
Use pain relief when:
- You’re about to rotate through a risky lane and need movement confidence.
- You’re entering a boss fight and want your movement consistent.
- You’re low on HP but must move now, not later.
Don’t use pain relief as a substitute for fixing the real problem (bleed, storm exposure, or bad positioning). It’s a tool, not armor.
Recovery Injector (the “fight through it” heal over time)
Recovery Injector restores HP over a short duration. That makes it powerful for:
- Boss fights where you can’t afford repeated long heals.
- “Chain fights” where you expect another contact soon.
- Emergency stabilization when you need to keep moving.
It also costs hydration, so pair it with good hydration habits (more on this below).
Hemostatic Drug Injector (bleed removal + short safety window)
This is the “stop the bleed now” emergency tool, with a bonus: it grants temporary resistance to bleeding after use.
Use it when:
- You’re bleeding and you know a second fight is coming quickly.
- You’re in a boss area where followers can tag you repeatedly.
- You need a quick stabilization without spending time on repeated bandages.
It has hunger/hydration downsides, so treat it like an “I’m not dying to bleed today” insurance tool.
Advanced Debuff items (Fracture + Wound) — Rage / Advanced Debuff mode
On harder settings (or custom settings with advanced debuffs enabled), you can get:
- Fracture
- Wound
These require specific treatment items:
- Bone Splint / Advanced Bone Splint: treats fractures (multi-use).
- Surgical Kit / Enhanced Surgical Kit: treats wounds (multi-use, limited durability).
Why this matters: if you’re playing with advanced debuffs, you can’t rely on “HP heals” alone. A run can be ruined because you’re functional on HP, but movement or max health is compromised by a debuff you didn’t pack answers for.
If you play Rage/Advanced Debuff regularly, build your med loadout with one fracture fix and one wound fix every raid. It’s not optional—unless you enjoy “perfect aim, still dead.”
Frostbite Ointment (special condition treatment)
Frostbite Ointment exists for treating frostbite. If you’re entering content or events where frostbite is possible, don’t gamble—pack the solution. Frostbite-like conditions are the worst kind of problem because they often punish you while you’re trying to move through the map.
Storm survival injector (Weak Space Storm Protection Injector)
This injector is built specifically to help you survive early-stage storm disturbances when paired with protective gear. If you’re stepping into storm-related content, treat this as a core survival item—not a luxury.
Important survival mindset: storm tools are not “bonus buffs.” They’re a permission slip to exist in storm conditions long enough to do anything meaningful.
Resistance injectors (Fire / Poison / Electric / Space)
Duckov includes threats that apply different kinds of damage pressure. Resistance injectors reduce the corresponding damage taken for a period of time.
Practical use:
- Pop a resistance injector when you know the next area/encounter is heavy in that damage type.
- Don’t spam resist injectors “just in case” if you’re struggling with hydration—these typically cost hydration.
Special note: Space RES reduces space damage but does not replace storm protection. Treat storm protection as its own category.
Movement + survival injectors (Yellow, Endurance, Weight-Bearing, Hardening)
These injectors don’t “heal HP,” but they keep you alive by fixing what causes deaths:
Yellow Injector (speed)
- Best for repositioning, escapes, boss fights, and extracting heavy loot quickly.
- Comes with hunger/hydration penalties, so plan for it.
Endurance Injector (stamina efficiency)
- Helps when you’re forced to move a lot under pressure.
- Especially strong when paired with smart pathing (short sprints, cover chains).
Weight-Bearing Injector (carry weight increase)
- The “I looted too much but I’m not dying for it” option.
- Great for high-value runs where extraction speed matters.
Hardening Injector (temporary armor boost)
- Helps you survive burst damage windows and boss trades.
- Most valuable when you know you’re about to take unavoidable contact (tight interiors, scripted fights, boss arenas).
If you want fewer deaths, stop thinking “injectors are for speedruns.” Think: injectors buy time and positioning—and positioning is survival.
The ideal med loadout (by budget and difficulty)
You don’t need a giant pharmacy. You need coverage.
Bare-minimum beginner loadout (cheap, reliable)
- Bandage
- First Aid Kit (S) or standard First Aid Kit
- Aspirin (or Painkiller if you prefer injectors)
This covers: basic HP loss + bleeding + basic “keep moving.”
Budget “I want to stop dying” loadout
- Bandage
- Standard First Aid Kit
- Painkiller injector (or Aspirin)
- One Recovery Injector (optional but strong)
This covers: bleed control + stable HP recovery + pressure movement.
Boss-ready loadout (safe and repeatable)
- Bandage
- Standard or (L) First Aid Kit
- Hemostatic Drug Injector (bleed insurance)
- Painkiller injector
- Recovery Injector
- One “fight prep” injector (Hardening or Yellow)
Boss fights punish slow heals and repeated bleeds. This setup reduces panic and increases your ability to reset.
Storm-ready loadout (survive the environment + the fight)
- Your normal raid healing core (bandage + medkit + pain management)
- Weak Space Storm Protection Injector
- Space RES injector (for space damage threats) if needed
- One additional “movement” injector (Yellow or Endurance)
Storm content punishes people who bring only guns and HP heals. Treat storm survival like gear—you either have it, or you don’t.
Rage / Advanced Debuff loadout (Fracture + Wound enabled)
- Bandage
- Standard or (L) First Aid Kit
- Pain management (Aspirin or Painkiller)
- Advanced Bone Splint (fracture treatment)
- Surgical Kit (wound treatment)
This is the “I’m not losing a raid to a debuff I could have fixed” setup.
Where to store meds (placement matters more than people admit)
Your inventory is your reaction time.
Keep your “panic meds” in the fastest-access slots (pockets/quick bar-ready positions):
- Bandage or Hemostatic injector
- Pain relief
- One fast stabilization option (Recovery injector or small kit)
Keep your “long heal” in a secure spot that you won’t fat-finger mid-fight:
- Bigger First Aid Kit
- Advanced debuff cure items
Why? Under pressure, you will press the wrong thing at least once. Smart placement makes that mistake survivable.
Healing timing: the rules that keep you alive under pressure
Most players lose fights during healing because they choose the wrong healing window.
Rule 1: Line of sight first, healing second
If the enemy can see you, your heal is usually a self-stun. Break sight:
- Move behind hard cover
- Change elevation if possible
- Rotate around an obstacle, not away in a straight line
Then heal.
Rule 2: Fix “ticking damage” early
Bleeds, storm exposure, and certain status effects turn every second into lost HP. That means a 5-second delay can cost more than the heal you plan to do.
If you’re ticking:
- Stop the tick
- Then restore HP
Rule 3: Don’t “full heal” in unsafe zones
In hot areas, your job is to get back to functional:
- Enough HP to survive the next burst
- Enough movement to reposition
- Enough clarity to make good decisions
Full healing is for safe zones, after rotations, or after you’ve secured the area.
Rule 4: Heal in layers, not all at once
A pro heal sequence looks like:
- Stop bleed / stop storm ticking
- Pop pain relief if movement is required
- Quick HP stabilization (small kit use or Recovery injector)
- Relocate
- Full heal when safe
This layering prevents the classic death: “I was healing and got pushed.”
Rule 5: If you’re forced to heal, change your angle afterward
Enemies (and aggressive AI) often “read” your last position. After you heal:
- Rotate to a new piece of cover
- Re-peek from a different angle
- Don’t return to the exact same lane unless you must
Healing should be followed by repositioning whenever possible.
Survival routines for common high-pressure situations
These are the exact routines you should run without thinking.
Situation 1: You’re bleeding mid-fight
- Break line of sight immediately
- Use bandage (or hemostatic injector if you expect repeated tags)
- Reposition before re-peeking
- Only then consider topping HP
If you ignore the bleed, you often lose the next rotation because your HP gets chipped while sprinting.
Situation 2: You’re low HP and you hear footsteps / aggro close
- Don’t commit to a long heal
- Pop pain relief (if needed for movement)
- Do the shortest HP stabilization you can
- Reposition to a safer lane or choke point
- Take the next contact from cover
The goal is to avoid healing while someone is already collapsing on you.
Situation 3: You won a fight but the area is still hot
- Reload first
- Stop bleeding (if any)
- Quick scan lanes and listen
- Grab only essential loot
- Relocate to a safer place
- Then full heal
The most common “post-fight death” is reloading too late or looting too early.
Situation 4: You’re overweight and extraction is far
- Decide your priority: extract vs continue looting
- If extracting: use Weight-Bearing injector (if you have it)
- Keep stamina high—short sprints, stop behind cover, repeat
- Don’t heal in open ground; heal only after breaking sight
- Avoid extra fights; extraction is your profit
Overweight survival is mostly about pathing and stamina discipline.
Situation 5: You’re entering a boss area
Before entering:
- Reload, top off to functional HP, and clear your immediate surroundings.
On entry:
- Be ready for immediate damage or follower pressure.
A simple boss-prep sequence:
- Pain relief (movement consistency)
- Hardening (if you expect unavoidable trades) or Yellow (if you need fast reposition)
- Fight in cover loops
- Hemostatic if you get tagged with bleeding early
- Recovery injector to stay stable without long heals
Boss fights reward preparation more than “better gear.”
Situation 6: You’re in storm conditions and start taking damage
- Confirm you have the correct storm protection plan active
- Don’t panic-heal HP while the environment is still draining you
- Use storm protection tools as needed, then move to safer routing
- Only heal HP once the storm pressure is controlled
Storm runs punish players who treat environmental damage like normal bullets.
Hydration and hunger: the hidden cost of “good meds”
Many injectors reduce hydration and/or hunger. If you use injectors often (speed, pain, recovery, resistances), you must manage survival resources or you’ll lose raids to slow pressure.
Practical habits:
- Don’t stack injector usage early unless you know the run will end soon (boss kill → extract).
- Plan a hydration top-up if your build relies on multiple injectors per raid.
- If you notice you’re constantly dying “late raid,” it may be hunger/hydration pressure plus low HP—not just combat.
If you’re doing long raids, treat hydration like ammo: you’re not “wasting space,” you’re buying survival time.
Hideout progression that improves survival (Medic Station first)
If you want easier raids, build healing into your base progression.
A strong early survival step is building your Medic Station, which is used to craft medical supplies. It requires basic materials and is tied to early bleeding-control progression, meaning the game expects you to learn medical management early.
One practical craft that matters: Painkiller can be crafted at the Medic Station using common medical components. If you’re burning currency on pain management every run, crafting can stabilize your economy fast.
Survival tip: prioritize base upgrades that reduce “raid friction”:
- Med crafting
- Storage improvements (so you don’t enter raids with cluttered inventory)
- Survival-related skill upgrades that reduce hunger/hydration drain over time
The best players aren’t just better at combat—they show up to raids with smoother systems.
The most common healing mistakes (and the fix for each)
Mistake: Healing in the same spot you got shot from
Fix: heal, then rotate to a new angle.
Mistake: Ignoring bleeds because “I’ll heal after”
Fix: stop ticking damage early; it’s the easiest HP you’ll ever save.
Mistake: Full-healing every time you take damage
Fix: heal to functional, move, then full heal later.
Mistake: Carrying meds but placing them in slow-to-access positions
Fix: your emergency tools must be instantly usable.
Mistake: Using injectors without planning hydration/hunger
Fix: if you use 2–3 injectors in a raid, plan a resource solution.
Mistake: Entering advanced debuff modes without debuff cures
Fix: pack one fracture fix and one wound fix. Always.
BoostRoom promo (survive more, lose less, progress faster)
If you’re tired of “I did everything right and still died,” you don’t need more luck—you need a tighter survival system. BoostRoom helps you build that system so raids stop feeling random.
With BoostRoom, you can level up your survival fast by focusing on:
- Healing routines under pressure (when to stabilize, when to relocate, when to full heal)
- Med loadout optimization for your budget and difficulty
- Boss-ready survival setups (bleed control, injector timing, recovery flow)
- Storm survival planning (what to bring, how to time protection, how to extract safely)
The goal isn’t to turn you into a “perfect” player. The goal is to make your survival repeatable, so your progress and profits climb naturally.
FAQ
What’s the best single healing item to carry every raid?
If you can only pick one category, make it bleeding control plus a basic medkit. Bleeds are the easiest way to lose a run even when you “won” the fight.
Should I use bandages or just medkits?
Bandages are for stopping the bleed efficiently. Medkits are for restoring HP. Using the right tool saves durability and keeps you functional.
When should I use Recovery Injector instead of a medkit?
Use it when you expect more pressure soon and can’t afford repeated long heals. It’s strongest in boss areas and chain-fight routes.
Why do I die right after healing?
Usually because you healed in a predictable spot or returned to the same angle. Heal, then reposition—don’t re-peek the exact same lane.
Do I need fracture/wound cures on normal difficulty?
Not unless you’re playing settings that enable advanced debuffs (like Rage or custom with Advanced Debuff on). In those modes, splints and surgical kits become essential.
How do I stop injector use from ruining my runs?
Treat injectors as planned tools. If you use several in one raid, manage hydration/hunger and aim to end the run sooner (objective → extract).
What’s the best healing routine for boss fights?
Stop ticking damage fast, stabilize HP, keep movement consistent with pain relief, and use cover loops. Looting and long heals come only after the area is secure.
