- your squad is confident and coordinated,
- you’re comfortable fighting with imperfect supplies,
- you want to climb faster by stacking eliminations early.
Safety-focused drops
You land where you reduce early randomness: fewer contests, cleaner exits, and safer first rotations. These drops are ideal when:
- you’re solo queue or duo queue,
- you want placement consistency,
- you’re playing to survive third parties instead of hunting them.
The best squads choose their goal before the match starts. If your goal is safety, don’t suddenly turn it into a hot drop because you saw one team landing nearby. If your goal is KP, don’t loot forever and rotate late through the most crowded corridor.

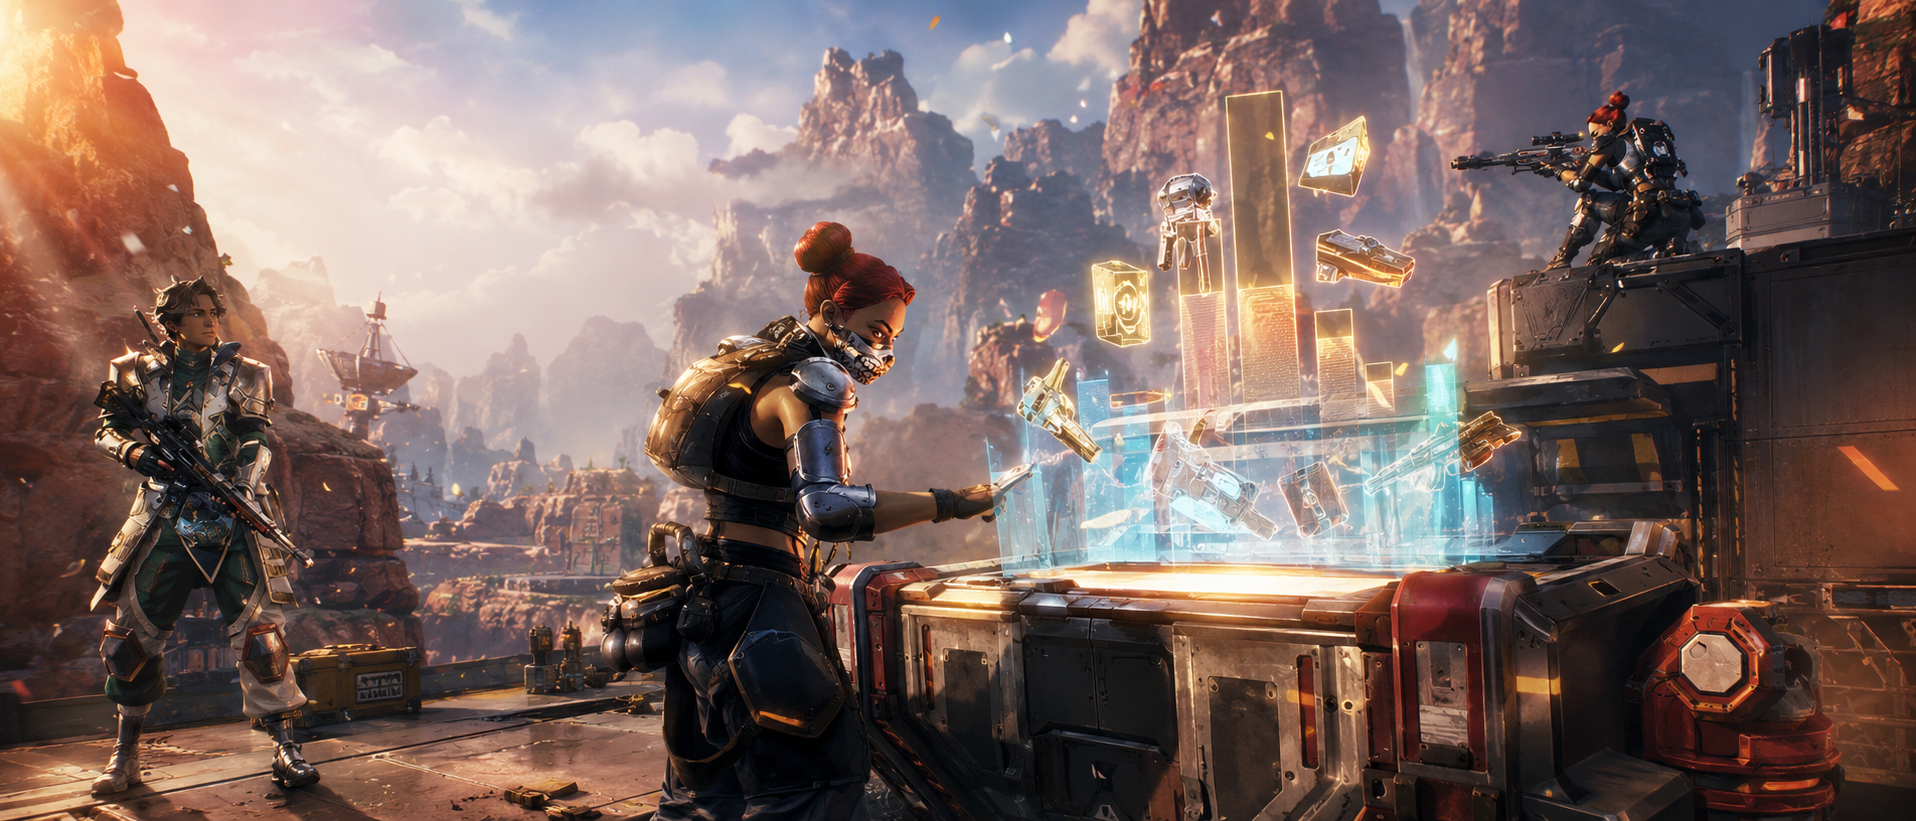
Hot Drop, Warm Drop, Cold Drop: Which One Should You Choose?
Apex drop types are simple:
Hot drop (immediate multi-team contest)
You land at a high-traffic POI where multiple squads arrive at the same time.
Best for: confident 3-stacks, players who want fast KP, teams that can end fights quickly.
Warm drop (one nearby fight, controlled tempo)
You land at a POI or sub-area next to a hot zone, then take a fight after you grab basic supplies.
Best for: ranked consistency, KP without pure chaos, squads that want “one clean fight” before rotating.
Cold drop (low contest, stable start)
You land far from the dropship line or at an edge POI, loot quickly, rotate early.
Best for: solo queue stability, placement play, slower lobbies, squads learning macro.
If you’re unsure, default to warm drops. Warm drops are the most consistent way to get both survivability and early eliminations without gambling your whole game on 20 seconds of chaos.
How to Read the Dropship Like a Ranked Player
Most players “feel” the drop. Better players count the drop.
Here’s how to do it in real time:
1) Watch where squads peel off
As soon as squads start leaving the ship, note whether they’re stacking the same quadrant of the map. If you see multiple teams peel early, that side will be chaotic.
2) Avoid landing on the same line as three squads
If you’re landing directly under the ship path and multiple squads stay in the ship, they can pivot to your POI at the last second. That’s how you get unexpectedly contested.
3) Use the “two-squad rule” for ranked consistency
If you want a stable start, avoid POIs that will have 2+ squads landing directly on them. One contest is manageable; two is a lottery.
4) Watch for “late droppers”
Late droppers are teams who stay in the ship and land last-minute on whatever looks weak. If you see a team staying in, choose a POI with:
- multiple buildings close together,
- more than one exit route,
- and cover you can reset behind.
5) Decide your backup POI while you’re still in the ship
Your backup POI should be close enough that your team lands together and loots fast, but far enough that you aren’t landing on the same buildings as the contested team.
A simple rule that prevents disaster:
Never start improvising after you’ve already committed to the dive.
Landing Mechanics That Win the First 15 Seconds
You don’t need perfect drop speed to win games—but clean landing mechanics reduce chaos.
Choose a specific building cluster, not a POI name
“Let’s land at [POI]” is not enough. Always choose:
- “north three buildings,” or
- “platform side,” or
- “two-story row + bins,” etc.
Land close enough to trade instantly
If your team lands so far apart that you can’t help for 10 seconds, you’re not a team—you’re three solos hoping the same squad doesn’t run into you first.
Your first 5 seconds after landing should be automatic
- Grab the first usable items you see
- Move to the next guaranteed container/building
- Stay near cover
- Meet your team at a planned “rally point” inside the POI
You’re not trying to be perfect. You’re trying to be predictable—so your team can actually play together.
The POI Split: How to Loot Fast Without Losing Your Team
The best way to loot a POI is to split it on purpose.
Use this system:
The Anchor
One player lands on the most central, safest building cluster. Their job is to:
- stay alive,
- hold the rally point,
- and keep the team connected.
The Left Sweep and Right Sweep
The other two players land close by and loot outward in opposite directions, then return to the rally point.
The 60–90 second rule
In most ranked games, you want to finish your first loot loop in about a minute (or slightly more in huge POIs). If you’re still looting at 2–3 minutes while the ring timer is pressuring, you’re choosing a late rotation—and late rotations get punished.
Don’t split vertically without a plan
Vertical POIs are tricky because fights start above or below you. If your POI has multiple floors:
- assign floors intentionally,
- and regroup quickly.
A squad that regroups first usually wins the first fight—even without better supplies.
Contested Landing Rules: How to Win Off Drop Without Gambling
If you’re contested, your priority is not “win the POI.” Your priority is “create a clean 3v3.”
Rule 1: Don’t chase early
The fastest way to throw a contested drop is chasing one player while their teammates collapse on you. Early fights are won by staying stacked.
Rule 2: Take space before taking a full fight
Winning off drop is often:
- secure one building cluster,
- secure a second building cluster,
- then force the enemy to enter your angle.
Rule 3: Reset beats ego
If you take early damage, your job is to break line-of-sight and stabilize. Off-drop fights punish stubborn peeks.
Rule 4: If it becomes a multi-team contest, leave
If two squads are fighting and a third arrives, you can win by not being there. Back out, take a safer route, and return for cleanup when the chaos settles.
The best off-drop habit:
Decide your “leave condition” before the fight starts.
Example leave conditions:
- two teammates are weak,
- you’ve lost the best building cluster,
- a third squad arrives,
- you can’t finish quickly.
Loot Routes That Actually Work: The “Stopwatch Loot” Method
Looting isn’t about opening everything. It’s about reaching “fight-ready” quickly.
Use the stopwatch method:
Phase 1: Minimum kit (first 20–30 seconds)
- Basic supplies to survive a close fight
- Enough healing resources to stabilize after damage
- Enough utility to rotate out safely
Phase 2: Upgrade loop (next 30–60 seconds)
- Sweep the nearest containers and secondary buildings
- Prioritize items that make rotations safer: healing, shields, utility, and mobility options from the environment
Phase 3: Decision point
Ask one question:
Are we rotating, fighting, or third-partying?
If you don’t make a decision here, the lobby will make it for you—usually by showing up as a third party while you’re still looting.
Where to Land for Early KP Without Throwing Your Game
Most players think KP means “hot drop.” In ranked, the best KP often comes from warm drops + smart timing.
Here are three KP-friendly methods:
Method 1: Warm drop next to a hot POI
- Land close
- Loot minimum kit
- Move in when you hear a fight start
- Focus on ending the fight quickly, then reset immediately
Method 2: Land mid-traffic, then rotate into the first ring edge
- You’ll often find squads rotating late through predictable lanes
- You get cleaner fights with better positioning than pure hot drops
Method 3: “Third-party rotation”
- Land safe
- Rotate early toward a known connector area
- Take one fight where you have cover and exit routes
- This is one of the most consistent ways to collect KP without becoming the team that gets third-partied.
KP isn’t about nonstop fighting. It’s about fighting when the map makes it easy.
Where to Land for Safety and Placement Consistency
Safety drops are not “rat drops.” They’re drops that give you:
- quick loot,
- clean exits,
- and a predictable path into the ring.
Use these safety rules:
Land where you can rotate without crossing open ground
You want cover chains: rocks → walls → buildings.
Avoid central hubs early unless you have a plan
Central hubs become traffic magnets once teams start rotating.
Rotate earlier than you think
The safest rotations happen when you move while the map is still quiet.
Take a defendable mid position
Instead of rotating directly into the middle of the ring, take a mid position that:
- gives you multiple exits,
- and lets you choose your next move.
If you want consistent ranked points, safety drops plus early rotation is the cleanest formula.
Overclocked Map Rotation: What It Means for Your Drop Plan
In Season 29: Overclocked, the listed Pubs and Ranked Battle Royale map pool includes Broken Moon, Kings Canyon, and Olympus. Overclocked also adjusted map traversal tools:
- Tridents were removed on some maps,
- and Broken Moon had many long rotation ziprails reduced while keeping ziprails within POIs, plus added redeploy options and new rotation routes.
What this means for dropping:
- Olympus: fewer “free rotate” moments from vehicles, so landing with a clear cover-based rotate matters more.
- Broken Moon: rotations are more predictable and less “silent third-party,” so holding good space after landing becomes more valuable.
- Kings Canyon: the map is compact and punishes long fights, so warm drops and fast resets are king.
Also note: Ranked map rotation timing can change by patch. If your squad plays long sessions, build drop plans for all three maps so you’re not lost when the rotation flips.
Kings Canyon Drop Guide: Where to Land for Loot, KP, and Safety
Kings Canyon is small, fast, and third-party heavy. Your #1 goal is to avoid long, loud fights in the open.
Best Kings Canyon drops for safety
These are strong when you want calmer starts and predictable exits:
- Artillery-side outskirts (stable building clusters, clean exits)
- Airbase-side areas (clear lanes, faster regrouping)
- Repulsor-side edge routes (safer early game if the ship path favors the other side)
- Swamp/Relay-style edges (slower pace, safer rotations if you move early)
Safety plan on Kings Canyon:
- Loot fast (don’t overclear every corner)
- Rotate early to a defendable mid position
- Avoid getting trapped crossing open areas with multiple sightlines
Best Kings Canyon drops for loot
Look for POIs that allow quick 3-way splits:
- A central cluster for the Anchor
- Two side clusters for sweeps
- A rally point that is indoors or behind hard cover
Loot plan:
- Finish your first loop quickly
- Take one “upgrade loop” nearby if uncontested
- Then rotate before the map’s traffic lanes flood
Best Kings Canyon drops for KP (ranked-friendly)
KP on Kings Canyon is best when you avoid multi-squad chaos:
- Warm drop near popular hot zones
- Rotate into fights rather than being the first loud fight on the map
- Take fights where you can instantly reset behind hard cover
KP plan:
- Don’t chase into the center
- End fights quickly
- Immediately reposition after a wipe
Kings Canyon “don’t throw” rule
If a fight lasts too long, assume a third party is already moving. Reset behind cover, heal, and reposition—don’t keep peeking the same angle.
Olympus Drop Guide: Where to Land for Loot, KP, and Safety
Olympus has long sightlines and open lanes. You get punished for late rotations because teams can see and shoot you from far away.
Best Olympus drops for safety
Choose POIs with:
- building-to-building rotation paths,
- and multiple exits that don’t force street crossings.
- Examples of safety-friendly zones:
- Docks-style edges
- Hydroponics / Grow Towers side routes
- Solar Array-side lanes
- Oasis-side splits (when not heavily contested)
Safety plan on Olympus:
- Use buildings as stepping stones
- Avoid long open crossings midgame
- Rotate earlier than you feel necessary
Best Olympus drops for loot
Olympus rewards POIs with tight building density and quick regrouping:
- multiple buildings close together,
- easy rally points,
- and cover near exits.
Loot plan:
- Split, regroup, then choose a rotation based on ring pull and nearby fights
- If you have a calm start, rotate early to a strong building cluster rather than drifting through streets later
Best Olympus drops for KP
Olympus KP comes from timing and angles:
- Warm drop near high-traffic POIs (popular central areas)
- Rotate into fights from height or cover
- Avoid chasing across open ground where multiple teams can beam you
KP plan:
- Take one clean fight
- Reset fast
- Then rotate to the next “fight lane” rather than wandering aimlessly
Olympus “don’t throw” rule
Never push across open lanes with no cover chain. If the enemy is across the open, reposition first and force the fight on a better angle.
Broken Moon Drop Guide: Where to Land for Loot, KP, and Safety
Broken Moon is built around large POIs and rotation planning. Overclocked reduced many POI-to-POI ziprail rotations and added new rotation options and redeploy balloons, which makes routes more readable but still punishes late rotates.
Best Broken Moon drops for safety
Look for POIs that:
- are not directly under the hottest ship path,
- have multiple exits,
- and let you rotate without committing to one long corridor.
- Safety-friendly examples:
- Breaker Wharf (edge start potential with structured buildings)
- Bionomics-style outskirts
- Backup Atmo / outer lanes
- The Divide-side routes (when not heavily contested)
Safety plan on Broken Moon:
- Loot a large POI efficiently (don’t overclear)
- Rotate early using predictable routes
- Take fights only when you have a safe reset option nearby
Best Broken Moon drops for loot
Broken Moon has several massive POIs where teams waste time. The “best loot POI” is the one your squad can loot quickly together. Strong loot drops are usually:
- large but readable layouts,
- with obvious building clusters for a clean split,
- and a safe rally point.
Loot plan:
- Decide your rally point before landing
- Loot outward, regroup, then rotate
- Avoid staying long enough that multiple teams arrive from different lanes
Best Broken Moon drops for KP
KP is strongest where you can chain fights without getting trapped:
- Warm drop near a popular POI, but not on the most contested buildings
- Rotate toward a known connector after your first loot loop
- Take one fight, reset, then reposition
KP plan:
- If you win a fight, don’t stand still—Broken Moon still punishes stationary looting
- Use redeploy options to reposition after fights when the area becomes crowded
Broken Moon “don’t throw” rule
Large POIs create the illusion of safety. You can still get collapsed on from multiple approaches if you fight too long in the middle of a big structure.
Solo Queue Drop Guide: The “No-Comms” Landing Strategy
Solo queue is not about perfect comps—it’s about reducing chaos.
Use this approach:
Pick POIs with obvious rally points
If your random teammates won’t communicate, land where it’s easy to regroup:
- one central building cluster,
- clear indoor cover,
- short distance between structures.
Avoid the hottest POI on the ship path
Unless you’re intentionally playing for fast KP, hot drops in solo queue often become coin flips.
Use the “follow and fix” method
- Follow your team’s landing decision
- Fix the mistakes: ping a rally point, stay near cover, and keep the squad connected
Leave losing contests early
If you’re contested and your team splits badly, your best play is often to:
- back out,
- loot a nearby fallback area,
- and play for recovery rather than donating a quick elimination.
3-Stack Drop Guide: How Coordinated Teams Get Easy Games
If you have comms, you can run stronger drops safely.
Claim a POI and split it cleanly
Coordinated teams loot faster, regroup faster, and can take controlled fights earlier.
Warm drop for consistent KP
- Land near a high-traffic POI
- Loot minimum kit
- Move in as the third party
- Reset immediately after the wipe
Assign roles
- One player calls the landing cluster and rally point
- One player calls the first rotation
- One player tracks nearby teams and calls when to disengage
The biggest advantage of a 3-stack isn’t aim—it’s making decisions quickly and together.
The After-Landing Plan: What to Do at 60 Seconds
At about one minute into the match, most squads should make a clear decision:
Option A: Rotate early (safety/placement plan)
- Move to a defendable mid position
- Avoid fighting in the open
- Take fights later from better positioning
Option B: Take one fight (KP plan)
- Choose the nearest fight you can end quickly
- Don’t chase through open ground
- Reset immediately afterward
Option C: Stabilize (loot plan)
- If you’re missing key supplies, do one short upgrade loop
- Then rotate—don’t keep looting until the ring forces you to sprint
If you don’t choose, you’ll drift into the most predictable path—and predictable paths get punished.
BoostRoom: Get a Drop Plan Your Squad Can Repeat
Most squads lose ranked points before the midgame because their drop plan is vague:
- they land without a rally point,
- they loot too long,
- they rotate late through the busiest corridor,
- then they fight from a bad spot and get third-partied.
BoostRoom helps you turn dropping into a repeatable system:
- Build a map-specific landing list: 1 safe, 1 warm, 1 KP option per map.
- Create a loot split that keeps your squad connected without wasting time.
- Learn rotation timing so you arrive early instead of sprinting late.
- Fix the biggest KP mistake: taking fights with no reset plan.
If you want more consistent RP and fewer “we died off drop again” games, a real drop plan is one of the fastest upgrades you can make.
FAQ
Where should I land in Apex Legends for the most loot?
Land at POIs with multiple close building clusters and clear exits, then use a 60–90 second loot loop so you’re geared quickly without rotating late.
What is the safest way to drop in ranked?
Choose a low-contest POI, loot quickly, and rotate early along cover chains. Safety comes from timing and exits, not just landing far away.
How do I get early KP without hot dropping?
Warm drop near a popular POI, loot a minimum kit, then rotate into the first fight as a third party. End it quickly and reset immediately.
Why do we keep dying after winning the first fight?
Because you stayed in the fight area too long. On compact maps, third parties arrive fast. Reset behind hard cover, then reposition right away.