Practical rules
- Extracting is winning. Killing enemies is only useful if it helps you extract.
- One objective per raid is normal; 3–6 objectives per raid is smart. Stack by route.
- Weight is a combat stat. If you’re slow, you’re easier to kill—no matter your gear.
- Your dog is your insurance. One protected item per raid changes your whole economy.
- Beacons are time multipliers. Unlock them early and everything speeds up.
- Treat healing like a sequence, not a panic button. Stop ticking damage, then stabilize, then reposition.
- Stop looting when your win condition is done. Greed turns “profit” into “wipe.”
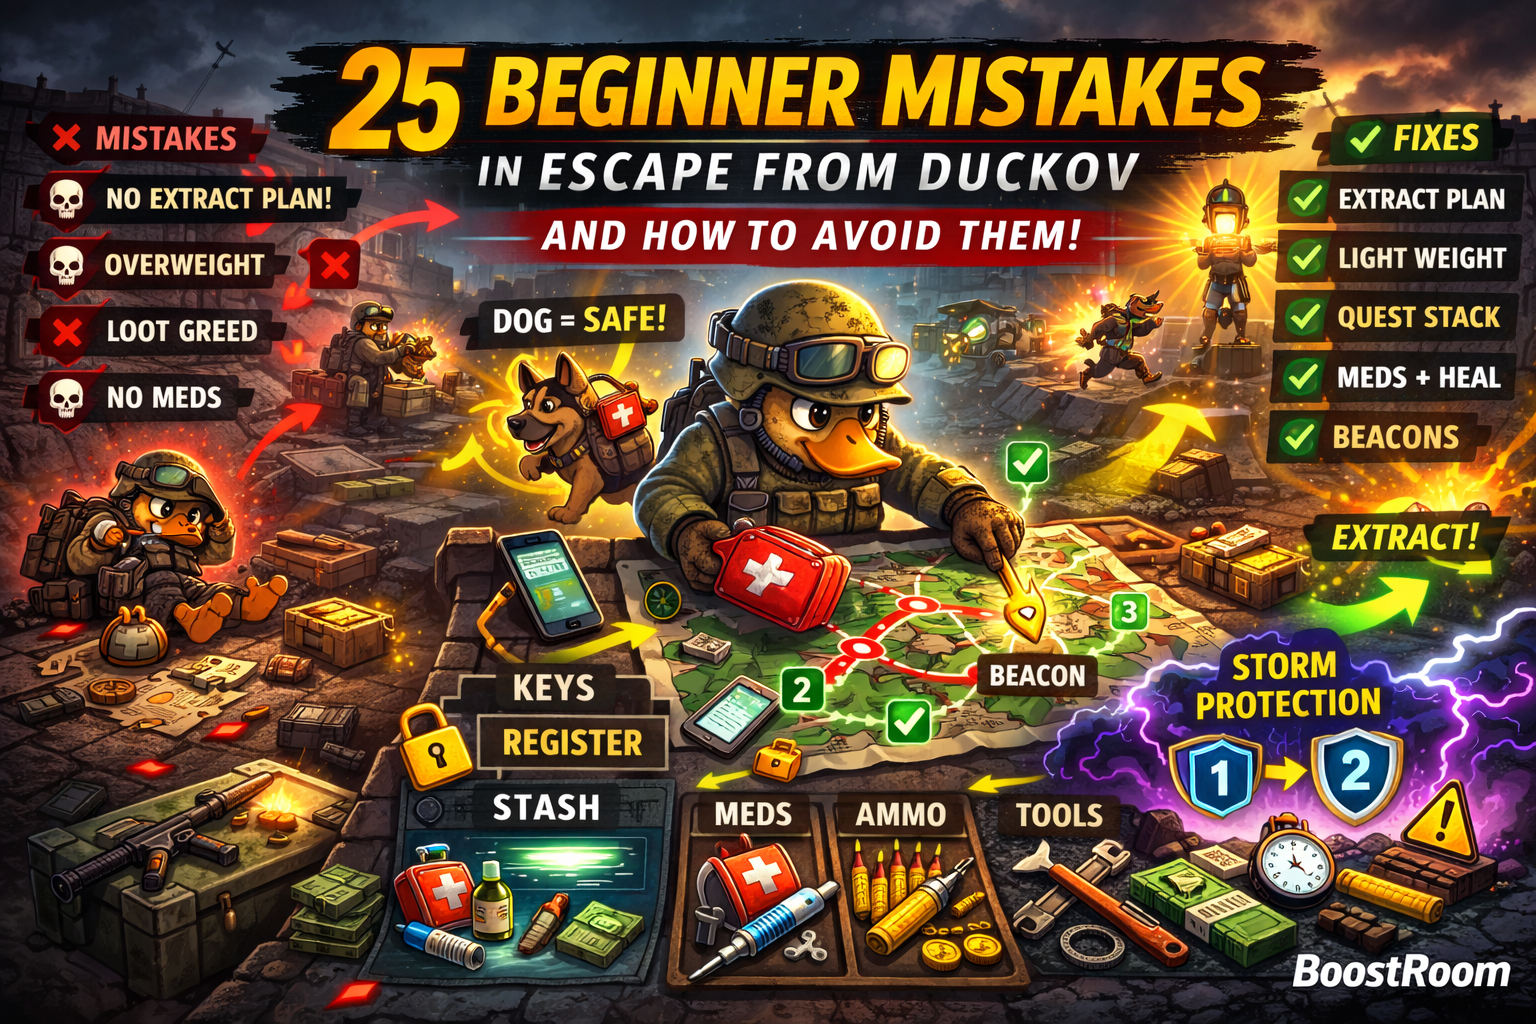
How to use this list without getting overwhelmed
Read all 25 once, then do this:
- Circle the five that describe you most.
- For each, write the one-sentence fix on a note (or in your head).
- For your next 10 raids, focus on only those fixes.
- When they become automatic, come back and pick five more.
Duckov is a habits game. The biggest gains come from fixing the same mistakes you repeat every raid.
Mistake 1: Entering a map without knowing how you’ll extract
What it looks like: You loot, fight, and wander… then panic when your bag is full because you don’t know where to leave.
Why it hurts: You stay out too long, get forced into risky routes, and die with loot you already earned.
Do this instead:
- The moment you spawn, open your map and choose a panic exit (the safest, closest way out).
- Choose a planned exit (where you intend to leave after the objective).
- Set a turnaround landmark (the point where you stop going deeper and start heading out).
- If you’re new to Ground Zero, remember that one of the easiest extractions is often simply returning to the bunker rather than trying to cross the entire map.
When beginners get “unlucky,” it’s usually because they didn’t know their exit options early enough to play calmly.
Mistake 2: Treating every raid like a full clear
What it looks like: You keep pushing “one more building” even after you’ve already found good loot or finished the quest step.
Why it hurts: The longer you stay, the more fights you take, the more mistakes you make, and the higher the chance you lose everything.
Do this instead:
- Decide a win condition before you deploy (example: “activate the beacon + grab 2 quest items”).
- The moment you hit it, leave immediately.
- If you want extra loot, do it on the next raid, not after you’ve already “won” this one.
Consistent medium extracts beat rare huge hauls that end in death.
Mistake 3: Not using the dog inventory as your “safe pocket”
What it looks like: You keep rare items in your backpack and lose them on death. Or you get overweight and die because you can’t move.
Why it hurts: You lose progression items and your movement collapses in the exact moment you need to escape.
Do this instead:
- Put one irreplaceable item on your dog the moment you find it (blueprint, key container, rare upgrade part).
- If you get overweight, move the heaviest single item to the dog so you regain speed.
- Treat the dog as insurance: anything the dog carries is commonly reported as not lost on death, and the dog’s carry ignores weight—which makes it one of the strongest beginner mechanics in the game.
This one habit alone reduces “wipe pain” massively.
Mistake 4: Carrying keys everywhere instead of registering them
What it looks like: Your stash and inventory fill with keys, you forget them, or you lose them.
Why it hurts: You waste slots, increase risk, and still don’t consistently open what you need.
Do this instead:
- Register keys in the master key registry as soon as you can, so you don’t need to carry them.
- Keep only special keys that can’t be registered (and treat them as high-value items).
- Build “key discipline”: if a key doesn’t serve your current route, it doesn’t leave the bunker.
Keys are access, but carrying them everywhere is beginner clutter.
Mistake 5: Forgetting a shovel and missing the easiest early money
What it looks like: You run past dig spots and wonder why other players seem richer on “average” raids.
Why it hurts: You miss reliable loot checks and early progression items that come from digging.
Do this instead:
- Make the shovel part of your default kit (inventory or melee slot).
- Treat dig spots like container rolls: quick check, quick decision, move on.
- Use shovel runs as “safe profit raids” when you don’t want long fights.
A shovel turns “empty raids” into “at least I got something” raids.
Mistake 6: Never bringing dynamite and ignoring cracked walls
What it looks like: You see cracked walls or blocked areas and think “later,” then forget.
Why it hurts: You miss high-value loot rooms and permanent shortcuts that reduce future risk.
Do this instead:
- Carry 1–2 dynamite (or the correct explosive tool) on runs where your route includes breakable obstacles.
- Use explosives as a mission tool, not a toy: break what you came to break, then leave.
- If you’re learning a map, prioritize unlocking shortcuts early—every shortcut makes future quest stacks safer.
Explosives aren’t just loot access—they’re path access.
Mistake 7: Delaying beacon unlocks (the biggest time-waster in Duckov)
What it looks like: You keep walking the same long routes and doing the same dangerous travel repeatedly.
Why it hurts: You spend more time traveling than progressing, and you take extra fights just to reach objectives.
Do this instead:
- Prioritize beacon quests early, especially:
- Ground Zero beacon near Road Camp
- Warehouse beacon near the Gas Station
- When you’re doing a beacon run, treat it like a stealth mission: reach beacon, activate, extract.
- After you unlock beacons, your future quest stacking becomes dramatically faster.
Beacons are “time multipliers.” Unlocking them early is how you feel like you leveled up without changing your aim.
Mistake 8: Not locking your essentials and turning your inventory into chaos
What it looks like: Your ammo and meds get shoved around, you misclick under pressure, or you can’t loot efficiently.
Why it hurts: Inventory friction causes deaths—especially when you panic-heal or reload at the wrong time.
Do this instead:
- Lock your “always-needed” slots (many players use L to lock) for ammo + critical meds.
- Keep a “swap lane” empty so you can compare and replace items quickly.
- Stop sorting perfectly mid-raid—do fast micro-sorts and move.
Good looting is speed + clarity, not perfect Tetris.
Mistake 9: Going overweight and pretending it’s fine
What it looks like: You keep looting even when your movement feels bad, then die because you can’t disengage.
Why it hurts: Overweight turns every fight into a forced fight. You can’t reset, reposition, or extract safely.
Do this instead:
- Loot for value per slot and value per weight.
- If you’re heavy, drop bulky low-value items first.
- Use the dog inventory for your heaviest item to regain mobility.
- If you want to extract rich, you must still be able to move like you’re alive.
In Duckov, speed is survival—and survival is profit.
Mistake 10: Healing in the open (or healing “where you got shot”)
What it looks like: You take damage, crouch behind weak cover, and start a long heal… then get pushed or shot again.
Why it hurts: Healing is a self-stun. If you heal in line-of-sight, you’re giving enemies a free kill window.
Do this instead:
- Break line-of-sight first. Hard cover beats “feels safe” cover.
- Heal in layers: stop bleed → quick stabilize → reposition → full heal later.
- After healing, re-peek from a new angle so you don’t get punished for predictability.
Winning fights is often just winning the healing windows.
Mistake 11: Ignoring bleeds and “saving meds for later”
What it looks like: You keep fighting while bleeding because you want to finish the fight first.
Why it hurts: Bleeding drains you while you sprint, loot, and rotate—turning a winnable situation into a sudden death.
Do this instead:
- Treat bleed like a timer: if you’re ticking, you’re losing health for free.
- Carry basic bleed control every raid (bandage or stronger bleed tools when needed).
- After a fight, stop bleed first, then reload, then loot.
Most “I died after I won” moments start with ignored bleeding.
Mistake 12: Skipping base upgrades that stabilize survival
What it looks like: You buy gear repeatedly instead of crafting basics, and you’re always short on meds or ammo.
Why it hurts: Your economy becomes fragile—one bad raid knocks you back hard.
Do this instead:
- Prioritize the upgrades that reduce friction: medical production, storage improvements, and core workbench progress.
- Craft the things you consume constantly (basic heals, steady ammo lines) so your runs stay consistent.
- Upgrades that look “boring” are often the ones that make everything easier.
A stable base is the real difficulty slider.
Mistake 13: Hoarding everything and turning your stash into a prison
What it looks like: Your warehouse fills up, you spend more time sorting than raiding, and you can’t even see what you own.
Why it hurts: You start making panic-sells, you miss turn-ins, and you stop looting efficiently because storage is full.
Do this instead:
- Use a simple policy:
- Keep items for your next 1–2 upgrades
- Keep one or two core kits
- Sell duplicates and bulky low-density junk
- Maintain a “quest shelf” row for common submissions.
- After each raid: quick sell pile → quick kit build → stop.
A clean stash is a money-making tool.
Mistake 14: Selling progression items because you’re broke today
What it looks like: You sell notes, special components, or rare upgrade items to buy a kit.
Why it hurts: You trade long-term progress for short-term relief, then get stuck later when an upgrade demands the thing you sold.
Do this instead:
- Identify “account items” and treat them as untouchable: beacon progress, rare upgrade gates, storage expansion items, key containers, critical quest bottlenecks.
- Sell replaceable items first: duplicates, common loot, gear you don’t run.
- If you need money, do short safe loot loops—not liquidation.
Staying broke is often just repeating “sell tomorrow’s progress for today’s kit.”
Mistake 15: Gear fear (never using your good items)
What it looks like: You hoard strong weapons/armor “for later,” so you’re always fighting with worse kits.
Why it hurts: You die more, progress slower, and your stash becomes a museum instead of a toolbox.
Do this instead:
- Define a “use tier”: your good gear gets used on boss attempts, beacon runs, or hard quests.
- Keep one backup kit and sell the excess.
- If you’re afraid to use an item, that item is not helping you progress—either deploy it or convert it into money.
A weapon you never use has zero value.
Mistake 16: Building a loadout with no job (no plan, no role)
What it looks like: You bring random attachments, random ammo, random armor, and hope it works everywhere.
Why it hurts: You run out of ammo or meds, your gun feels inconsistent, and you can’t adapt mid-raid.
Do this instead:
- Build loadouts by role:
- Quest runner (light, stable, safe)
- Loot runner (space + mobility)
- Boss kit (sustain + burst + utility)
- Storm kit (protection + timed objective)
- If a piece of gear doesn’t help the role, it’s clutter.
Purpose beats “best stats.”
Mistake 17: Rushing Workbench upgrades without understanding what they unlock
What it looks like: You dump materials into upgrades that feel cool, then realize you can’t craft what you wanted.
Why it hurts: You waste rare resources and delay the upgrades that actually improve your survival loop.
Do this instead:
- Prioritize upgrades that increase consistency: repairs, deconstruction, refined processing, and the crafting lines that support your main kit.
- Understand gating: higher-tier crafts (like AP ammo crafting) can require specific workbench progress and station prerequisites.
- Upgrade with a “next step” plan: what does this unlock that I will use immediately?
Workbench upgrades are best when they solve a problem you’re currently facing.
Mistake 18: Trying to force Storm content without meeting protection requirements
What it looks like: You step into storms and melt, even though you used an injector.
Why it hurts: Storm damage is not normal damage. If you don’t meet protection thresholds, you can die faster than you can react.
Do this instead:
- Learn the basic threshold rule many players follow:
- Storm Phase 1 often requires 1 storm protection
- Storm Phase 2 often requires 2 storm protection
- The weak storm injector is commonly treated as +1 storm protection, and early purple storm gear pieces are often treated as +0.5 each, letting you combine them to hit Phase 2 requirements.
- If you can’t meet the threshold, don’t “test it.” Sleep, craft, and return later.
Storm runs are planned content, not spontaneous adventures.
Mistake 19: Wasting timed injectors by using them too early
What it looks like: You inject in safety, then arrive at the dangerous section with the timer half gone.
Why it hurts: Timed injectors are strongest when they cover the exact window you’re exposed.
Do this instead:
- Use timed injectors at the moment the hazard starts, not minutes earlier.
- Know your timer: the weak storm protection injector is commonly listed as lasting a short timed window (often around a few minutes), so you must plan entry, objective, and exit inside that window.
- Treat injectors as “cover for a mission segment,” not “a general buff.”
Timing is the difference between “protected” and “dead.”
Mistake 20: Doing night raids too early (or too late) without a plan
What it looks like: You stumble into night fights where you can’t see angles, then lose kits to surprise damage.
Why it hurts: Low visibility increases randomness, and beginners don’t have the route confidence to compensate.
Do this instead:
- If you’re learning maps, prefer daylight runs until you can extract reliably.
- If you do night, do it intentionally for a specific farm or quest step—then leave.
- Set a strict extraction rule for night runs: “Objective done → extract.”
Night is a tool, not a default.
Mistake 21: Not bringing a reset tool (smoke/utility) and relying on aim alone
What it looks like: One bad angle ends your raid because you can’t break contact.
Why it hurts: Duckov punishes being trapped in line-of-sight with no escape plan.
Do this instead:
- Carry at least one utility option that buys you time to reset: smoke is the classic beginner-friendly choice.
- Use utility to disengage, heal, and reposition—not to “win harder.”
- If you survive one mistake per raid because of smoke, it pays for itself immediately.
A reset tool turns chaos into a controlled fight.
Mistake 22: Going loud by accident (waking the whole area without meaning to)
What it looks like: You fire a loud weapon in a busy area, then fights stack until you run out of meds.
Why it hurts: Loud fights aren’t just harder—they cost more ammo, more durability, more time, and more risk.
Do this instead:
- Choose a mode per raid: stealth, loud, or hybrid.
- If you want stealth, reduce your “attention radius” with quieter weapon choices and disciplined movement.
- If you go loud, commit to tempo: clear quickly, reposition, and leave once the objective is done.
The worst playstyle is half-stealth, half-loud, and fully confused.
Mistake 23: Boss looting greed (winning the fight, losing the raid)
What it looks like: You kill a boss, sprint to the loot, and die to followers or another patrol.
Why it hurts: Boss areas stay hot. Looting instantly is how most boss kills turn into wipes.
Do this instead:
- After the boss drops: reload → stop bleed → quick scan → confirm followers down → then loot.
- Loot priority: progression drop first, one big value item second, extract third.
- If you want “full loot,” do it only after you’ve secured the whole area.
Boss farming is about repeatable clears, not one dramatic jackpot.
Mistake 24: Doing NPC quests one-by-one instead of stacking
What it looks like: You run a full raid just to mark one thing, then another raid to pick up one thing, then another to extract.
Why it hurts: Travel time becomes your main enemy—not combat.
Do this instead:
- Stack quests by route and landmark: one map, one path, multiple completions.
- Always pair “reach location” or “mark” quests with an extract quest and at least one collection objective if it overlaps.
- Tool check every quest run: marker, wrench, explosives if needed.
- Extract immediately when the stack is complete.
Quest stacking is the fastest legal speedrun in Duckov.
Mistake 25: Not using the bunker like a strategy tool
What it looks like: You rush back out while injured, low on supplies, or during bad weather windows.
Why it hurts: You enter raids already behind, and “bad starts” create wipe streaks.
Do this instead:
- Use bunker time intentionally: craft essentials, repair, sort your quest shelf, and wait out conditions if needed.
- Prep a ready kit so your next raid starts fast and calm.
- Treat the bunker as your “control room” where you reduce risk before it happens.
Fast progression is usually just good preparation.
A simple 10-raid challenge that fixes most beginner problems
For your next 10 raids, do these three rules only:
- Put your best progress item on the dog immediately.
- Set a win condition and extract when it’s done.
- Never go overweight—if you feel slow, drop the worst item and keep moving.
If you do those three things consistently, you’ll feel like you “got better” without changing your aim at all.
BoostRoom promo
If you want to improve faster without learning everything through painful wipe streaks, BoostRoom helps you turn Duckov into a repeatable system: smarter extraction plans, quest stacks that complete multiple NPC tasks per run, safe beacon unlock routes, inventory rules that keep your value high, and survival routines that stop “one mistake” from deleting your kit. The goal is simple—extract more, lose less, and upgrade faster—so your time in Duckov feels rewarding every session.
FAQ
What’s the fastest beginner improvement in Escape from Duckov?
Plan your extraction before you loot, and extract immediately after your win condition. This single habit removes most “random deaths.”
Is the dog inventory really that important?
Yes. Using the dog as a safe pocket for one key item per raid massively reduces wipe pain and improves long-term progression.
Should I focus on loot or quests first?
Quests first, loot second. Quests unlock beacons, upgrades, and systems that make all future loot runs easier and faster.
Why do I keep dying when my backpack is full?
Full bag usually means overweight + greed + staying too long. Swap up items, keep weight manageable, and leave earlier.
When should I start doing Storm content?
When you can meet storm protection thresholds reliably and can afford the consumables. Storm runs should be planned objectives, not experiments.
What should I sell early game?
Sell duplicates, bulky low-density junk, and gear you won’t use soon. Don’t sell progression items that block upgrades or unlock systems.
What’s a good beginner raid goal?
One beacon activation, one quest item, or one high-density loot loop—then extract. Short, consistent wins are the fastest path.
