What “Mission Stacking” Means in ARC Raiders
Mission stacking is the skill of finishing multiple quest objectives in a single deployment by choosing quests that overlap in map, route, and actions.
Done right, mission stacking:
- reduces the number of raids needed to progress,
- keeps your backpack focused on only what matters,
- and turns “one good extract” into 2–5 quest completions at once.
Done wrong, stacking becomes a trap:
- you stay topside too long trying to do everything,
- you mix “In One Round” objectives with risky PvP zones,
- and you die holding the one item that would’ve been a permanent unlock or a big reward.
The goal isn’t “complete every objective every raid.” The goal is consistent multi-quest extracts.
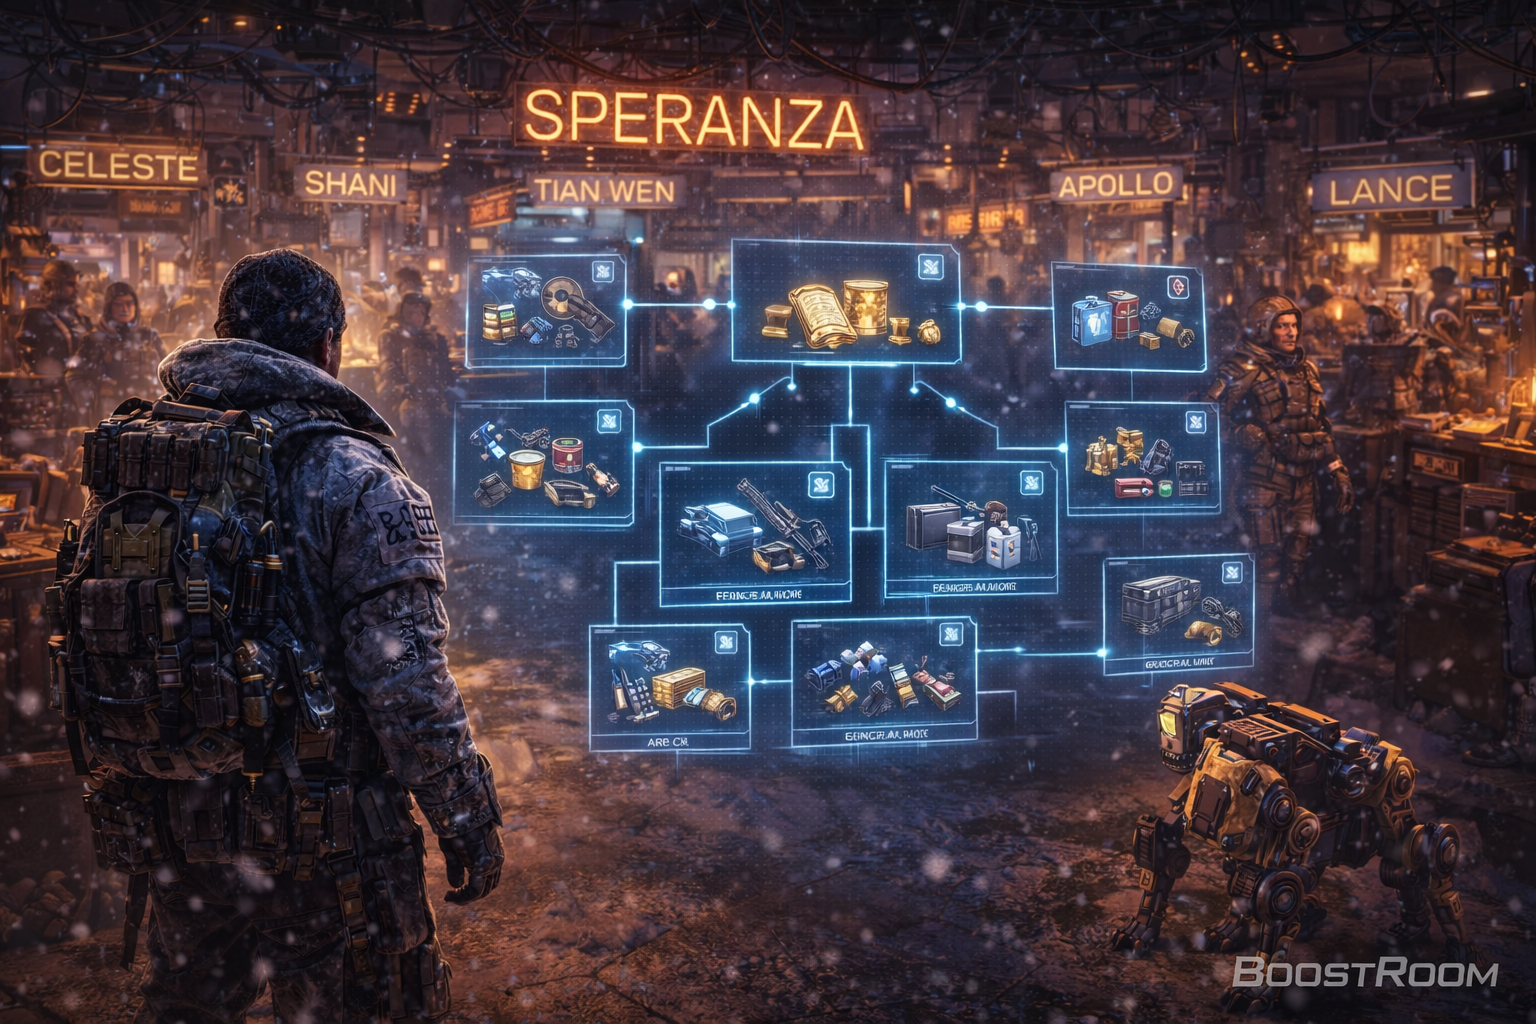
How Quests Work in Speranza
Quests are a core progression system in ARC Raiders. They reward things like Raider Coins, XP, and items, and some quests even grant gear when you accept them to help you complete the objective. Quests come from the Traders of Speranza, and they also carry story and world-building about the Rust Belt.
A few rules matter for stacking:
- You accept quests by speaking to Traders in Speranza.
- You must turn quests in (back at the Trader) to receive rewards.
- Some quests are locked behind progression, so turning in quests quickly helps unlock new ones sooner.
- Quest order can vary depending on what you complete first, so the fastest path is usually “keep turning in” rather than “hold everything forever.”
This is why stacking isn’t only about topside efficiency. It’s also about Speranza rhythm: accept → stack → extract → turn in → accept new → repeat.
Meet the Traders: Who Gives Quests and What They Sell
Speranza has five main Traders who both assign quests and sell gear. Knowing what each one sells helps you plan your economy while you stack missions.
Here’s a practical overview of the five Traders and their shop focus:
- Celeste: sells Basic Materials and Topside Materials
- Shani: sells items like Raider Hatch Key and Binoculars
- Tian Wen: sells Weapons, Ammo, and Weapon Mods
- Apollo: sells Gadgets and Grenades
- Lance: sells Augments, Armor, and Medical items
Mission stacking tip: as you plan your quest route, also plan your refill plan. If you’re stacking “carry + interact” quests, you’ll want Lance’s survivability options. If you’re stacking “destroy ARC” quests, Tian Wen’s ammo and weapon mods matter. If you’re stacking “deliver/repair” objectives, Apollo’s gadgets can protect your escape.
The 4 Quest Types You Must Stack Differently
Most quests fall into one of these types. Your stacking decisions get 10x easier when you label each quest immediately.
1) “Any Map” progress quests
Examples: loot containers, destroy ARC enemies, obtain common materials.
These are the best “background quests” to stack with everything else.
2) Map-specific route quests
Examples: reach named locations on Dam Battlegrounds / Buried City / Spaceport / Blue Gate / Stella Montis.
These work best when you commit to one map for a block of raids.
3) Carry-and-extract quests
Examples: deliver a quest item to a Trader, bring back a specific object.
These change your risk profile: the moment you pick up the item, you should play safer and prioritize extraction.
4) “In One Round” quests
These are the most misunderstood. “In One Round” means you must complete all steps (often including extraction/delivery) within the same deployment, so partial progress often doesn’t help.
“In One Round” quests are where mission stacking creates the biggest time saves—but also the biggest throws.
The Golden Rules of Mission Stacking
If you only follow these rules, you’ll still progress much faster than average.
Rule 1: Stack by map first, not by Trader
Traders don’t care which map you’re on—objectives do. Pick a map block, then choose quests that fit it.
Rule 2: Never stack more than one “high-risk carry” objective at once (solo)
If two quests require carrying unique items, you’re doubling the odds you lose a key objective to one death.
Rule 3: “In One Round” quests get their own raid plan
You can stack them, but only with low-risk “Any Map” objectives. Don’t mix them with long PvP hunts unless you’re in a coordinated squad.
Rule 4: Extract the moment your stack hits “win condition”
A win condition is: you got the quest item, completed the final interaction, or finished the last required step. Your next priority is extraction—not “one more building.”
Rule 5: Turn in fast to unlock faster
Some quests are progression-gated. Sitting on completed quests slows your entire quest chain.
Quest Mechanics That Make Stacking Faster
A few mechanics are easy to miss—and they change how you plan your runs.
Items already in your stash can count toward collection objectives
Before you even deploy, check whether you already have what a quest needs. This allows “instant completions” when you accept the quest and then turn it in.
Quest items required for objectives are not always consumed on completion
When a quest requires you to “deliver” or “have” certain items, it’s worth verifying whether those items will be consumed. If items aren’t consumed, you can complete multiple objectives across different quests without re-farming the same thing.
Quest progress can be shared with your squad
Squad play is a huge stacking advantage: one teammate can handle an interaction while another handles kills or looting. But be careful—collection objectives can require enough items across the squad, and some unique quest items only spawn once per raid.
Yellow quest interaction markers matter
Many quests use glowing/yellow interaction cues (or quest icons) to guide you to objective items/locations. The more you learn to recognize these quickly, the less time you waste circling a POI.
Mission Stacking With a Squad: Make Shared Progress Work for You
ARC Raiders allows solo or squads of up to three players, and mission stacking becomes dramatically more efficient with even one teammate.
Here’s how to stack as a squad without stepping on each other:
Assign roles before deploying
- Runner: focuses on interactions and carrying quest items
- Cleaner: clears ARC threats and watches angles
- Loot lead: opens containers fast and gathers collection objectives
Use “split tasks, regroup for extract”
A good stack raid often looks like:
- 2 players handle quick nearby objectives,
- 1 player hits a second POI,
- then regroup and extract together once the carry objective is secured.
Respect “unique spawn” quest items
Some quests spawn a single interactable item/object. If three players all need the same quest, you may need multiple raids so each player gets their own completion.
Watch patch behavior and quest fixes
Quest sharing has been actively refined in recent updates, including fixes to issues where squad sharing could incorrectly complete objectives related to quest-specific spawned items. The practical takeaway: if something feels “weird” with squad progress, treat it as a risk and plan conservatively—don’t assume it will auto-complete for everyone.
The “Speranza Loop”: Accept, Stack, Turn In, Repeat
The fastest progression isn’t one perfect raid—it’s a clean loop.
Step 1: Do a quick Trader lap
Talk to all Traders and accept:
- any “Any Map” quests,
- any quests that match your target map,
- and at most one high-risk carry quest (solo) or one per role (squad).
Step 2: Build a two-tier stack
Tier A (primary): 1–2 quests that define your route.
Tier B (secondary): 2–4 quests that happen naturally while you run Tier A (loot containers, destroy ARC, gather materials).
Step 3: Set a “win condition”
Example win conditions:
- you picked up the required quest item,
- you completed the final “In One Round” interaction,
- you completed the last kill requirement,
- you finished the delivery requirement and can extract safely.
Step 4: Extract, then turn in immediately
Turning in:
- gives rewards,
- unlocks more quests,
- and reduces your active quest clutter so you stay focused.
How to Stack “In One Round” Quests Without Throwing
“In One Round” quests are where most players lose time because they treat them like normal missions.
A safer method:
1) Go in with a “loss-ready” loadout
If the quest forces you into dangerous POIs or makes you carry big items, consider running a cheaper kit so death doesn’t wreck your economy. For certain multi-item extraction quests, many players prefer Free Loadouts to reduce the pain of failed attempts.
2) Route directly to the hardest step first
If one step is likely to be contested (hot POI, exposed interaction), do it early—before your inventory is full and before you’re mentally committed to “staying longer.”
3) Don’t loot until the objective is secured
Looting first is how you die late. Objective first is how you finish quests.
4) Treat the final step like an extraction mission
Once you complete the last requirement, your run is now “deliver the progress to Speranza.” Take safer rotations and avoid unnecessary fights.
Example of why this matters
Some “In One Round” quests require extracting multiple items in the same raid—like the Celeste’s Journals quest, where you must retrieve and extract both journals in one deployment. That kind of objective punishes greed: if you keep looting after securing the journals, you’re gambling hours of progress on one extra container.
Mission Stacking by Map: Dam Battlegrounds
Dam Battlegrounds is designed as an early learning map with mixed terrain, structures, and many quest lines pointing there.
A strong Dam stacking session usually combines:
- Any Map quests (loot containers, destroy ARC enemies, obtain materials),
- Dam-specific interactions (outposts, research buildings, field depots),
- and one “In One Round” objective you fully commit to.
Dam stacking route concept
- Start with the quest POI first (outpost/building interaction).
- Then sweep nearby loot clusters to finish collection objectives.
- Then head toward a safer extraction route once you’re holding any unique quest items.
Classic Dam stacking behavior
If you’re doing an “In One Round” objective that requires specific pickups (like journals or objective items), extract immediately after securing them. Dam can snowball into third-party fights fast—especially around popular extracts.
Mission Stacking by Map: Buried City
Buried City’s POIs support a lot of “search-and-deliver” quest design: pharmacies, apartments, camps, and recognizable landmarks.
A Buried City stack often includes:
- one POI “search” quest (find an item in a specific building type),
- one route quest (reach and interact with named places),
- and background objectives like looting containers and gathering craft materials.
Buried City stacking mindset
Buried City rewards players who:
- move building-to-building fast,
- keep their bag lean,
- and extract the moment they secure a quest item (because indoor fights can become messy quickly).
Mission Stacking by Map: Spaceport
Spaceport quests often lean into industrial structures, towers, warehouses, and “mark/find” tasks.
Spaceport stacks work best when you:
- accept multiple Spaceport-required quests before deploying,
- run a loop that hits 2–3 connected POIs,
- and leave early once your interaction objectives are done.
If a quest requires you to retrieve and deliver a specific object (like scanners/notes), treat it as a carry objective and stop taking unnecessary engagements.
Mission Stacking by Map: Blue Gate
Blue Gate sits higher risk for many players: open sightlines, towns, tunnels, and complex rotations.
Some Blue Gate quest lines are designed as introductions and unlock based on play count milestones (not just story progress). That means you can plan mission stacking in “chapters”: when Blue Gate opens up for you, it’s worth dedicating a session to Blue Gate quests to get over the “new map friction” quickly.
Blue Gate stacking tip
Blue Gate is where gadgets and mobility often matter more than raw firepower. If you’re stacking interactions in open areas, bring tools that help you disengage or create cover.
Mission Stacking by Map: Stella Montis
Stella Montis also unlocks through progression milestones and introduces its own quest lines. Because it’s newer for many players (and often tied to update content), it’s a great map to treat as a “blueprint and quest efficiency” session:
- go in with clear objectives,
- finish interactions,
- extract early with what you came for.
When a map is newer to you, stacking too many objectives at once tends to backfire. Start with 1–2 Stella objectives per raid until you learn the safe rotations.
Stacking Quests With Feats: Double-Dipping Your Progress
Feats are daily challenges that award Cred, which is used for Raider Deck progression. While quests and Feats are separate systems, they can be stacked intelligently:
How to double-dip
- If a Feat wants you to destroy a specific ARC type, pair it with a quest that also requires ARC kills or searches.
- If a Feat wants weapon-type damage, bring that weapon while doing quest routes.
This way, you leave a raid with:
- quest progress (rewards and unlocks),
- and Cred progress (Raider Deck unlock currency).
That’s mission stacking at its best: two progression tracks moving at once.
The “Quest Carry” Loadout: A Simple Build for Safe Turn-Ins
When mission stacking includes carry objectives, your kit should be built around one priority: extracting with the objective intact.
A quest-carry loadout usually emphasizes:
- consistent mid-range weapon (to avoid extended brawls),
- enough healing to survive chip damage and third parties,
- at least one disengage/defensive gadget (smoke, door blocking, barricade tools depending on your unlocks),
- and inventory discipline (leave low-value loot behind so you can carry quest items and high-value upgrades).
Even if your aim is great, carry quests punish ego. You don’t need the cleanest 1v3—you need a clean exit.
Turn-In Discipline: Why Your Rewards Feel “Delayed”
A lot of players say “quests don’t feel rewarding,” and the real reason is simple: they aren’t turning them in quickly.
Turning in matters because:
- many rewards are only granted after you return to Speranza and complete the hand-in,
- progression locks can hide new quests until your current chain advances,
- and sitting on completed quests increases mental clutter (you stop stacking efficiently because your log is messy).
A strong habit:
- After every 1–3 raids, do a fast turn-in sweep and refresh your stack.
Common Mission Stacking Mistakes (And Fixes)
Mistake: stacking too many map-specific quests across different maps
Fix: run “map blocks.” Pick one map for a session and stack within it.
Mistake: mixing multiple “In One Round” quests with high PvP routes
Fix: commit to the objective first, then PvP later.
Mistake: looting before finishing the objective
Fix: objective first, loot second.
Mistake: staying topside after securing a unique quest item
Fix: treat unique quest items like a win condition—extract.
Mistake: assuming squad progress means only one person needs the item
Fix: for collection objectives, plan that the squad may need enough total items, and for unique quest items, plan multiple runs if needed.
BoostRoom: Mission Stacking That Feels Effortless
If mission stacking feels overwhelming—too many objectives, too many routes, too many ways to throw a run—BoostRoom makes it simple and repeatable.
BoostRoom helps Raiders:
- plan quest stacks by map (so each raid completes multiple objectives),
- run safer “In One Round” routes with better survival odds,
- coordinate squads so shared progress becomes a multiplier, not confusion,
- and turn quests into consistent rewards that fuel better kits, crafting progress, and faster overall progression.
If the goal is to progress faster without burning out, mission stacking is the method—and BoostRoom is how to learn it quickly.
FAQ
How do I accept quests in ARC Raiders?
Speak to Traders in Speranza to accept quests. Completed quests must be turned in to the Trader to receive rewards.
What does “In One Round” mean?
It means all listed objectives must be completed within a single deployment. Many “In One Round” quests also require you to extract or deliver the objective item in that same raid.
Can I stack quests from different Traders?
Yes. That’s one of the best ways to progress faster—especially when objectives overlap on the same map or share actions like looting containers and defeating ARC enemies.
Does quest progress share with my squad?
Many objectives count for the whole squad, but collection objectives may require enough items across the team, and some unique quest items only spawn once per raid.
Do items in my stash count for quest collection objectives?
In many cases, yes—items already in your stash can count toward collection requirements. Always check your stash before farming.
Do quest-required items get consumed when you complete a quest?
Some quest systems treat required items as “proof” rather than “payment.” Always pay attention to whether the quest consumes the item or just requires you to have delivered/extracted it.
What’s the safest way to complete carry quests?
Do the carry objective early, avoid unnecessary fights, and extract immediately once the objective is secured.
