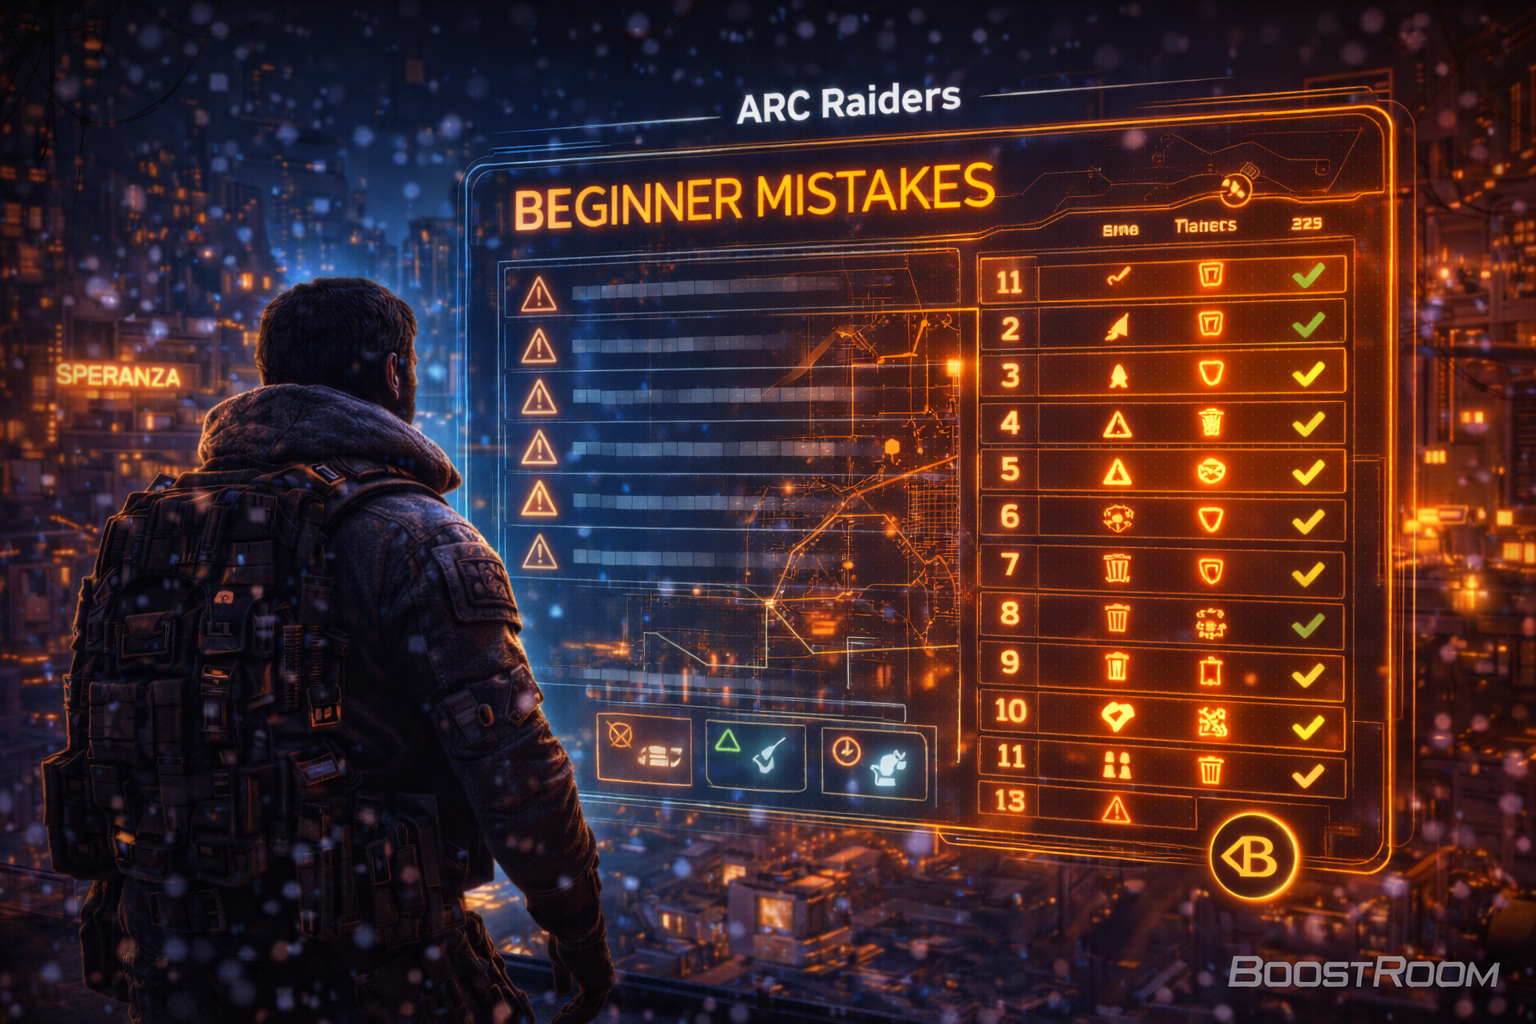
How Trials & Leaderboards Work in One Clear Picture
Most confusion disappears when you treat Trials like a three-layer system:
- Layer 1: Weekly Trial Challenges
- You receive a set of Trials for the week (commonly five). Each challenge tracks points earned from specific actions.
- Layer 2: Best-Run Scoring
- Only your best score for each challenge matters for the week. This is huge because it means you can practice without ruining progress.
- Layer 3: Leaderboard Placement & Rank Movement
- Your combined best scores place you on a leaderboard (typically within your rank bracket), and weekly placement determines promotion, staying stable, or demotion.
This is why “push without losing bank” is possible. You don’t need 50 expensive runs. You need:
- a few learning runs,
- a couple of real attempts when conditions are best,
- and one clean extraction that locks in a strong personal best.
Unlock Requirement and Weekly Reset Timing
Trials become relevant once you reach the unlock threshold (commonly reported as Level 15). From there, Trials run in weekly cycles and refresh on a weekly reset (commonly Monday).
Even if you’re below the unlock level today, you can still adopt the mindset now:
- build a stable economy,
- learn machine patterns,
- and practice extraction discipline.
Because once Trials unlock, the best scoring players are the ones who already have:
- a workshop that can supply kits,
- a stash that isn’t chaotic,
- and a routine that avoids panic spending.
The One Rule That Protects Your Bank: Don’t Pay for Attempts, Pay for Results
Bank loss in Trials usually comes from one mistake: players treat every run like it must be the max score run.
That’s how you burn:
- high-tier ammo,
- explosives,
- rare meds,
- and durability
- …on attempts that were never set up to succeed.
The smarter way is the “three-attempt ladder”:
- Attempt A (Scout attempt): cheap kit, confirm spawns/routes, learn risk points.
- Attempt B (Upgrade attempt): medium kit, test your pacing, refine the route, check contest levels.
- Attempt C (Commit attempt): best kit, only when conditions are favorable, and only if you’re confident you can extract.
Your goal is to spend cheaply until you’ve earned the right to spend seriously.
Scoring Fundamentals: Personal Bests and Extraction Reality
Trials are built to reward “best performance,” and community + guide coverage consistently emphasizes two scoring truths:
- Only your best run counts for each Trial objective in a given week.
- Extraction matters for score/reward reliability—because Trials are designed around returning safely to Speranza, not dying heroically with a huge bag.
This is the heart of smart pushing:
- A “perfect damage run” that ends in a knockout is usually worse than a smaller score that extracts—because the extracted run locks in points and keeps your stash alive.
So your scoring mindset should be:
- “What score can I reliably extract with?”
- not
- “What score can I theoretically hit before the lobby collapses?”
Bonus Conditions: The Biggest Score Multiplier Most Players Waste
Trials include bonus conditions, and recent patch notes explicitly mention that Trials objectives now clearly indicate when they offer bonus conditions—such as by map conditions.
In practice, the biggest multiplier is usually double points on major map conditions. Commonly listed major conditions include:
- Night Raid
- Electromagnetic Storm
- Hidden Bunker
- Locked Gate
- Cold Snap
Smart Trials pushing means you don’t just grind any time. You schedule your Commit attempts when:
- the right map condition is active,
- the objective density fits your weekly Trials,
- and your risk level is manageable.
If you want the most “rank per coin,” double-point windows are where the ladder becomes affordable.
Rewards: Weekly Crates vs Seasonal Cosmetics
Trials rewards come in two forms:
- Weekly Challenge Rewards
- Hitting score thresholds on a Trial grants reward crates at three tiers. A widely reported structure is:
- 1,000 points
- 2,500 points
- 4,000 points
- …with uncommon/rare/epic quality rewards tied to those thresholds. Rewards are typically limited to once per tier per week per challenge, which is why “one clean 3-star run” can be more valuable than endless grinding.
- Season Rewards (Rank-Based Cosmetics)
- At the end of the season, you receive cosmetics and emotes based on your final Trials rank, and higher ranks generally grant the rewards from lower ranks as well.
That’s why Trials are both:
- a weekly loot engine (crates),
- and a long-term prestige track (cosmetics).
Ranks and Leaderboards: How the Ladder Feels in Real Life
Trials ranks are commonly presented as a structured ladder with named tiers such as:
- Rookie (I–III)
- Tryhard (I–III)
- Wildcard (I–III)
- Daredevil (I–III)
- Hotshot
- Cantina Legend
The practical takeaway isn’t the names—it’s the psychology:
- early ranks are forgiving and teach the loop,
- middle ranks punish sloppy efficiency,
- higher ranks demand clean routing and consistent extraction,
- and top ranks become a “season-long consistency exam.”
Recent official patch notes also mention a leaderboard change: for ranks up to Daredevil I, leaderboards now have a 3x promotion zone for the top 5 players, and new objectives have been added. That means the ladder is actively being tuned, and you should expect weekly strategy to evolve with updates.
The Bank-Safe Goal Setting System
If you chase the wrong goal, you go broke. If you chase the right goal, you climb while your stash grows.
Use these three goal types, in this order:
- Goal 1: Secure the weekly crates you care about
- If you can hit 3-star thresholds on a few Trials, that’s immediate progression.
- Goal 2: Reach “promotion safety” in your leaderboard
- Don’t chase first place if top 30% is enough to promote (or top 40%, etc.). Your bank should not pay for ego.
- Goal 3: Push peak rank only when your economy can support it
- Higher ranks require higher consistency—and usually higher kit costs. Push when your stash is stable.
A simple rule:
If your coin balance is dropping week over week, you’re pushing wrong—even if your rank is rising.
Loadout Budgeting: Three Kits That Cover Every Trial Week
To push without losing bank, you need loadouts that match the job.
Kit 1: Scout Kit (Cheap, Quiet, Fast)
Purpose: learn routes, test objective density, get safe extracts.
Traits:
- reliable mid-tier weapon (something you control comfortably),
- enough meds to survive one unexpected fight,
- one mobility or escape tool,
- minimal expensive explosives.
Scout kit rule: if you get a good early score, extract immediately. Don’t “keep going” just because it’s going well.
Kit 2: Work Kit (Balanced, Sustainable)
Purpose: farm progress while still being able to fight.
Traits:
- better ammo reserves than Scout kit,
- one strong utility choice (smoke or area control),
- slightly better armor,
- enough sustain to handle a machine fight without panic.
Work kit rule: you can take one contested fight, but only if it protects your objective route.
Kit 3: Commit Kit (Expensive, Built for the Weekly Objective)
Purpose: chase your weekly personal best.
Traits depend on the Trial type:
- If Trials require damage to heavy ARCs, bring the tools that make heavy targets efficient (high damage, explosives, anti-armor style options).
- If Trials require tick/fireball/pop clear, bring fast-handling and safe indoor sustain.
- If Trials require searching objects, bring speed, stealth, and extraction safety.
Commit kit rule: this kit only leaves the stash when:
- bonus conditions are active,
- you’re warmed up,
- and you have an extraction plan.
The “Smart Fight” Rule for Trials: PvP Is a Cost, Not a Score
Trials are often PvE-focused objectives. Even if your week includes a mixed goal, most of your points typically come from the Trial action—not from fighting Raiders.
So treat PvP as a financial decision:
- PvP costs ammo, meds, durability, and time.
- PvP creates noise and attracts third parties.
- PvP increases the chance you lose the run and reset your momentum.
The best Trials players follow a simple rule:
Fight only when it protects your objective or your extraction.
If a team is guarding a high-value objective area you must access, fight.
If a team is not blocking your run, rotate away and take the points elsewhere.
Routing: How High Scores Are Actually Made
High Trial scores come from density, not distance.
You want:
- areas where your target spawns are clustered,
- routes that keep you near cover,
- and a “loop” that ends close to extraction.
A good Trials route has three parts:
- Entry phase: gather quick points safely, avoid early PvP chaos.
- Farm phase: hit the densest objective zone, commit only as long as your risk stays under control.
- Exit phase: leave early enough that you don’t meet late-raid hunters at extraction.
Most bank loss comes from overstaying. If you want to protect coins, your exit phase must be sacred.
Timing: When to Push Early Week vs Late Week
Because Trials are weekly and best-run based, you can structure your week like a competitor:
- Early week: learning runs
- figure out where your targets are,
- test what loadout feels efficient,
- note which locations are contested.
- Mid week: consolidation runs
- lock in solid 2-star scores,
- build a reliable route,
- craft what you need for the commit push.
- Late week: commit runs
- attempt personal bests on bonus map conditions,
- extract early after a strong score,
- stop once you’ve reached promotion safety.
This schedule protects your bank because it prevents “infinite expensive attempts.”
Promotion Strategy: Play the Percentile, Not the Ego
Trials leaderboards are about where you finish in your bracket, not how heroic you look.
Recent updates have adjusted promotion zones (including the top 5 triple promotion up to Daredevil I), which is a strong signal: the ladder is designed around threshold outcomes.
Practical promotion rules that keep you rich:
- If you’re comfortably inside the promotion zone, stop pushing.
- If you’re barely inside, do one controlled improvement attempt.
- If you’re outside, push only the easiest Trial for improvement (don’t gamble on the hardest objective).
Your bank doesn’t care if you finished 12th instead of 8th. Your bank cares whether you extracted and kept your kit economy stable.
Double-Point Windows: How to Explode Your Score Without Exploding Your Costs
The most efficient Trials pushing often happens when:
- the right objective lines up with the right major map condition,
- and you can do one high-value loop with minimal PvP.
In those moments:
- you can hit thresholds faster,
- your “cost per point” drops,
- and your leaderboard position improves without extra attempts.
How to use double-point windows safely:
- Run one Scout kit first to confirm the lobby is manageable.
- Then run the Commit kit.
- If the Commit run goes well, extract immediately after the biggest score swing.
The trap is trying to “do another loop” because you feel powerful. That’s how you lose the entire week’s momentum.
Solo vs Squad: The Bank-Safe Way to Use Teammates
Trials are safer in a squad when you use roles. Trials are more expensive in a squad when everyone brings the same costly kit and nobody controls the pace.
Solo Approach
Strengths:
- stealth and routing control,
- easier disengages,
- less noise.
Weakness:
- heavy ARC fights cost more and are riskier.
Solo bank rule:
- don’t force heavy targets unless the Trial demands it,
- and treat extraction as your win condition.
Duo/Trio Approach
Strengths:
- faster objective completion,
- safer heavy fights,
- more revive resilience.
Risk:
- loud fights attract more Raiders,
- teammates tempt “just one more thing.”
Team bank rules:
- assign one player as “route leader” who calls extraction timing,
- assign one player as “carry protector” who stays safe with progress items,
- decide before the raid: “after we hit our score spike, we leave.”
Avoiding the Most Expensive Trial Mistake: The Death Spiral
The death spiral looks like this:
- you bring your best kit to chase a score,
- you get close,
- you die,
- you instantly re-queue with another expensive kit,
- you die again,
- now you’re broke and angry.
A bank-safe competitor breaks the spiral with a reset rule:
- After one failed Commit run, go back to a Scout/Work kit.
- Extract once to stabilize your mood and your economy.
- Only re-attempt the Commit run when conditions look favorable again.
If you can control your emotions, you control your bank.
Extraction Discipline: The “Score Lock” Habit
Because Trials are weekly and best-run based, you should treat a big score moment like a “lock opportunity.”
When you hit a score spike:
- completing a major objective,
- finishing a high-value machine fight,
- or reaching a 3-star threshold,
…your next decision should usually be:
rotate to extraction and bank it.
This is where smart players separate from gamblers:
- Gamblers stay and hope for more.
- Competitors extract and keep the personal best.
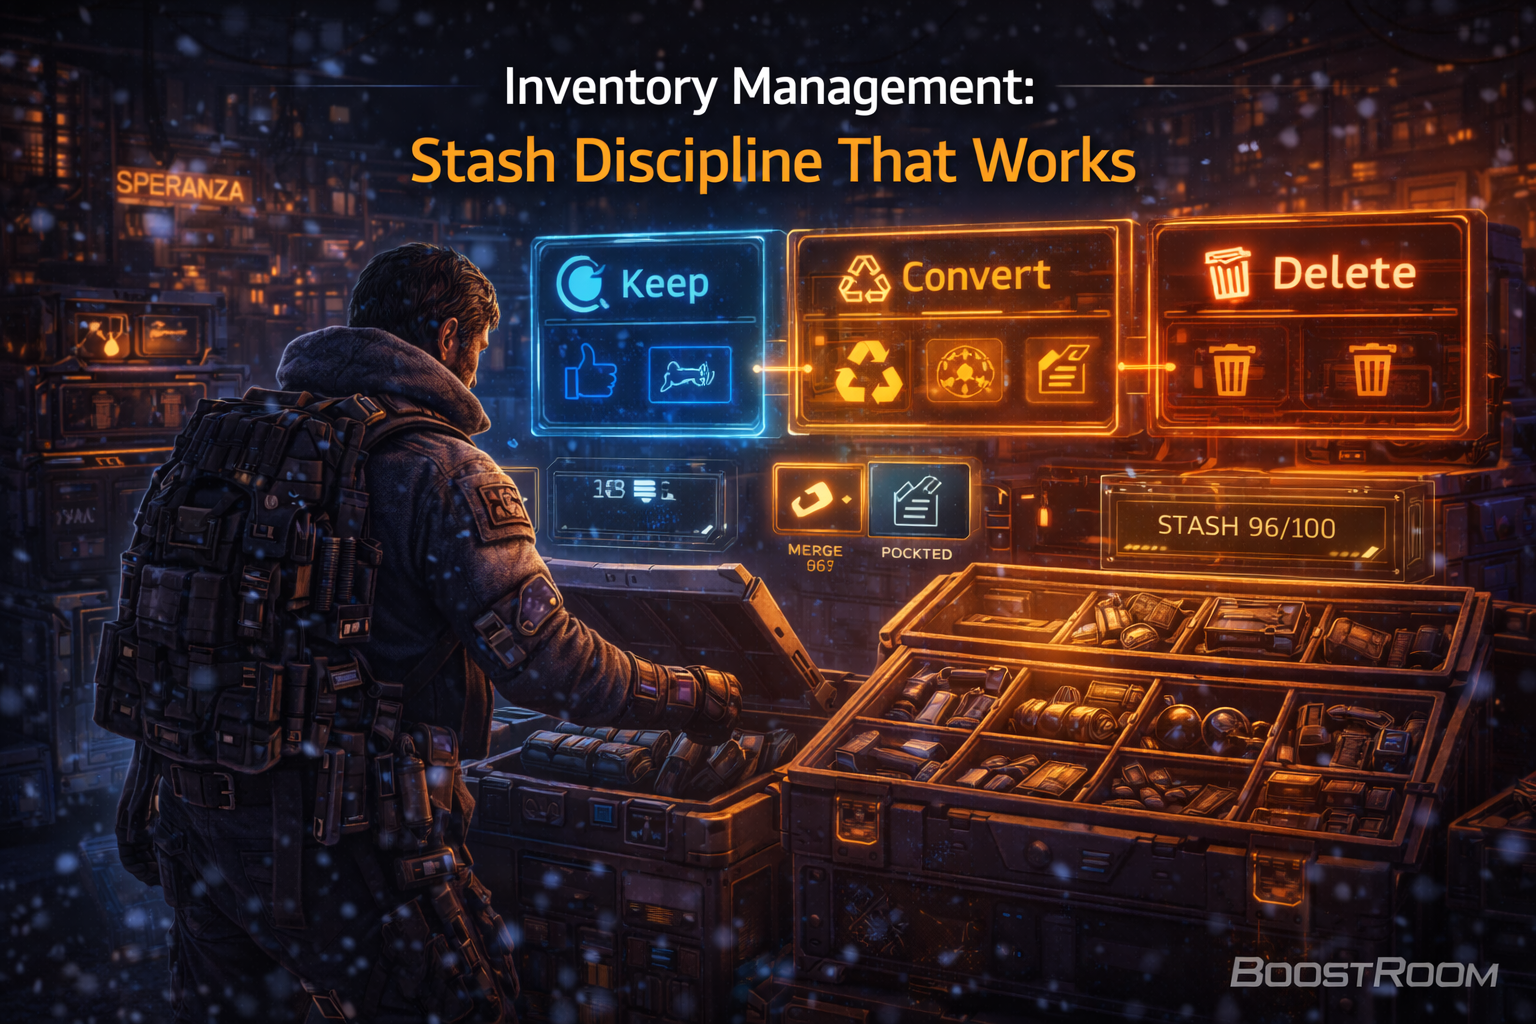
Economy Management for Trials: Coins Are Fuel, Not a Trophy
If you want to climb Trials season-long, you need a stable economy.
Weekly economy habits that support Trials:
- craft staple kits in batches so you don’t overpay in panic,
- sell duplicates and convert clutter into coins,
- keep a reserve of “commit supplies” (explosives, rare meds, key utilities),
- and stop spending coins on endless re-kits after losses.
A good target mindset:
- your weekly Trials push should either increase your stash value or stay neutral,
- not drain it.
If Trials are making you poorer, you’re treating them like a casino.
A Simple Weekly Plan That Works for Almost Everyone
Here’s a plan you can copy every week:
- Day 1: unlock baseline scores on all Trials (even small ones).
- Day 2: pick the two easiest Trials to improve and focus route learning.
- Day 3: craft the Commit kit and gather supplies.
- Day 4: push for 3-star thresholds during bonus conditions if possible.
- Day 5: stabilize rank (one or two controlled attempts if needed).
- Day 6–7: only play if you need to protect promotion zone or chase a personal goal.
This plan makes Trials feel structured instead of stressful—and structured play is always cheaper.
BoostRoom: Trials Pushing Without the Bank Pain
If you want Trials rewards and leaderboard ranks but don’t want to bleed coins learning the hard way, BoostRoom helps ARC Raiders players build a bank-safe Trials system:
- weekly route planning for the current Trial objectives
- loadout budgeting (Scout → Work → Commit)
- extraction timing calls that protect personal bests
- risk management so you avoid third-party traps
- efficient use of bonus map conditions for double-point pushes
The goal is simple: rank up while your stash grows, not while it collapses.
FAQ
Do Trials reset every week?
Yes—Trials operate in weekly cycles with a reset that refreshes objectives and leaderboards (commonly Monday).
Do I need to extract for my Trial score to count?
Trials are designed around completing the challenge and returning safely to Speranza. Many guides and community breakdowns emphasize that extracted runs are what reliably lock in score and rewards.
How many Trial challenges are there each week?
Commonly five weekly Trials are active at a time, each with its own scoring bar.
Do bonus map conditions matter for Trials?
Yes. Trials can offer bonus conditions, and major map conditions are widely reported to provide double points for Trials.
What are the weekly Trial reward thresholds?
A commonly documented structure is 1,000 / 2,500 / 4,000 points per challenge, granting uncommon/rare/epic reward tiers.
How do promotions work on Trials leaderboards?
Weekly leaderboard placement determines promotion, staying stable, or demotion. Recent patch notes also mention a top-5 triple promotion zone (up to Daredevil I), showing the system is actively tuned.
How do I push Trials without going broke?
Use a three-kit system (Scout → Work → Commit), push Commit runs only during favorable conditions, avoid unnecessary PvP, and extract immediately after big score spikes.