GTA 6 Trailer 3 and Gameplay Reveal: What Rockstar Could Show Next
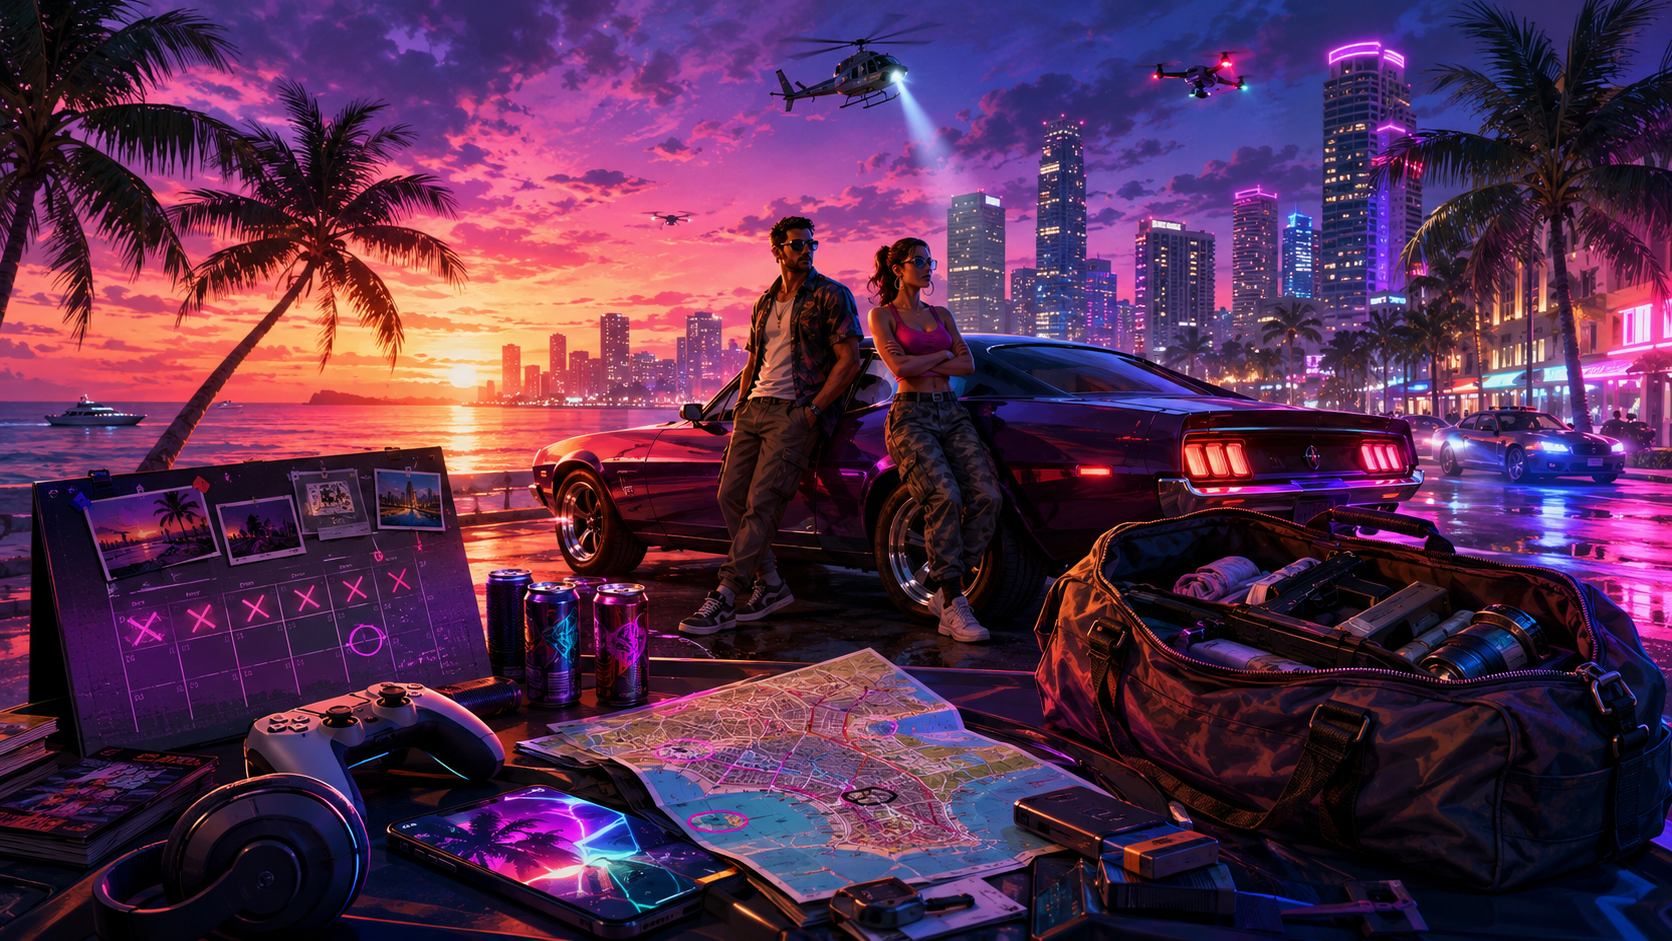
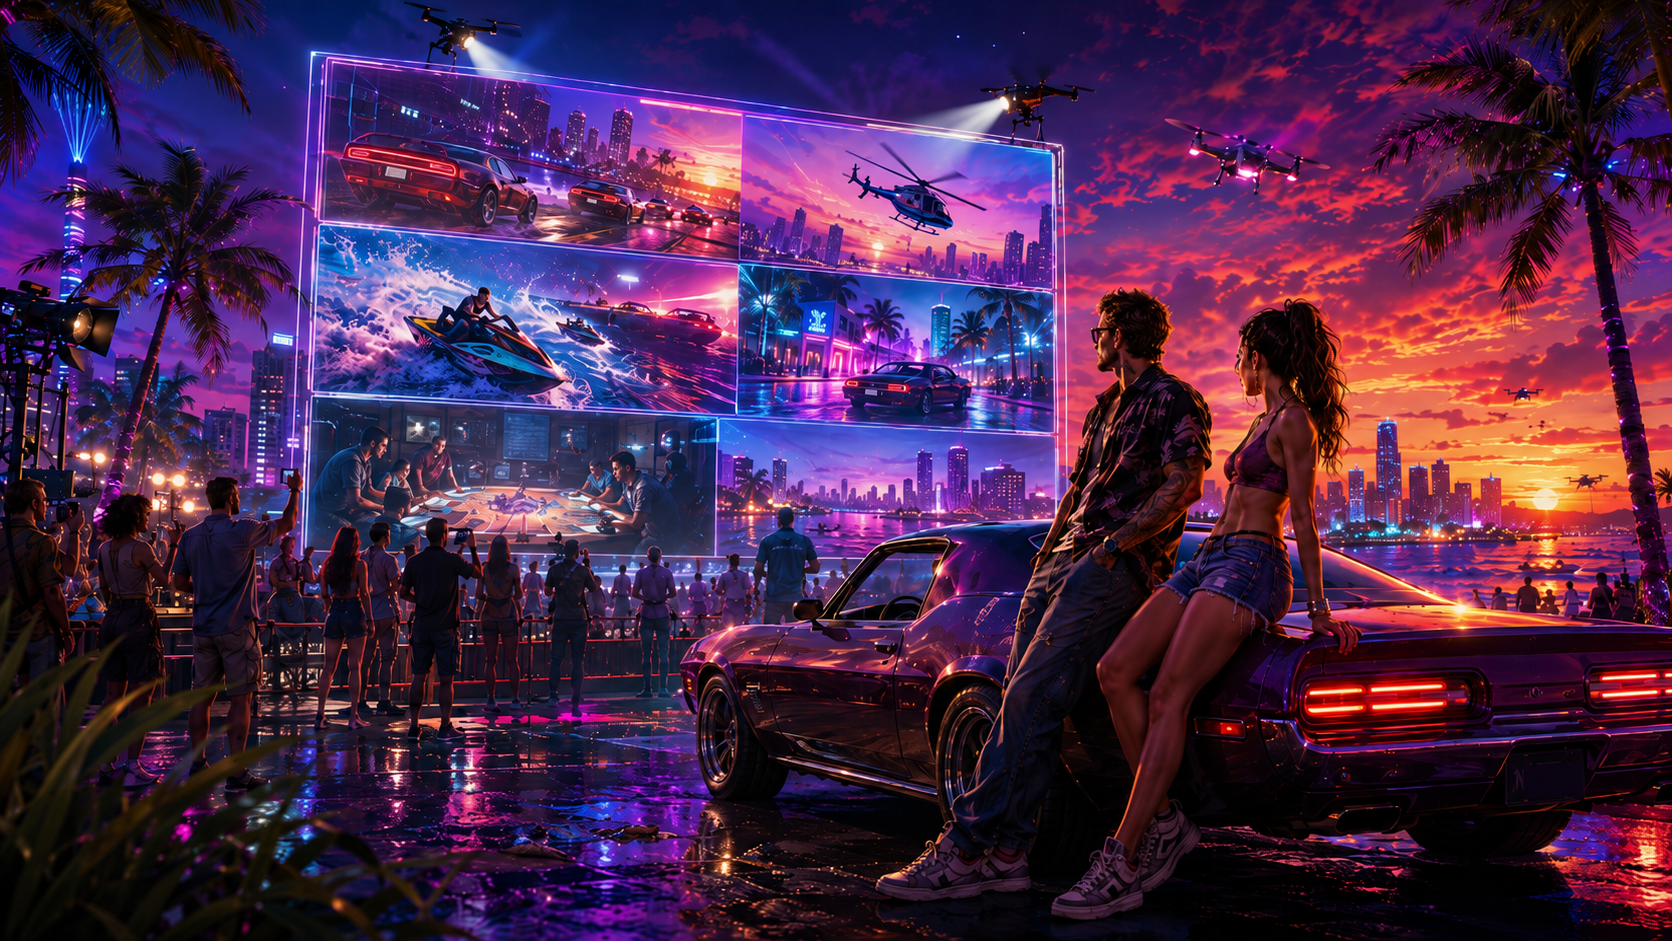
GTA 6 Trailer 3 is one of the most anticipated upcoming moments in gaming, but Rockstar has not officially announced its release date, title, length, or content. As of July 2026, the official GTA 6 media collection includes Trailer 1, Trailer 2, an animated version of the cover artwork, and individual video clips for Jason Duval, Lucia Caminos, Cal Hampton, Boobie Ike, Dre’Quan Priest, Real Dimez, Raul Bautista, and Brian Heder. A third numbered trailer and a dedicated gameplay presentation are not currently listed. That leaves players with two important questions. Will Rockstar release another cinematic story trailer first, or will the next major video finally demonstrate how GTA 6 plays? Both are realistic possibilities. The game is scheduled to launch on November 19, 2026 for PlayStation 5 and Xbox Series X|S, which means Rockstar still has time to explain its mission design, character switching, driving, exploration, customization, activities, user interface, and technical features before release. Trailer 1 established the atmosphere of modern Leonida through Vice City nightlife, beaches, highways, wildlife, crowds, vertical videos, public recordings, and social-media-style footage. Trailer 2 moved closer to Jason and Lucia, introduced the central conspiracy, expanded the supporting cast, and showed more of the relationship driving the story. Rockstar then released 70 official screenshots covering the protagonists, supporting characters, Vice City, the Leonida Keys, Port Gellhorn, Ambrosia, Grassrivers, and Mount Kalaga National Park. The next reveal therefore does not need to introduce GTA 6 from the beginning again. Players already understand the basic setting and central relationship. What remains missing is a clear explanation of how all these elements work when the player has direct control. A carefully structured gameplay reveal could answer more meaningful questions than another collection of short cinematic scenes. It could show how players switch between Jason and Lucia, how missions begin, how the world reacts to their actions, how vehicles handle, how stores and safehouses function, how the phone organizes information, and how free-roam activities connect to the story. This guide examines what Rockstar could realistically show in GTA 6 Trailer 3 or its first official gameplay presentation. Confirmed information is separated from predictions so players can follow the next stage of the marketing campaign without treating speculation as fact.
Read more