What “Survival” Means in PIONER
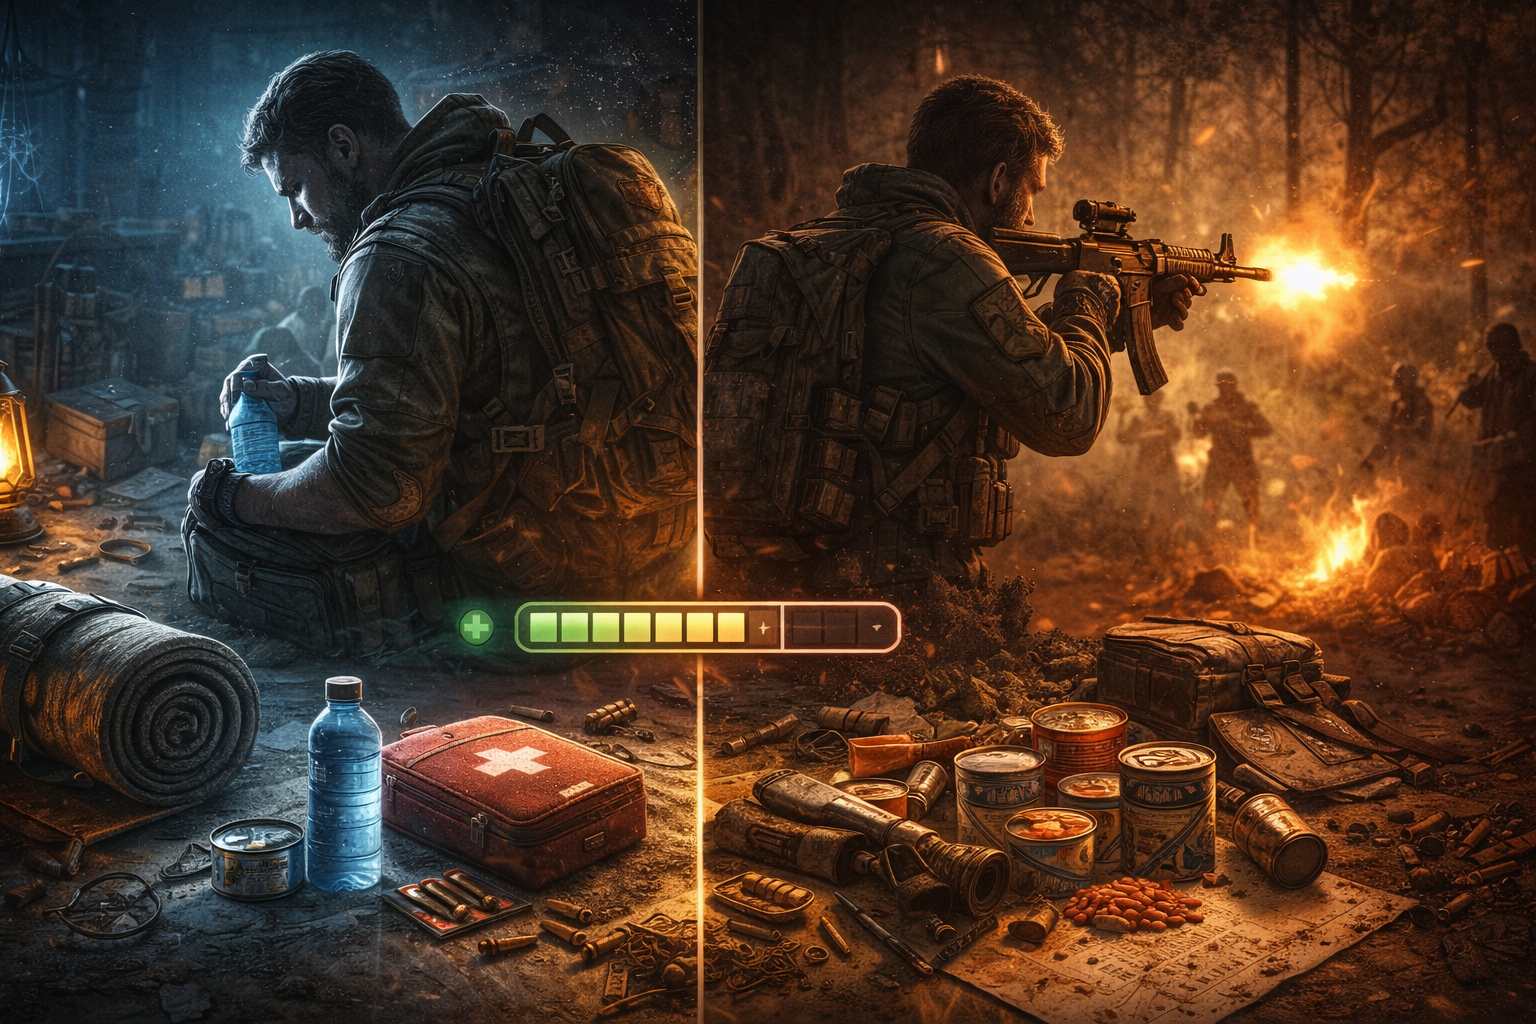
Survival in PIONER isn’t just “don’t die.” It’s staying effective long enough to finish what you came for and return with value. The game’s survival layer is built around maintaining your character’s strength by managing hunger, rest, and resources, which adds a strategic layer to every decision you make out in the world.
If you’ve ever had a run fall apart for reasons that didn’t feel like “skill”—like running dry on meds, arriving exhausted to a fight, or realizing your best weapon is about to break—then you’ve already met the real survival system. PIONER tests your ability to:
- Plan before you leave a safe area
- Maintain your strength while traveling and fighting
- Control your inventory so you can carry profit home
- Recover quickly after mistakes so one bad fight doesn’t ruin a whole session
Think of it like this: your gun skill decides some fights, but your survival routine decides your entire account’s progress.

The Combat-Ready Triangle
To stay combat-ready in PIONER, you need three things working at the same time:
- Body: your strength and stability (food + rest + healing)
- Kit: your tools (ammo + weapon reliability + backup options)
- Economy: your ability to sustain the loop (repairs + crafting materials + stash discipline)
Most beginners over-invest in only one corner. For example:
- “I have a strong gun” (Kit) but no meds and no food (Body) and no repair plan (Economy).
- “I’m rich in materials” (Economy) but keep dying because I don’t prepare properly (Body + Kit).
When your triangle is balanced, you feel powerful even with average gear, because your runs stop collapsing from avoidable problems.
Food Basics: How to Eat Without Overthinking
Food in PIONER isn’t about roleplay—it’s about preventing performance loss. Hunger management is a quiet advantage: it keeps you steady, reduces “why am I suddenly struggling?” moments, and helps you stay out longer without becoming fragile.
What food should do for you
A good food plan accomplishes three things:
- Prevents emergency hunger during long travel or unexpected detours
- Reduces downtime (fewer forced returns to hubs)
- Supports combat readiness (you don’t arrive at objectives already drained)
The biggest beginner mistake with food
New players often carry either:
- No food (“I’ll find some”), or
- Too much food (“I’m playing survival so I must hoard it”), which steals inventory space that should be used for loot and crafting materials.
A simple food rule that works
Carry food for:
- Your planned time out, plus
- One extra mistake (a detour, a longer fight, a wrong turn)
That’s it. You’re not packing for a vacation. You’re packing for a mission.
When to eat
Don’t wait until you’re desperate. Eat at the point where it keeps you stable, not at the point where it saves you from collapse.
A practical rhythm:
- Before leaving a hub: top up so you start strong
- After a messy fight: eat if the run is going long and you’re about to push deeper
- Before entering high-risk areas: stabilize first so you don’t start the danger zone already weakened
- Before extraction routes: if the path home is long, eat to prevent a late-run drop in effectiveness
Food as a run-length tool
Food changes what kind of session you can safely attempt:
- Short run (quick quest step): minimal food, minimal weight
- Medium run (multi-objective): enough food to avoid forced returns
- Long run (deep exploration / event chaining): food becomes a “stability budget” that prevents the run from collapsing late
The goal is not to eat constantly. The goal is to keep your performance consistent.
Rest Basics: Staying Sharp Instead of Slowly Falling Apart
Rest is the second half of survival that new players ignore—until it hits them at the worst time. PIONER’s rest mechanic matters because it influences how capable you feel in extended play. Even if you don’t notice the exact moment it starts affecting you, you’ll feel the consequences when you’re trying to win a tough fight, escape a bad situation, or finish a mission with low supplies.
Rest is about decision quality
When you’re tired in real life, you make worse choices. PIONER simulates that kind of pressure through systems that gradually reduce your “peak readiness” if you try to brute-force the world nonstop.
Most “unlucky” deaths from exhausted runs are actually:
- slower reaction moments
- poor positioning
- taking fights you should avoid
- staying out too long because you don’t want to “waste the trip”
Rest protects you from the slow spiral.
The rest routine that keeps you combat-ready
Use this simple approach:
- Reset your run at hubs: treat hubs as your “full reset” station (restock + repair + restore strength)
- Don’t chain deep objectives while drained: if you’re pushing toward a big mission step, stabilize first
- Use rest as a profit tool: a rested character completes runs with fewer consumable losses, which increases long-term profit
Rest timing (the smart way)
Rest when:
- You’re about to enter a high-risk zone
- You’ve just completed a major objective and you want the next run to start clean
- You’ve had a messy fight and burned too many resources (rest becomes a “rebuild step”)
- Your session is becoming inconsistent and you’re starting to rush decisions
The goal is to control your pace so your power doesn’t drop unexpectedly.
Resources: The Four Supplies That Decide Most Runs
In PIONER, your resources decide whether you can finish the mission and leave with profit. Most new players think “resources” means “crafting materials.” It does—but the most important resources are the ones that keep you alive long enough to bring crafting materials back.
Resource #1: Healing
Healing is not optional. It’s your run insurance. The difference between a stable player and a struggling player is usually not aim—it’s whether they can recover after a fight and keep moving.
A reliable healing setup covers:
- Small damage recovery (chip damage over time)
- Post-fight reset (so the next encounter doesn’t start at half strength)
- Emergency recovery (for “this is going bad” moments)
If your healing plan is “one strong item,” you’re fragile. If your healing plan has layers, you’re consistent.
Resource #2: Ammo
Ammo is time. Every bullet is a decision. Poor ammo planning forces you to:
- retreat early
- take unnecessary detours
- lose fights you should win
- loot longer than you should because you’re hunting for ammo instead of extracting
A strong ammo plan:
- brings enough for your mission objective plus mistakes
- avoids ammo-hungry
- behavior (spraying at low-value targets)
- uses fight selection as “ammo discipline”
Resource #3: Durability and repairs
Weapon durability matters because it determines how long your kit stays reliable. Recent updates have increased weapon durability significantly (up to roughly double lifespan on average), which reduces how often your weapon breaks mid-session—but durability still matters because long runs and repeated deaths can turn gear maintenance into a bottleneck.
If you ignore durability, you don’t just lose a gun—you lose your momentum.
A smarter durability routine:
- repair before high-risk content
- repair in batches, not constantly after every small run
- keep a “backup-ready” option so one broken weapon doesn’t end your session
Resource #4: Inventory space
Inventory space is a resource because loot only matters if you can bring it home. If your inventory is full of clutter, you are effectively poorer than you think.
Your goal is to protect space for:
- crafting materials you actually need
- mission items
- high-value components
- emergency supplies
Everything else is negotiable.
Inventory Discipline: The Difference Between “I’m Busy” and “I’m Progressing”
Inventory management sounds boring until you realize it’s one of the biggest power multipliers in PIONER. If your stash is chaotic and your backpack is stuffed with low-value clutter, your entire gameplay loop slows down.
Recent patches have made inventory life easier in practical ways, including improving the trading system’s item stacking window and increasing the maximum resource stacking limit, which reduces how often resources clutter your space. There are also changes like weapon base items being able to stack (up to a small number), which helps prevent crafting-related items from choking your storage.
But even with quality-of-life improvements, the real advantage comes from habits.
The 3-bin stash system
Use three categories in your stash:
- Use Now: materials and items for your next upgrade goal
- Use Soon: items for upcoming crafts and repairs
- Do Not Touch: rare progression items and anything you’d regret wasting
This prevents the classic beginner disaster: spending rare materials on low-impact crafts because you were excited.
The backpack rule
Before leaving a hub, your backpack should have:
- mission items space
- loot space
- emergency supplies space
- at least one “flex slot” for unexpected valuable drops
If you start a run with a near-full bag, you’re not on an expedition—you’re doing chores.
The loot filter mindset
Looting isn’t “take everything.” Looting is “take what accelerates your next upgrade.”
A simple filter:
- mission items
- survival essentials (ammo, healing, key supplies)
- crafting materials tied to your next upgrade
- high-value components
- everything else only if you still have space
If you adopt this filter, your progress speed increases without you playing more hours.
Your Pre-Run Routine: The 2-Minute Checklist That Saves Hours
The easiest way to stay combat-ready is to leave the hub already stable. Most deaths happen because the run started sloppy.
Use this checklist every time:
Step 1: Decide the run type
- Quick run: one objective, fast extraction
- Standard run: 2–3 objectives, planned route, planned return
- Deep run: long travel, higher risk, strict exit plan
Step 2: Pack for the run type
- Quick run = light food, minimal extra ammo, strong mobility
- Standard run = balanced ammo + healing, enough food to prevent performance drop
- Deep run = extra stability supplies, emergency tools, stronger repair plan
Step 3: Repair what you rely on
Don’t repair everything. Repair what you will actually need:
- your main weapon
- your armor basics
- your most important utility
Step 4: Clear your bag
If your bag isn’t ready to take loot, you’re wasting the run before it starts.
Step 5: Lock your exit plan
You should be able to answer:
- Where am I going?
- What am I doing?
- How am I getting out?
This routine feels small, but it prevents most beginner pain.
Field Survival Routine: How to Stay Strong While You’re Out
Once you’re in the world, the goal is to maintain control. Survival isn’t one big decision—it’s a chain of small decisions that keep you out of trouble.
The “stability check” habit
Every time you finish a fight or a loot sweep, do a 5-second check:
- Healing: am I stable?
- Ammo: can I handle another fight?
- Food/rest: am I drifting toward weakness?
- Bag: am I approaching the “extract soon” threshold?
This habit prevents that late-run collapse where you realize you’re weak, out of supplies, and far from safety.
The “leave early” principle
Most players lose their best loot because they stay out too long. The island punishes greed. A run that ends early but clean is more profitable than a run that goes long and ends in a loss.
A strong rule:
- When you complete your main objective, extract—unless you still have a clear safety buffer.
The “no panic fights” rule
If a fight doesn’t buy you something (progress, safety, required path), it’s often not worth it—especially in long runs where your resource budget matters.
Winning survival is often about avoiding fights that drain you.
Staying Combat-Ready in PvE
PvE survival is about endurance. You want to keep your “strength curve” stable so you don’t slowly bleed resources over time.
PvE survival priorities
- Consistency > aggression: avoid unnecessary fights
- Sustain > peak power: a reliable weapon with good ammo economy beats a flashy gun that empties your bag
- Recovery matters: heal and stabilize after fights so you don’t start the next encounter weak
- Route control: learn one safe loop you can repeat when you need supplies
PvE mistake that ruins beginners
Beginners often clear every enemy “just because.” That wastes ammo, burns durability, and increases the chance of getting caught in multiple fights back-to-back.
Instead, fight for reasons:
- mission progress
- access to valuable loot
- clearing danger from your exit route
That’s how you stay combat-ready without turning every outing into an expensive war.
Staying Combat-Ready in PvP and High-Risk Zones
High-risk zones are where survival becomes psychological. The pressure isn’t only the enemies—it’s the knowledge that your time and resources can be erased faster.
The high-risk kit mindset
Your high-risk kit should be:
- replaceable
- reliable
- built for quick exits
- not emotionally expensive
If losing your kit ruins your session, it doesn’t belong in high-risk content.
The “noise budget”
In PvP-capable environments, sound is information. Every fight broadcasts your location and attracts opportunists.
Survival rule:
- Avoid loud, long fights unless the reward is worth the attention.
The “carry value” rule
The more value you carry, the more you should prioritize extraction. Don’t turn a successful run into a tragedy by chasing “one more” while overloaded.
Shadowlands Survival: Risk-Reward Without Self-Sabotage
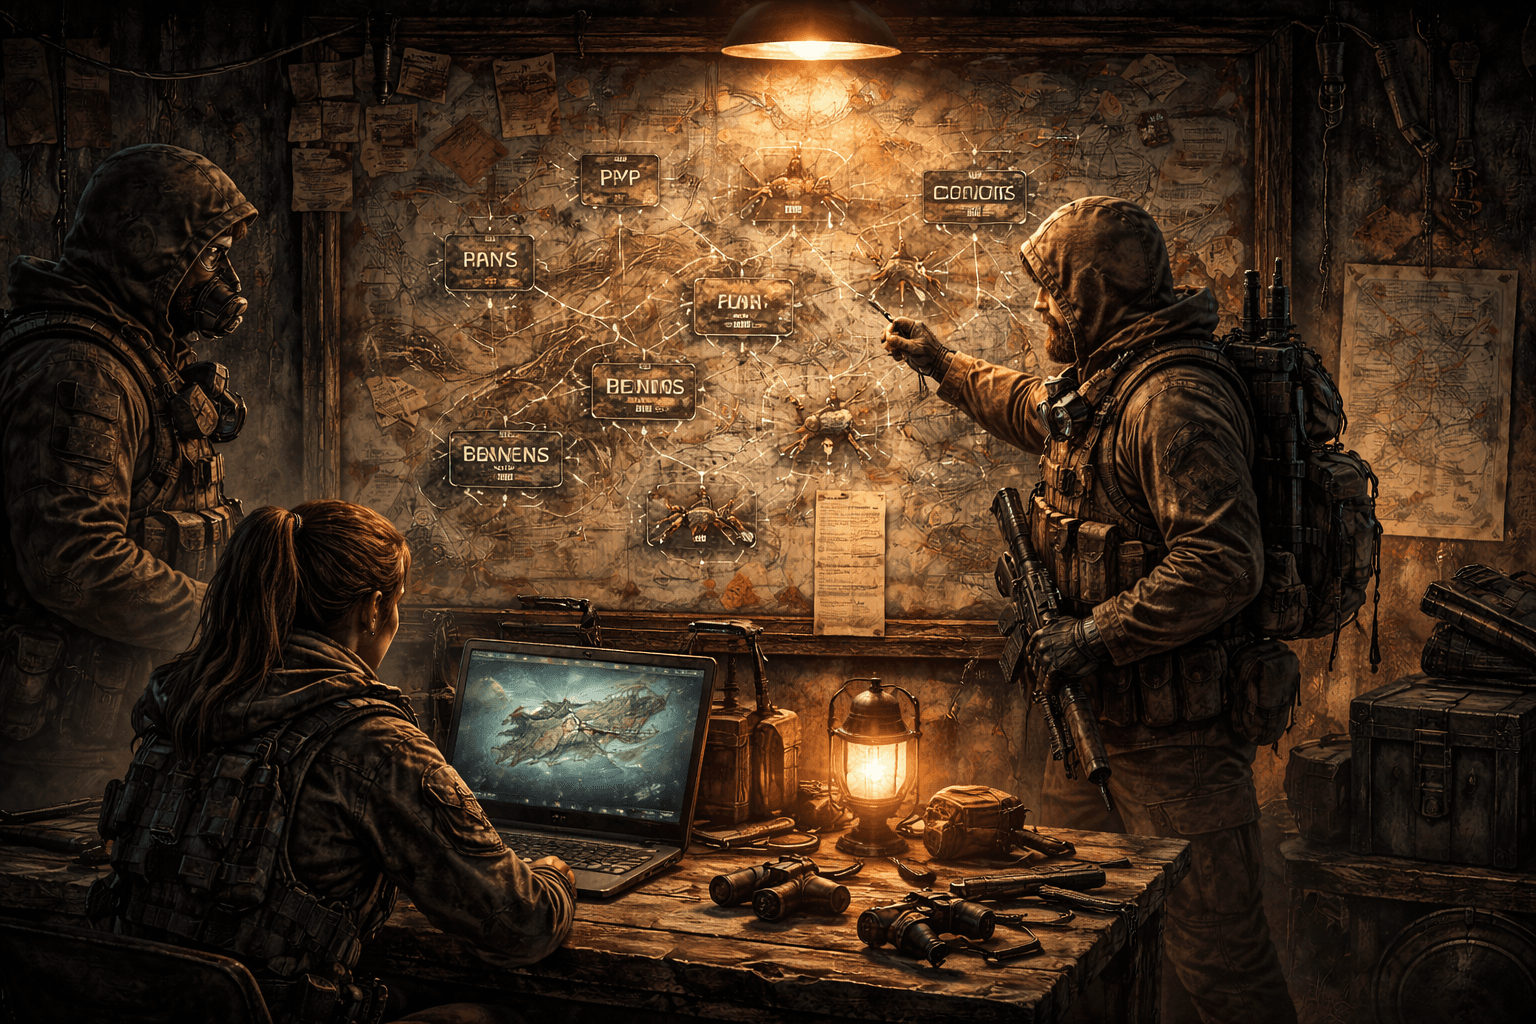
If you step into PvP-heavy territory like the Shadowlands, survival becomes a deliberate strategy. The point is not to “be brave.” The point is to earn profit while protecting your momentum.
The Shadowlands run structure
A strong Shadowlands run has:
- one objective
- one route in
- one route out
- one backup exit
- one rule for leaving early
If you wander, you donate resources.
What to carry
Carry what supports:
- fast fights
- fast healing
- fast escape
- enough inventory space to take valuables
Don’t carry “extra comfort” items that you won’t use. Extra weight and clutter is weakness in high-risk zones.
How to win the risk-reward loop
You win by extracting more often than you lose. That’s it. You don’t need to dominate everyone—just consistently finish profitable runs.
Food + Rest + Resources: How to Build a Smarter Session Plan
Most players plan runs like this: “I’m going to go play.”
Strong players plan like this: “I’m going to do three profitable cycles.”
Here’s a smart session plan:
Cycle 1: Stabilize
- do a lower-risk run
- stock ammo and healing
- gather basic crafting materials
- return early and sort
Cycle 2: Progress
- complete story/faction steps
- farm materials for the next upgrade
- keep resource use controlled
Cycle 3: Risk
- attempt high-value content (event hotspot, dungeon, or high-risk zone)
- use your best decision-making while fresh
- extract immediately when the goal is met
This structure keeps you combat-ready because you’re not constantly gambling while depleted.
Common Survival Collapses (And the Fix That Stops Them)
These are the most common “why am I always struggling?” moments—and how to fix them fast.
Collapse: You’re always out of healing
Cause: you take too many fights and don’t stabilize after them.
Fix: reduce unnecessary fights; bring layered healing; heal immediately after fights, not later.
Collapse: You run out of ammo mid-run
Cause: spraying at low-value enemies; taking long fights; bringing ammo-hungry weapons without discipline.
Fix: burst control; fight selection; pack enough for objective + mistakes.
Collapse: Your inventory is always full
Cause: looting without a plan; hoarding low-value items.
Fix: apply the loot filter; keep flex slots; stash sorting after every run.
Collapse: You die late in runs
Cause: staying out too long after success; pushing deeper with a full bag.
Fix: set an extraction threshold; leave earlier than your greed wants.
Collapse: Your gear breaks at the worst time
Cause: ignoring durability until it becomes a crisis.
Fix: repair before risk content; keep a backup option; treat durability as part of preparation.
Practical Rules: The Survival Checklist You Can Follow Every Run
If you want maximum results with minimum thinking, follow these rules:
- One goal per run. Finish it, then leave.
- Never leave a hub weak. Top up food/rest and supplies first.
- Healing is layered. Small recovery + post-fight reset + emergency option.
- Ammo is a budget. Spend it only on fights that pay you back.
- Inventory is sacred. Keep space for loot and mission items before you start.
- Extract earlier than you want to. Most losses happen after success.
- Repair before risk. Don’t enter high-value content with fragile gear.
- High-risk kits must be replaceable. Never risk your whole account’s momentum.
- After every fight: stability check. Heal, reload, evaluate, then move.
- Sort after every 1–2 runs. A clean stash makes crafting and progress faster.
Do these consistently and PIONER stops feeling random.
BoostRoom
If you love PIONER’s world but don’t love losing hours to survival mistakes, slow restocking, or messy progression, BoostRoom helps you reach stable “combat-ready” gameplay faster.
BoostRoom support is ideal if you want to:
- build a reliable survival routine (food, rest, resources) that fits your playstyle
- optimize your early and mid-game loadouts so you stop bleeding supplies
- improve your extraction success rate in risky zones by tightening your run structure
- speed up progression goals that depend on consistency: faction tasks, crafting, upgrades, raids, and high-value farming loops
PIONER becomes dramatically more fun when you stop “resetting after chaos” and start chaining successful runs. BoostRoom is built around getting you to that point faster.
FAQ
Do I really need to manage food and rest in PIONER?
Yes, if you want consistent performance. Managing hunger and rest keeps your character’s strength stable, which helps you survive longer runs and avoid late-session collapses.
What’s the #1 survival mistake beginners make?
Staying out too long after completing objectives. Most painful losses happen when players are already holding good loot and choose to keep pushing anyway.
How much food should I carry?
Enough for your planned run length plus one extra “mistake” (a detour, a longer fight, or a wrong turn). Carrying too much steals inventory space from profit items.
When should I rest?
Before high-risk zones, after messy fights that drain supplies, and whenever your performance starts feeling inconsistent. Rest is a reset tool that protects your decision-making.
What resources matter most for staying combat-ready?
Healing, ammo, durability/repairs, and inventory space. If any of those collapses, your run collapses—even if your weapon is strong.
How do I stop running out of ammo?
Take fewer low-value fights, use burst control, and pack ammo for the objective plus mistakes. Ammo problems are usually a fight-selection problem.
How do I keep my inventory from becoming chaos?
Use the 3-bin stash system (Use Now / Use Soon / Do Not Touch) and keep flex slots in your backpack before leaving hubs. Sorting after every 1–2 runs prevents inventory paralysis.
Is it smart to bring my best gear into high-risk zones?
Not early on. High-risk zones reward consistency, not emotional investment. Use replaceable kits until your economy can absorb losses without stalling your progress.
How does BoostRoom help with survival?
BoostRoom helps you build stable routines and progression plans, so you stop wasting time on repeated survival mistakes and start chaining productive runs that lead to upgrades faster.


