How PIONER’s Map Actually Works (And Why It Feels So Different)
PIONER is built around the idea that realism beats “gamey” safety nets. The world is large (a 50+ square kilometer map, not counting hidden dungeons), and progression isn’t presented as a clean ladder with obvious “level gates.” You’re often making choices based on risk, supplies, and knowledge—not a number above an enemy’s head.
That design makes exploration feel intense for two reasons:
First, distance is a real tax.
Every time you choose to walk farther than you need to, you pay. Even if you win every fight, you still spend resources on travel, repairs, and recovery.
Second, the map is a decision engine.
Your route determines what you face: PvE pressure, environmental hazards, PvP exposure, world events, and loot density. If you wander, you’ll get “random outcomes.” If you plan, you get repeatable results.
This is why learning movement and looting efficiency is one of the highest-impact upgrades you can give yourself—often bigger than swapping one weapon for another.

The Exploration Loop That Builds Progress (Not Just Screenshots)
If you want to explore and still progress fast, treat every run as a loop:
Plan → Travel → Scan → Loot → Reset → Convert
Here’s what each step means in practice:
- Plan: Pick a purpose (quest step, materials, artifact hunt, event, money run).
- Travel: Use safe lanes and controlled movement to reach the area with minimal resource loss.
- Scan: Identify threats, anomalies, and escape lines before you commit to looting.
- Loot: Grab only what accelerates your next goal, using a value-per-slot mindset.
- Reset: Return to safety before greed turns profit into loss.
- Convert: Sell, craft, repair, and restock so your next run starts strong.
Players who feel “stuck” usually break the loop in two places:
- they leave without a plan, and
- they return without converting loot into upgrades.
Exploration becomes powerful when it’s structured—not when it’s endless.
Map Reading: The Markers That Matter Most
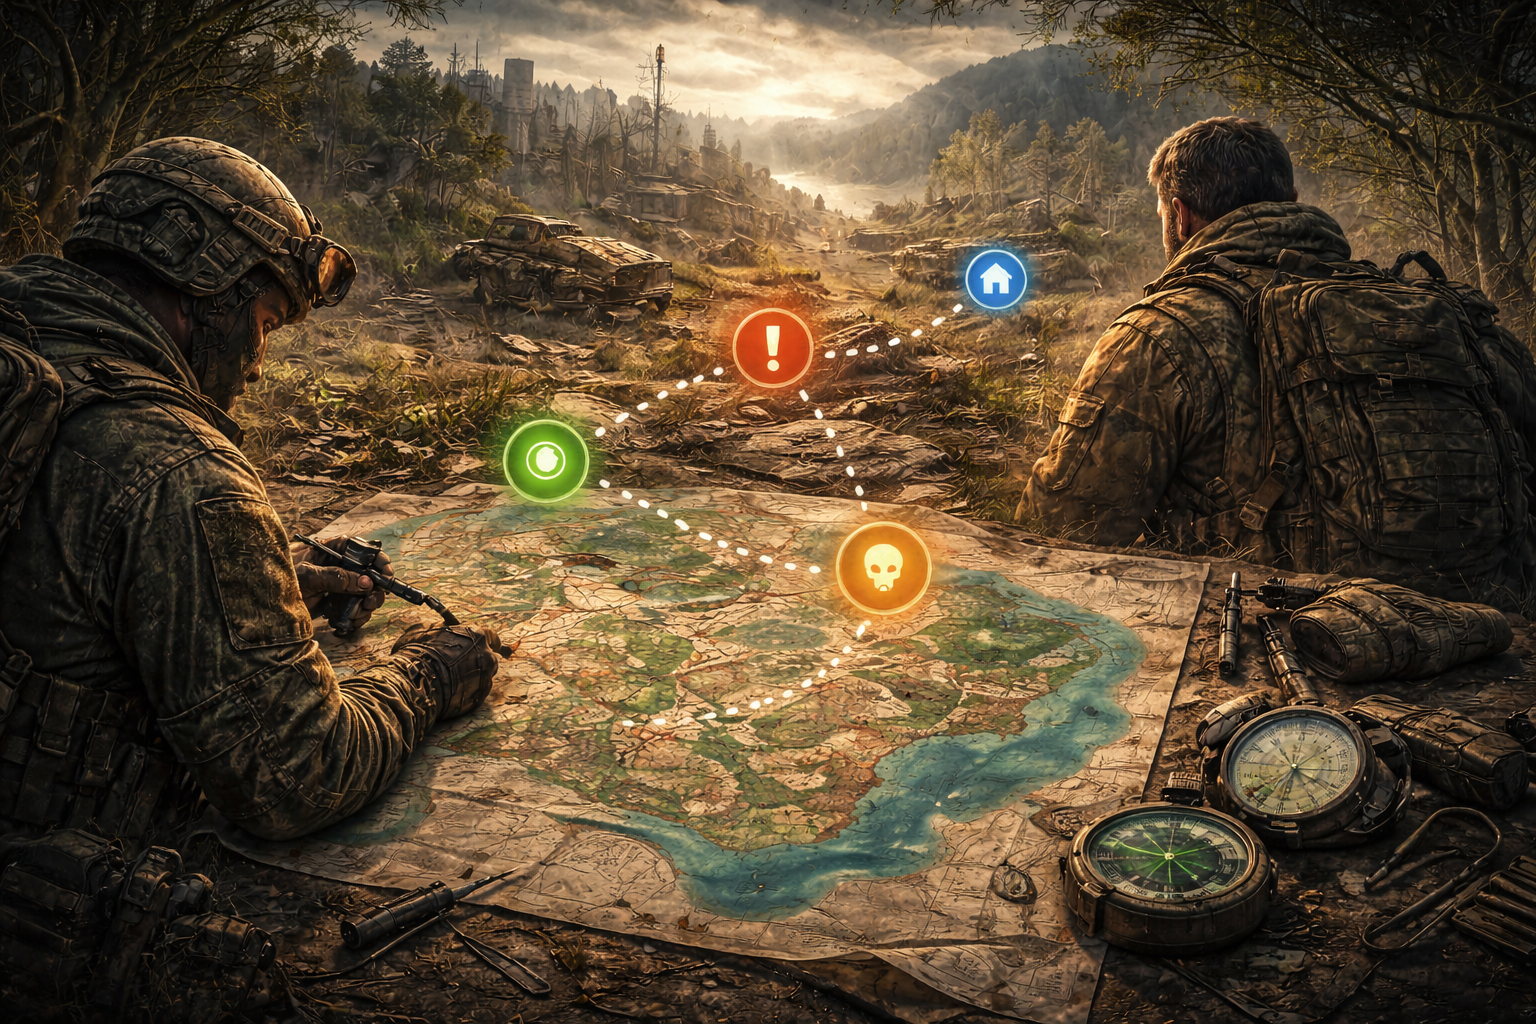
Your in-game map is more than a picture; it’s your risk dashboard. Even if you ignore the details early on, learning the marker language quickly makes you safer and richer.
Here are the marker types you should treat as “priority knowledge” when planning routes:
Safe or semi-safe hubs
These are places where you can stabilize runs: rest, restock, trade, craft, and set up the next route. Your goal is to always know where the nearest “reset point” is.
Camps, roadblocks, and control points
These are important because they shape traffic. Even if you don’t fight there, they influence where enemies and players tend to cluster.
Anomaly and hazardous zones
These areas can hide valuable finds, but they also punish careless movement. When you see anomaly markers, think: “slow entry, clear exit.”
Danger zones and higher-risk areas
These are the “cost more than they look” parts of the map. Enter them only when your backpack has space, your kit is stable, and your exit plan is clear.
Fast travel and teleport-related points
Fast travel can save huge time and reduce the “distance tax,” but only if you understand what’s actually unlocked and how your route connects after you arrive.
Tracked quest markers
Use quests as navigation tools. Even when you’re not rushing story, quest markers are great “anchor points” for routes because they give structure.
When you open the map, don’t ask “Where should I go?”
Ask “What route gives me the most value with the least risk?”
Regions and Progression: Where to Explore First (And Why)
PIONER is split into multiple regions, and the same player can have wildly different experiences depending on where they spend their time. Some areas are built to teach basics, others are built to punish sloppy habits.
Here’s the practical way to think about regions:
Starter and stabilization regions
These are where you should build repeatable loops: learn movement, build supply habits, and get comfortable with route discipline. Your goal here isn’t “rare loot.” Your goal is “clean runs.”
Mid-progression regions
These are where the game starts testing whether you learned the basics. Enemies hit harder, layouts get more complex, and the “distance tax” increases because routes are longer and riskier.
Late or high-density regions
These areas are where planning becomes mandatory. You can absolutely profit here—but only if your inventory and survival routine are strong.
Shadowlands and PvP-forward spaces
These are designed around risk-reward. If your route is messy, you’ll get punished. If your route is disciplined, you can extract profit faster than anywhere else.
If you ever feel like you “randomly got destroyed,” you likely entered a region where the game expects better preparation than you brought.
The 3-Line Route Plan (Entry, Objective, Exit)
Before you leave a safe zone, create a route plan in three lines:
1) Entry line: How you get in
- Which road/valley/building lane keeps you covered?
- Where is your first safe “pause” point?
2) Objective line: What you’re actually doing
- One mission step? Two? A material farm? A treasure map?
- Where do you stop if the route isn’t paying out?
3) Exit line: How you leave
- What’s the fastest safe return route?
- What’s your backup exit if the main route is blocked by danger or fights?
If you can’t answer these three lines, you’re not exploring—you’re gambling.
A simple but powerful rule: Never push deeper without knowing how you’ll get out.
Safe Movement: How to Travel Without Bleeding Resources
Most runs are lost before the “big moment.” They’re lost in small leaks: chip damage, wasted ammo, bad fights, and panic movement.
Here are the movement habits that keep you alive:
Move like someone is watching.
Even in PvE zones, treat open spaces as dangerous. Move from cover to cover. Avoid stopping in the open to sort inventory or check crafting items.
Use “slow entry, fast exit.”
When entering a new area, slow down. Scan. Identify threats. Once you commit and you know the lane, move quickly through it.
Don’t fight on bad ground.
If you’re entering a hazard zone, a choke, or a visually noisy area, don’t start a fight there unless it’s forced. Back up to stable terrain and re-engage from control.
Minimize skyline movement.
Any time you put yourself on a ridge line or open high ground, you increase the chance of getting spotted and engaged. In risky regions, skyline movement is a donation strategy.
Keep a “reset point” in mind.
When you enter a new zone, pick a nearby object or structure that you can retreat to. If you can’t name your reset point, you’re one surprise away from chaos.
Safe movement isn’t about being slow. It’s about being deliberate.
Stealth, Noise, and Timing: Winning Routes Without Firing
Efficient exploration often means not fighting.
Every fight costs:
- ammo
- healing
- durability
- time
- attention (which can attract more threats)
Here’s how to treat stealth as profit:
Choose fights that pay you.
If a fight doesn’t unlock loot, clear a route, or complete an objective, it’s probably optional. Optional fights are how “profitable” runs turn into expensive runs.
Use sound discipline.
Long, loud engagements create attention. In areas with higher player activity, this is how you get third-partied.
Time your looting.
Loot when the area is calm. If you hear activity nearby, don’t rush a container—reposition, clear, then loot.
Break line-of-sight before healing or reloading.
Treat healing and reloading like “vulnerable states.” Don’t do them while exposed.
You don’t need to be invisible. You just need to be harder to catch than the average player.
Transition Zones and Terrain: How to Avoid Getting Trapped
PIONER’s world has lots of transitions: region borders, narrow passes, entrances to interiors, and climbing sections. These are danger magnets because they force predictable movement.
To cross transitions safely:
Stop before the border.
Take a moment to scan. If the game funnels you into a predictable lane, assume something is waiting there.
Cross with resources ready.
Reload before transitions. Heal before transitions. Don’t enter a new area already drained.
Don’t loiter in transition zones.
Quick crossing is safer than lingering. Many “I got ambushed out of nowhere” moments happen at borders because players stop to manage inventory.
Use terrain to create escape angles.
When you enter a risky space, you should already know which direction you’ll retreat if the first contact goes bad.
Even with ongoing improvements to climbing areas and navigation across maps, the best defense is still route discipline: transitions are where sloppy runs collapse.
Fast Travel and Teleport Zones: Save Time Without Losing Control
Fast travel can be one of the biggest quality-of-life tools in PIONER—when used correctly. Updates have also added more fast travel points to world event locations and introduced new teleport zones in several regions, making map travel smoother when you understand your options.
Here’s how to use fast travel like a pro:
Fast travel is for time-saving, not for panic-saving.
If you’re already low on supplies and “hoping fast travel fixes it,” you’re often setting yourself up for confusion and mistakes after arrival. Travel smart, arrive stable.
Unlock routes intentionally.
When you enter a new region, make unlocking useful travel points part of your agenda. The earlier you build a travel network, the faster your entire progression becomes.
Arrive with a micro-plan.
Before you fast travel, decide:
- what you’re doing in the next 5 minutes
- where your first cover lane is
- where you’ll retreat if the area is active
Fast travel is a shortcut, not a strategy. The strategy is what you do after you arrive.
World Events as Navigation Anchors (And Why They Matter for Loot)
World events do two things for explorers:
- They concentrate activity (enemies, players, rewards).
- They create predictable destinations you can route around.
Recent updates have added new world events and improved how global event scoring works so more players can receive rewards. That matters for exploration because it increases the value of event-focused routes—especially when combined with fast travel points tied to world event locations.
How to use events for exploration:
Use events as “time boxes.”
Instead of wandering for an hour, plan a loop around an event window. You’ll loot faster and extract earlier.
Farm the edges, not the center.
The center is where chaos happens. The edges often contain secondary loot, materials, and safer angles to reset.
Extract immediately after success.
Events are high-risk because they attract attention. If you complete your goal, don’t turn it into a greed death.
Events are not just “fun content.” They’re map structure—and structure is profit.
Loot Efficiently: The Value-Per-Slot System That Fixes Most Inventories
Most players loot like this: “Is it loot? Take it.”
Efficient players loot like this: “Is it worth the slot?”
Use value-per-slot thinking:
Tier 1: Must-take
- quest items you need now
- high-value crafting components tied to your next upgrade
- rare parts you know are hard to replace
Tier 2: Usually take
- materials you regularly burn through (repairs, crafting staples)
- items that sell well and stack well
- utility supplies that prevent run collapse (within reason)
Tier 3: Only if you have space
- low-value items that don’t stack efficiently
- “maybe later” crafting pieces you can easily farm again
- anything that forces you to drop better loot later
The goal is not to “loot more.” The goal is to bring back more value with fewer losses.
A strong rule: Never start a run with a nearly full backpack.
If you do, you’re turning exploration into inventory chores.
Looting Under Pressure: Clear → Cover → Collect
When you loot in dangerous areas, follow this order:
Clear: Remove immediate threats or reposition away from them.
Cover: Put a wall, rock, or structure between you and open sightlines.
Collect: Loot quickly and leave.
Beginners often invert the order (collect first), which is how they die while staring at a container UI.
If you want to loot faster and safer:
- loot only when you’ve earned a safe moment
- never loot in the open
- don’t sort your inventory in hostile spaces—mark items mentally and sort at safety
Looting is an action. Treat it like one.
Treasure Maps and Hidden Finds: Exploration That Pays on Repeat
Treasure maps were added as part of early updates, and they’re an important signal from the game’s design: exploration isn’t meant to be only “random loot.” It’s also meant to reward players who pay attention, revisit regions, and chase leads.
How to approach treasure-map style exploration efficiently:
Treat a treasure run like a mission, not a detour.
If you try to “maybe find it while I’m doing other stuff,” you’ll burn time and supplies.
Build a search grid.
When you reach the general area:
- pick a landmark
- sweep in a clean pattern (left-to-right, then forward)
- don’t zig-zag randomly
Don’t overstay if the area is active.
If fights keep breaking your search rhythm, leave and come back later. Treasure runs are only good when they’re efficient.
Treasure-focused exploration is especially valuable when you want:
- a break from constant combat
- a structured route that still feels like discovery
- repeatable income while you build better gear
Outposts and Trade Routes: The Explorer Mindset That Scales
PIONER’s own gameplay framing encourages long expeditions into dangerous places where you build outposts, improve equipment, and establish trade routes—because that’s how you create a foothold deeper into the island.
Even if you’re not fully focused on “outpost lifestyle,” the mindset is extremely useful:
Think in footholds.
Your goal is to create reliable “stops” in your mental map:
- where you usually stabilize
- where you usually loot
- where you usually extract
Think in lanes.
Instead of memorizing the entire map, memorize a few lanes that connect your footholds. Lanes turn a huge island into manageable routes.
Think in loops.
A loop is repeatable profit. If you can’t repeat it, it’s not a route—it’s an adventure. Adventures are fun, but loops build upgrades.
When your exploration is loop-based, your progress becomes steady instead of random.
Shadowlands Navigation: How to Move in PvP-Heavy Space Without Donating Loot
The Shadowlands are described as special areas on the global map built around battles between players, with rare and valuable equipment often found there—and with the added “bonus” of looting other players if you win.
Exploration in Shadowlands is not the same as exploration elsewhere. The rules change:
Your kit must be replaceable.
If losing your kit ruins your day, don’t bring it. Shadowlands is about consistency, not emotional attachment.
Your route must be short and intentional.
Shadowlands wandering is just giving other players time to find you. Choose one objective and one exit.
Your looting must be fast.
You don’t “hang out” in open space after a fight. You clear, you loot, you rotate, you extract.
Your inventory must stay clean.
A cluttered bag makes you slow. Slow players get caught.
If you want to profit in Shadowlands, adopt this mindset:
- win by extracting more often than you lose
- never turn a good run into a greed wipe
- keep routes simple enough that you can execute them under pressure
The “Two-Route Rule”: Always Have a Safe Option
A simple exploration rule that saves lives:
Every run should have two routes:
- the route you expect to use
- the route you will use if things go wrong
Your backup route should be:
- shorter
- safer
- less exposed
- easier to navigate when stressed
Most deaths happen because players:
- improvise exits while panicking
- retreat into dead ends
- re-enter dangerous lanes because they don’t know alternatives
If you always have a second route, you stop dying “mysteriously.”
Practical Rules: 25 Map Exploration Habits That Make You Richer
Use these rules as a checklist until they become automatic:
- Leave with one clear goal.
- Keep backpack space before you start.
- Know your entry route before you move.
- Know your exit route before you loot.
- Always have a backup exit.
- Slow entry into new areas.
- Fast exit after success.
- Don’t fight on bad terrain.
- Reposition before healing.
- Reload before transitions.
- Don’t sort inventory in hostile zones.
- Loot from cover, never in the open.
- Skip low-value junk when space matters.
- Use value-per-slot, not “take everything.”
- Track where you last found good materials (build mental loops).
- Avoid skyline movement in risky zones.
- Don’t chase fights that don’t pay you.
- Treat world events as time boxes, not all-day distractions.
- Extract earlier than your greed wants.
- If supplies drop below half, consider resetting.
- Unlock travel points intentionally when entering new regions.
- Use fast travel to save time, not to fix panic.
- Learn one safe loop per region before pushing deeper.
- In PvP spaces, keep routes short and loot fast.
- Convert loot immediately after runs (sell, craft, repair, restock).
If you follow even half of these consistently, your “random deaths” drop sharply and your income rises.
BoostRoom: Explore Smarter, Loot Faster, Progress Quicker
If you enjoy PIONER’s world but hate wasting runs to bad routes, slow looting, or messy map decisions, BoostRoom is built to help you tighten your exploration loop.
BoostRoom is a great fit if you want to:
- build repeatable loot routes that match your playstyle (solo, duo, squad)
- learn region-by-region progression so you stop wandering into “too hot” areas unprepared
- improve survival consistency by fixing the habits that cause late-run wipes
- optimize your run structure around events, travel points, and crafting goals
- step into higher-risk zones (including PvP-heavy content) with a real plan instead of hope
The goal isn’t to turn PIONER into homework. The goal is to make your time feel rewarding—more extracts, more upgrades, fewer “how did that happen?” deaths.
FAQ
What’s the fastest way to get better at exploration in PIONER?
Stop wandering. Pick one goal per run, plan entry/exit routes, and extract earlier. The fastest skill growth comes from structured loops you can repeat.
How do I loot efficiently without missing important items?
Use value-per-slot logic: prioritize quest items, upgrade materials, rare components, and high-value stacks. Skip low-value clutter that forces you to drop better loot later.
Is fast travel worth using early on?
Yes—if you use it to reduce travel time and build a network of useful locations. Don’t use fast travel as a panic tool; arrive with a micro-plan.
Why do I keep dying near region borders and narrow routes?
Transitions funnel movement and create predictable lanes. Reload and heal before crossing, scan first, and cross quickly instead of loitering.
How should beginners approach Shadowlands exploration?
Use replaceable kits, pick one objective, keep routes short, loot fast, and extract immediately after success. Shadowlands rewards consistency, not greed.
What’s the most common exploration mistake?
Staying out too long after a successful objective. Most run losses happen when players already have profit and choose “one more detour.”
How do treasure map-style runs stay profitable?
Treat them like missions: go with a plan, search using a grid pattern, avoid chaotic areas, and extract once the objective is done.
How does BoostRoom help with map exploration specifically?
BoostRoom helps you build repeatable routes, improve survival discipline, and connect exploration with crafting and progression goals—so your runs consistently lead to upgrades.


