You bring home more value per slot and more value per minute.
That’s the whole secret.

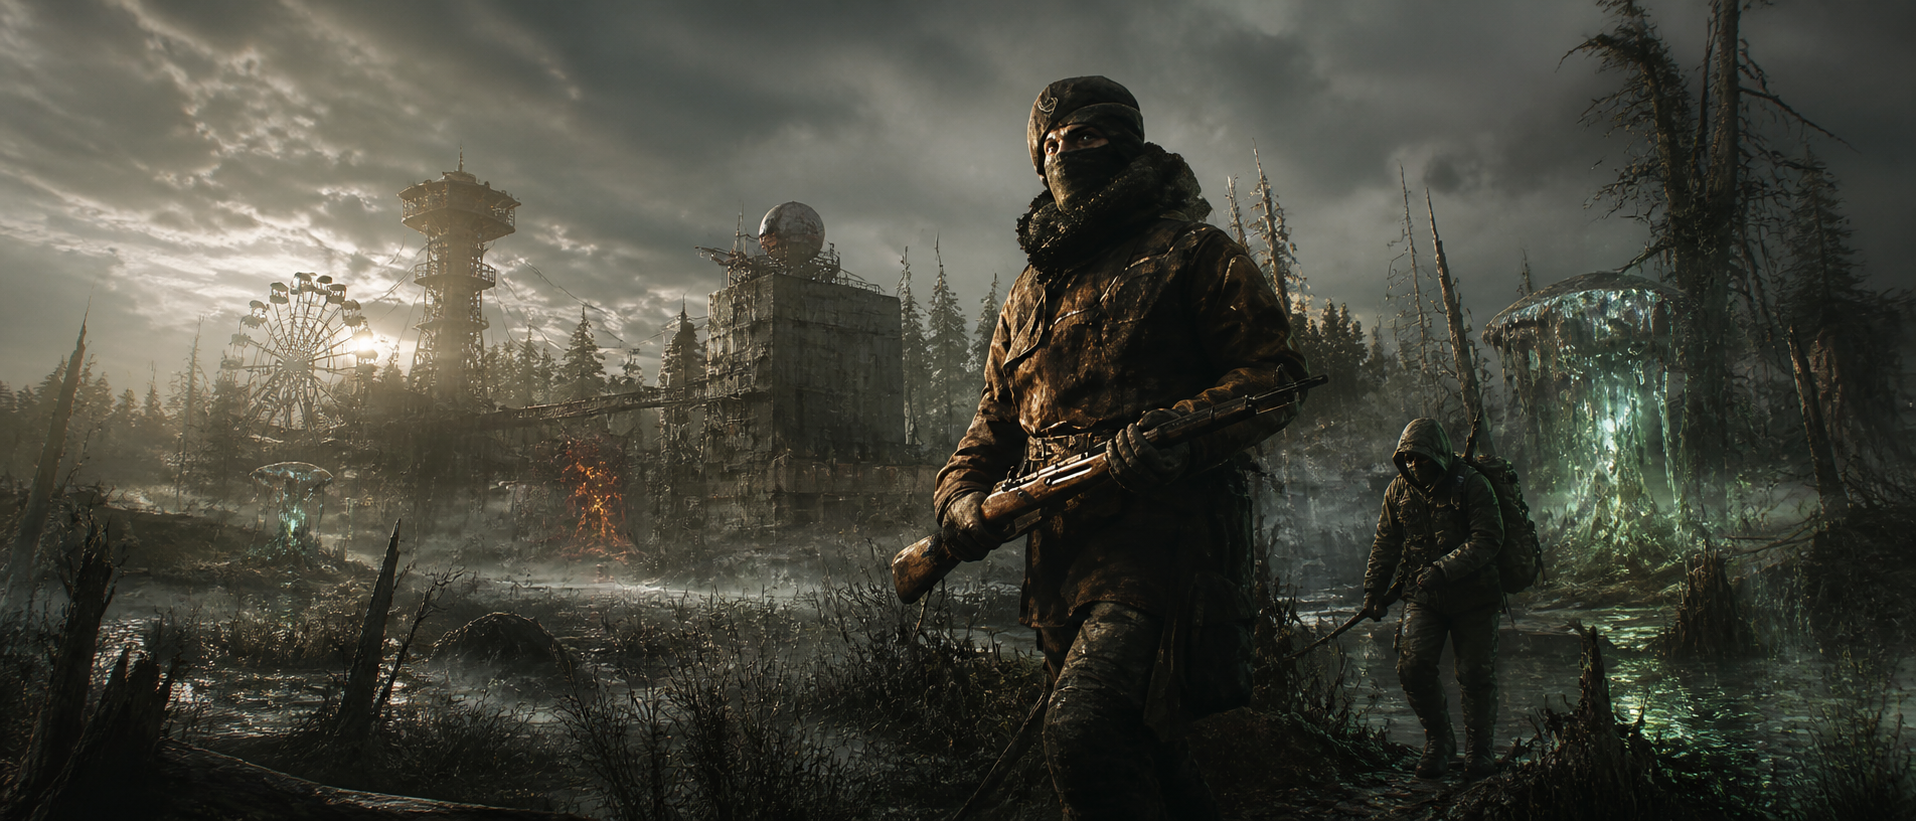
Why Stack Limits and UI Changes Quietly Made You Richer
PIONER’s economy and inventory didn’t stay static. Recent updates introduced quality-of-life changes that matter a lot for inventory management:
- Resource stack limits were increased (up to 250 for resources), which reduces the “inventory clog” effect and lets you carry meaningful quantities of materials without burning all your slots.
- The item stacking window in the trading UI was improved, making it easier to consolidate stacks and sell efficiently.
- Inventory overflow visualization was introduced, helping you see when you’re pushing beyond clean capacity and need to triage.
These changes aren’t just convenience. They change strategy.
When stacks are larger, your “best loot” becomes more predictable:
- stackable materials you actually use
- stackable materials that sell well
- stackable materials that convert into upgrades (or into other materials through downgrading/conversion)
You should treat bigger stacks as permission to play smarter:
- carry fewer random one-off junk items
- carry more of the materials that actually move your account forward
The Four-Bucket System: Keep, Sell, Convert, Craft
If you want a stash that stays clean and a wallet that grows, you need one rule that never changes:
Every item must have a job.
Use this four-bucket system after every run:
KEEP
Items that directly support your next 1–3 upgrades or your next 2–3 sessions (core kit pieces, bottleneck materials, progression items you’re actively using).
SELL
Items that convert best into currency right now and don’t serve your near-term plan (extra gear, random loot, surplus materials).
CONVERT
Items that are valuable but not in the form you currently need (higher-tier resources you’ll downgrade, rarer resources you’ll convert into more useful tiers, etc.).
CRAFT
Items that become significantly more valuable or useful after crafting (workbench progression, essential upgrades, gear that completes a loadout).
If an item doesn’t fit any bucket, it’s clutter. Clutter is grind.
The Value-Per-Slot Rule: Your #1 Loot Filter
Most players lose money because they pick up loot like a vacuum cleaner. Your inventory is not a museum. It’s a value engine.
Use a simple value-per-slot filter in the field:
High value-per-slot (almost always take):
- stackable crafting staples you actually use
- compact high-value sellables
- rare components that unlock upgrades
- workpieces / parts that are hard to replace
- items directly tied to your current quest/upgrade plan
Medium value-per-slot (take only if you have space):
- materials you might use later but aren’t bottlenecking you right now
- gear that sells “okay” but takes multiple slots
- single-purpose utility items you already have plenty of
Low value-per-slot (usually skip):
- bulky junk that sells poorly
- non-stackables that don’t support your plan
- duplicates of low-impact items you can farm easily
If you apply this one filter consistently, two things happen:
- your stash stops overflowing
- your money per hour climbs without “extra grinding”
The Field Triage Rule: Never Sort in a Dangerous Place
PIONER rewards fast decision-making. Updates even improved the corpse despawn system, which is a subtle reminder: loot windows aren’t infinite, and the world doesn’t pause for your inventory.
Use this field triage routine:
Step 1: Take the best items first (10–20 seconds).
Grab the high value-per-slot items immediately.
Step 2: Take only stackables that fit your plan (10–20 seconds).
Stackables become “free value” when you’re already carrying that resource.
Step 3: Leave the rest unless you’re safe and empty.
If you’re in any risk at all, get moving.
Sorting is something you do at safety, not in the open world. The fastest players don’t loot more—they loot cleaner.
The Two-Kit Inventory Strategy: Farm Kit vs Risk Kit
Your inventory rules change depending on your kit. This is where most players mess up: they run one kit for everything, then wonder why they’re always broke.
Farm Kit (profit-first)
- Designed to be cheap to maintain
- Designed to bring value home consistently
- Inventory goal: maximize materials and sellables per slot, minimize repair costs
Risk Kit (PvP/high-danger)
- Designed for short, high-value trips
- Designed to end fights fast and extract fast
- Inventory goal: take only top-tier value and leave immediately—no “shopping spree” looting
If you try to do “risk kit behavior” with a farm kit (or vice versa), you bleed money. Keep them separate in your mind and in your stash.
The Repair Trap: How Inventory Mistakes Create Endless Grind
A lot of “inventory problems” are really repair problems.
If you constantly return with a backpack full of stuff but no money, you’re usually losing profit here:
- repairing too often
- repairing too expensive of a kit for your current income
- burning too many consumables because fights take too long
- staying out too long and taking extra attrition
PIONER’s durability has been increased significantly in recent updates (with weapon lifespan before breaking increased on average by up to 2x). That helps, but it doesn’t fix poor habits. You still need repair discipline.
Repair discipline rule:
Repair only the gear you plan to use again soon—your committed kit. Don’t repair emotional attachments.
If you’re not sure whether to repair something, ask:
- Will I use this in the next 2–3 outings?
- Will it help me access higher-value content today?
- Is repairing this cheaper than replacing it through normal play?
If the answers are weak, don’t repair. Sell or store it for later. Your economy will breathe again.
Your “Barter Vault” Slot: The One Stash Habit That Saves Weeks
PIONER has progression items that behave like “barter currencies” and upgrade-gate pieces. These are the items players accidentally sell early, then grind forever later trying to replace.
Create one stash section called your Barter Vault and protect it.
Put only these things in it:
- workpieces and rare components you can’t reliably replace
- progression currencies and special upgrade items
- blueprint-related items
- rare event reward components
Everything else should be treated as sellable unless it supports your next upgrade.
This one habit prevents the most painful form of grinding: “I sold the thing I needed.”
The “One Project” Rule: Stop Keeping Materials You Aren’t Using
Most stash bloat happens because players keep materials for five different future builds that never happen.
Instead, run your inventory like a smart builder:
Pick one upgrade project at a time.
Examples:
- “Upgrade my primary weapon path.”
- “Finish a stable armor set.”
- “Fund my raid kit.”
- “Build a replaceable risk kit.”
Then your KEEP rules become easy:
- keep what feeds your project
- sell what doesn’t
- convert what can be turned into what your project needs
PIONER even added systems for resource conversion and downgrading recipes at certain traders, plus the ability to convert resources from rare (blue) to uncommon (green) in updates. That’s a strong signal from the game itself: you’re not supposed to hoard forever. You’re supposed to convert and progress.
The “Stack First” Rule: Stackables Beat Random Gear
If you want your money to rise consistently, prioritize stackables.
Why stackables are king:
- they pack more value into fewer slots
- they sell in clean batches
- they support crafting and repairs
- they’re easier to convert/downgrade when you hit bottlenecks
- they reduce stash chaos
When your bag fills, your first goal shouldn’t be “grab more stuff.”
It should be “upgrade my bag value density.”
That usually means:
- drop low-value bulky items
- keep high-value stackables
- keep your project materials
- leave early when you hit your profit threshold
The Profit Threshold Rule: Leave While You’re Winning
The biggest inventory mistake in PIONER is not what you pick up. It’s when you refuse to leave.
Set a profit threshold before you start a run:
- a specific inventory value goal
- or a specific set of key items (workpiece + enough materials, etc.)
- or a bag fill percentage (70–85% full)
When you hit the threshold, you leave.
This rule turns “lucky runs” into consistent profit because it prevents the classic PIONER loss:
- you get good loot
- you stay out “just a bit more”
- you burn supplies and die
- you lose time and momentum
- you start grinding again
Rich players are not braver. They extract earlier.
Trading Like a Pro: Sell in Batches, Not in Panic
Selling is where most players destroy their own profit. If you dump your whole backpack thoughtlessly, you miss patterns and you misjudge value.
Sell in batches:
- sell obvious junk and duplicate clutter
- sell gear you aren’t using
- sell surplus materials that don’t support your project
- keep bottleneck resources and barter vault items
- convert resources only when it unlocks upgrades or removes bottlenecks
Recent updates fixed incorrect buy/sell price modifier behavior at traders and corrected merchants’ purchase/sales multipliers. That’s another signal: trader pricing behavior matters. Learn your selling habits and keep them consistent.
The “Daily Restock List” That Stops You From Buying Yourself Broke
A huge part of inventory discipline is shopping discipline.
Create a strict daily restock list:
- ammo for your main weapon (enough for 2 fights + one mistake)
- a controlled amount of healing (enough for your route length)
- food/rest items that keep your character stable
- one emergency item category you rely on (don’t overbuy)
Then follow this rule:
Never buy consumables from emotion.
If you keep buying “extra just in case,” you will grind forever because your expenses will always chase your income.
Inventory Management for PvE Missions: Loot for Completion Speed
PvE money is about speed and stability. Your PvE inventory goal is not to carry everything—it’s to finish objectives efficiently and return with materials that fund your next run.
PvE looting rules:
- prioritize stackables that feed repairs and crafting
- prioritize quest items and mission chain items
- carry enough consumables to avoid panic retreats
- skip heavy junk that slows you down
- extract when objectives are done (don’t turn a mission into a marathon)
When PvE fights take longer than they should, your inventory pays the price (ammo, meds, durability). Clean inventory rules make PvE faster.
Inventory Management for PvP Zones: Loot Fast or Lose Everything
In PvP zones, loot discipline is survival discipline.
Your PvP looting rules should be ruthless:
- take only the top-tier value first (best items, best stackables, best barter vault pieces)
- never stand in the fight location sorting
- move your loot to cover, then decide
- extract earlier than you think you should
If you win a fight and then spend two minutes looting like you’re shopping, you’re inviting someone else to profit from your victory.
Inventory Management for Events and Raids: Pre-Pack Like an Adult
Events and raids punish “half-prepared” inventories.
Before you enter:
- free up space (you’re going for rewards—arrive able to carry them)
- repair your committed kit only
- pack consumables in a controlled amount (enough for one full attempt plus buffer)
- keep a “drop list” of what you’ll ditch first if your bag fills (low-value bulky items)
Raids and events are where clean inventory pays off the most because the rewards can be great—but only if you extract with them.
Treasure Maps and Special Loot: Don’t Let Side Content Break Your Stash
Treasure maps exist in PIONER, and they create a common trap: players start collecting special items and forget to manage space.
If you’re doing treasure map content:
- treat it as a focused run, not a detour
- arrive with space
- take the treasure loot, then leave
- don’t carry random junk “because I’m already here”
Special content becomes grindy only when you turn it into wandering.
Resource Conversion and Downgrading: Inventory Alchemy That Saves Time
PIONER has leaned into conversion systems:
- converting rare (blue) resources into uncommon (green)
- special recipes for resource downgrading available from certain traders
These systems exist for one reason: to reduce bottlenecks and reduce grind.
How to use conversion like a pro:
- convert only when it unlocks a crafting step or removes a bottleneck
- don’t convert “just because you can”
- convert with a project goal (weapon upgrade, armor step, repair supply stability)
If you convert with intent, your stash becomes smaller and more useful. If you convert randomly, you create new clutter.
The Adrenaline Trap: When Rare Consumables Become “Dead Weight”
Loot tables can change. Recent economy adjustments reduced the chance of finding certain consumables (like adrenaline syringes) in the open world, while increasing the chance of finding materials like leather, plastic, and cloth.
The smart inventory lesson:
- don’t build your whole run plan around one “rare consumable drop”
- treat rare consumables as tactical tools, not hoarded trophies
- prioritize materials that reliably fund upgrades and repairs
When you hoard rare consumables “for later,” you often end up poorer now and still afraid to use them later.
Inventory Overflow: The Warning Light You Should Respect
When inventory overflow visualization exists, it’s the game telling you: “You’re pushing your capacity and your decisions are getting messy.”
Overflow creates three problems:
- you spend more time sorting in unsafe places
- you miss better loot because you’re full
- you extract late because you keep trying to “make it work”
Treat overflow as a trigger:
- stop looting
- triage immediately (drop low value-per-slot)
- extract
Overflow isn’t a badge of honor. It’s a risk multiplier.
Stash Organization That Actually Works: The 6-Section Layout
A good stash makes PIONER feel 10x less grindy. Use this six-section layout:
1) Active Kit Shelf
Your current farm kit and your current risk kit, plus their ammo/meds. If it’s not part of those kits, it doesn’t belong here.
2) Upgrade Project Box
Only the materials and parts for your current one project.
3) Barter Vault
Rare components, progression currencies, blueprint-related items, event components.
4) Sale Crate
Everything you plan to sell on your next town visit. This prevents “accidental hoarding.”
5) Conversion Bin
Resources you plan to downgrade/convert when you hit the trader/workbench.
6) Spare Utility
A small reserve of commonly used supplies (not infinite stockpiles—just stability).
If you sort your stash this way, you stop wasting time searching, second-guessing, and accidentally selling the wrong things.
The 5-Minute Post-Run Routine That Keeps You Rich
After every run, do this routine in under five minutes:
- Repair only the committed kit pieces you’ll use again soon
- Move barter vault items into the vault immediately
- Move project materials into the project box
- Dump everything else into the sale crate
- Restock from your strict list and stop
This routine is boring. It’s also how you stop grinding forever.
The 2-Minute Pre-Run Check That Prevents “Stupid Death” Losses
Before you leave a hub:
- Do you have enough ammo for two fights and one mistake?
- Do you have enough healing to survive a messy engagement?
- Is your food/rest state stable enough to not collapse mid-run?
- Do you have at least 25–40% free inventory space?
- Do you have a planned “first drop” item if your bag fills?
If you skip this check, your run becomes expensive. If you do it, your run becomes predictable.
The 25 Loot Rules That Keep You Rich
Use these as your daily inventory commandments:
- Your inventory is slots and minutes—protect both.
- Never leave town with a nearly full bag.
- Pick one upgrade project; loot for it.
- Everything must fit Keep/Sell/Convert/Craft.
- Stackables beat random gear.
- High value-per-slot comes first.
- Skip bulky low-value junk by default.
- Loot fast: best items first, then leave.
- Never sort inventory in dangerous places.
- Treat corpse looting as a short window, not a lifestyle.
- Use a profit threshold and extract early.
- Farm kit for profit; risk kit for heists. Don’t mix them.
- Repair only what you’ll actually use soon.
- Don’t buy consumables emotionally.
- Sell in batches, not in panic.
- Keep a “sale crate” so you stop accidental hoarding.
- Protect a barter vault for progression items.
- Convert/downgrade only with a purpose.
- If your bag overflows, you’re done looting—extract.
- Don’t chase one rare drop for hours—loot efficiently and convert bottlenecks.
- Keep your stash organized into functional zones, not “random piles.”
- Don’t hoard five future builds; finish one project.
- Take event/raid runs with space to carry rewards.
- In PvP zones, loot the best and leave—always.
- Your richest runs are the ones you survive—extract earlier than your ego wants.
BoostRoom
If you want your inventory to stop feeling like a constant problem and start feeling like a profit engine, BoostRoom helps you build a personal loot system that fits how you actually play.
BoostRoom can help you:
- create a clean loot priority list based on your current build and upgrade goals
- design farm-kit and risk-kit inventories that protect your wallet and reduce repair pain
- build region routes that match your bag capacity and extraction timing
- identify which materials to keep, which to sell, and which to convert so you stop hoarding forever
- tighten your post-run routine so your stash stays clean and your progress stays steady
The goal is simple: fewer wasted runs, less stash chaos, and more upgrades per week.
FAQ
What’s the fastest way to improve inventory management in PIONER?
Use one upgrade project at a time and apply value-per-slot looting. Then run a 5-minute post-run routine: vault rares, keep project items, sell the rest.
What should I always keep vs always sell?
Keep items that support your next upgrades, rare components you can’t easily replace, and progression currencies. Sell bulky low-value junk, duplicates you don’t need, and anything not tied to your current plan.
How do I stop my stash from overflowing?
Use the six-section stash layout (Active Kit, Project, Barter Vault, Sale Crate, Conversion Bin, Spare Utility) and sell aggressively after each run.
Should I pick up everything and sort later?
No. Sorting later only works if you survive and have space. In PIONER, time and risk punish over-looting. Take the best items first and move.
How much free space should I leave before a run?
Aim for at least 25–40% free inventory space for normal runs, and more for raids/events where rewards are a major goal.