Why Bosses and Elites Feel Different in PIONER
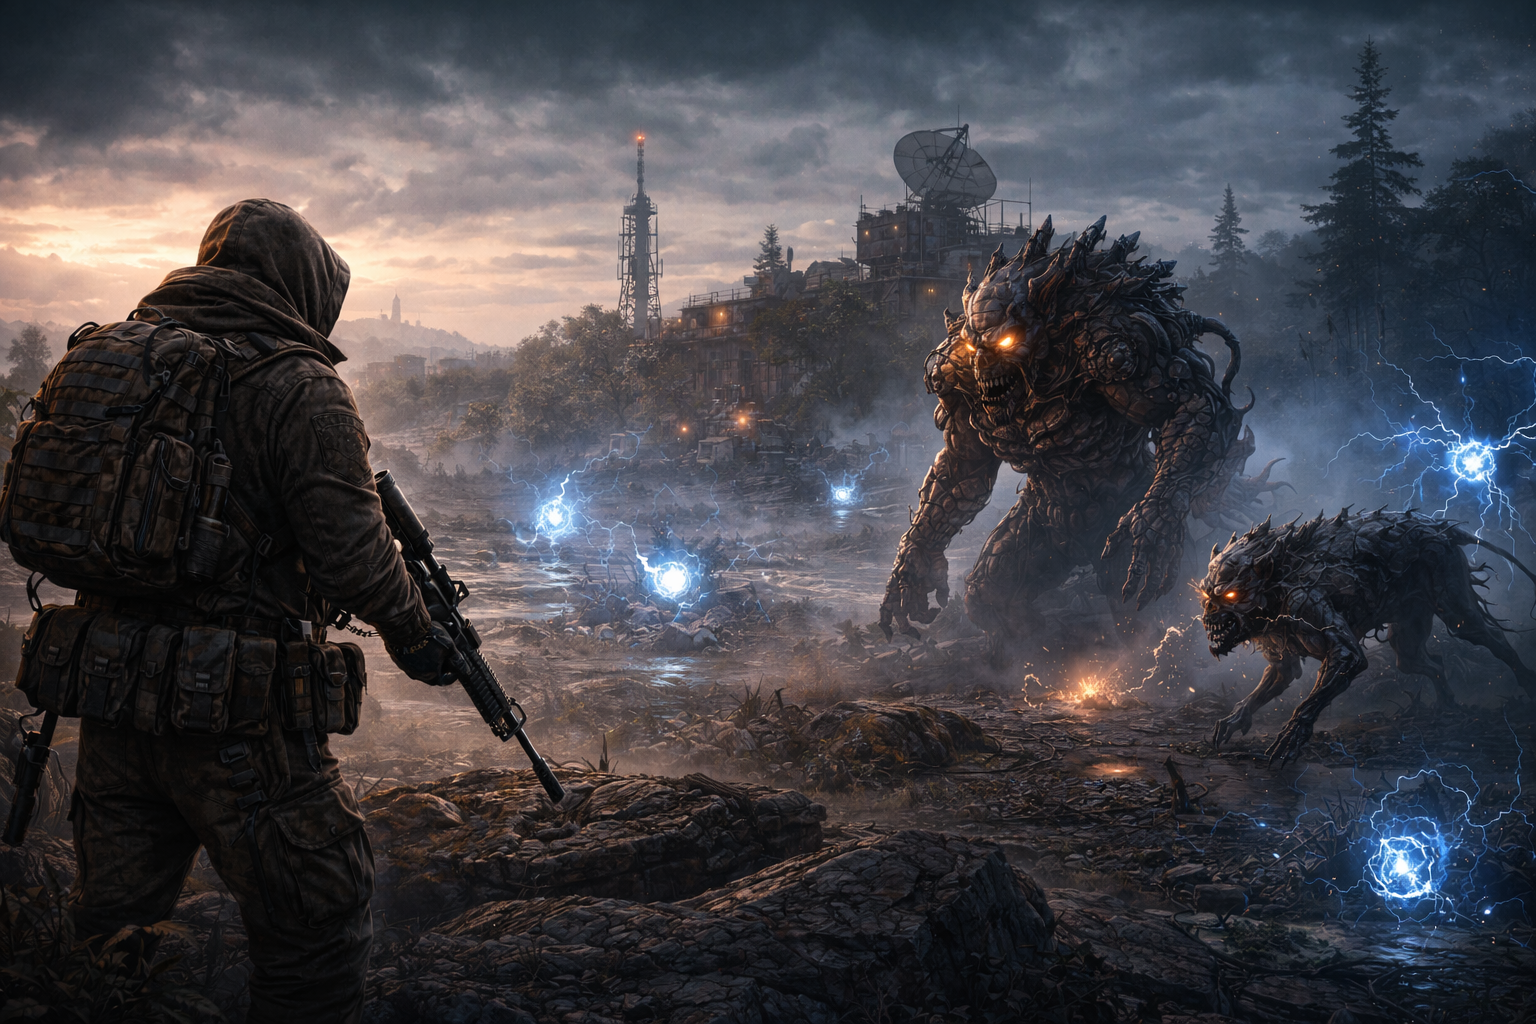
Bosses and elite enemies in PIONER don’t just have “more health.” They change how you play because they pressure multiple systems at once:
- Sustain pressure: you’re taking chip damage, status effects, and “burst windows” that punish bad timing.
- Resource pressure: ammo, repairs, consumables, and carry weight become part of the fight.
- Position pressure: elites punish lazy angles; bosses often control space with area denial and punishing melee bursts.
- Risk pressure: the longer you stay in a hot area, the more likely you get third-partied, run into another patrol, or get forced into an ugly retreat.
If you want “safe clears,” you need a boss mindset: your goal is not to win the fight fast—your goal is to win the fight clean.

Boss Prep Checklist: Before You Pull
A safe clear starts before the first shot. Use this checklist every time you plan a serious elite or boss attempt.
- Weapon readiness
- Bring one reliable mid-range weapon you can control under stress.
- Bring a close-range “panic tool” (shotgun/SMG) or a high-burst secondary.
- Carry enough ammo for two fights (the fight you planned + the fight you didn’t).
- Armor and survivability
- Wear gear you can actually afford to repair and replace.
- If you’re learning a boss, don’t bring your most expensive kit until you’ve seen the full pattern.
- Consumables
- Healing that can cover both burst damage and chip damage.
- A stamina/tempo option if you rely on movement to survive.
- Food/water/rest needs handled before the pull so you’re not forced into downtime mid-route.
- Inventory and extraction
- Clear space so you can actually take the reward.
- Decide your “leave condition” in advance (example: “If I get the drop I came for, I leave immediately.”)
- Route plan
- Know where you will kite to.
- Know where you will hard reset (a safe corner, a doorway, a rock line, a climb).
- Know your exit path if another fight starts nearby.
This is what separates “I almost had it” from “I can farm this.”
Loadout Planning: A Boss-Ready Kit That Still Lets You Loot
A common mistake is building a loadout that wins a fight… but loses the run. If you over-pack, you can’t carry loot. If you under-pack, you can’t finish a bad phase.
A practical boss-ready kit usually has three jobs:
- Job 1: Consistent damage at your comfort range
- If you panic up close, don’t force close-range fights. Build for mid-range control.
- If you’re accurate and calm, you can afford longer engagements with fewer mistakes.
- Job 2: A “phase breaker” tool
- Something that stabilizes chaos: burst damage, quick stagger potential, or a reliable close-range finisher.
- The point isn’t “meta.” The point is: when the boss does something scary, you have a button that helps.
- Job 3: A mobility and carry plan
- You want enough capacity to extract rewards without turning yourself into a slow target.
- The safest loot is the loot you can actually carry out without being forced into another fight.
Simple rule: if your kit doesn’t let you leave quickly after the kill, it’s not a safe-clear kit.
Consumables and Status Control: Survive the “One Mistake” Hits
Elite enemies and bosses punish the moment you stop managing tempo. Your consumables are not “for emergencies”—they are part of your rotation.
Use this mindset:
- Pre-buff before the pull when you know the first 20 seconds are the most dangerous (getting into position, setting your angle, pulling adds).
- Heal early rather than late. Late healing is how you get clipped by a burst and lose the run.
- Stabilize, then damage. If you’re below safe HP, your next priority is not “finish the phase.” Your priority is “reset the fight to a stable state.”
Also, remember that different enemies pressure you differently:
- Fast elites punish reload timing.
- Poison/toxin-style threats punish “standing still and aiming.”
- Heavy melee threats punish greedy looting and tunnel vision.
A safe clear is often decided by whether you used the right consumable 30 seconds earlier than you felt you “needed” it.
Durability, Repairs, and Why Boss Runs Fail in the Menu
Even when you win, a boss run can still be a loss if it destroys your economy. Repairs and durability are a hidden tax on “messy clears.”
Your goal is:
- fewer panic sprays,
- fewer unnecessary hits,
- fewer “I guess I’ll tank it” moments,
- and fewer times you finish the fight with broken gear and no resources to keep playing.
Think of durability like ammo: if your plan ignores it, your plan is incomplete.
A practical safe-clear habit:
- Do one short warm-up loop (easy enemies, quick loot) to confirm your kit feels good.
- Then do the boss attempt while your gear is fresh.
- Then extract and repair immediately while you’re still “up” on profit.
That rhythm keeps bossing sustainable instead of turning into a grind spiral.
Reading Patterns: The 5 Cues That Tell You What’s Next
Bosses and elite enemies become easy when you stop reacting and start predicting. You don’t need perfect knowledge—you need a system.
Use these five cues:
- Cue 1: Distance triggers
- Many threats change behavior when you’re close vs far.
- If an enemy feels “random,” test distance. You’ll often find it’s not random at all.
- Cue 2: Movement commitment
- Big attacks usually require the enemy to commit to a longer animation.
- When you see commitment, you either reposition (defensive) or punish (offensive).
- Cue 3: “Add windows”
- If extra enemies show up during certain moments, you treat those moments as survival checks, not DPS checks.
- Your job is to prevent getting surrounded, not to maximize damage.
- Cue 4: Audio tells
- Even if you can’t see the enemy, audio often announces danger: a charge, a burst, a deployable.
- If you play with sound off or low, you’re voluntarily making bosses harder.
- Cue 5: Your own reload and heal rhythm
- Bosses punish you when you reload or heal at the wrong time.
- Start tracking your “safe windows”: the few seconds after a big attack, after an enemy repositions, or after a stun-like pause.
When you learn these cues, you can “first-try” a lot of encounters because you’re reading structure, not memorizing scripts.
Safe Clears 101: The “Slow Is Smooth” Loop
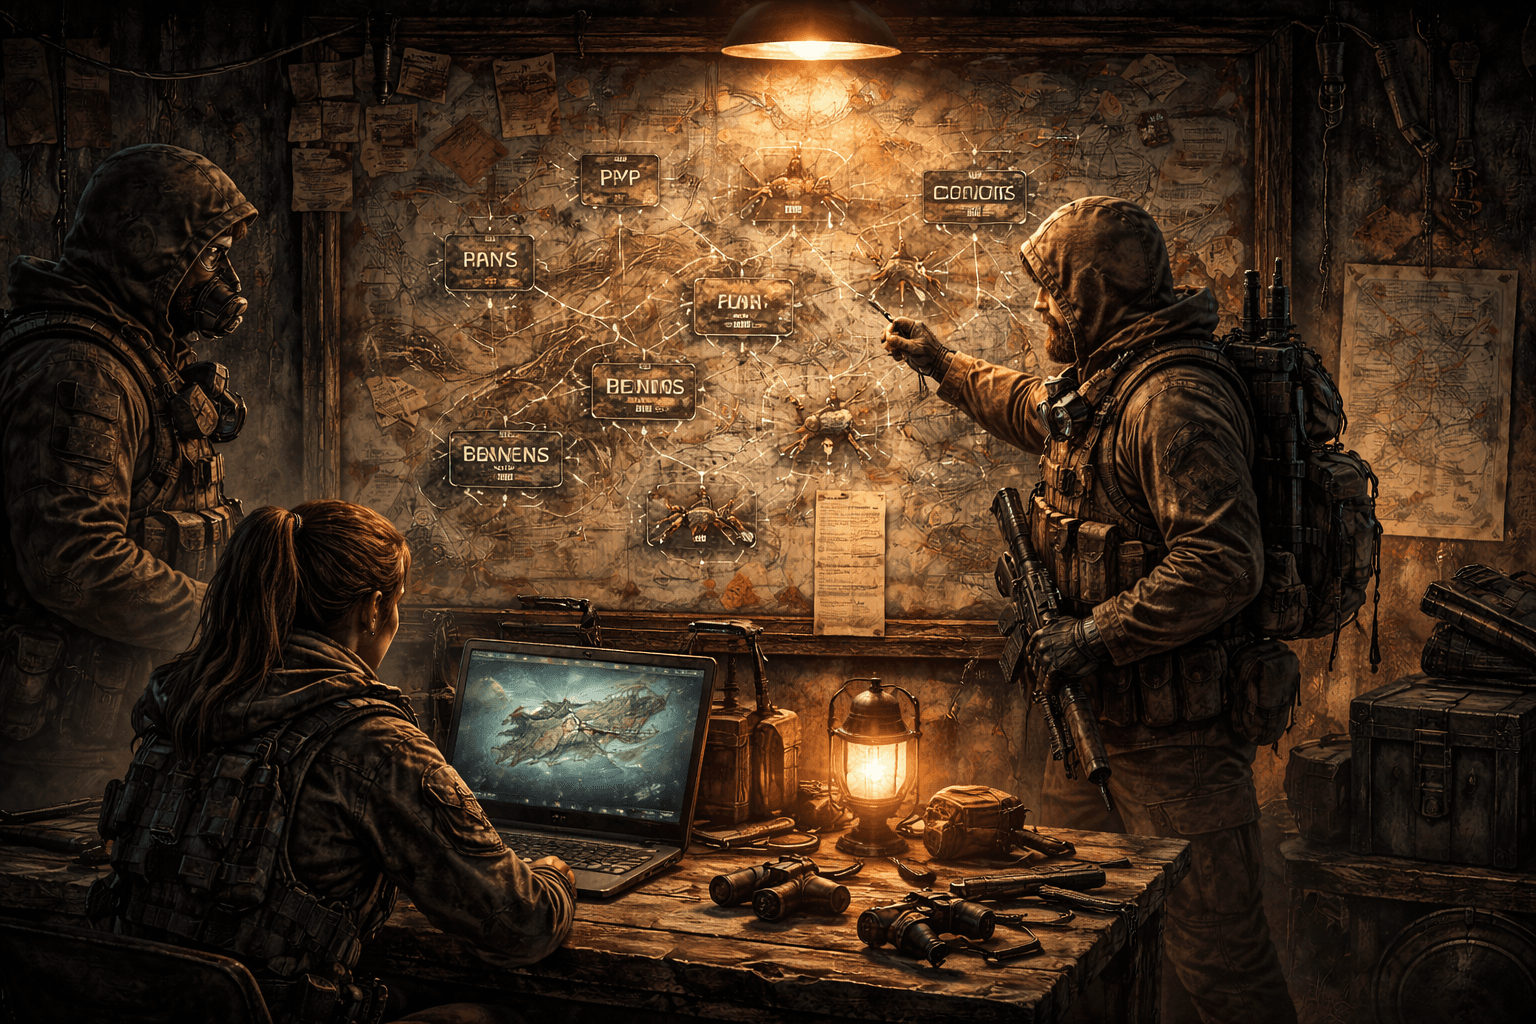
Safe clears are not flashy. They’re systematic. Use this loop:
- Step 1: Scout the arena
- Identify hard cover, soft cover, choke points, and escape lines.
- Decide where you want the fight to happen. Don’t let the enemy choose for you.
- Step 2: Pull on your terms
- Start the fight from an angle that gives you cover and a retreat line.
- Avoid pulling while you’re in the open, mid-reload, or mid-loot.
- Step 3: Stabilize the first wave
- The first 15–30 seconds is where most deaths happen.
- Your priority is to avoid eating a big hit while you’re still getting your bearings.
- Step 4: Control space
- If the enemy pressures you, you reposition before you panic.
- If adds appear, you create a funnel, not a circle around you.
- Step 5: Punish the commitment
- When the boss commits to a long attack, that’s your safe damage window.
- Don’t chase damage outside those windows unless you’re overgeared.
- Step 6: Reset when needed
- If your HP, ammo, or positioning collapses, you don’t “push through.”
- You reset the angle, heal, reload, and re-enter.
This is how you turn a scary boss into a farm.
Open-World Mini-Bosses: Farming Without Getting Farmed
Mini-bosses are a core “midgame power” target because they often sit at the intersection of difficulty and profit—hard enough to be worth it, common enough to farm.
For safe mini-boss farming, especially in contested regions:
- Run light, not naked. You want a kit that can win a fight and still leave quickly.
- Treat every pull like you might get interrupted.
- Loot fast, move faster. Standing still after a kill is how you get punished.
- Don’t repeat the same route in the same direction every time. Predictability is danger.
A strong farming habit is to build a mini-boss loop that includes:
- one or two mini-boss checks,
- one resource refill point,
- and a clean exit.
That way you’re not stuck “deep” with valuable loot and no stamina left to escape.
Global Quests and World Boss Encounters: Public Fights, Public Problems
World boss-style encounters tied to large missions are a different kind of difficulty: even if the boss is predictable, the environment isn’t. More players, more chaos, and more distractions.
To survive these encounters:
- Arrive early if you want a clean setup and good positioning.
- Carry less than you think you need. The real danger is not the boss—it’s what happens after the boss when you’re heavy and slow.
- Decide your loot priority before the kill. If you hesitate, you die with the reward in your bag.
- Avoid tunnel vision. In large fights, the “small threat” at your side is often what ends you.
If you want safe clears here, your best skill is not aim—it’s discipline: take the reward, leave clean, don’t chase extra drama.
Raid Boss Mindset: Manufacture, Crash Site, and Crab Island
Raids are where “safe clears” become a team sport. Even strong players fail raids if they treat them like solo content.
A raid-safe mindset has three layers:
- Layer 1: Roles
- One player should focus on threat control (pulling, positioning, preventing chaos).
- One player should focus on consistent damage.
- One player should be ready to stabilize the team (heals, revives, covering retreats).
- Even if you don’t have official “classes,” you can still assign responsibilities.
- Layer 2: Communication
- Call out: reloads, heals, flank threats, and “I need space.”
- Short comms win fights: “Back left,” “Add wave,” “Reset,” “Loot then go.”
- Layer 3: Tempo
- Raids punish teams that sprint forward after a win.
- A safe clear is: win → regroup → reload → heal → loot → move.
- If your team skips the regroup step, you eventually wipe to something “easy.”
If you’re learning raids, your first goal is not “perfect clear.” Your first goal is “repeatable clear.” Repeatable clears become fast clears naturally.
Elite Enemy Field Guide: Weaknesses, Habits, and How to Disarm Them
Elite enemies in PIONER often feel unfair until you treat them like puzzles. Here’s how to approach common elite-style threats using their behavior patterns.
Fallen (contaminated zombies)
- What makes them dangerous: speed, hearing, and the way they punish hesitation.
- Safe-clear plan: control distance, aim for the head, and avoid getting surrounded.
- Practical tip: keep a clean angle and don’t back into unknown terrain while fighting.
Swift Fallen (electric discharge variant)
- What makes them dangerous: they can pressure you even when you think you’re “safe” because the threat isn’t only melee.
- Safe-clear plan: treat them like a “burst window” enemy—bait the commitment, dodge/reposition, then punish.
- Practical tip: don’t fight them in cramped areas where your movement options disappear.
Hellish Dog
- What makes them dangerous: speed and fearless aggression—these fights go bad fast if you miss your first control window.
- Safe-clear plan: keep them in front of you, avoid getting flanked, and prioritize headshots when possible.
- Practical tip: if you panic-spray, you lose. Build for controlled bursts.
Swamp Worm
- What makes them dangerous: paralysis-style pressure. If you lose movement, you lose control of the fight.
- Safe-clear plan: never let them free-cast on you—use cover, break line of sight, and re-peek on your timing.
- Practical tip: fight from positions where you can instantly step behind cover.
Spider
- What makes them dangerous: durability and armor-like protection; they punish players who assume “bullets solve everything.”
- Safe-clear plan: don’t stand still trading. Use angles, consistent damage, and avoid being trapped in dark or tight zones.
- Practical tip: if your damage feels like it’s “not landing,” your strategy should change, not your mood.
Leshy
- What makes them dangerous: camouflage and ambush potential—danger is often “invisible” until it’s too late.
- Safe-clear plan: treat forest lines like threat zones. Move slow, scan, and avoid walking into obvious ambush shapes.
- Practical tip: if an area feels too quiet, assume it’s a setup.
Swamp Thing
- What makes it dangerous: huge burst potential—getting hit can end the fight instantly.
- Safe-clear plan: distance discipline and patience. Don’t greed damage when you should be repositioning.
- Practical tip: your job is to keep a safe angle, not to “prove” you can stand close.
Boom-Cow
- What makes it dangerous: death-trigger threats. Some enemies punish you after you “win.”
- Safe-clear plan: always assume the last seconds are still dangerous—create space before the kill.
- Practical tip: never rush forward for loot the instant it drops. Secure the area first.
Drone
- What makes it dangerous: sustained ranged pressure. If you fight in the open, you will lose over time.
- Safe-clear plan: hard cover and peek discipline. Force the drone to waste time while you deal damage safely.
- Practical tip: if you can’t win the trade from your position, change the position.
Hellish Bear
- What makes it dangerous: heavy melee threat plus dangerous ranged-like spikes. It punishes both close greed and lazy distance.
- Safe-clear plan: play corners and cover. Don’t let it force you into straight-line retreats.
- Practical tip: your retreat path should include cover, not open ground.
Pretender-Beetle
- What makes it dangerous: camouflage and surprise engagement. It punishes autopilot looting and straight-line movement.
- Safe-clear plan: assume “random rocks” are not always rocks. Slow down in suspicious areas.
- Practical tip: safe clears come from attention, not reflexes.
Gadfly
- What makes it dangerous: toxic pressure and paralysis-style tempo control.
- Safe-clear plan: respect range, prioritize cover, and do not let the fight become a stationary aim duel.
- Practical tip: if you feel forced to stand still, you’re already losing—reposition first.
The pattern across all of these: safe clears come from controlling space and timing, not from trying to out-DPS danger.
When to Disengage: Winning by Leaving Alive
The smartest boss players disengage more than they commit. Disengaging is not “quitting”—it’s survival.
Leave when:
- your consumables are below safe threshold,
- your weapon is near breaking,
- your inventory is too valuable to risk,
- you’ve lost your clean angle,
- or the area becomes crowded and unpredictable.
A safe clear sometimes means: you leave with less loot today so you can farm more tomorrow.
BoostRoom: Boss Clears, Builds, and Progress Without Burnout
If you love PIONER’s high-stakes combat but hate wasting nights on messy attempts, BoostRoom can help you turn hard content into repeatable progress.
BoostRoom support is ideal when you want:
- a boss-ready loadout plan that matches your skill level (not just “meta talk”),
- safe-clear coaching so you learn patterns and positioning faster,
- raid coordination help for Manufacture-style content and team progression,
- and a time-efficient route plan so you earn upgrades without grinding forever.
The goal isn’t to skip the fun—the goal is to remove the frustrating loop of failed attempts, lost resources, and stalled progression so you can spend more time actually enjoying the game.
FAQ
How do I know if an enemy is “elite” or just tanky?
If it forces you to spend real resources (multiple heals, lots of ammo, significant durability loss) and it punishes mistakes with burst damage or hard crowd pressure, treat it like an elite—even if the game doesn’t label it that way.
What’s the #1 mistake players make on bosses?
They refuse to reset. They keep pushing while their HP, positioning, or ammo is unstable. Safe clears come from rebuilding control, not from “one last push.”
Should I bring my best gear to learn a boss?
Usually no. Learn the pattern with a kit you can afford to lose. Once you’re consistent, upgrade your kit to speed up clears safely.
How do I stop getting surprised by ambush-style enemies?
Slow down in “too quiet” zones, keep stamina available, and avoid looting immediately after fights. Many deaths happen because players switch their brain off the moment combat ends.
Are world boss encounters harder than raid bosses?
Mechanically, not always. But they’re often more chaotic because you’re dealing with other players, crowded zones, and unpredictable interruptions. Your safest tool is discipline: loot and leave clean.
What should I upgrade first for safer clears?
Upgrade what reduces mistakes: control-friendly weapons, survivability improvements, and quality-of-life choices that keep your kit stable under pressure. Faster damage is great, but stability wins farms.


