What Anomalies Mean in PIONER (Not Just “Hazards”)
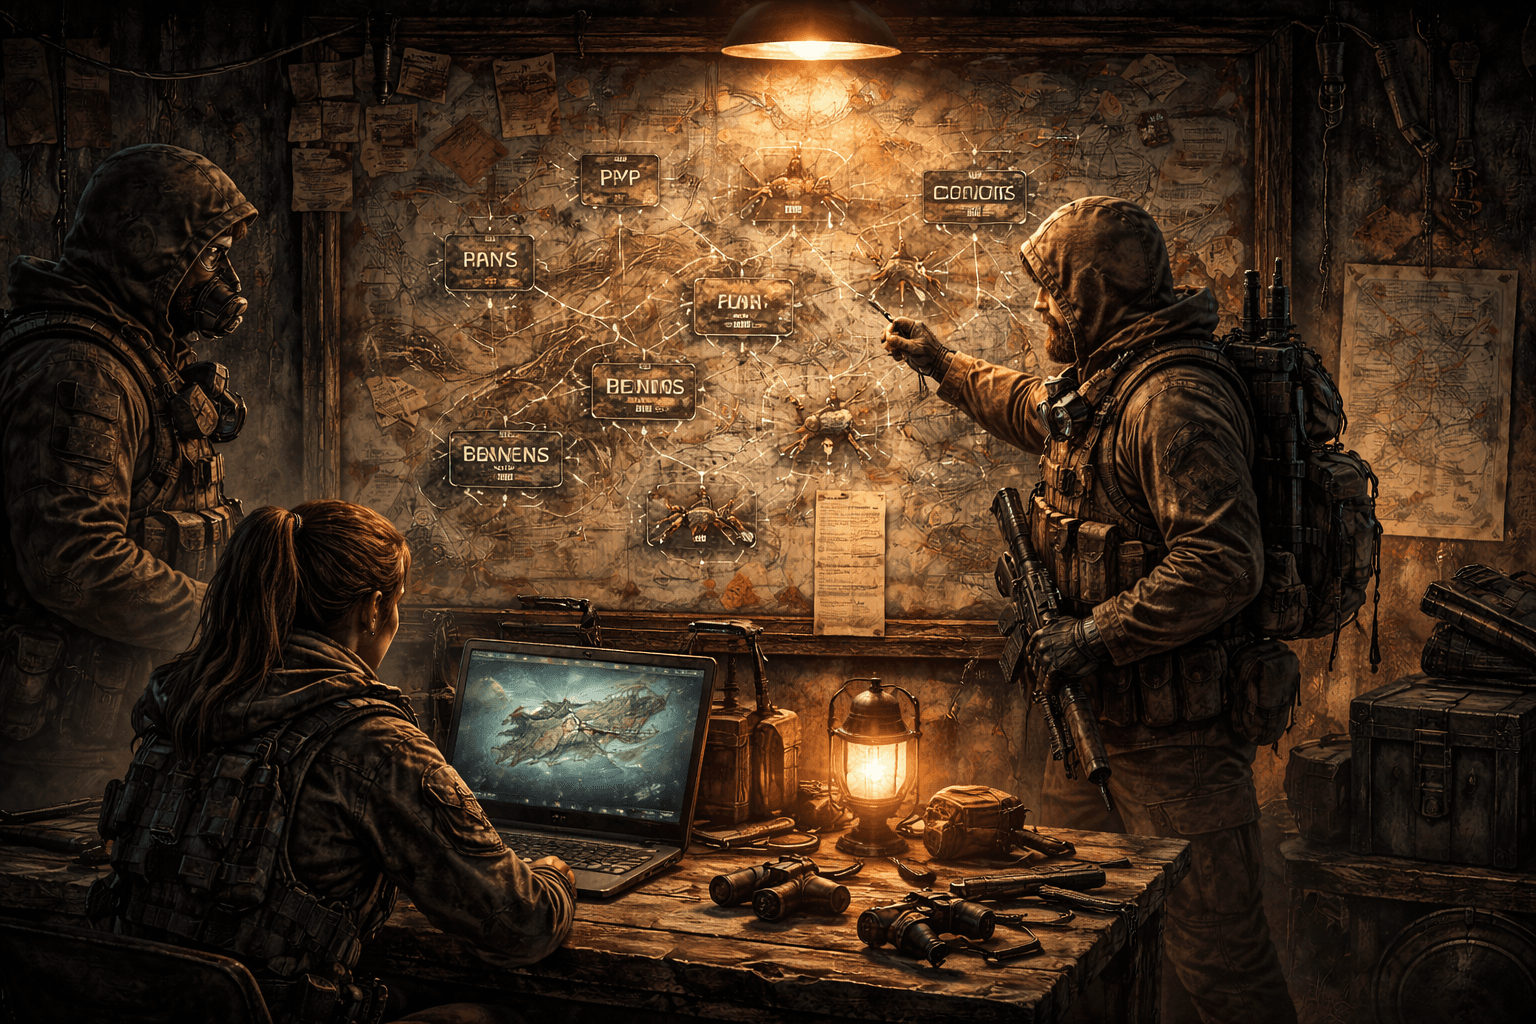
In a lot of games, environmental hazards are predictable: step in fire, take damage, walk away. PIONER treats hazards more like an ecosystem. Anomalies are part of the world’s transformation—an outward sign that reality is “wrong” in that location, often tied to deeper story themes (including the Blue Tide phenomenon). That’s why anomalies aren’t just obstacles; they’re also points of interest.
Two things make anomalies especially important in PIONER:
- They shape movement and combat. An anomaly field can break line-of-sight, force you into choke points, or punish sprinting and panic-rolling. If you don’t read the space, you’ll lose fights you “should” win.
- They anchor high-value rewards. Artifacts and related valuable finds are associated with transformed or contaminated areas. The game’s own descriptions emphasize that the deeper and more corrupted the area, the higher the chance of rare and valuable discoveries.
So the real question isn’t “How do I avoid anomalies?” It’s “How do I survive them long enough to get paid?”
The Three Anomaly Categories You’ll Hear About
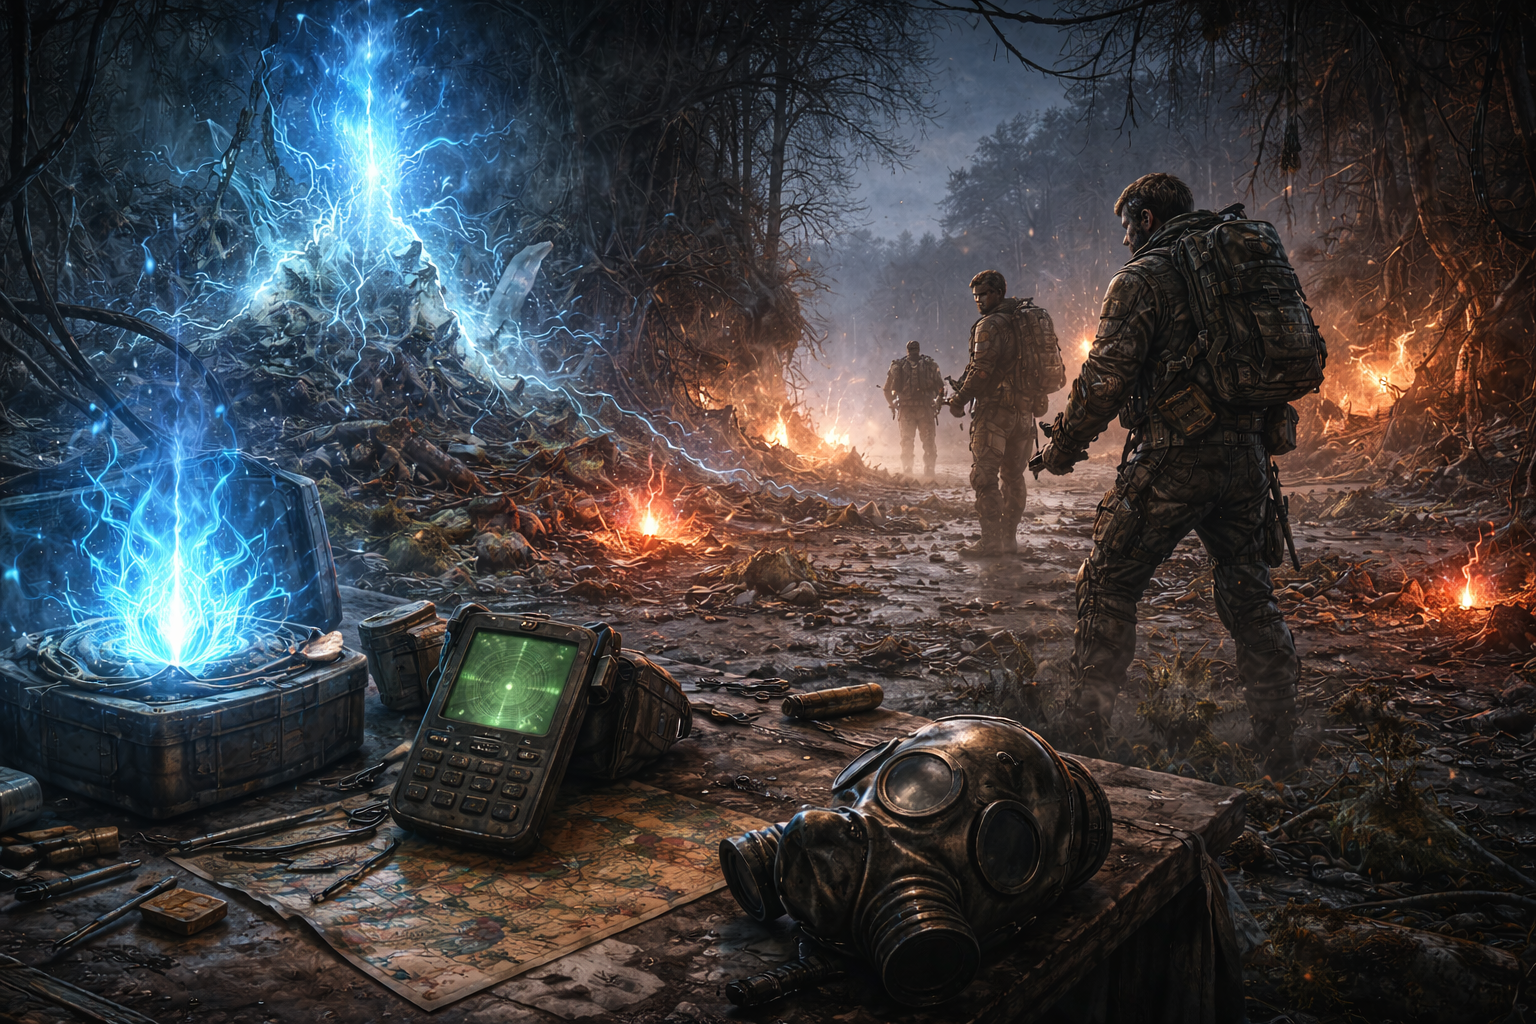
PIONER explicitly frames anomalies in multiple categories, and that framing is useful because each category implies different risks and different preparation.
- Spontaneous anomalies
- Think of these as unpredictable “breaks” in the rules—events or zones that can appear like the world is glitching in real time. Your best defense is discipline: slow movement, controlled approach, and treating unfamiliar spaces as hostile until proven safe.
- Interdimensional anomalies
- These are the “reality-warp” types—spaces where the environment feels alien or out of place, as if something else is pushing through. They’re often the most disorienting to navigate because they don’t behave like normal terrain. When you hunt in these areas, you want clear comms (even if you’re solo, you should be narrating decisions to yourself), and you want to minimize rushed pathing.
- Biological anomalies (including mutations and spore infestations)
- PIONER leans into infestation-themed transformation. Biological anomalies are the ones most likely to punish you over time—pressure, attrition, and “the longer you stay, the worse it gets” vibes. Your preparation here is less about a single perfect move and more about sustaining your character: food, rest, and resource management so you’re not crumbling mid-run.
The category labels matter because they shape how you think. If you treat everything as “just damage zones,” you’ll miss the point—and you’ll die to the parts that aren’t obvious.
Blue Tide: Why the World Keeps Getting More Dangerous
Blue Tide isn’t just lore flavor. It’s presented as a major plot theme and described as a release of energy from a station—something that keeps pushing the archipelago toward darker, more alien states. Practically, that matters because PIONER’s world is built around transformation over time: the further you go inward, the more dangerous it becomes, and the more the environment shifts toward infestation and extinction-level hostility.
For artifact hunters, Blue Tide is important for three reasons:
- It explains why anomalies cluster and intensify. If the world is being “charged” or distorted repeatedly, anomaly zones aren’t random—they’re symptoms.
- It supports the risk-reward logic. More corruption = more danger = better odds of valuable finds.
- It turns artifact hunting into a story-adjacent activity. You aren’t just farming; you’re engaging with the world’s central mystery, which often means hunting routes intersect with events, quests, and faction pressure.
Even if you skip story dialogue, you’ll feel Blue Tide in how the island escalates.
Artifacts vs Specimens: What You’re Actually Looking For
PIONER talks about “unique artifacts and specimens” being more likely in contaminated areas. Players often lump everything valuable under “artifacts,” but it helps to keep the concept clean:
- Artifacts are the headline items—rare finds strongly associated with anomaly activity and world distortion. They’re the kind of loot that makes a run feel worth it even if you burned supplies.
- Specimens (as the word implies) are discoveries that feel like samples—things you’d extract, study, trade, or use in progression systems tied to exploration and transformation.
Both matter because they feed the same core loop: danger → discovery → crafting/trading → stronger loadout → deeper danger.
When you go hunting, decide before you leave the safe zone what your priority is:
- Are you hunting crafting progression (keep items even if you could sell them)?
- Are you hunting money (sell most of it, keep only what upgrades you now)?
- Are you hunting a specific build (only keep items that support your goal)?
Clarity saves your inventory, your time, and your life.
Anomaly Energy: The Resource That Turns Runs Into Upgrades
PIONER’s crafting pitch is direct: you use artifacts, anomaly energy, and scavenged materials at workbenches to craft weapons and equipment. That matters because it tells you something important:
Artifacts aren’t only trophies. They’re part of a production chain.
Anomaly energy is the glue in that chain. You can think of it as the “charge” or exotic resource that makes high-end crafting possible—something you can’t just loot from a normal crate in a safe town. Guides and player talk commonly frame it as something you obtain through exposure to environmental hazards and transformed zones (exact acquisition can vary by build and updates), but the strategic takeaway stays the same:
- If you want consistent gear progression, you need a consistent way to return with anomaly-linked resources.
- That means building a repeatable hunting routine, not relying on luck.
So your goal isn’t “find one amazing artifact.” Your goal is to turn dangerous zones into a steady pipeline.
Where Artifacts Spawn: What Players Commonly Look For
Because PIONER is still the kind of game that evolves, it’s smart to treat exact spawn behavior as “current build behavior,” not permanent truth. But player discussion has highlighted a few repeated patterns worth using as a starting checklist.
Many artifact hunters report that potential artifact sites often show:
- Unusual ground patterns (sometimes circular or “too intentional” to be normal terrain).
- Nearby environmental hazards (examples players frequently mention include electrical-looking danger zones or fire-like hazards).
- Inconsistent yield (a common expectation shared by players is that not every site produces an artifact every time).
Whether these observations remain true forever or not, they lead to a practical method that does hold up in most survival shooters:
- Identify suspicious anomaly-adjacent micro-locations
- Sweep them in a controlled pattern
- Don’t overcommit to one spot if the run isn’t paying out
- Move to the next cluster before you burn too many supplies
In other words: hunt areas, not single points.
The Artifact Hunter’s Loadout Checklist (Survive First, Profit Second)
Artifact hunting rewards greed—and punishes it harder than normal combat. Your loadout should be built around two principles:
- You need to keep moving and stay combat-ready.
- You need enough sustain to get home even if the run goes long.
A practical checklist:
- Primary weapon you can trust under pressure
- You’re not choosing “highest DPS.” You’re choosing “most reliable when things go wrong.” If your aim falls apart when you panic, pick stability over style.
- Secondary weapon optimized for emergencies
- Something you can draw fast, reload fast, and use while repositioning. Artifact hunting often forces awkward angles.
- Healing and recovery supplies
- Bring what your build can actually use efficiently. Overpacking sounds safe until you realize you can’t carry what you came for.
- Food and rest planning
- PIONER highlights hunger and rest as real survival concerns. Don’t start a deep run when your character is already operating at a disadvantage.
- Inventory space discipline
- Before you leave, decide what you will not pick up. If everything is “maybe useful,” you’ll crawl home overloaded or die trying.
The best artifact hunters aren’t braver. They’re less chaotic.
How to Approach Anomaly Fields Without Donating Your Gear
Most deaths in anomaly zones come from one of three behaviors: rushing, tunnel vision, or fighting the terrain instead of reading it. Use a simple approach protocol:
- Stop outside the field.
- Take five seconds. Look for the safest entry line, not the shortest.
- Choose a “reset point.”
- Pick a nearby rock, wall, wreck, or terrain feature you can retreat to. If you can’t name your reset point, you’re about to get trapped.
- Enter on purpose, not by drift.
- A lot of players “accidentally” step into danger while watching their minimap, inventory, or a distant enemy. Artifact hunting is not the time for autopilot.
- Treat sound and visibility as threats.
- If you’re in a visually noisy or disorienting area, assume you’re also easier to ambush (by AI or players) and plan for that.
If you do only one thing better starting today: slow your first ten meters. That alone improves survival more than most gear upgrades.
Solo, Duo, Squad: The Best Team Size for Artifact Runs
There’s no universal best size—there’s a best size for your goal.
- Solo is best for stealthy, fast, low-drama profit runs.
- You control decisions, you control pace, and you don’t split loot. The downside is that mistakes are fatal and you can’t cover multiple angles.
- Duo is the most efficient “serious” hunting format.
- One player reads terrain and watches for threats; the other focuses on looting and route discipline. The duo advantage is huge because you get coverage without chaos.
- Squad is best for contested zones, deep expeditions, or when you expect fights.
- More guns means more survival, but also more noise, more coordination cost, and more “we stayed too long because we felt strong.”
A smart compromise: run duo for farming and squad for planned high-risk pushes.
The Risk-Reward Brain: How Good Hunters Decide When to Leave
Artifact hunting is rarely lost on the first mistake. It’s lost on the fifth: the run that should have ended ten minutes ago.
Use a simple leave-rule system:
- Leave when your bag hits your “profit threshold.”
- Decide a value threshold before you start. When you hit it, you turn around. This stops greed deaths.
- Leave when your sustain drops below 50%.
- If half your recovery kit is gone, you’re no longer hunting—you’re surviving.
- Leave when the zone starts demanding attention you can’t spare.
- If you’re juggling enemies, hazards, and navigation at the same time, you’re one bad moment away from losing everything.
The best hunters don’t maximize loot per run. They maximize loot per hour—because they don’t wipe.
A Practical Artifact Hunt Route Template You Can Repeat
Even without a perfect map of spawns, you can build a repeatable loop that works in most regions.
- Start from a settlement with workbench access
- The goal is to convert loot into progression quickly so you don’t hoard risky value.
- Pick a target zone with multiple anomaly clusters close together
- Avoid “one big field with nothing else nearby.” You want options.
- Sweep the outer edge first
- Outer-edge sweeps teach you the zone’s behavior today—enemy presence, player presence, hazard intensity.
- Hit micro-locations, not just the center
- Many valuable finds hide in “in-between” pockets where players rush past.
- Reset to safety, sort inventory, and decide
- If you keep pushing deeper without sorting, you’ll make a bad call when pressure hits.
- Second sweep: commit to one deeper cluster
- One. Not three. Deep pushes are where wipes happen.
- Extract and convert immediately
- Sell what you don’t need, craft what you planned to craft, store what supports your next goal.
Repeatable loops beat heroic runs.
Crafting With Artifacts: What “Build Smarter” Actually Means
Because PIONER pushes crafting through artifacts and anomaly energy, you’ll always face the same decision: sell now or invest now.
A smarter crafting mindset:
- Craft for survivability first, speed second, power third.
- Artifact hunting rewards staying alive and moving well. If you can’t reliably return with loot, chasing bigger damage is a trap.
- Upgrade “run stability” items early.
- Anything that helps you endure longer in hazardous areas or escape fights improves your overall income and progression.
- Don’t craft emotionally.
- If an item looks cool but doesn’t support your plan, it’s not an upgrade—it’s a distraction.
- Treat anomaly resources as strategic, not random.
- When you get anomaly energy and artifact-related loot, it’s tempting to “spend it because it’s rare.” Instead: spend it when it moves you into a better tier of consistency.
If you want to feel stronger fast, prioritize the gear choices that reduce your death rate—not just your time-to-kill.
Trading vs Keeping: The “One Rule” That Fixes Most Inventories
If you struggle with hoarding, use this rule:
If you can’t name exactly what you’ll use it for within the next two sessions, sell it.
Artifact hunting creates inventory pressure by design. You’re supposed to choose. The more quickly you convert loot into upgrades (or currency for upgrades), the less you risk losing everything on a later run.
A good split strategy:
- Keep: items that directly enable your next crafting milestone
- Sell: duplicates, “maybe later” parts, and anything that doesn’t fit your plan
- Store (limited): only the rarest pieces that are clearly hard to replace
This keeps your economy moving and your runs clean.
Common Artifact Hunting Mistakes (And How to Fix Them Fast)
- Mistake: sprinting through unknown ground
- Fix: walk the first entry line, then sprint only after you’ve confirmed a safe lane.
- Mistake: fighting inside the hazard instead of repositioning
- Fix: retreat to your reset point, then re-engage from stable ground.
- Mistake: looting while exposed
- Fix: clear, cover, loot. Every time.
- Mistake: “just one more cluster” thinking
- Fix: set a profit threshold and obey it.
- Mistake: carrying too many low-value items
- Fix: pre-decide what you’ll ignore so you keep space for what matters.
- Mistake: running deep when your survival needs are already low
- Fix: top up food/rest and supplies first—deep runs punish weakness.
These fixes aren’t glamorous, but they make your runs predictable—and predictable runs make you rich.
Advanced Tactics: Turning Hazard Zones Into Your Home Turf
Once you’re surviving consistently, the next step is efficiency. Here are high-value habits that separate experienced hunters from casual looters:
- Create “micro-routes” inside a zone
- Instead of wandering, pick 3–5 points and connect them with a safe lane you can repeat. Familiarity reduces mistakes.
- Farm during low-drama windows
- If an area feels busy (enemy pressure, player activity, too many fights), switch zones. Artifact hunting is about value, not pride.
- Rotate zones instead of hard-grinding one
- If spawns are inconsistent, rotation protects your time. If the run isn’t paying out, don’t force it.
- Think like an ambusher even if you aren’t PvP hunting
- Move as if someone is watching. Choose cover. Avoid skylining. Don’t stop in the open to sort inventory.
- Upgrade your decision speed, not just your gear
- The best hunters decide quickly: loot or leave, fight or rotate, deep push or reset. Hesitation is where anomalies and enemies win.
BoostRoom: Faster Progress Without Wasting Runs
If you want to speed up your PIONER progression, the biggest “boost” isn’t a secret spot—it’s cutting out the trial-and-error that burns your time and gear. BoostRoom is built for players who want to improve efficiently and play with a plan.
What BoostRoom can help you do:
- Build a personal artifact hunting loop based on your playstyle (solo, duo, squad)
- Set crafting priorities so artifacts and anomaly energy turn into real power instead of random spending
- Improve survival consistency with practical coaching: movement discipline, loot triage, and risk management
- Find reliable teammates for runs where coordination matters more than raw aim
- Stay current on meta shifts so you don’t grind the wrong thing after updates
If your goal is to stop “barely surviving” and start returning with consistent value, BoostRoom’s approach is simple: tighten your loop, reduce wipes, and turn every expedition into measurable progress.
FAQ
Q: Are anomalies only there to damage you?
No. In PIONER they’re part of the world’s transformation and a key driver of high-value exploration. They shape navigation and combat, and they’re strongly connected to where valuable finds (like artifacts and specimens) show up.
Q: What’s the safest way to start artifact hunting as a beginner?
Start with edge sweeps in safer regions, bring enough food/rest support to stay combat-ready, set a strict profit threshold, and leave early. Your first goal is consistency, not jackpot loot.
Q: What is anomaly energy used for?
PIONER’s crafting loop highlights anomaly energy as a core ingredient alongside artifacts and scavenged materials at workbenches to craft weapons and equipment. Treat it as a strategic resource for progression.
Q: Do all anomaly sites guarantee an artifact?
Player experience commonly suggests “no”—many sites are potential spawns rather than guaranteed rewards. That’s why rotation and multi-cluster routes are more efficient than camping one spot.
Q: Should I sell artifacts or keep them for crafting?
If you’re pushing progression, keep what directly supports your next crafting milestone. If you need money or your build doesn’t benefit, selling can be the right move. The best answer is the one that fits your next goal.
Q: How does Blue Tide relate to anomalies and artifacts?
Blue Tide is described as a release of energy tied to a central plot theme. PIONER also emphasizes that the world is transforming, and that deeper, more contaminated areas tend to produce rarer finds. Conceptually, Blue Tide helps explain why distortion zones exist and why they matter.
Q: Is it better to hunt solo or with a group?
Solo is efficient and quiet. Duo is often the best balance of coverage and control. Squads are strong for contested zones but can get messy. Pick the size that matches your risk tolerance and goal.
Q: What’s the #1 mistake that gets artifact hunters killed?
Staying too long. Most wipes happen after a successful phase—when players push “one more” cluster while low on supplies or overloaded.
