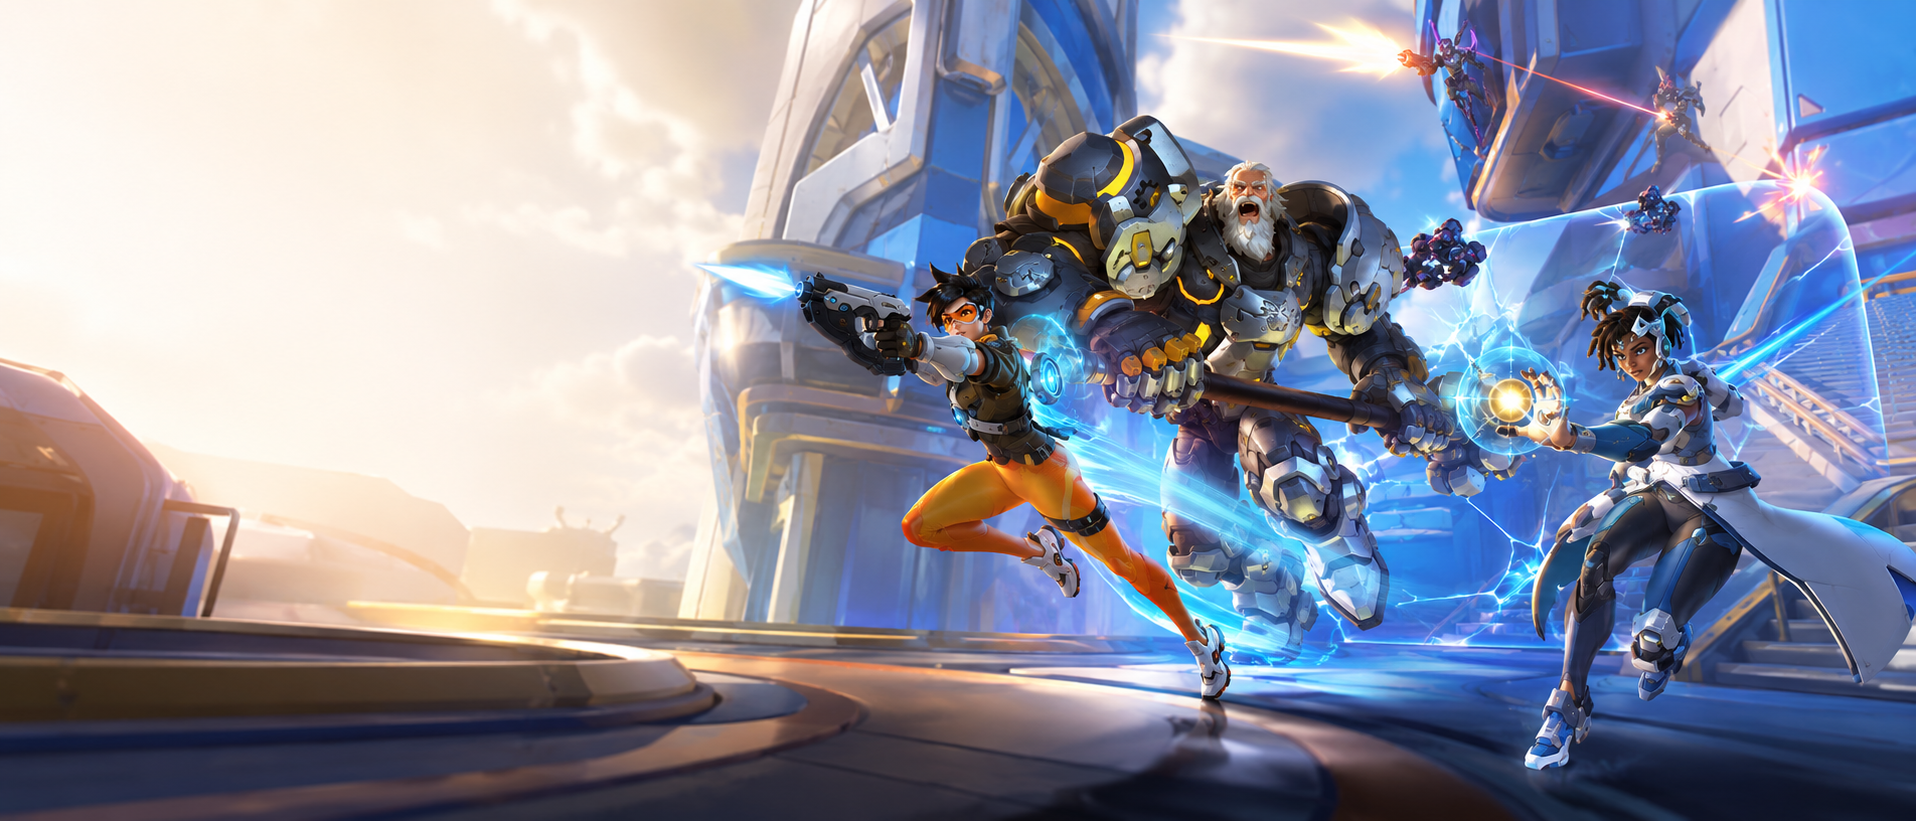
Your First 30 Minutes: The Setup That Makes the Game Easier
Before you grind matches, do one simple setup session. This prevents the two most common beginner problems: (1) the game feels “slippery” or delayed, and (2) you can’t see what’s happening.
Do this in order
- Pick one input (mouse & keyboard or controller) and stick to it for at least a week. Constant switching slows learning.
- Choose a role to start (Tank, Damage, or Support). If you’re unsure:
- Pick Support if you like helping, staying aware, and learning positioning.
- Pick Damage if you like mechanics and taking duels.
- Pick Tank if you like leading the push and controlling space.
- Enter the Practice Range and make sure your aim and movement feel comfortable.
- Play 3 Quick Play matches focusing on only one skill: staying alive (use cover) and regrouping.
Beginner rule that wins games immediately: if you lose a fight, don’t “touch the point” alone unless it actually saves the round. Most of the time you should back up and regroup so your team fights 5v5 instead of 1v5.
Best PC Settings for Smooth Aim and Clear Visibility
These recommendations are designed for beginners who want: stable FPS, low input delay, and clean visuals. Exact “best” settings depend on your PC, but the priorities are the same.
1) Display settings (the big wins)
Display Mode: Fullscreen (usually best for consistency and lower latency).
V-Sync: Off (adds latency for most players).
Frame Rate Cap: Set a cap your PC can hold consistently. A stable cap feels better than spikes.
- If you can hold a high cap comfortably, do it.
- If your FPS swings wildly, lower the cap until it stays stable during fights.
Why stability matters: your aim improves when your sensitivity “feels the same” every moment. Big FPS drops make tracking feel inconsistent.
2) Latency settings (make the game feel more responsive)
Many players use these options to reduce system latency:
- NVIDIA Reflex (if available): commonly enabled for lower latency.
- Reduce Buffering: some players enable it for responsiveness, but results can vary depending on whether your system is CPU-limited or GPU-limited.
Beginner-friendly approach:
- Turn on the latency features you have access to.
- If you notice stutters or worse performance, turn them off one by one and test again.
3) Graphics settings (visibility > pretty effects)
In a competitive shooter, you want enemies easy to see and your FPS steady.
Suggested baseline (good for most PCs):
- Textures: Medium (helps clarity without heavy cost on many systems).
- Shadows: Low or Off (shadows are expensive and can add clutter).
- Reflections / Ambient effects: Low or Off (visual noise).
- Effects detail: Low–Medium (reduce screen clutter in big fights).
- Anti-aliasing: Low–Medium (too high can soften edges and reduce clarity).
- Render Scale: Prefer 100% if you can hold your FPS. If you can’t, lower slightly and test.
If you’re on a weaker PC: prioritize FPS and stability first. You can still win with “ugly” settings if the game feels responsive.
4) Upscaling options (FSR/DLSS)
Upscaling can help performance, but it can also change how targets look while moving. If you use it:
- Test in the Practice Range first.
- Decide based on what helps you see and track targets best.
5) A simple test to confirm your settings
Go into the Practice Range and do this:
- Strafe left-right while tracking a bot’s head or torso.
- If it feels delayed, lower visual extras, confirm V-Sync is off, and test your latency options.
- If it feels “jittery,” lower the FPS cap slightly to get a stable number.
BoostRoom tip: if you want a fast “settings audit,” BoostRoom can review your current setup (PC specs + in-game settings) and suggest a stable FPS target and clean visibility setup that matches your monitor and playstyle.
Best Console/Controller Settings (Simple, Not Overwhelming)
Controller settings can become a rabbit hole. Don’t over-tune early. Use a simple baseline, then adjust slowly over a few days.
Start with these principles
- Sensitivity: high enough to turn quickly, low enough to track smoothly.
- Aim smoothing: too much feels “slow” and can make you late to targets; too little can feel shaky.
- Deadzone: too high makes aiming feel unresponsive; too low can cause stick drift.
A beginner-friendly method
- Pick a sensitivity where you can do a 180-degree turn without lifting your thumb awkwardly.
- Test tracking a moving bot. If you’re constantly overshooting, lower sensitivity a bit.
- Only change one setting at a time, then play 5 matches before changing again.
Don’t copy a pro’s settings immediately. Pros choose settings for their training history and hero pool. Your goal is comfort and consistency.
Audio and Visibility: The “Free Awareness” Most Beginners Ignore
You can win fights you “shouldn’t” win just by hearing and seeing better.
Audio
- Raise sound effects relative to music if you’re missing footsteps, flankers, or ult voice lines.
- If you play in a noisy room, consider a cleaner audio mix so key sounds stand out.
Visual clarity
- If there are options for enemy and ally outline colors, pick combinations that pop for you.
- If your screen feels too busy, reduce effect intensity where possible and simplify visuals.
Beginner awareness habit: every time you hear an enemy ultimate voice line, do one defensive action instantly:
- step behind cover,
- back up,
- or save a defensive ability for the next second.
That habit alone wins rounds.
Roles Explained: What You Should Actually Be Doing
Overwatch roles aren’t just labels. Each role has a “win condition” you should chase.
Tank: Make Space, Start Fights, Don’t Die First
Your job is to make safe space for your team to stand in, and to control the tempo of fights.
What beginners do wrong on Tank
- Walk forward alone and get melted.
- Stand in the open with no cover.
- Use defensive abilities too early (then die when the enemy pushes).
What to do instead
- Move from cover to cover.
- Take space when your team is with you (look back and confirm).
- Use defensive cooldowns when real damage is coming, not “just in case.”
Beginner Tank win condition: survive long enough for your Supports to keep you up while your Damage players get angles.
Damage: Take Angles, Finish Kills, Pressure the Right Targets
Damage heroes create pressure and confirm eliminations.
What beginners do wrong on Damage
- Shoot the Tank all game because they’re easiest to hit.
- Stand with the whole team in the same doorway (no angles).
- Chase kills into enemy territory and die.
What to do instead
- Shoot what you can safely hit, but look for chances to pressure Supports or low-health targets.
- Take a small off-angle (even a few steps to the side) so the enemy can’t block everything.
- If you get a pick, don’t over-chase—return to a safe position.
Beginner Damage win condition: stay alive and apply steady pressure so your team wins the resource war.
Support: Keep Teammates Alive and Help Win the Fight
Supports are not “healers only.” You help your team win by healing at the right moments and adding damage/utility at the right moments.
What beginners do wrong on Support
- Healbot nonstop and never pressure enemies.
- Stand in the open because you’re focused on teammates’ health bars.
- Use mobility to go forward instead of to escape.
What to do instead
- Play near cover. Heal, then look up and contribute.
- Learn one escape route on each map area.
- Use utility to save teammates at the exact moment they’d die.
Beginner Support win condition: keep your team fighting 5v5 while denying the enemy easy eliminations.
Beginner-Friendly Heroes (Easy Plans That Actually Work)
Pick 2–3 heroes per role so you can learn faster. Here are simple choices and simple plans.
Beginner Tanks
Reinhardt (classic “frontline” learning tank)
- Plan: hold corners, shield when crossing danger, swing when close, back up when low.
- Key habit: don’t keep shield up until it breaks—use it to block big danger, then recharge it behind cover.
- Win marker: you survive and your team moves through a choke together.
Orisa (steady, survivable, great for learning spacing)
- Plan: hold a strong position, deny enemy pushes with your defensive tools, pressure enemies who overstep.
- Key habit: use defense when the enemy commits damage, not while nothing is happening.
- Win marker: the enemy can’t walk in for free.
Winston (simple dive fundamentals)
- Plan: jump to a safe target, bubble, leave before you die.
- Key habit: if you can’t get out, don’t go in.
- Win marker: you force enemy Supports to panic and retreat.
Beginner Damage Heroes
Soldier: 76 (straightforward mechanics + self-sustain)
- Plan: take safe angles, shoot consistently, heal yourself when pressured, use ultimate when the enemy is distracted.
- Key habit: don’t sprint into the enemy—sprint to cover and angles.
- Win marker: you keep pressure without feeding.
Cassidy (learn pacing and positioning)
- Plan: hold a mid-range angle, punish enemies who walk into your sightline, protect your Supports from flankers.
- Key habit: don’t stand in the open; peek-shoot from cover.
- Win marker: the enemy can’t freely walk into your team.
Reaper (simple close-range threat)
- Plan: approach safely, fight in your range, leave with your escape tool if it gets risky.
- Key habit: don’t teleport into five enemies—teleport to positions that give you a safe entrance.
- Win marker: you remove squishy targets when fights start.
Beginner Supports
Moira (for learning survival and fight flow)
- Plan: heal when team is pressured, damage when stable, escape when threatened.
- Key habit: save your escape tool for danger, not for speed.
- Win marker: you stay alive and your team doesn’t collapse.
Mercy (positioning and awareness training)
- Plan: stay safe behind cover, damage boost when possible, heal during real danger, reposition constantly.
- Key habit: if you can’t be shot, you can keep your team alive longer than raw healing numbers.
- Win marker: your team wins long fights because you don’t die.
Lúcio (teaches timing and tempo)
- Plan: speed your team into good positions, heal during brawls, boop threats away, survive.
- Key habit: speed is a tool—use it to engage or disengage, not randomly.
- Win marker: your team arrives first and controls space.
BoostRoom tip: once you choose your 2–3 heroes, BoostRoom coaching works best when your hero pool is small. You improve faster because advice becomes specific (position here, save this cooldown, take this angle) instead of generic.
The “First Wins” Match Plan (Use This Every Game)
If you do nothing else, use this plan. It keeps you from feeding and makes your team fights cleaner.
Before the first fight
- Stand near cover (a wall or corner).
- Look at your team: are you actually together?
- Identify one threat: “Who can kill me fast?” (a flanker, a sniper angle, an aggressive tank)
During the fight
- Step 1: Don’t die first. Play cover.
- Step 2: Use one cooldown to survive, one to win.Example: defensive ability to live, offensive ability to secure a kill.
- Step 3: If your team loses 1–2 players early, back up. Most beginner losses come from staying in a lost fight.
After the fight
- If you won: reload, top off health, take a better position before the next fight starts.
- If you lost: regroup. Don’t run in alone to “touch” unless it truly prevents an immediate loss.
The easiest win habit in Overwatch 2: fight as five. Even “worse” players win more when they stop trickling in one by one.
Game Modes Made Simple (So You Always Know What To Do)
Different modes reward different habits. Here’s the beginner version.
Control
- Goal: capture and hold the point.
- Beginner mistake: staggering onto point alone.
- Winning habit: take one clean team fight, then hold strong positions near the point and rotate together.
Escort
- Goal: move the payload by staying near it; stop the enemy from moving it.
- Beginner mistake: everyone stands on payload while the enemy takes high ground and shoots for free.
- Winning habit: one or two people can “push” while others control space (especially high ground and flanks).
Hybrid
- Goal: capture first point, then escort payload.
- Beginner mistake: over-committing ultimates on the final seconds of a lost fight.
- Winning habit: if you lose a fight near the end of capture, save ultimates and try again as five.
Push
- Goal: control the robot to push the barricade further than the enemy.
- Beginner mistake: chasing kills far away while robot walks for free (or while you’re not contesting).
- Winning habit: win the fight first, then stabilize positions so you can keep control of the robot.
Flashpoint
- Goal: capture multiple points; the map is large and rotations matter.
- Beginner mistake: arriving late because you’re fighting in a dead area after the objective moved.
- Winning habit: after a fight ends, rotate early. Getting set up first often wins the next fight.
Clash
- Goal: fight over sequential objectives; momentum swings quickly.
- Beginner mistake: using big ultimates when your team isn’t ready to follow up.
- Winning habit: treat it like repeated “mini team fights.” Reset fast, go together, and don’t trickle.
Positioning 101: Cover, Corners, and Why High Ground Feels Unfair
You don’t need fancy movement to position well. Use these three rules.
Rule 1: If you can see five enemies, five enemies can see you.
So don’t stand in the open. Peek from cover, shoot, then reset.
Rule 2: Corners are your best friend.
Corners let you stop taking damage instantly. That means fewer deaths and fewer panic cooldowns.
Rule 3: High ground is advantage because it reduces risk.
From high ground you can shoot while exposing less of your body, you can drop to escape, and you often have better sightlines.
Beginner shortcut: when a fight starts, ask: “Where is my nearest corner?” Play near it.
Ultimates for Beginners: Use Them to Win One Fight at a Time
Ultimates feel like “press Q to win,” but they’re really “press Q to create a moment.”
Easy rules
- Use ultimates when your team can follow up (when they’re alive and close).
- Don’t stack 3–4 ultimates into a fight that’s already won.
- If you’re down two teammates, save your ultimate unless it can clearly flip the fight.
Beginner ultimate goal: win one fight cleanly, then build the next one faster than the enemy.
A 10-Minute Warmup That Actually Helps
You don’t need a complicated aim routine. You need consistency.
Minute 1–3: Movement + crosshair control
- Strafe left-right while keeping your crosshair steady on a single target.
- Practice stopping your movement briefly before harder shots (especially on hitscan heroes).
Minute 4–7: Tracking
- Track a moving target smoothly without “flicking” wildly.
- Focus on keeping your hand relaxed.
Minute 8–10: Ability reps
- Practice your hero’s key cooldown rhythm.
- Tank: engage/defend timing
- Damage: reload and ability usage in duels
- Support: heal rhythm + escape timing
If you only have 2 minutes: do tracking + one ability rep. Something is always better than nothing.
Communication Without Stress: Pings, Simple Callouts, and Zero Toxicity
You don’t need to be loud or “IGL” to help your team.
Use simple information
- “One low left” (a low-health enemy on the left)
- “Back up, we’re down two”
- “Group up, then go”
- “They used big ult last fight”
Beginner rule: communicate decisions, not emotions.
- Good: “Regroup and push together.”
- Bad: “Why are you all throwing?”
Staying calm makes you win more because Overwatch is a momentum game.
The Most Common Beginner Mistakes (And the Quick Fix for Each)
Mistake 1: Fighting alone (staggering)
- Fix: after you die, wait 2 seconds and look at kill feed/team status. If your team is dead, don’t sprint in.
Mistake 2: Standing in the open
- Fix: every time you shoot, be within one step of cover.
Mistake 3: Shooting the Tank nonstop
- Fix: shoot the Tank when it’s safe, but actively look for Supports or low targets when they appear.
Mistake 4: Using mobility to go in, not to get out
- Fix: save escape tools unless you’re sure you can survive.
Mistake 5: Panic ults
- Fix: ask one question before ulting: “Can my team follow up right now?”
Mistake 6: Swapping heroes every death
- Fix: swap only if you can name the problem you’re solving (example: “We need more survivability,” “We need a way to touch point safely,” “We need to contest high ground”).
When You’re Ready for Competitive (And How to Avoid a Bad First Experience)
Competitive can be fun when you have a small foundation.
You’re ready when you can do these consistently
- Play 2–3 heroes in your main role without feeling lost.
- Regroup naturally (you don’t trickle in).
- You understand the objective of each mode.
- You can survive fights by using cover.
How to approach early Competitive
- Treat it like learning, not like a final exam.
- Mute toxicity fast; keep useful comms.
- Focus on one improvement goal per session (positioning, cooldown timing, or target priority).
How BoostRoom Helps You Improve Faster (Without Guesswork)
Reading guides is helpful, but improvement accelerates when feedback becomes personal and specific.
With BoostRoom, you can turn “I want to get better” into a clear plan:
- Settings check: stabilize FPS/visibility and clean up sensitivity so the game feels consistent.
- Role coaching: learn exactly what to do in fights so you stop feeling random.
- VOD review: see the 3–5 repeated mistakes that cost you the most fights (and fix them first).
- Hero pool plan: pick a small set of heroes and build real mastery instead of constantly swapping.
If your goal is “first wins,” BoostRoom focuses on fundamentals that show results quickly: surviving longer, fighting as five, and taking better positions—because those wins happen before you even become a mechanical monster.
FAQ
How many heroes should I learn as a beginner?
Start with 2 heroes in your main role and 1 backup. That’s enough to handle most situations without overwhelming you.
Is it better to play Quick Play or Competitive first?
Quick Play first, until you understand objectives and can regroup properly. Competitive is more enjoyable when you’re not still learning the basic flow of fights.
What’s the single fastest way to win more games?
Stop staggering. Fight 5v5 more often than the enemy. Regrouping is a “hidden skill” that wins games at every rank.
Do I need perfect aim to climb?
No. Good positioning, cover usage, and smart cooldown timing can carry you far—especially on Tank and Support.
Should I always counter-pick?
Not at the start. You’ll improve faster by mastering a small hero pool. Swap when you can clearly name the problem and your swap solves it.