Route: The Two Skills That Decide Teamfights
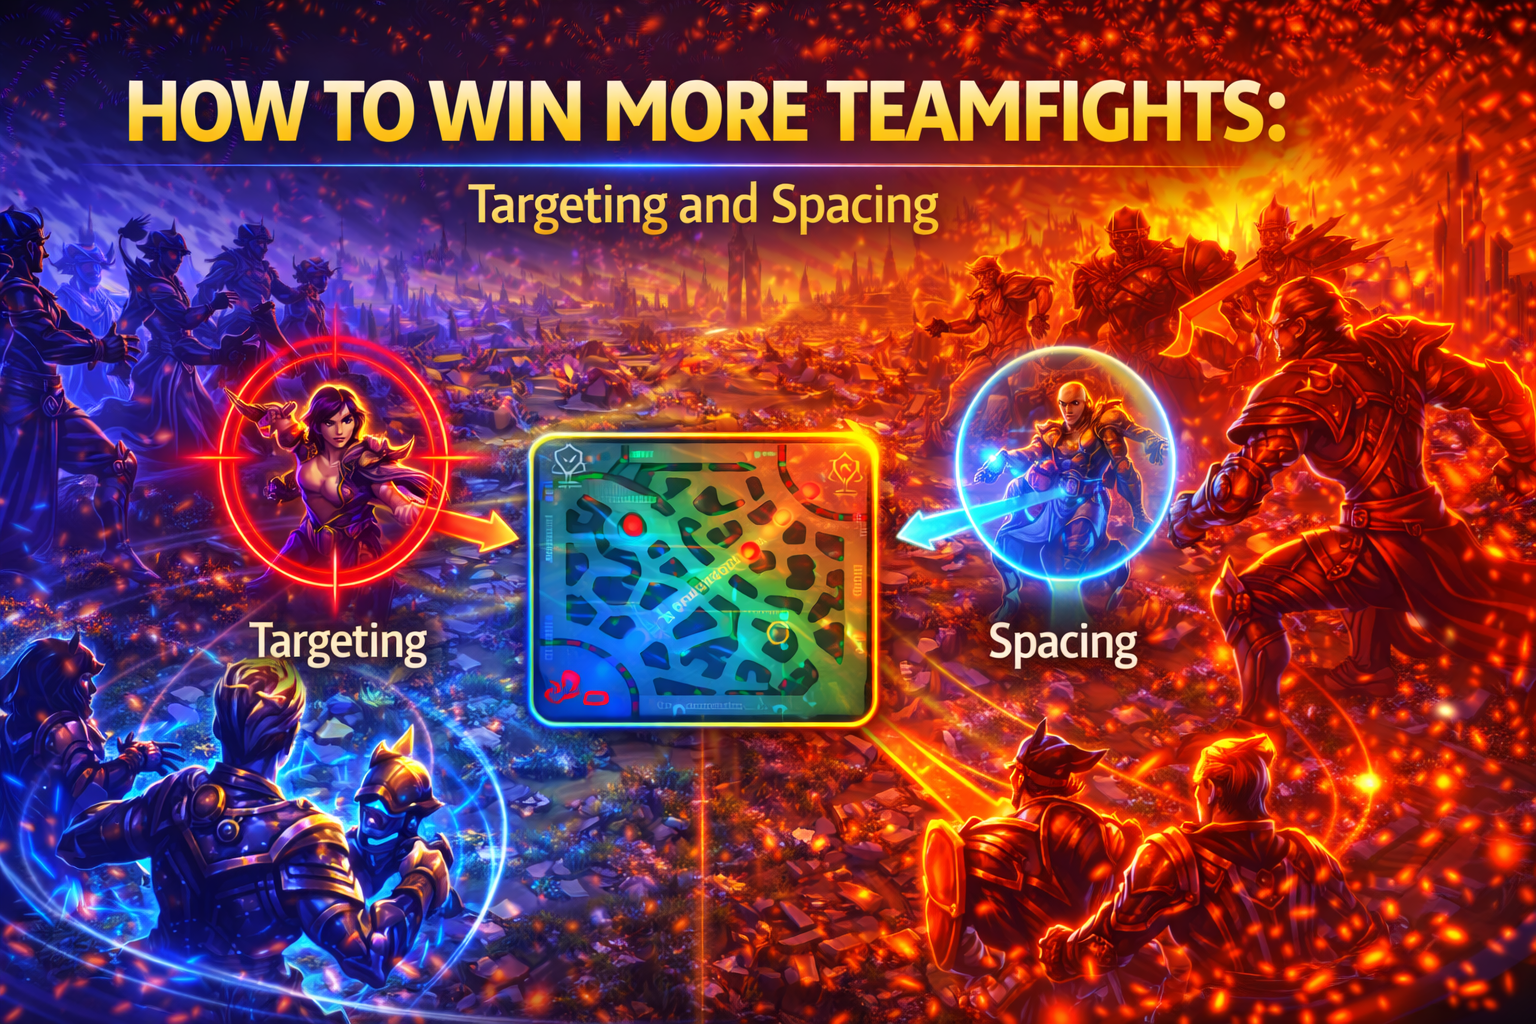
If you only train two things, train these:
- Targeting: Who is the correct target right now based on threat, value, and reachability?
- Spacing: Where do I stand so I can hit without getting engaged on, bursted, or chain-CC’d?
High-rank players look “clean” because they do these two things automatically:
- they kill what matters first (or deny what matters first),
- and they stand where the enemy’s best play doesn’t work.
Route: Build Your Threat Map in 10 Seconds
Before a teamfight even starts, quickly build a “threat map” in your head:
- Who kills me fastest? (assassin, burst mage, hook/CC roamer, diver)
- Who wins the fight if they free-hit? (enemy marksman/mage)
- What is the enemy’s engage button? (the one CC/ult that starts their win)
- What is our win button? (our big CC, our burst combo, our frontline engage, our zoning ult)
- Where can we fight safely? (near our vision/teammates/turrets, not in blind fog)
You don’t need perfect analysis. You just need a quick priority order so you don’t autopilot.
Route: Teamfight Types (So You Stop Forcing the Wrong Fight)
Most MLBB fights fall into one of these categories:
- Front-to-Back Fight: Two frontlines collide, carries hit the closest safe targets, peel matters a lot. This is the safest default in solo queue.
- Dive Fight: Your team commits onto the backline fast (assassin/bruiser dive + follow-up). Requires timing and protection for your own backline.
- Pick Fight: You kill one target before the fight begins (trap, catch, misposition punish), then convert the 5v4.
- Objective Fight: Turtle/Lord fights where zoning entrances and spacing around the pit decides everything.
The biggest mistake is trying to dive when your comp isn’t built for it—or trying to front-to-back when the enemy has unstoppable dive and your backline has no peel.
Loot: Targeting 101 (Stop Hitting What’s Convenient)
Targeting is not “hit the lowest HP bar you see.” Good targeting is a logic order.
Use this simple targeting ladder:
- Immediate Threat: Who is about to kill your carry (or you) right now?
- High Value Damage Dealer: Who wins the fight if they keep hitting freely?
- Reachable Target: Who can you safely hit without walking into danger?
- Objective Target: If the fight is won, what do you hit next (tower, Turtle, Lord)?
In real fights, you bounce between #1 and #3 constantly. The key is:
Do not walk into danger just to hit a “better” target.
High-rank players kill the best target they can safely reach—then step forward as the fight shape changes.
Loot: Threat-First vs Value-First Targeting
Two targeting mindsets win fights depending on the situation:
Threat-First Targeting (Peel Focus)
You hit whoever is diving your backline or locking your carry down.
- Best when enemy has assassins/divers.
- Best when your carry is your win condition.
- Best in messy solo queue fights where protection beats style.
Value-First Targeting (Backline Focus)
You commit onto their marksman/mage to delete them early.
- Best when you have strong engage + follow-up.
- Best when you have vision and timing.
- Best when your team can protect your own backline while you dive.
If you’re unsure, default to threat-first. Protecting your DPS wins more ranked games than “hero diving.”
Loot: The “Reachability Rule” That Stops Throws
Here’s the rule that keeps teamfights clean:
If you have to pass an enemy frontline, cross a choke, or enter fog to hit your preferred target, that target is not reachable right now.
Instead:
- hit the nearest safe enemy,
- reposition to a better angle,
- wait for cooldowns,
- or force them to step forward into your range.
This is how you avoid the classic throw: chasing the enemy mage while their tank and assassin delete you.
Loot: Target Switching (The Skill Most Players Don’t Practice)
Bad fights often happen because players tunnel one target too long.
High-rank target switching looks like this:
- You hit target A until they become unsafe/unreachable,
- Then instantly switch to target B without walking forward,
- Then switch back when the fight opens up.
A simple way to train it:
- In every teamfight, force yourself to ask every 2 seconds:
- “Is my current target still the best safe target?”
If not, switch. This one habit boosts your damage output and reduces deaths.
Loot: Your Targeting Settings Can Win Teamfights for You
Many “I couldn’t hit the right target” problems are partly settings problems. Clean targeting becomes easier when your controls support your intention.
High-impact settings concepts:
- Hero Lock Mode: helps you stick to the correct enemy in messy fights.
- Targeting Priority (Lowest HP vs Closest): changes who your basic attacks prefer when multiple enemies overlap.
- Advanced Aim / Manual Targeting: helps you avoid hitting minions or the wrong target near turrets.
- Minimap and control layout clarity: makes it easier to keep awareness while aiming.
Practical guideline that many players use:
- Marksmen and assassins often benefit from Lowest HP priority and Hero Lock.
- Tanks/fighters often prefer Closest Target because they play inside the fight and want consistent “frontline contact.”
The point isn’t “one perfect setting for everyone.” The point is:
Your settings should make the correct target easy, not hard.
Loot: Focus Fire Without Voice (How to Make Random Teammates Hit the Same Target)
In solo queue, you can’t expect perfect focus—but you can improve it.
Use the 3-step focus trick:
- Ping the target once (the enemy carry or the diver threatening your carry).
- Move your hero toward that target’s fight zone (your positioning “votes” for the target).
- Use one quick chat line that reinforces the idea (like a “focus damage dealer” style call).
Don’t spam. One clear signal + your movement is usually enough to tilt your team’s damage in the same direction.
Loot: Spacing 101 (How to Deal Damage Without Getting Deleted)
Spacing is the art of being close enough to impact the fight but far enough to survive.
Think of every enemy as having a “danger bubble”:
- CC range bubble
- dash/engage bubble
- burst combo bubble
Good spacing means you stand:
- outside the bubble until the engage happens,
- then you step in to punish,
- then you step back before their next cooldown cycle.
This is why high-rank carries look “untouchable.” They aren’t lucky—they’re spacing around threat bubbles.
Loot: The Three Spacing Errors That Cause Most Deaths
1) Standing Still
If you stand still, skillshots and dive timing become easy for enemies.
Fix: adopt a rhythm—hit → step → hit → step.
2) Standing in the Same Line as Your Team
When your whole team stacks in one lane line, enemy CC and AOE become free value.
Fix: use a slight diagonal. Spread just enough that one ult doesn’t catch everyone.
3) Standing Too Far From Peel
Carries die when they’re “technically safe” but no one can reach them to help.
Fix: stay within one sprint of your roamer/EXP peel zone until key enemy engage tools are used.
Loot: Front-to-Back Spacing (The Default Teamfight Shape That Wins Ranked)
Front-to-back is the safest, most consistent teamfight plan in solo queue:
- Frontline holds space and absorbs engage.
- Mid/control heroes zone entrances and punish divers.
- Marksman stays at max safe range and hits the closest safe target.
- Assassin looks for a backline angle only after enemy CC is committed.
Spacing rule for front-to-back:
- Your backline should be one to two hero lengths behind your frontline—close enough for peel, far enough to avoid splash CC.
If your backline is too close, they get caught. If they’re too far, they get isolated and deleted.
Loot: Dive Spacing (How to Dive Without Abandoning Your Carry)
Dive wins fights when it’s timed, not when it’s emotional.
Dive spacing rules:
- Don’t dive until your team is in follow-up range.
- Don’t dive when your backline is exposed with no peel.
- Don’t dive through narrow chokes where you get clumped and CC’d.
- Dive from an angle, not straight down the lane.
A clean dive usually looks like:
- frontline threatens,
- enemy uses CC defensively,
- assassin/bruiser enters on the backline,
- your backline steps up safely because the enemy’s engage tools were spent.
Loot: Pick Spacing (How to Trap and Win 5v4)
Pick fights are the easiest way to win without “perfect teamfighting.”
Pick spacing rules:
- Hide where enemies must walk (entrances, rotations, wave defense paths).
- Don’t stack five people in one bush—spread around the exit routes.
- When the pick happens, don’t chase deep—convert quickly to an objective.
The best pick fights are controlled and short:
pick → tower/Lord/Turtle → reset.
Loot: Role Spacing Scripts (Copy-Paste for Your Brain)
Loot: Marksman Spacing Script
- Stay at the edge of your attack range; don’t stand inside the brawl.
- Hit the closest safe target; don’t tunnel the backline through danger.
- Stand near peel (roamer/EXP) when enemy dive is available.
- Save your survival spell for the moment you get engaged on, not for chasing.
- If you are the main DPS, your goal is uptime, not highlight kills.
Marksman rule that wins games:
If you’re alive for 10 seconds of a fight, you usually win it.
Loot: Mage Spacing Script
- Position slightly off-angle from your marksman (diagonal spacing).
- Use your range to punish entrances and control space, not to chase into fog.
- Hold one defensive tool (CC, blink, immunity item) for divers.
- Don’t walk into the pit at objectives; play the entrance angles.
Mage teamfight identity:
You don’t just deal damage—you decide where enemies are allowed to stand.
Loot: Roamer Spacing Script
- Your body is a wall: stand between divers and your carry.
- Don’t engage if your carry can’t hit safely.
- In objective fights, your best job is often controlling the entrance bushes.
- When behind, peel more than you dive.
- When ahead, trap more than you chase.
Roamer win condition:
If your carry survives the first engage, you win more fights.
Loot: Assassin/Jungler Spacing Script
- Don’t reveal your angle too early—patience creates clean backline access.
- Don’t enter first unless your kit is made for it; let frontline draw cooldowns.
- Track the enemy “stop button” (hard CC/lockdown) and wait for it to be used.
- If backline is unreachable, switch to threat-first: kill diver or secure objective.
Assassin mistake that loses fights:
Diving while the enemy still has full CC available.
Loot: EXP/Fighter Spacing Script
- Decide your job early: peel or dive.
- If your team has a fed marksman, peel is often the higher win rate play.
- If you dive, do it from a flank and only when follow-up is present.
- Don’t chase deep after one kill; your presence is needed to protect the fight shape.
Fighter rule:
Your positioning decides whether your backline gets to play the game.
Loot: Objective Teamfights (Turtle/Lord) — Spacing That Wins the Pit
Objective fights are where targeting and spacing become “everything.” The pit is a trap: teams lose because they clump inside it and stop watching entrances.
Objective spacing blueprint:
- 1–2 heroes deal with the objective (usually jungler + one helper).
- 2–3 heroes zone entrances (roamer, mage, fighter).
- Backline holds safe angles that can hit enemies entering, not the objective itself.
Targeting in objective fights:
- Don’t tunnel the objective if enemies can enter freely.
- Don’t tunnel enemies if it risks losing the secure.
- The clean pattern is: zone → pick → secure.
Also remember the timeline pressure:
- Turtle starts early at 2:00 (first one by EXP side), and later the map becomes more Lord-focused—so objective fights become more decisive as the match progresses.
Loot: Spacing Around Chokes (The “Don’t Get Wombo’d” Rule)
Choke points (tight entrances near pits and jungle paths) amplify CC and AOE.
Choke spacing rules:
- Don’t stack in one entrance. Use two angles if possible.
- Don’t walk single-file into fog.
- If you must enter through one choke, send the tank/roamer first and keep carries outside the CC zone until the engage happens.
- If enemy has heavy AOE, “half-step spread” is mandatory—be close enough to help, far enough to not die together.
Extraction: How to Win the Fight Before It Starts
High-rank teamfights are often won before the first damage lands. Here’s the pre-fight checklist that increases win rate immediately:
- Waves are managed (especially mid), so you aren’t forced to fight while losing lanes.
- You arrive early and claim a safe position, instead of face-checking late.
- Your carry is protected (positioned behind peel with an exit plan).
- Your team has one clear plan: front-to-back, dive, or pick.
- Your team knows the first target (enemy diver or enemy DPS).
Even in solo queue, you can influence this by:
- positioning early,
- pinging the objective,
- and refusing to start bad fights.
Extraction: Mid-Fight Decision Rules (What to Do in the Chaos)
When the fight becomes messy, your brain needs simple rules. Use these:
Decision Rule 1: If you’re a carry and you get touched, your job becomes survival first.
You can’t deal damage if you’re dead. Kite back, reset spacing, then re-enter.
Decision Rule 2: If your carry is being dove, threat-first targeting becomes the default.
Kill or peel the diver. Don’t race damage if your carry is dying.
Decision Rule 3: If the enemy carry is free-hitting and reachable, they become the priority.
If you can reach them safely, delete them. If you can’t, don’t force it—reposition.
Decision Rule 4: If you win the first 3 seconds, don’t chase—convert.
Take the objective or the turret. Chasing into fog flips wins into throws.
Extraction: After You Win the Fight (How to Turn Kills Into Wins)
A won teamfight is only valuable if it becomes map progress.
Use this conversion ladder:
- Tower (best permanent value)
- Lord/Turtle (huge pressure value)
- Enemy jungle denial (tempo value)
- Deep reset + setup (prevents comeback)
The most common throw is:
win fight → chase → die → lose objective.
The high-rank pattern is:
win fight → take tower/objective → reset → set up next timer.
Extraction: After You Lose the Fight (How to Stop the Bleed)
You’ll still lose some fights. High-rank players don’t spiral; they stabilize.
Loss recovery rules:
- Clear waves safely (especially mid).
- Don’t walk into fog to “get revenge.”
- Defend near turrets (better spacing, safer angles).
- Save key spells for base defense or the next objective fight.
- Look for one shutdown on the enemy carry if they overextend.
A controlled defense is often how comebacks start.
Practical Rules: Targeting and Spacing Rules You Can Follow Every Match
- Hit the closest safe target before you risk walking forward.
- If you can’t safely reach their carry, stop trying to “force” it.
- Threat-first targeting wins more solo queue fights than ego diving.
- Value-first targeting works only with timing and follow-up.
- Head-count enemies before committing to a chase or objective.
- If you can’t see enemies, assume a flank or ambush is coming.
- Carries should never be the first body entering fog.
- Roamers should check bushes so squishies don’t.
- Front-to-back is the default when unsure.
- Dive only after key enemy CC is used.
- Spread slightly to avoid multi-man CC, but stay close enough for peel.
- Don’t stand still—hit → step → hit → step.
- Don’t stand in a straight line behind your tank; angle diagonally.
- If your carry is touched, your team’s job is peel + reset spacing.
- If your carry lives, you can win even when behind.
- Don’t start objectives with everyone in the pit.
- Zone entrances first, then secure objective safely.
- If the enemy arrives first to an objective, don’t face-check late—trade or regroup.
- Win fight → convert immediately (tower/objective) → reset.
- Never chase into fog when you can take a tower instead.
- Don’t split into five duels—fight as one shape.
- If your team has no engage, don’t force a hard engage fight.
- If your team has strong engage, don’t waste it on the tank.
- Target switching is a skill—re-evaluate every 2 seconds.
- A dead DPS deals zero DPS—buy survival tools when needed.
- Save battle spells for the moment you get engaged on, not for chasing.
- If you’re ahead, don’t donate shutdown gold with greedy positioning.
- If you’re behind, defend with spacing near turrets and punish dives.
- Don’t “walk single-file” through chokes into fog.
- Two pings is enough: action + location.
BoostRoom: Want Cleaner Teamfights Without Guessing?
Most players don’t lose because they “can’t press buttons.” They lose because they don’t know:
- who to hit first,
- where to stand so they can hit safely,
- when to peel vs dive,
- and how to convert a won fight into a real win.
BoostRoom helps you build a repeatable teamfight system for solo queue:
- targeting priority habits by role (marksman, mage, jungle, roam, EXP)
- spacing and positioning routines that reduce instant deaths
- objective-fight setup (Turtle/Lord) so fights stop being coin flips
- practical coaching that turns “I know the rule” into “I do it every match”
If your goal is to win more ranked games consistently, targeting and spacing are two of the highest-impact upgrades—and BoostRoom is built to make them automatic.
FAQ
How do I know who to focus in a teamfight?
Start with threat-first: hit whoever is diving your carry or locking you down. If the enemy carry is reachable safely, switch to value-first and delete them.
Why do I feel like I deal no damage in teamfights?
Usually because you die early or you spend damage on unreachable targets while walking into danger. Fix spacing first, then fix target selection.
Should marksmen always hit the enemy marksman first?
Only if it’s safe and reachable. Otherwise, hit the closest safe target while staying alive. Uptime wins fights.
How do I stop getting caught by CC in fights?
Don’t stack with your team, stand diagonally, and stay at the edge of the fight. Save your escape tools for the engage moment, not for chasing.
What’s the best teamfight style for solo queue?
Front-to-back is the most reliable: protect your backline, hit safe targets, and convert wins into objectives. Dive can work, but it needs timing and coordination.


