Route: The Three Map Zones (Safe, Contested, Death Zone)
High-rank players don’t think “push or not push.” They think zones. Your position is either safe, contested, or a death zone depending on towers, vision, and who is missing.
Safe Zone
- Near your turret(s) and teammates
- On the side of the lane where your team controls nearby bushes
- In areas where you can retreat quickly without crossing open fog
Contested Zone
- River entrances, jungle entrances, and mid lane edges
- Side lane areas past the river line when enemies are missing
- Objective entrances before Turtle/Lord when neither team has control
Death Zone
- Enemy jungle when you’re alone
- River bushes when multiple enemies are missing
- Side lane deep push when you have no vision and no escape
- Any area where you have no exit plan and the enemy has engage tools
The game becomes easier when you stop “accidentally” standing in death zones. You can still take risks—but you take them on purpose, with teammates, and for real value (objective, turret, shutdown).
Route: The “Two Exits” Rule (The Simplest Anti-Feed Rule Ever)
Before you step forward to farm, poke, hit a turret, or start an objective, ask:
Do I have two exits?
An “exit” can be:
- a clear retreat path to your turret
- a safe bush you control
- a teammate nearby who can peel
- your battle spell (Flicker/Sprint/Purify) and enough space to use it
- terrain that blocks line-of-sight and breaks target locks
If you only have one exit, you’re gambling. If you have zero exits, you’re feeding.
This rule alone stops most overextension deaths.
Route: The 5-Second Pre-Fight Check (Head Count + Threat Check)
Every time you’re about to do something that could get you killed, do this quick mental check:
- Head count: How many enemies are visible?
- Threat check: Which enemy can kill me fastest? (assassin, burst mage, hook/CC roamer)
- Distance check: Where is my nearest teammate? (2 seconds away or 6 seconds away?)
- Cooldown check: Do I have my escape spell/skill?
- Value check: What do we gain if I stand here for 5 seconds?
If you can’t answer quickly, default to the safe zone and reset the situation. Feeding often happens because players commit while mentally “blind.”
Route: Why Good Positioning Creates More Kills (Not Less)
A common fear is: “If I position safer, I’ll do less damage.” In reality, safer positioning increases your total damage because you stay alive longer.
- A marksman who dies early does zero DPS.
- A mage who gets deleted before casting a second rotation does half their potential impact.
- A jungler who dies before the objective spawns gives away tempo and control.
- A roamer who engages without backup turns a fight into a donation.
Good positioning doesn’t remove aggression. It aims aggression where it’s profitable.
Loot: The Simple Positioning Rules That Stop Feeding Immediately
These rules are designed to be easy. You don’t need perfect mechanics—just discipline.
Loot: Rule 1 — Don’t Cross the River Line Alone When the Map Is Dark
If you can’t see at least three enemies, treat the river line as dangerous. This doesn’t mean you never push—it means you push with timing:
- Clear wave → step back → wait for enemy shows → step up again
- Crash wave under turret → roam window → return
- Push with a teammate when you want deeper pressure
Most solo queue feeding is “cross river alone while enemies are missing.”
Loot: Rule 2 — Stand on the Safe Side of the Wave
In lane, you can reduce gank deaths instantly with one habit:
Always stand on the side of the lane that is closer to your turret or closer to the bush your team controls.
If you stand on the “enemy side” of the wave (closer to their bush), you’re giving them the easiest angle to engage you.
Safe side positioning also makes last-hitting easier because you’re not panicking about bushes.
Loot: Rule 3 — Never Hit a Turret If You Can’t See the Jungler
Turret greed is a classic feed pattern:
- you step up for “one more hit”
- jungler appears behind you
- you die and lose lane control
Better rule:
- If jungler is missing, you hit turret only if:
- you have vision/teammates,
- you have a guaranteed escape,
- or the enemy team is showing elsewhere.
Otherwise, take the win: clear wave, reset, rotate.
Loot: Rule 4 — Don’t Walk Into Bushes as the “Softest Body”
If you’re a mage, marksman, or squishy assassin, you are not the person who discovers ambushes. Your job is damage. Use one of these instead:
- let the roamer/tank check first
- approach from a safer angle
- use a skill to scout
- wait for the wave to reveal enemies
- take a different route
If you keep dying to bushes, it’s usually not “bad luck.” It’s role mistake: the wrong hero is checking fog.
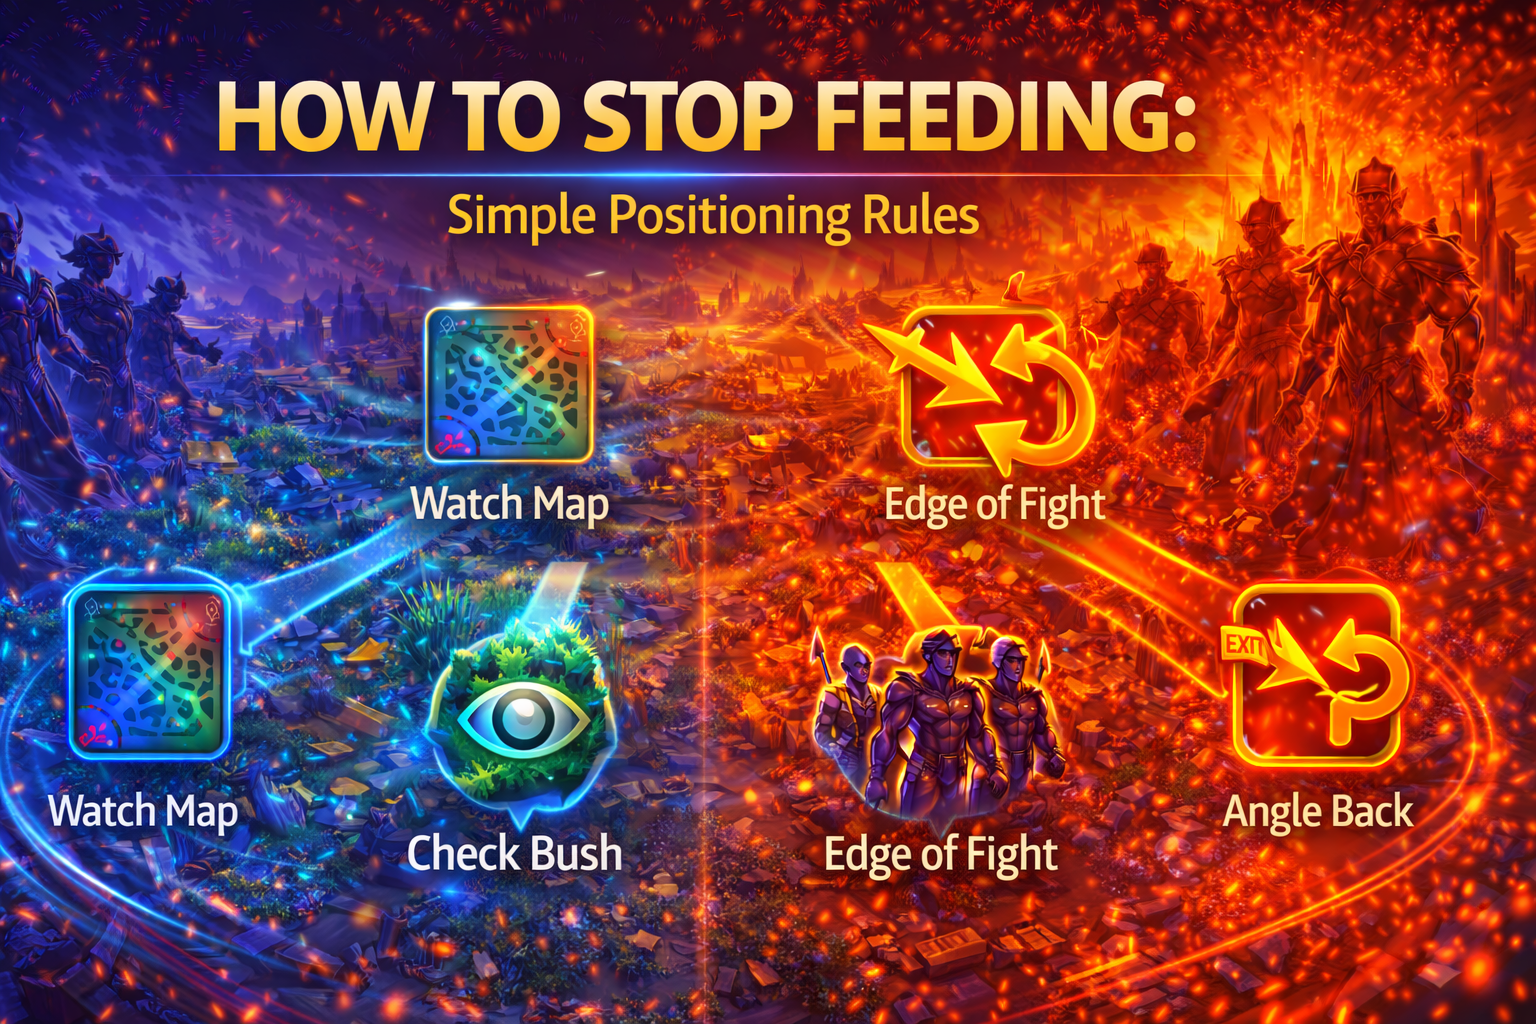
Loot: Rule 5 — Use the “Edge of Fight” Position
High-rank damage dealers rarely stand in the center of a fight. They stand at the edge where they can hit targets but can still step back.
The edge of fight position looks like:
- one step behind your frontline
- angled to the side (not directly behind where skillshots travel)
- close enough to hit, far enough to avoid instant CC chains
This creates a simple survival loop:
hit → step → hit → step → reposition
If you stand still, you become target practice.
Loot: Rule 6 — Don’t Chase Into Fog (Convert Instead)
Chasing into fog is feeding disguised as “confidence.”
Instead of chasing:
- hit the turret
- take Turtle/Lord
- steal jungle camps
- reset and set up vision
- push waves to lock the map
The enemy wants you to chase because it breaks your formation and puts your carries into death zones.
Loot: Rule 7 — Always Position With an Exit Angle, Not a Straight Line
When you retreat, don’t retreat in a straight line through open space. Retreat along an angle that:
- breaks line-of-sight
- moves toward teammates
- moves toward terrain that blocks pursuit
Many deaths happen because players retreat “down the lane” where enemies can keep hitting them. Angled retreat creates a split-second where the enemy loses target lock or has to take a longer route.
Loot: Rule 8 — If You’re Ahead, Your Position Should Look Boring
When you’re ahead, feeding gives the enemy a comeback through shutdown gold and tempo. High-rank players protect leads by positioning “boringly”:
- fewer solo pushes
- fewer turret hits without vision
- fewer deep jungle walks alone
- more grouping around objectives
- more traps near entrances
If you’re ahead, your job is not to prove dominance. Your job is to end cleanly.
Loot: Rule 9 — If You’re Behind, Your Position Should Be Defensive but Useful
When behind, feeding is how games end quickly. But hiding in base forever is also losing. The correct behind positioning is:
- clear waves safely (especially mid)
- stand near turrets and teammates
- punish overextensions
- avoid blind river contests
- save spells for defense fights
Behind teams comeback by refusing to donate. One good defense can flip the game.
Loot: Rule 10 — Position Around Cooldowns, Not Around Ego
Every role has a moment where it is safe to step up:
- when enemy engage is down
- when enemy assassin showed on the other side
- when your roamer is near
- when your Flicker/Purify is ready
- when your ultimate is ready
High-rank players position around these windows. Low-rank players position around emotions.
Loot: The Bush Discipline System (Stop “Free Pick” Deaths)
Bush deaths feel unfair because fog hides intent. The fix is a system.
1) Identify high-danger bushes
- river entrance bushes near objectives
- jungle entrance bushes near buffs
- side lane bushes near turret edges
- the bushes behind mid lane
2) Assume danger when enemies are missing
If you can’t see enemies, assume they’re in the bushes that create the highest-value pick.
3) Use safer checking methods
- check with a tank/roamer
- check with a skill
- check after a wave reveals movement
- check from an angle that lets you instantly retreat
4) Don’t enter bushes deep
Step in and step out if you must. Don’t walk into the center where you can’t escape.
Small discipline here saves tons of deaths.
Loot: Teamfight Positioning (The “Front-to-Back” Habit That Saves Carries)
Many players feed in teamfights because the teamfight shape is wrong. The default safe shape is front-to-back:
- frontline absorbs and zones
- backline hits the closest safe targets
- team moves together, not as five separate duels
Front-to-back doesn’t mean “never dive.” It means:
- you dive only when your carry is safe
- you dive only with numbers and follow-up
- you don’t abandon your backline to chase a low HP support
If your carry keeps dying first, your teamfight positioning is broken.
Loot: Objective Positioning (How to Stop Feeding at Turtle/Lord)
Objectives are the biggest feeding traps because players feel urgency and walk into fog.
Use this simple objective positioning plan:
Before the objective
- clear mid wave first
- don’t face-check river alone
- arrive early and claim entrances
During the objective
- don’t all stand in the pit
- keep one or two bodies zoning entrances
- backline stands at angles where they can hit enemies entering, not where they get flanked
If the enemy arrives first
- don’t “force entry” through one narrow choke
- regroup, trade, or look for a pick
- behind teams should avoid late coin flips
Most objective wipes happen because people walk in one-by-one. The fix is positioning as a group and controlling entrances.
Loot: Lane Phase Positioning (How to Stop Early Feeding)
Early feeding is usually gank deaths or bad trades. Positioning can fix both.
Gold lane
- play closer to turret when mid/roam disappears
- don’t stand beside the enemy bush
- farm safely until you have item spikes
EXP lane
- don’t take long trades past the river line when enemies are missing
- keep enough HP to rotate for early objectives if needed
- don’t chase into their side bushes
Mid lane
- clear wave, then step to safe sides
- don’t walk into river alone
- rotate only after wave is handled
Early deaths matter because they snowball into lost objectives and tower pressure. Surviving early is a win condition.
Loot: Midgame Positioning (The Most Common “I’m Fed but I Died” Problem)
Midgame feeding happens when players keep laning like it’s early game:
- farming alone
- pushing too far
- ignoring missing enemies
- hitting towers without formation
Midgame positioning upgrades:
- move as pairs (roamer + carry, jungler + mid)
- control entrances before starting objectives
- push waves before entering enemy jungle
- never farm deep alone when Lord is a possibility soon
If you’re carrying and you die once midgame, the enemy often takes a huge objective. Your position must respect that.
Loot: Late Game Positioning (One Pick = Game Over)
Late game feeding is usually one of these:
- farming a side lane alone
- face-checking a bush
- starting Lord without waves
- engaging before teammates arrive
Late game positioning rules:
- group more
- take fewer unnecessary routes through dark jungle
- clear waves safely before objectives
- keep carries behind peel and save spells for the real fight
In late game, you don’t need 10 kills. You need one clean fight and one clean push.
Loot: Role-by-Role Positioning Scripts (Copy These in Your Matches)
If you want simple “do this every game” instructions, use these scripts.
Loot: Marksman Positioning Script (Stop Being the Shutdown)
- Stand at the edge of fight, not center.
- Hit the closest safe target; don’t tunnel the backline.
- Never farm deep alone on a dark map.
- Save battle spell for survival, not chase.
- If you can’t see enemies, farm the lane closest to your team.
Your job is uptime. If you stay alive, you win fights even with average mechanics.
Loot: Mage Positioning Script (Damage Without Donating)
- Play from angles, not straight lines.
- Don’t walk into river alone after clearing wave.
- Hold key CC/escape for divers.
- Stand where you can step back behind frontline quickly.
- Don’t chase kills into fog—control space for objectives.
Mages feed when they “follow the fight” into fog. Instead, let the fight come into your zone.
Loot: Roamer Positioning Script (Be the Wall, Not the Highlight)
- You stand in front when the map is dark.
- You check bushes so carries don’t.
- You control entrances at objectives.
- You engage only when your team can follow.
- When behind, peel more; when ahead, trap more.
Roamer positioning is the biggest anti-feed tool for a whole team.
Loot: Jungler Positioning Script (Tempo and Safety)
- Don’t show far from the next objective window.
- Don’t enter enemy jungle without lane priority.
- Approach objectives from a safe angle with teammates nearby.
- Avoid “lane camping” too long; it makes you late to the real fight.
- When behind, trade camps and avoid dying defending one buff.
Junglers feed by forcing 1v3 invades. You win by being on time and alive.
Loot: EXP Lane Positioning Script (Pressure Without Collapse)
- Don’t push past river without seeing enemies.
- Keep your escape route planned before you show on side lane.
- If objective is coming, push wave and rotate early.
- Choose: split pressure safely OR group early—don’t arrive late.
EXP feeds often happen from “split push with no information.” Split with vision, not with hope.
Extraction: The Anti-Feed Playstyle (How to Turn “Not Dying” Into Winning)
Stopping feeding isn’t the finish line. It’s the start of winning. Once you’re dying less, you must convert survival into map progress.
Here’s the conversion path:
1) Dying less → more farm
You reach items earlier and keep your level advantage.
2) More farm → stronger objective fights
You show up to Turtle/Lord with real damage, not half-built items.
3) Stronger objective fights → more structures
You take turrets after fights, not just kills.
4) More structures → safer map
Enemy jungle becomes dangerous for them, safer for you.
5) Safer map → even fewer deaths
It becomes a positive cycle.
Feeding creates the opposite cycle. That’s why “simple positioning” is a rank-up cheat code.
Extraction: Punish Enemy Feeders (How High-Rank Players Get Free Wins)
When you stop feeding, you’ll notice enemies still make the same mistakes:
- overextend for a wave
- walk alone into river
- hit turret with no vision
- chase into fog
How to punish without forcing:
- don’t chase them deep
- cut off their exit path
- trap high-traffic bushes near objectives and jungle entrances
- take towers when they show far away
- turn their death into an objective immediately
You win ranked faster when you stop donating and start collecting.
Extraction: The “One More Wave” Fix (The #1 Feeding Pattern)
If feeding is one habit, it’s this: staying too long.
Use the “one more wave” fix:
- If you just cleared a wave and enemies are missing, leave.
- If you got a kill and your HP is low, leave.
- If your escape spell is down, leave.
- If an objective is spawning soon, leave and rotate early.
High-rank players don’t die because they’re strong. They stay alive because they leave on time.
Practical Rules: Simple Positioning Rules to Stop Feeding Today
- Don’t cross river alone when enemies are missing.
- Stand on the safe side of the minion wave.
- Don’t hit turret if you can’t see the jungler.
- Don’t face-check bushes as a squishy.
- Always position with two exits.
- If you can’t see three enemies, assume danger.
- If you’re ahead, stop solo pushing.
- If you’re behind, stop contesting late in fog.
- Fight at the edge, not the center.
- Move in angles, not straight lines.
- Clear mid wave before rotating.
- Don’t chase into fog; convert to objectives.
- Don’t engage if your team isn’t in range.
- Don’t split push without an escape plan.
- Don’t farm deep alone late game.
- Arrive early to Turtle/Lord; don’t enter late.
- Zone entrances before hitting objectives.
- If your spell is down, position safer until it’s back.
- If your ultimate is your escape tool, don’t waste it.
- After you crash a wave, step back and reset info.
- Don’t stand beside enemy bushes in lane.
- If mid disappears, side lanes play safe instantly.
- If roamer is missing, carries position back.
- If jungler shows opposite side, pressure safely.
- Don’t trade your life for one wave.
- Don’t defend alone in open fog.
- When defending base, don’t chase outside turrets.
- Protect your damage dealer before diving.
- Hit the closest safe target; don’t tunnel.
- If you’re unsure, choose the safe zone and regroup.
BoostRoom: Stop Feeding, Start Climbing
A lot of players grind hundreds of matches without climbing because they keep donating the same deaths: bush traps, overextends, late objective entries, and midgame shutdowns. The fastest rank gains often come from dying less—because you farm more, show up to objectives, and stop giving the enemy easy momentum.
BoostRoom helps you turn “I know what I should do” into “I actually do it every match” by focusing on:
- positioning habits that match your role and hero pool
- anti-gank and anti-ambush routines for solo queue
- objective setup and entrance control (so you stop feeding at Turtle/Lord)
- match review coaching to pinpoint your exact feeding patterns
- boosting options if you want faster rank results while improving
If you’re serious about climbing, fixing feeding is one of the highest ROI improvements—and BoostRoom is built to make that improvement simple and repeatable.
FAQ
What is feeding in MLBB?
Feeding is repeatedly dying in ways that give the enemy free gold, levels, and map control—usually from overextending, face-checking, or bad teamfight positioning.
Why do I keep dying even when I’m “winning lane”?
Often because you stand too far forward after getting a lead. Leads don’t protect you from ganks and ambushes—positioning does.
What’s the fastest way to stop feeding in solo queue?
Stop crossing the river line alone when enemies are missing, and stop face-checking bushes as a squishy hero. Those two habits prevent a huge percentage of deaths.
How do I position better as a marksman?
Stand at the edge of fights, hit the closest safe target, stay near peel, and save your battle spell for survival. Don’t farm deep alone late game.
How do I stop dying to bush campers?
Assume high-value bushes are trapped when enemies are missing. Let tanks check first, use skills to scout, and approach from safe angles with an exit plan.
