Why elements matter in Rising (and what “good” looks like)
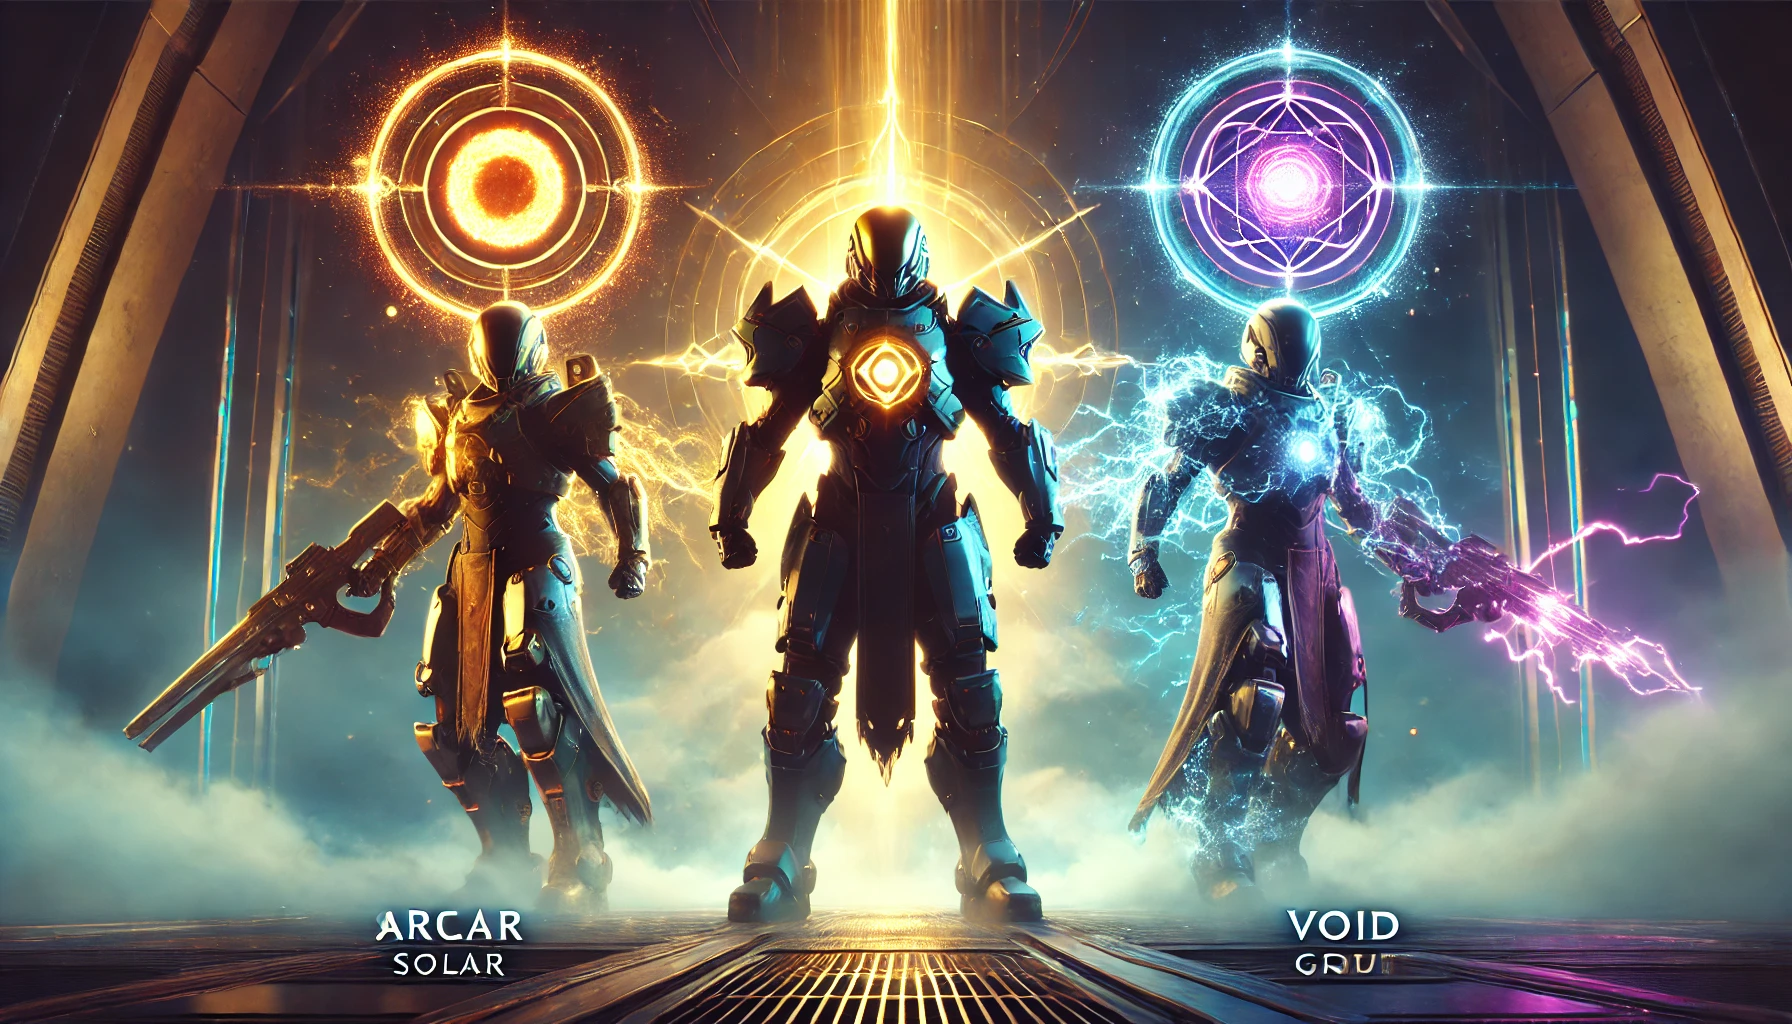
Destiny Rising keeps the franchise’s elemental triangle—Solar, Arc, Void—and builds its modes around short fights with decisive windows. That means your element isn’t just flavor; it’s how you convert small advantages into wins: Solar leans on sustain and controlled burn, Arc on speed and chained burst, Void on mitigation and debuffs that make teams hit harder. The game’s playlist structure (Strikes, small-team PvEvP like Shifting Gates, timed PvE sprints like Blitz, and endgame pushes) rewards repeatable clears more than one-off heroics. Your element should therefore do three things, in order: Sustain → Uptime → Damage. Lock survival first, action frequency second, and burst last. (Rising’s official and press pages confirm FPV/TPV flexibility, hero-ability focus, and multi-mode structure.)
Solar — sustain pressure, safe window damage
Playstyle: measured aggression. Solar’s identity is controlled fights with self-stabilization baked in. You trade into chokepoints, recover quickly, and set up short, timed burns on elites and bosses.
Where Solar shines
- Strikes & Blitz: doors and funnels where you can pre-nade, trade, and reset safely.
- Calamity Ops pushes: score favors survival; Solar’s sustain avoids death-spirals that kill multipliers.
- Shifting Gates (PvEvP): bank runs and escorts; you win by living the exit path.
Loadout & mod skeleton
- Weapons: stable primary (head-height control) → splash/chain special → flexible heavy for 8–12s burst windows.
- Mods: DR vs common enemy types → passive heal/guard → reload/handling.
- Gifts/traits wishlist (examples): on-hit or on-ability regeneration, “after ability use: brief DR,” and “short-window damage amp after heal.”
- Camera: TPV in add swarms for awareness, swap to FPV on boss crit windows.
Roles
- Controller: Solar is king here—lane ownership with off-angle trades and instant stabilization.
- Burst Lead: works if your team lacks survivability; your job is to call pre-burst → burst → off and keep everyone alive for the second window if needed.
- Floater: great when you must escort objectives; your sustain covers the banker’s retreat.
Quick win: if your team wipes to door greed, put at least one Solar on Controller. Slide entry, pre-nade funnel, take one head-height kill, then flood.
Arc — tempo, chains, and map control
Playstyle: acceleration. Arc rewards movement, chaining damage, and decisive pushes that flip rooms quickly.
Where Arc shines
- Blitz & Strikes: fast add waves and mid-boss deletes; Arc turns a single pick into a room clear.
- Shifting Gates: Entry role for first pick—Arc’s openers force cooldowns and create bank windows.
- Singularity (Order/Chaos): on maps with tight spawn pacing, Arc’s uptime turns rounds into speed drills.
Loadout & mod skeleton
- Weapons: accurate primary with fast handling → burst-finisher special → precise or beam heavy for mini/boss deletes.
- Mods: DR while aiming → sprint/ADS handling → opener or short-burst amplifier.
- Gifts/traits wishlist (examples): “after sprint/slide: brief DR,” “on chain/kill: handling or reload,” and “burst damage amp after movement.”
- Camera: TPV for entries and flanks, FPV for long-lane beams.
Roles
- Entry: Arc is tailor-made—shoulder-peek to bait, slide-swing for first damage, and call the collapse.
- Burst Lead: viable if you can keep your movement discipline; don’t overlap team cooldowns.
- Floater: good on maps with side channels—arrive half a beat late to finish fights.
Quick win: set a team rule—no heavy before mini-boss—then let Arc secure the opener with sticks/utility and a short special burst. Your heavy now lands only where it multiplies time.
Void — control, debuffs, and mistake-proof team fights
Playstyle: denial and enablement. Void supplies debuffs, mitigation, and tools that make teammates’ damage land cleaner.
Where Void shines
- Shifting Gates: Anchor role—hold a lane, punish crossers, and keep banks safe with denial.
- Blitz/Calamity: when modifiers turn elites into bullies, Void’s control prevents panic rez chains.
- Strikes (Master): precision perches and long angles where Void’s control and weak-point focus take over.
Loadout & mod skeleton
- Weapons: flinch-resistant primary (for head-height lanes) → tap-burst or slug special → precise heavy.
- Mods: DR while ADS → reload/ready speed → weak-point/crit amp.
- Gifts/traits wishlist (examples): “on tag: enemy takes more damage briefly,” “after mark: you gain DR,” “precision hits prime short-window boosts.”
- Camera: mostly FPV for lane holding; TPV if you’re repositioning around covers.
Roles
- Anchor (Controller/Support hybrid): Void is ideal. Pre-aim head height, call crossers, and apply debuff right before the team’s burst.
- Burst Lead: excellent if you’re disciplined with timing—Void’s debuff cadence defines the window.
- Floater: niche; better when objectives spawn on predictable timers you can pre-stage.
Quick win: if boss windows feel sloppy, add one Void whose sole job is to debuff on count—you’ll see team damage “mysteriously” stabilize.
Choosing for the mode you’re playing
Strikes (PvE playlist)
- Best element mix: Solar (Controller) + Arc (Floater/Entry) + Void (Anchor/Burst).
- Why: Solar prevents door wipes, Arc accelerates rooms, Void cleans up elites and stabilizes boss windows.
- Camera swaps: TPV to enter rooms, FPV for weak-point beams. Rising supports both seamlessly.
Shifting Gates (PvEvP)
- Best pair: Void Anchor + Arc Entry, with Solar as the safety valve for bank escorts.
- Rules: bank small and often, escort exits, deny enemy banks with utility; your element assignments exist to protect those habits.
Blitz (timed PvE sprints)
- Best element to learn on: Solar or Void—they forgive mistakes while you route stages; add Arc once your timings are crisp.
- Windows: plan two short boss windows; Void sets debuff timing, Arc supplies burst, Solar keeps the team alive between windows.
Calamity Ops (rank pushes)
- Priority: deathless clears beat greedy timers; Solar/ Void reduce reset risk; Arc enters once your sustain is locked.
(Press and official pages confirm Rising’s multi-mode structure and FPV/TPV/controller focus; treat elements as the dials you turn to fit those modes.)
Role mapping: who should pick what
- Controller (lane owner): Solar if your team dies to chip damage; Void if snipers/elites rule the map.
- Burst Lead (boss caller): Void for predictable debuff windows; Arc if you can secure first pick and immediately count the burn.
- Floater (objective glue): Arc for rotation speed; Solar if escorts keep failing.
Trio tip: one dedicated caller only. Your element does the work; a single voice keeps windows clean.
Starter perk/gift wishlists (use until you’re min-maxing)
You don’t need a perfect roll to feel strong. Hunt any versions of these lines and call it a day:
Solar
- On ability use: brief heal or DR
- After heal: short damage amp
- AoE/splash amplification tied to uptime (reload/handling)
Arc
- After sprint/slide: handling/ADS boost
- On chain/kill: reload or move speed
- Short-burst opener damage (first shots after ready)
Void
- On mark/tag: target takes increased damage (brief)
- While ADS/head-height: DR + flinch resist
- Weak-point/precision multiplier with a small uptime hook
Keep the wishlist short (3–5 lines per element). Finish runs, don’t chase the one mythical roll.
Sensitivity & camera: element-specific notes
Rising lets you tune sens per weapon type and swap FPV/TPV freely—even on controller. Use that to your advantage:
- Solar: slightly lower ADS scale (0.85–0.95 feel) stabilizes sustained aim.
- Arc: a touch higher hip sensitivity helps slide entries and opener snaps.
- Void: mid-ADS with flinch resistance for quiet head-height control.
- Controller support is first-class on mobile; bind your FPV/TPV toggle near ADS or jump so swaps happen without thought.
Common mistakes (and instant fixes)
- “We wipe at doors.” Put Solar on Controller; pre-nade the funnel; enter narrow; secure one head-height kill, then push.
- “No ammo for boss.” You’re leaking heavy in rooms. Set a no-heavy-before-mini rule and enforce it.
- “Boss windows are chaos.” Add Void as the Burst Lead; they count pre-burst → debuff → burst → off.
- “We never get first pick in Gates.” Arc as Entry with opener/handling perks; Flanker arrives half a beat late to finish.
- “Time is fine but we still lose rank.” Deaths are eating multipliers; Solar/ Void mix until you’re wipeless.
- “My aim fights me.” Lower motion blur/effects; cap FPS to the most stable tier; keep ADS a bit slower on precision guns. (Rising’s mobile build supports FPV/TPV and controllers—stability beats shimmer.)
A one-week plan to test all three elements
Reset day: Pick one mode (e.g., Strikes). Do a warm-up clear on your safest element (Solar/ Void), then swap to Arc for two runs to feel tempo.
Midweek: Two short sessions. Night 1: Shifting Gates with Void Anchor + Arc Entry. Night 2: Blitz with Solar Controller + Arc Floater.
Weekend: Try a small Calamity push. If deaths appear, swap one Arc to Solar; if time is the problem, keep Solar but move the caller to Void.
If you’d like a quick “learn it once, repeat forever” tune-up for routes, timings, and element pairings, book a focused session on BoostRoom—or grab a ready-made carry when you just want the clears handled via BoostRoom.
Conclusion
Element choice in Destiny Rising is a tool, not a personality test. Solar prints consistency, Arc prints tempo, and Void prints control. Map those strengths to your trio’s jobs—Controller, Burst Lead, Floater—and to the mode you’re playing. Keep your wishlist short, your boss windows counted, and your camera swaps natural. Do that and you’ll feel your fights click: fewer wipes, faster rooms, cleaner banks, and promotions that happen on purpose.
