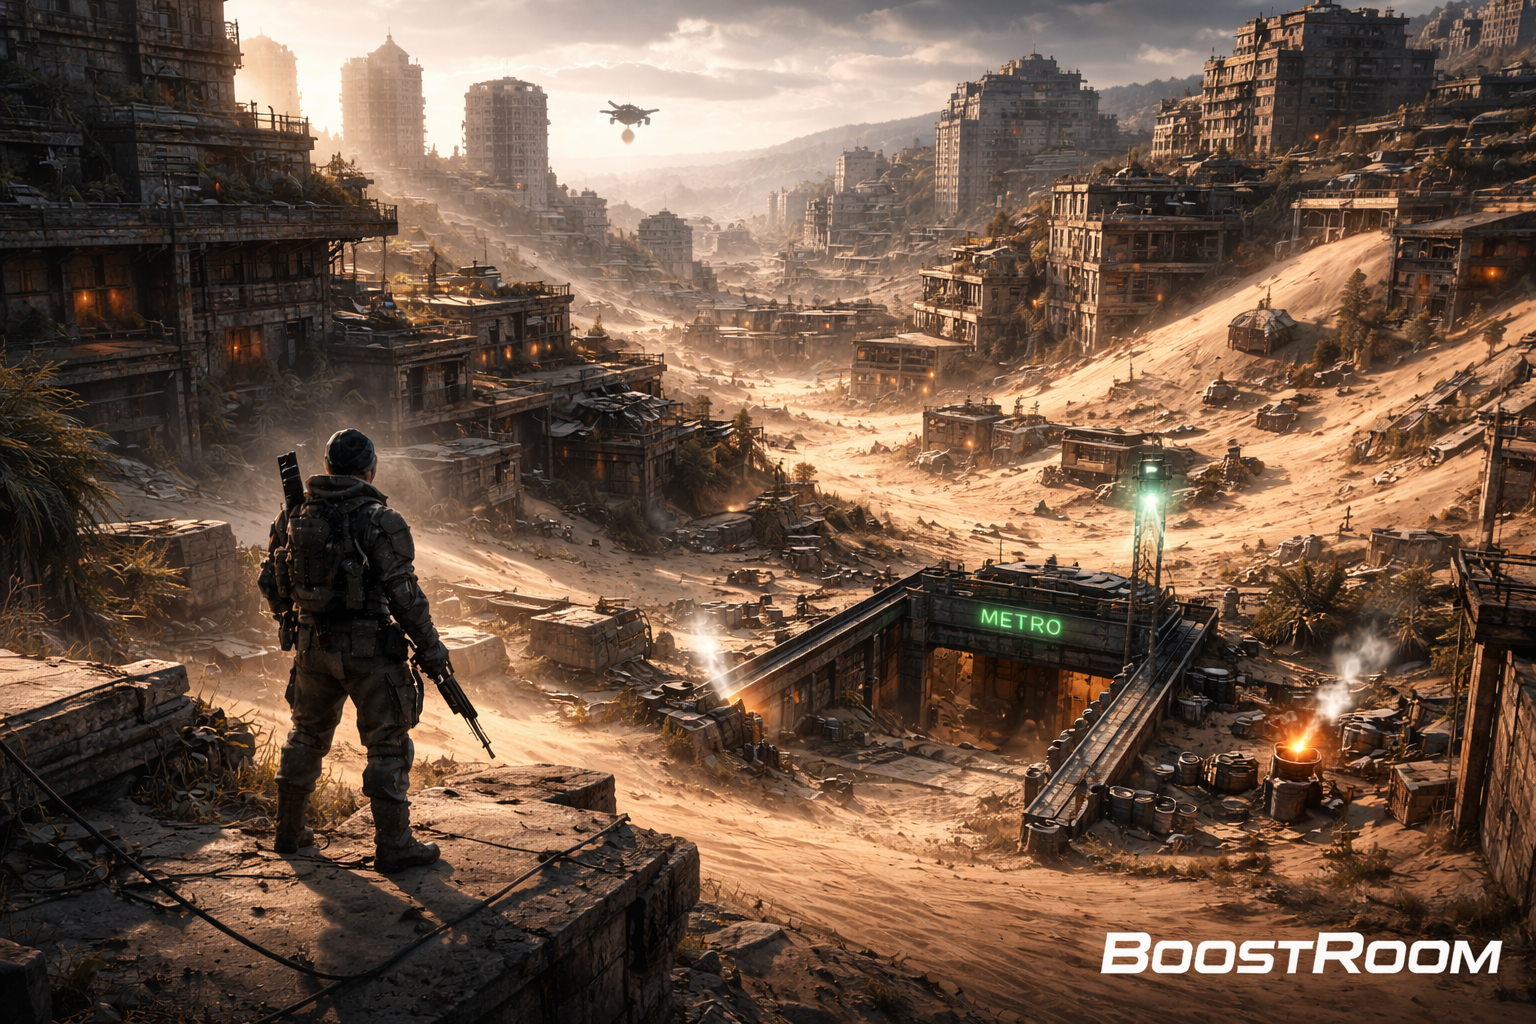
Buried City uses metro stations as the main extraction type. You don’t just run to a big elevator and press a button—you typically go to a metro entrance, head down into the station, and call the train to extract. A key detail most players learn the hard way: metro entrances can be approached from multiple angles, and campers can sit on either side of your stairwell entry or hold a long angle from windows above street level.
Extraction rules you should abuse (in your favor):
- If you’re inside the extraction zone, you can still safely return even if you’re downed (DBNO).
- You can still interact with extraction terminals/buttons while DBNO.
- Treat the final seconds like a win condition: play to be inside, not to get a last-second kill.
All Buried City metro extraction points (and when to choose each one)
Buried City has four metro extraction points:
Eastern Station
- Usually one of the easiest stations to reach from the southeast side of the map.
- A common access route is through the Piazza Arbusto side.
- Big risk: street-level entrances with nearby windows = predictable crossfire angles.
Northern Station
- Convenient for rotations around Hospital and the Library area.
- Big risk: it attracts late-raid traffic because many routes naturally funnel north.
Western Station
- Often tied to routes that pass Marano Park or the western/northwestern side.
- Big risk: open approaches and ARC pressure outside can force you to fight before you even get underground.
Southern Station
- Great for short runs (quick loot → quick leave).
- Worst for long raids if the match timer pushes you away from it or you can’t reach it safely in time.
The decision rule (simple and effective):
- If you’re heavy and rich → pick the station with the fewest open-street meters between you and the stairs.
- If you heard sustained gunfire near one station → assume it’s being watched and rotate to another.
- If you’re solo and you can’t confidently clear both sides of an entrance → pick a different station.
Metro extraction anti-camp checklist (die less, extract more)
Before you call the train, do this every time:
- Stop outside the entrance and listen for footsteps, healing, reloading, and gadget sounds.
- Clear the “two sides” problem: many entrances can be pushed from both directions. Peek both sides before committing.
- Check windows and balconies above the street-level entrance. Buried City loves giving campers vertical overwatch.
- Delay the call if you must. A patient 20 seconds is cheaper than losing your whole backpack.
- Don’t stand on the button. Press it, relocate, and hold the angle that matters.
- If you have traps/mines: place them to block the fastest push path, not randomly in the middle.
If you’re trying to learn these clears faster (without donating gear), BoostRoom can run guided Buried City extractions with route coaching—so you practice the correct metro habits while still bringing loot home.
Best routes in Buried City (pick a route based on your goal)
Below are practical routes that work because they match Buried City’s real danger pattern: open streets get you killed, vertical angles surprise you, and underground exits punish predictable movement. Each route ends with a station choice so you always have an extraction plan.
Route 1: Safe money run (sellables + low drama)
Goal: leave with consistent value, avoid high-conflict buildings.
Best for: solo players, budget kits, rebuilding stash.
Path concept: stay along safer outskirts, loot smaller interiors, avoid the loudest “hot” centers.
- Start near quieter streets and low-traffic buildings.
- Focus on recyclable loot and sellables rather than chasing weapon cases.
- Avoid long breaching sessions in the middle of main routes (noise = attention).
Exit plan:
- If you’re southeast → favor Eastern Station.
- If you’re drifting north → Northern Station becomes the natural finish.
Route 2: Healing & medical supplies run (Hospital focus)
Goal: stack healing items and medical crafting materials efficiently.
Best for: teams that burn meds, players upgrading medical stations, survival-focused builds.
Core location: Hospital
Hospital is one of the strongest medical loot zones, and it also connects well to metro extraction flow. It’s lucrative, but you must treat it like a PvP building: lots of rooms, lots of doors, lots of angles.
How to loot it without feeding:
- Move floor-by-floor with a clear “up then out” plan.
- Don’t fight in long hallways if you can help it—force enemies into doorways.
- If you hear a Rocketeer nearby, don’t panic-sprint outside—use rooms and stairs as cover.
Exit plan:
- Northern Station is often the clean finish for Hospital routes.
Route 3: Mechanical parts run (Warehouse → Marano Station → Parking Garage loop)
Goal: farm mechanical upgrade items by targeting container-rich areas.
Best for: workshop upgrades, gear crafting, players who want steady progression.
This loop is popular because it’s dense with breachable “containers” like cars and generators, which can yield key mechanical items (including rare ones). The loop typically focuses the northwest side:
- Warehouse: prioritize generator clusters and container density.
- Marano Station: breach cars in the nearby parking lot and loot the station area.
- Parking Garage: methodical car looting across floors, but watch for tough ARC presence around the structure.
Exit plan:
- This loop naturally ends close to metro options; pick the station that’s safest based on where shots are happening.
Route 4: Old World value run (Town Hall focus)
Goal: high-value locked loot via a key route.
Best for: players holding keys and wanting the “spike” loot run.
Town Hall is a high-risk, high-reward location.
If you have the Buried City Town Hall Key, you can open the Town Hall door (north side, ground level). Inside, the Town Hall loot is worth the risk because it includes two Security Lockers and one Weapon Case. That’s a serious value spike compared to random street looting.
How to survive the Town Hall attempt:
- Scout the outside first—Town Hall pulls both Raiders and ARCs.
- Don’t open the door if you already hear fighting nearby. Wait, reposition, or abandon.
- Loot fast and leave immediately. Town Hall is not a place to “hang out.”
Exit plan:
- Decide your metro station before you unlock. Once you hit the lockers, your priority is leaving, not exploring.
Route 5: Tech loot run (Space Travel + Research Building)
Goal: commercial/tech loot and useful supplies with a flexible rotation.
Best for: crafting parts, attachments, mixed loot runs.
Why this route works:
These buildings are multi-story and connected to nearby points of interest, letting you rotate using interiors instead of crossing open streets. It’s also a good route for players who like structured looting (room-to-room discipline) instead of chaotic street scavenging.
Survival rules here:
- Expect fights around entrances and connecting corridors.
- Clear stairwells like they’re mini-arenas—players love holding the top of stairs.
- If you trigger ARCs, break line-of-sight by ducking into rooms instead of running down the street.
Exit plan:
- Choose Northern or Eastern depending on where your last building leaves you.
Buried City loot hotspots (what to loot, and why it’s worth your time)
If you loot everything, you’ll get overencumbered and die. Buried City rewards focused runs—choose a target type and hit the right building.
Town Hall (keyed)
- Best “locked” spike value because of multiple high-tier containers.
- Expect attention from Raiders.
Hospital
- Best medical-focused loot zone.
- Strong extraction flow nearby, but can be contested.
Space Travel + Research Building
- Great for tech/commercial loot and useful supplies.
- Multi-story layout rewards careful clearing.
Plaza Rosa (and nearby café objectives)
- Good for targeted quest pickups and quick-value looting runs.
- Watch nearby streets for patrols and third parties.
Marano Station (northwest corner)
- Important for quests and a known profitable detour.
- The “quiet but valuable” style spot: quick loot, then leave before attention arrives.
Marano Park
- Useful when you specifically want nature spawns (and when you’re prepared to deal with danger nearby).
Grandioso Apartments
- Good for sellable loot runs and safer indoor scavenging—just don’t assume the whole building is rich. Pick specific floors/rooms and stay disciplined.
Enemy pressure in Buried City (what spawns where, and how to avoid chaos)
Buried City isn’t only dangerous because of Raiders—it’s dangerous because ARCs can force you out of cover at the exact moment another player lines up a shot.
Common threats you should expect:
- Rocketeer: often seen around key areas like Hospital zones and routes near major plazas.
- Bombardier: can appear around major landmarks including rooftops of structures like parking areas; treat it like an “area denial” threat.
- Bastion: can show up around major outdoor points and near building clusters.
- Leapers: appear across southern routes and around several points of interest—don’t let them pin you in the street.
- Wasps/Hornets/Snatchers: widespread, punish careless open movement.
- Pops/Fireballs: inside buildings—don’t sprint blindly into tight rooms.
The best anti-ARC habit:
If you trigger something nasty, don’t flee into open streets. Buried City gives you doors, stairwells, and interior breaks—use them to reset the fight.
Dynamic events and special conditions (why some raids feel “wrong”)
Buried City can roll dynamic events that change how safe the map feels. Possible events include:
- Prospecting Probes
- Uncovered Caches
- Husk Graveyard
- Lush Blooms
- Night Raid
And during limited-time conditions (when active), Buried City can also be affected by Cold Snap mechanics: snow reduces visibility, lakes can freeze, and Frostbite slowly drains health—pushing players to seek shelter and manage healing more carefully. When this condition is active, your extraction timing matters even more because taking too long outdoors can quietly bleed you out.
Key rooms in Buried City (what to keep, what to use, what to sell)
Keys in Buried City are a huge value multiplier because they let you convert “time on map” into guaranteed high-tier container chances. The trick is knowing which keys are worth risking.
Buried City Town Hall Key (high priority)
- Opens the Town Hall door on the north side at ground level.
- Inside: 2 Security Lockers + 1 Weapon Case.
- This is a “plan the whole run around it” key.
Buried City Hospital Key (situational)
- Opens a locked room inside the Hospital (northwest side of the Hospital’s interior, upper floors).
- Worth using when you already planned a Hospital run.
Buried City Residential Master Key (route dependent)
- Unlocks multiple apartment doors across Buried City.
- Great when your run is already apartment-focused and you can avoid loud mid-street detours.
Buried City JKV Employee Access Card (high-risk area)
- Used for a locked door inside the J Kozma Ventures company building area.
- Expect this to be contested because it sits near strong loot zones.
Key survival rule:
If you’re carrying a key for a “big value” room (Town Hall especially), treat extraction as the real objective. Looting is step one; keeping it is step two.
Quest routes that naturally fit Buried City (easy progress without chaos)
Buried City appears in multiple quest lines, so learning a few “quest-safe” micro routes will save you hours.
Market Correction (Marano Station cache)
- Marano Station is on the northwestern side in the Outskirts area.
- The cache is hidden near the station area and is easy to miss if you don’t know what you’re looking for.
- Good news: you typically don’t need to extract for this objective, so you can run it with a budget loadout.
Paving the Way (Piazza Roma rooftop objective)
- Requires reaching the top of the big apartment buildings in southern Piazza Roma.
- Watch for rooftop threats (including patrols) and don’t linger once you hit the objective.
Espresso (Plaza Rosa / café pickup)
- Sends you to Plaza Rosa for a specific objective pickup in a café location.
- Plan extraction before you grab the item so you don’t wander into a bad fight while carrying quest progress.
If you want to crush Buried City questlines quickly (especially the ones that require extracting with an item), BoostRoom can help by pairing you with experienced players who run the cleanest quest routes and metro clears—so your progress sticks.
Field Depots in Buried City (bonus loot + important quest utility)
Field Depots are large rectangular metal structures with a radar tower and a blue tarp detail. They matter for early quests and later repeatable loot because you can bring Field Crates to a machine inside to trade for loot.
How to approach a Field Depot safely:
- Don’t climb the roof immediately—scan first. Rooftops make you visible.
- Clear nearby cover positions before interacting with anything.
- If you’re here to use a Field Crate, treat the inside like a trap room: noise attracts attention.
Buried City PvP survival rules (the habits that stop random deaths)
You don’t need perfect aim to survive Buried City. You need discipline.
Rule 1: Streets are transitions, not fighting arenas.
Cross streets quickly and with purpose. Don’t stand still in open lanes.
Rule 2: Every rooftop is a potential sniper nest.
Before you loot a street-level container, glance up. Every time.
Rule 3: Interiors are your safest rotation tool.
Cut through buildings instead of jogging around corners outside.
Rule 4: Metro entrances are not “the finish line.”
They’re the final test. Clear them like your life depends on it—because it does.
Rule 5: Don’t over-loot early.
The heavier you are, the less mobile you become, and the more predictable your extraction becomes.
Best loadout mindset for Buried City (simple, effective, repeatable)
Buried City fights are usually mid-range with sudden close-range bursts inside buildings and metro corridors. Your loadout should reflect that.
Practical loadout goals:
- A weapon that can handle mid-range streets without forcing you to stand still too long.
- A backup option that wins tight stairwells and interior door fights.
- Enough healing to survive chip damage, ARC pressure, and extraction delays.
- At least one tool or gadget that helps you create space (deny a push, force repositioning, or buy time).
If you’re unsure what to run (or you’re tired of losing expensive kits while learning), BoostRoom can help you build a Buried City-ready setup based on your playstyle—solo rat, duo flex, or full trio brawl—then practice it on routes that actually fit the map.
BoostRoom Buried City help (when you want progress without the pain)
If you’re trying to:
- Learn metro entrances and stop dying on extraction,
- Farm keys and actually keep the rewards,
- Finish Buried City quests that require extracting with items,
- Run efficient loot routes for money, meds, or upgrade materials,
BoostRoom can guide your runs with safer routing, cleaner fights, and smart extraction timing—so you build confidence on Buried City while your stash grows instead of shrinking.
FAQ
What’s the safest extraction in Buried City?
In many raids, Eastern Station is a strong choice because it can be easier to reach from common southeast routes—but “safest” always depends on where players are fighting. Choose the station with the least open-street distance and the quietest audio.
How many metro stations are there in Buried City?
There are four: Eastern Station, Northern Station, Western Station, and Southern Station.
