What Zone Completion Means in WoW Midnight
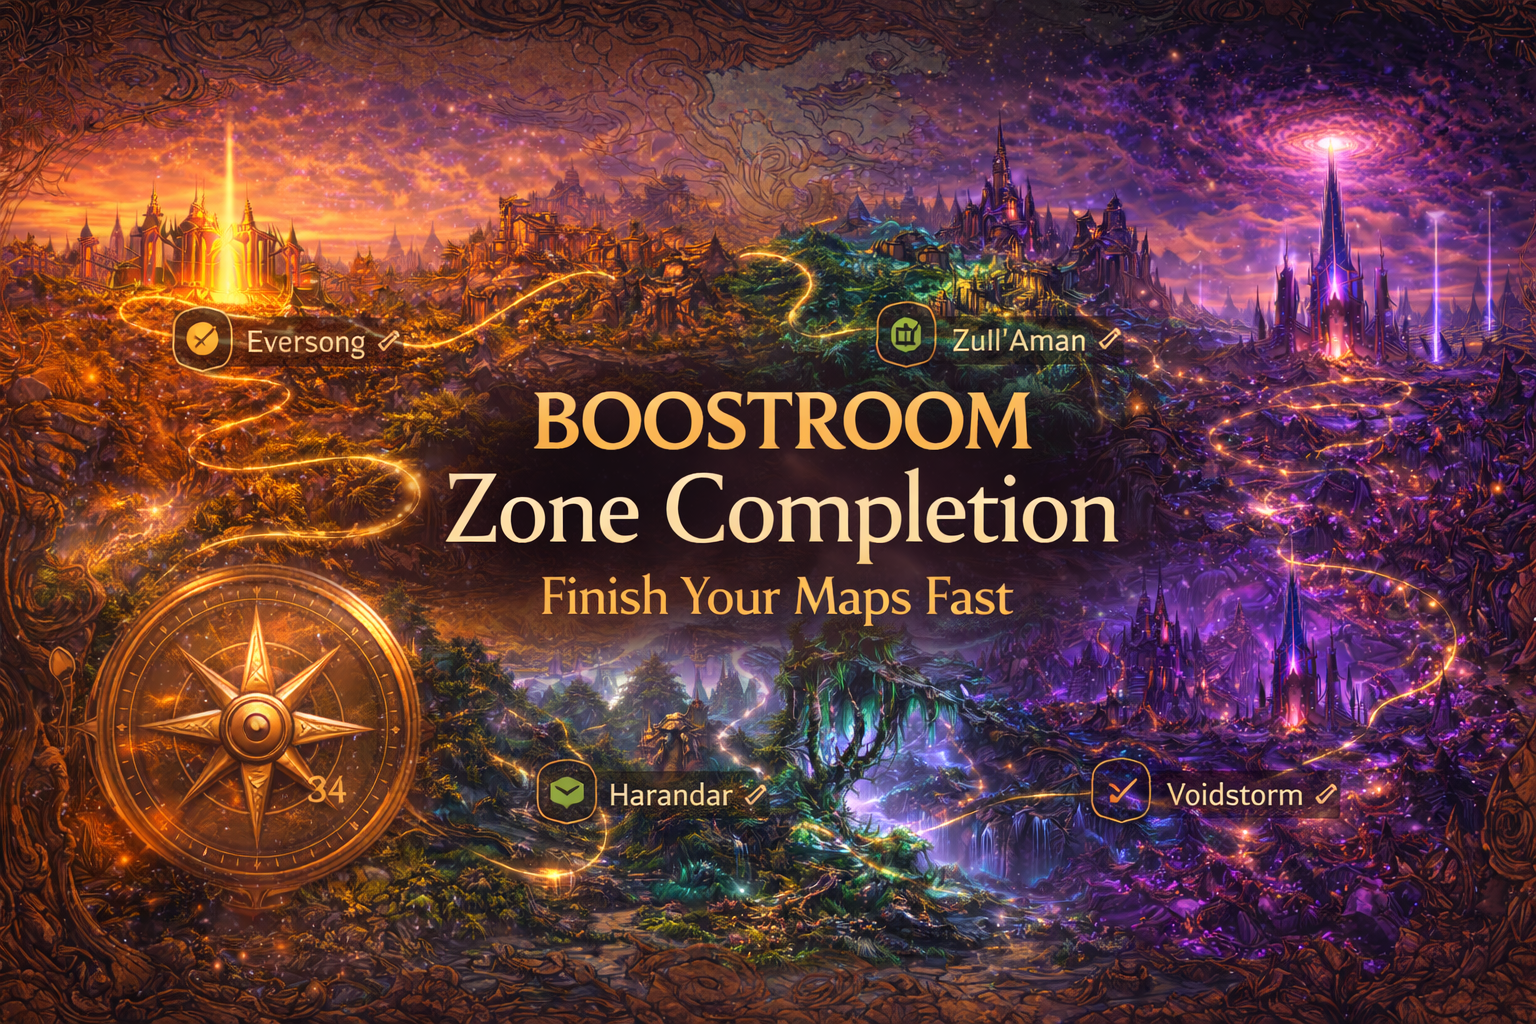
Zone completion in Midnight is bigger than “remove fog.” If you only chase the uncovered map, you’ll still feel incomplete because Midnight is built around layered checklists that overlap:
- Map reveal (exploration fog): uncover every sub-area so the zone counts as fully explored.
- Hub integration: learn the zone’s “in and out” paths so you can return quickly for weeklies and events.
- Activity anchors: identify where repeatable content actually happens (public events, weekly quests, major hotspots).
- Treasure + rare loops: build a circuit so your exploration time pays out in materials, cosmetics, and progress.
- Achievement progress: zone-specific achievements that reward you for doing the above in a structured way.
- Endgame access: in Midnight testing notes, World Quests (including world bosses) unlock after completing the Midnight main story campaign, which is a major “completion gate” for many players.
A “completed zone” in Midnight is a zone you can navigate without thinking — where you can land, finish what you need, and leave with tangible progress every session.
Why Zone Completion Is One of the Best Time Investments in Midnight
Most grinds feel optional. Zone completion doesn’t — because it multiplies everything else you do.
1) Faster travel = more rewards per hour
When your map is complete, you stop wasting time on awkward detours. That translates into:
- more rares per session
- more treasures per loop
- more events caught at the right time
- fewer “I missed it by two minutes” moments
2) Cleaner weekly routines
Midnight’s endgame is full of repeatables (public events, weeklies, Renown activities). If you’re still learning terrain, you’ll spend your prime playtime traveling instead of earning.
3) Better stacking of goals
Zone completion is the easiest grind to “double dip.” A good route can do all of these at once:
- uncover map fog
- tag rares
- check treasure nodes
- progress Renown
- participate in a public event
- finish a weekly objective pocket
4) Less frustration, fewer dead sessions
Nothing kills momentum like wandering for 40 minutes and leaving with nothing. A structured completion route guarantees you always have a next step.
The Midnight Completion Pyramid
If you want to finish maps fast, don’t treat the zone like a scavenger hunt. Treat it like a pyramid — bottom first, top later.
Base layer: navigation
- unlock your main travel lines
- learn the “outer ring” boundary
- find the major vertical transitions (cliffs, tunnels, drops, ramps)
Middle layer: map reveal
- clear fog methodically, pocket by pocket
- avoid random zig-zagging that causes backtracking
Top layer: valuables
- rares
- treasures
- event routing
- achievement cleanup
Players who start at the top layer burn out. Players who build the base layer finish zones quickly and calmly.
The Universal Zone Completion Checklist
Use this checklist in every Midnight zone. It’s the fastest way to avoid missing something basic.
- Reveal the outer ring: trace the zone boundary once (coastline, mountain edge, or natural wall).
- Clear central corridors: identify 2–3 main lanes that connect most sub-areas.
- Sweep pockets: any valley, ruin, cave, lake edge, temple, or “dead-end” area is a pocket that often stays fogged.
- Do one high-value activity while exploring: choose one repeatable (public event, weekly, Delve, Prey step) so your exploration time pays out.
- Mark missing fog immediately: the moment you notice a grey patch, pin it and finish it before moving on.
- End at the hub: finish your route near a travel anchor so your next session starts cleanly.
This prevents the most common mistake: clearing 95% of the zone, then spending two hours hunting the last 5%.
Three Route Styles That Finish Maps Fast
Not everyone plays the same way. Choose a route style that matches your patience and your goals.
1) The Blitz Route (fastest fog clear)
- prioritize map reveal over loot
- avoid long fights
- ignore most detours unless they are obvious fog pockets
- Best for: players who want completion first, farming later.
2) The Balanced Route (best value per hour)
- clear fog while tagging nearby rares
- check treasure nodes only if they’re on your line
- complete one zone activity while moving
- Best for: players who want progress and rewards every session.
3) The Collector Route (slowest, but highest total loot)
- fog clear + rare loops + treasure sweeps
- event timing becomes part of the route
- Best for: players who love collecting and don’t mind longer sessions.
BoostRoom’s approach is typically “Balanced Route” by default — because it finishes maps fast while still making each run feel rewarding.
Midnight Tools That Make Zone Completion Easier
Midnight adds systems that help you track and plan better — if you actually use them.
Journeys tab (your completion dashboard)
Journeys in the Adventure Guide is designed to centralize progress tracking for key Midnight systems like Renown, Delves, and Prey — and it includes a shortcut to check Great Vault status. If you treat Journeys like your “what matters today” screen, you’ll stop wandering and start finishing.
World Quest unlock rule (completion gate)
In Midnight testing notes, developers state that World Quests (including world bosses) unlock after you complete the Midnight main story campaign. If your goal is “full zone completion,” campaign completion matters because it turns on a huge chunk of your map’s activity layer.
HandyNotes-style map plugins (speed multiplier)
If you’re a completion player, a Midnight-focused treasure/rare map plugin saves hours. The goal isn’t to follow a dot-to-dot obsession — it’s to prevent the classic “I walked past it three times” problem.
Skyriding + vertical shortcuts
Midnight’s zones are designed for modern travel. Eversong, especially, is built to support skyriding without constant loading breaks. The more you treat the sky as your highway, the faster your fog clears — particularly in cliff-heavy or pocket-heavy terrain.
Eversong Woods Zone Completion Fast Track
Midnight’s Eversong Woods is not just the old zone — it’s a reimagined, slightly expanded zone that combines the original Eversong Woods with the Ghostlands. It’s visually brighter, more connected, and designed for modern traversal.
Why Eversong completion trips players up
- It’s huge compared to what your memory expects.
- The “pretty, open lanes” tempt you to stay on roads.
- The last fog patches tend to be tucked into scar pockets, ruin edges, and off-road sanctum corners.
The Eversong completion route that works
- Outer ring first: trace the full boundary once. This immediately reveals which side pockets exist.
- Spire corridor sweep: clear the city-adjacent corridors next (where traffic is highest). These areas fog-clear quickly because you naturally pass through them.
- Pocket sweep pass: finish with the weird pockets — scar remnants, ruin nooks, lake edges, and dead-end clearings.
How to stack rewards while exploring Eversong
Eversong hosts Silvermoon Court content and Saltheril’s Soiree, which includes public events and weeklies. That makes it easy to “pay yourself” while completing the map:
- clear fog while moving between event objectives
- uncover sub-areas while completing weeklies
- tag rares naturally when the zone is populated
Common Eversong misses (the last 5%)
- small strips along natural boundaries (cliff edges, coastline edges)
- “behind-the-ruin” pockets where you never have a reason to go
- tiny subzones near transitions and bridges where you ride past without entering the sub-area
A fast Eversong completion isn’t about speed — it’s about refusing to leave a grey patch behind “for later.”
Silvermoon City Completion as a Hub, Not a Checklist
Silvermoon City in Midnight serves as the campaign hub. For zone completion, that means Silvermoon isn’t just a place you visit — it’s the place your routes should begin and end.
Why Silvermoon matters for finishing maps fast
- It’s your reset point for travel decisions.
- It’s where you can pivot between zones without losing momentum.
- It’s where “one more lap” turns into “done for the night” cleanly.
How to use Silvermoon like a completion pro
- Start each session by choosing a single target: “finish fog,” “finish treasure pocket,” or “finish rare list progress.”
- End each session back in Silvermoon so the next login feels organized.
- Treat Silvermoon as your staging area for: repairs, vendor checks, Renown turn-ins, and activity planning.
If you’re constantly ending sessions in random wilderness, you’ll waste the first 10 minutes of every login re-orienting.
Zul’Aman Zone Completion Fast Track
Zul’Aman is an expanded zone and home of the Amani trolls. It’s a temperate region with forests and mountains, with periodic rainfall — which is great for atmosphere, but also means visibility pockets and vertical lanes.
Why Zul’Aman completion trips players up
- Mountains create fog pockets that remain hidden unless you approach from the correct angle.
- Forest pockets create “rooms” you can walk around without ever entering.
- Rain and mist make it harder to notice when you’ve crossed into a sub-area.
The Zul’Aman completion route that works
- Ridgeline pass: start high and sweep along mountain edges. High ground gives you visibility and reduces wrong turns.
- Temple pocket chain: then clear interior pockets — especially the Loa temple areas (eagle, lynx, dragonhawk, bear) that are designed as distinct spaces.
- Valley cleanup: finish with the low valleys and forest rooms where fog tends to linger.
How to stack rewards while exploring Zul’Aman
Zul’Aman is tied to several Midnight activities that naturally move you through the zone:
- Abundance can appear across Midnight zones and is tied to a professions-themed event loop.
- Amani Abyss is a cooperative activity connected to Zul’Aman content.
- If you plan your exploration around these, you finish the map while earning progress — instead of exploring “just to explore.”
Common Zul’Aman misses (the last 5%)
- narrow mountain ledges that count as unique sub-areas
- “behind the temple” backfields
- riverline strips and shoreline fragments
- small cave mouths that are technically subzones even if they don’t look important
Zul’Aman completion is about treating the terrain like a puzzle: high sweep, pocket chain, cleanup.
Harandar Zone Completion Fast Track
Harandar is a fungal jungle beneath the roots of the world trees, lit with bioluminescence. The zone is designed around layered spaces and strong mood — which often translates into tricky navigation.
Why Harandar completion trips players up
- Vertical layers: you can be “above” the fog pocket without entering it.
- Dense terrain: you can move slowly and still miss the subzone trigger.
- Hazard and combat density: detours can become expensive.
The Harandar completion route that works
- Safe lane circuit: identify your most navigable loop first — the path you can traverse without constant detours.
- Layered sweep: then do a top-to-bottom pass — high lanes first, then drop to lower basins and rootways.
- Pocket reset method: finish by targeting the few missing grey patches with a strict rule: one pocket, then return to a known lane.
How to stack rewards while exploring Harandar
Harandar is tied to Legends of the Haranir, a lore-rich activity that sends you through themed spaces. That’s excellent for zone completion because it naturally pushes you into pockets you might never visit otherwise.
Common Harandar misses (the last 5%)
- tiny basins under root overhangs
- sub-areas inside short tunnels or caves
- “one step farther” zones where the subzone trigger is deeper than you expect
- layered ledges where you must approach from below, not above
Harandar completion is a discipline test: structured layers beat wandering every time.
Voidstorm Zone Completion Fast Track
Voidstorm is a hostile zone suffused with the Void — designed to feel dangerous and intense. It’s also the zone where players waste the most time because death resets and hazard detours destroy momentum.
Why Voidstorm completion trips players up
- Survival friction: dying twice can cost the time of an entire exploration pocket.
- Event-centered traffic: you get pulled toward activity hotspots and forget fog pockets.
- Harsh visibility and strong effects: it’s harder to notice sub-area boundaries.
The Voidstorm completion route that works
- Event-edge patrol: instead of rushing into the center of chaos, patrol the edge of active areas. You get the benefit of population and scouting without constant risk.
- Ring route with dips: run a ring route that avoids the worst hazards, then “dip” into a pocket, clear fog, and retreat back to the safe ring.
- Micro-loop cleanup: once you’re close to completion, stop roaming. Run a small loop around your last 2–3 missing grey patches until they’re done.
How to stack rewards while exploring Voidstorm
Voidstorm features Stormarion Assault and is tied to the broader endgame flow. Use that to structure your sessions:
- do one event window
- clear fog pockets immediately around it
- exit cleanly to your hub instead of wandering deeper
Common Voidstorm misses (the last 5%)
- narrow strips along cliffs and gorges
- small “platform” areas near major structures
- side pockets that look like part of a larger region but count separately
- subzone triggers inside short corridors that you don’t fully enter
Voidstorm completion is not about being brave — it’s about reducing risk so your time stays productive.
How to Finish All Four Zones Without Burning Out
The fastest completion path across the entire expansion is not “grind one zone to death.” It’s rotation.
The rotation rule
- Do one major push zone (your focus zone)
- Do one light cleanup zone (your chill zone)
- Avoid doing Voidstorm as your “tired day” zone unless you truly enjoy it
A realistic weekly completion rhythm
- Early week: Eversong + Zul’Aman (high comfort, high population)
- Midweek: Harandar (structured completion, lore activity stacking)
- Late week: Voidstorm (only if you have focus, or if you’re with a group)
The secret weapon: stop sessions cleanly
If you always end at Silvermoon, you’ll feel less exhausted — and you’ll come back tomorrow.
The Most Common Zone Completion Mistakes
If you want to finish your maps fast, avoid these traps:
- “I’ll come back later” grey patches
- Later becomes never. Clear it now or pin it and do it next.
- Road addiction
- Roads reveal a lot, but pockets live off-road. Use roads to move, not to explore.
- Detour chaining
- One detour is fine. Two detours becomes a lost session.
- Exploring while distracted
- If you’re watching something and half-paying attention, do a reward activity (event, weekly) instead of fog clearing. Fog clearing requires awareness.
- Trying to complete everything in one session
- Midnight is built for repeatables. Two clean sessions beat one chaotic marathon.
BoostRoom’s completion approach exists to eliminate these mistakes with structure and pacing.
What BoostRoom Zone Completion Service Is
BoostRoom Zone Completion Service is a focused, results-driven way to finish Midnight maps quickly and cleanly — built for players who want completion without wasting time.
It’s designed around three goals:
- Finish map reveal efficiently (no wandering)
- Complete key exploration objectives that matter for your account progress
- Stack rewards while exploring so the service feels productive, not cosmetic-only
This is not about turning the game into a job. It’s about turning your playtime into progress with a route that makes sense.
BoostRoom is a third-party service and is not affiliated with Blizzard Entertainment.
What BoostRoom Zone Completion Typically Covers
Zone completion can be customized, but most players want some combination of:
- Full map reveal for one or more Midnight zones
- Key travel anchors (so your future weeklies feel easy)
- High-value exploration objectives (treasures, rares, event nodes)
- Efficiency planning for ongoing completion (so you don’t regress into wandering)
- Spoiler-light approach (focus on navigation and checklists, not story reveals)
If your goal is “100% everything,” the right plan is still step-by-step. BoostRoom helps you build the shortest path to your specific definition of “done.”
Self-Play Friendly Options That Keep You in Control
If you want to keep the experience fully yours, a self-play oriented approach focuses on:
- route guidance and pocket order
- real-time navigation coaching
- safe, efficient movement lines
- quick decisions when the zone is crowded or events shift traffic
That style is perfect for players who want to enjoy the scenery, keep the rewards, and finish the checklist without the frustration.
The BoostRoom Completion Packages Most Players Actually Want
Here are the most popular “completion outcomes” players aim for in Midnight — written in plain language.
Map Reveal Sprint
- reveal the full zone map as fast as possible
- ideal for players who hate fog and want the mental relief immediately
Explorer Plus
- full map reveal
- plus the most important anchors and high-value pockets
- ideal for players who want their future weekly routes to be painless
Collector Foundation
- map reveal + targeted treasure/rare loops
- ideal for collectors who want a strong base before chasing cosmetics hard
Full Zone Finish
- map reveal + structured cleanup plan
- ideal for players who want to “close the chapter” on the zone completely
The right package depends on whether you’re trying to optimize weekly play, chase achievements, or build a collector routine.
Why BoostRoom Finishes Maps Faster Than Trial-and-Error
Zone completion feels slow when you do it randomly. It becomes fast when you follow a method.
BoostRoom’s method is built around:
- Pocket mapping: identify sub-areas that commonly stay fogged and hit them in a tight sequence
- No-backtrack routing: avoid routes that force you across the same terrain repeatedly
- Risk control: especially in Voidstorm, reduce deaths and downtime so progress stays steady
- Activity stacking: complete at least one valuable objective while exploring so the session pays out
In other words: less wandering, fewer “where am I,” more “done.”
Who Zone Completion Service Is Perfect For
This is a high-fit service if you’re any of these players:
- You have limited playtime and want your sessions to produce visible progress
- You love collecting but hate hunting “the last missing area”
- You want to unlock a clean weekly routine (events, weeklies, Renown)
- You’re returning to WoW and feel overwhelmed by modern expansion systems
- You want to explore Midnight’s zones without turning exploration into frustration
And it’s especially valuable if you’re the kind of person who enjoys the game more once the map is clean and your routes make sense.
How to Get the Most Value From Zone Completion
Even with help, your mindset matters. These habits make zone completion faster and more satisfying:
- Define your “done” clearly: is it fog clear, or fog clear + treasures, or fog clear + rares?
- Use a two-session rule: one big push session, one cleanup session.
- Always end at the hub: it keeps your week organized.
- Stack one reward goal: do one event, one weekly, or one Prey/Delve step during exploration.
- Stop when progress slows: don’t brute-force the last 1% when you’re tired.
The fastest completion players are not the ones who grind hardest. They’re the ones who finish cleanly.
How Zone Completion Supports Your Other Midnight Goals
Zone completion isn’t a vanity project. It makes everything else easier:
- Mount farming: faster routes mean more rare tags and more event participation
- Treasure hunting: you stop missing hidden pockets where chests and odd objects tend to hide
- Profession gathering: clean travel lines increase nodes per hour
- Renown progression: you move between repeatables efficiently
- Pet collecting: you reach unique spawn pockets quickly
- Housing: exploration often unlocks décor sources and materials, and a clean map makes décor farming far less annoying
If your account goal is “do more with less time,” map completion is one of the best investments you can make in Midnight.
BoostRoom Promise: Clear Progress, Calm Pace, Real Results
Zone completion should feel good. It should feel like:
- your map is clean
- your routes are learned
- your weekly play is faster
- your “where do I go?” stress is gone
BoostRoom is built to provide that feeling with stable pacing, clear deliverables, and a focus on reducing wasted time.
BoostRoom is a third-party service and is not affiliated with Blizzard Entertainment.
FAQ
What exactly counts as “zone completion” in WoW Midnight?
For most players, it means full map reveal (fog cleared) plus key anchors (hub routes, major activity pockets). Many players also include treasures, rares, and exploration achievements as part of “completion.”
Do I need to finish the main campaign to complete zones properly?
If your goal includes the full endgame activity layer, Midnight testing notes indicate World Quests (including world bosses) unlock after completing the Midnight main story campaign. That makes campaign completion an important part of many players’ “complete the zone” plans.
Which Midnight zone is fastest to complete first?
Eversong is usually the easiest early completion zone because it’s central to the campaign flow and designed for modern travel. Zul’Aman is also very manageable if you use ridgeline sweeps and pocket chains.
Which zone is most frustrating to complete?
Voidstorm often feels the hardest because survival friction and downtime can ruin momentum. The fix is event-edge patrol routing and strict micro-loop cleanup for the last grey patches.
How long does zone completion take?
It depends on your definition of completion (fog only vs fog + treasures + rares), your travel comfort, and how distracted you get by side content. The biggest improvement comes from structured routing and avoiding backtracking.
Can I still enjoy the story if I focus on completion?
Yes. A spoiler-light completion approach focuses on navigation, pockets, and checklists while avoiding story details. You can explore and complete without ruining narrative surprises.
Do I need addons to complete zones fast?
No, but a Midnight-focused treasure/rare mapping addon can save a lot of time by preventing missed pockets and repeated searching.
What makes BoostRoom Zone Completion different from just following a random route?
The difference is structure: pocket mapping, no-backtrack routing, risk control (especially in Voidstorm), and reward stacking so your exploration sessions produce real progress.
