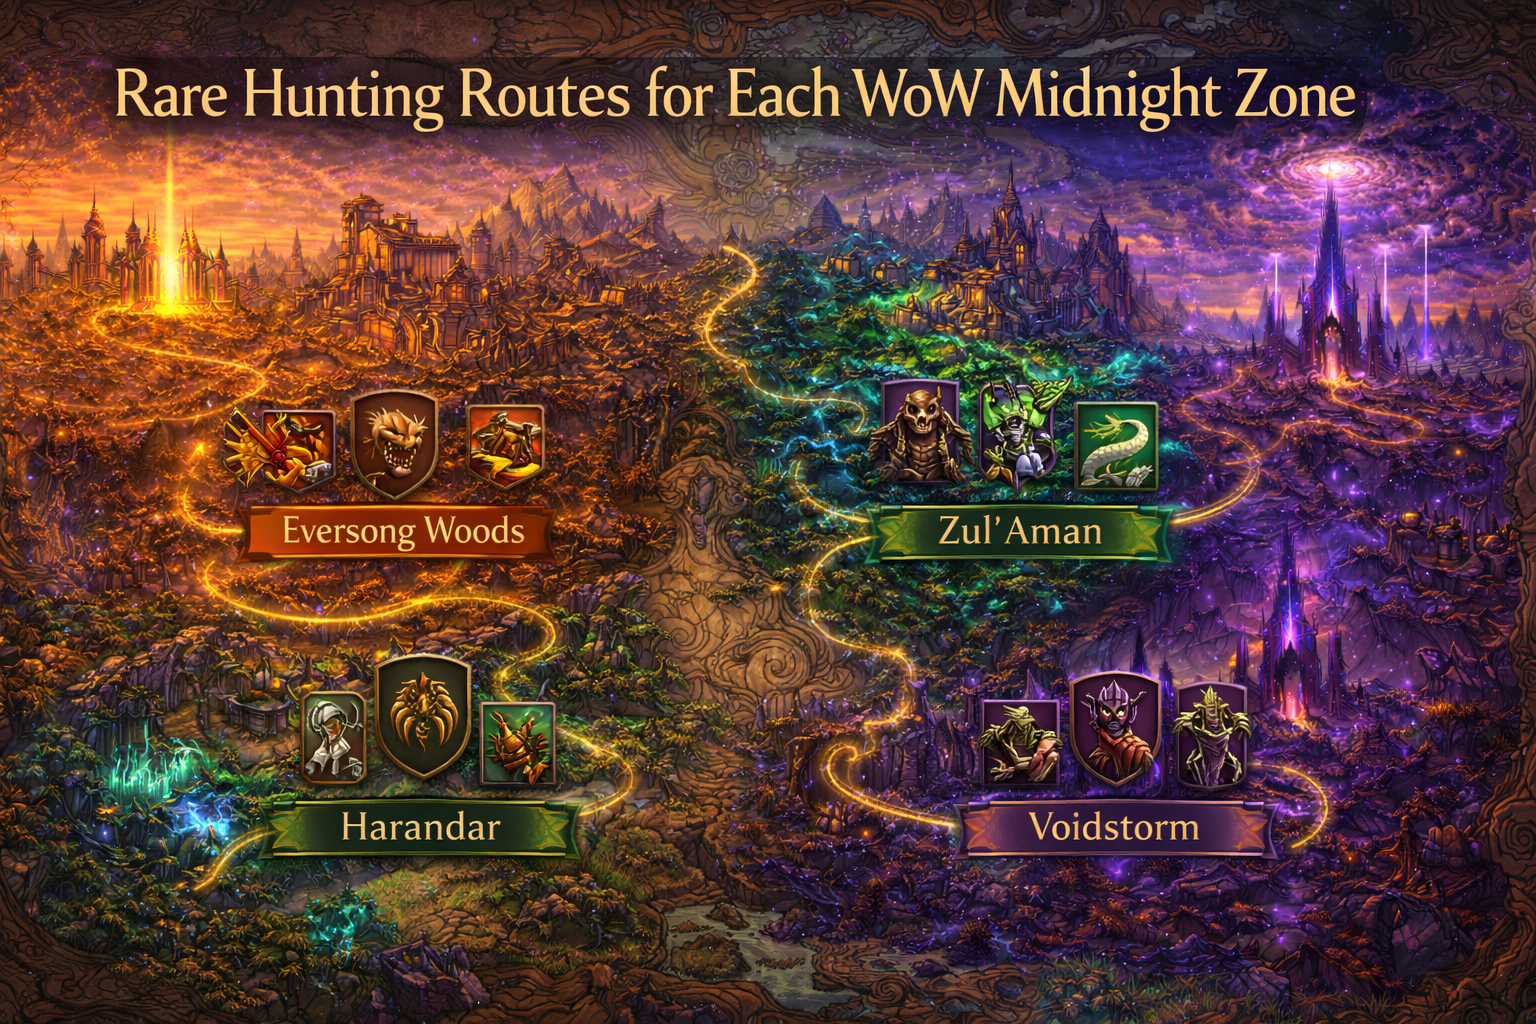
The Rare-Hunting Toolkit (Prep That Saves Hours)
Before you run routes, set yourself up so you don’t waste kills, miss tags, or lose time on unnecessary travel.
1) Turn your map into a radar
- Use a rare-alert addon (the popular ones are still the popular ones for a reason). The goal is simple: reduce scanning. You want your brain focused on movement decisions, not “did I see something?”
- If you prefer minimal UI, at least keep nameplates readable and increase draw distance if your settings allow it comfortably.
2) Build three travel anchors per zone
Every zone becomes easy when you have:
- One central anchor (hub/flight master / consistent waypoint)
- One north/east anchor (lets you start a clockwise sweep)
- One south/west anchor (lets you reverse course fast)
You don’t need exact coordinates to do this well. You just need a repeatable “triangle” you can re-enter quickly after any detour.
3) Make a “tagging kit” (even as DPS)
You want one instant action that reliably tags:
- A ranged instant
- A short cooldown gap-closer (if melee)
- A movement tool ready (because arriving first is only half the job)
In crowded zones, the player who tags first often wins the time economy—especially if you’re chaining multiple rares.
4) Plan for inventory friction
Rares turn into time loss when you keep stopping to manage bags.
- Clear space before you start a circuit.
- Decide your rule: vendor trash immediately, or after the loop. Pick one and stick to it.
5) Know your “leave condition”
A loop becomes efficient when you stop at the right time.
Examples:
- “I end the session after 6 rare kills.”
- “I end after the zone’s rare list is down to 2 missing.”
- “I end after the next public event ends.”
That prevents the classic trap: wandering for 25 minutes because you’re emotionally committed.
How to Read a Zone Like a Hunter
A rare route isn’t a single line on a map—it’s a decision tree.
The three questions you should always be answering:
- Where do rares cluster? (valleys, ruins, coastline edges, cave networks, event arenas)
- Where do players cluster? (hubs, quest corridors, public events)
- Where do I get the best ratio of “time moving” to “time killing”?
That third one is what separates “I saw two rares” from “I cleared eight.”
Route rule that works everywhere:
- Start with the outer ring (edges of the zone / natural boundaries).
- Cut inward through two high-density pockets.
- End at your central anchor so you can immediately pivot to another zone, a queued activity, or a new shard via group play.
When to reverse direction
If you see:
- A rare train going your direction (you’ll be behind them)
- A major event starting in your path (you’ll hit traffic)
- A missing rare that tends to be in a far pocket (you need a direct detour)
Reverse your loop. It’s shockingly effective.
Eversong Woods Rare Routes (A Bloody Song Circuit)
Eversong is deceptive: it looks open and gentle, but it’s packed with pockets—sanctums, roads, lake edges, and city-adjacent lanes that players constantly run through. That makes it great for short, repeatable circuits.
Eversong Woods rare checklist (achievement list):
- Warden of Weeds
- Harried Hawkstrider
- Overfester Hydra
- Bloated Snapdragon
- Cre’van
- Coralfang
- Lady Liminus
- Terrinor
- Bad Zed
- Waverly
- Banuran
- Lost Guardian
- Duskburn
- Malfunctioning Construct
- Dame Bloodshed
The routes that work best in Eversong
Route A: The “City-Edge Sweep” (fast, high traffic, high tag competition)
Best when the zone is busy and you want to piggyback off other players’ scouting.
- Start near Silvermoon’s outer access lanes and sweep outward along the nearest road network.
- Prioritize anything that sounds like it belongs near civilization or magical infrastructure (constructs, guardians, named NPC-feeling enemies).
- Cut toward a water pocket for aquatic/shoreline candidates, then return via a parallel road instead of backtracking.
Why it works: In high population, the first kill is usually already “found” for you. You’re leveraging player density while keeping your movement clean.
Route B: The “Sanctum Triangle” (balanced, low backtrack, great for solo)
Eversong’s sanctum-style points naturally create a triangle loop:
- Pick a north sanctum area
- Pick a west/central sanctum area
- Pick a south/east sanctum area
- Run the perimeter and cut inward once.
Why it works: Even if you don’t know exact spawn points, sanctum areas act like magnets for rares because they’re designed as points of interest.
Route C: The “Waterline + Ruins” (slower, safer tags, less player competition)
When Eversong is crowded, shoreline and tucked-away ruin pockets often stay quieter.
- Do a shoreline sweep first (lakes/river edges/coastal lines).
- Then hit ruin pockets and off-road clearings.
- End at your central anchor so you can jump into Silvermoon content or travel to another zone quickly.
Why it works: Players optimize for roads. You optimize for neglected terrain.
Practical Eversong tips that increase kills per hour
- Don’t chase one missing rare for too long. If you’re down to 1–2 missing names, switch to a second zone and come back later. Your odds improve when you stop camping.
- Treat roads as highways, not destinations. Use roads to move fast, but always “scan sideways” into clearings.
- If a rare is dead, don’t linger. Immediately pivot to the next pocket. Eversong rewards momentum.
Zul’Aman Rare Routes (Tallest Tree Circuit)
Zul’Aman is built around verticality and pockets: forests, mountain edges, and culturally significant spaces. It’s perfect for ridgeline patrols and pocket-to-pocket hopping.
Zul’Aman rare checklist (achievement list):
- Necrohexxer Raz’ka
- The Snapping Scourge
- Skullcrusher Harak
- Lightwood Borer
- Mrrlokk
- Poacher Rav’ik
- Spinefrill
- Oophaga
- Tiny Vermin
- Voidtouched Crustacean
- The Devouring Invader
- Elder Oaktalon
- Depthborn Eelamental
- The Decaying Diamondback
- Ash’an the Empowered
The routes that work best in Zul’Aman
Route A: The “Ridgeline Patrol” (safe, consistent, great visibility)
- Start at a high point (or a hub near one).
- Patrol along the mountain/forest boundary where sightlines are long.
- Drop into one interior pocket, then return to the boundary and continue.
Why it works: Ridgelines give you free scouting. You see combat, you see nameplates, you see movement.
Route B: The “Forest Pocket Chain” (best for checklist completion)
Zul’Aman tends to hide rares in “rooms” made of terrain.
- Identify three forest pockets you can reach without long detours.
- Run them in a chain, then reset back to your anchor.
- If a pocket is crowded, skip it and come back later—crowds mean you’ll lose time to tag fights.
Why it works: Checklist completion isn’t about one perfect lap; it’s about repeatedly touching the high-probability rooms.
Route C: The “Water + Corruption Sweep” (high value when Void influence is noticeable)
Zul’Aman has multiple rare names that imply shoreline/water presence or Void corruption.
- Do a waterline sweep early in your session.
- Then hit corrupted-looking pockets or invasion-feeling areas (where players tend to fight).
- Finish with a short ridgeline segment to spot anything active before you leave.
Why it works: You’re covering two “theme lanes” that often produce rares without needing exact spawn coords.
Practical Zul’Aman tips that increase kills per hour
- Use elevation as a filter. If you’re in a low visibility thicket, you’re spending time to get information. Move to higher ground to regain information quickly.
- Expect competition near events. Public activity traffic changes rare availability (or at least your ability to tag). When activity is up, go to the quieter pockets.
- Rotate directions mid-session. Zul’Aman is one of the best zones for reversing your loop because pockets are often connected by multiple paths.
Harandar Rare Routes (Leaf None Behind Circuit)
Harandar (home of the Haranir) plays like an underworld ecosystem: lush, strange, and often layered. That means your biggest enemy isn’t distance—it’s vertical confusion and hazard detours. Good Harandar routes are built around safe lanes and repeatable climbs/descents.
Harandar rare checklist (achievement list):
- Rhazul
- Chironex
- Ha’kalawe
- Tallcap the Truthspreader
- Queen Lashtongue
- Chlorokyll
- Stumpy
- Serrasa
- Mindrot
- Dracaena
- Treetop
- Oro’ohna
- Pterrock
- Ahl’ua’huhi
- Annulus the Worldshaker
The routes that work best in Harandar
Route A: The “Safe Lane Circuit” (best for solo, lowest downtime)
- Start at your central anchor (often the zone’s primary hub flow).
- Run the most navigable lane first (the path you can traverse without stopping, climbing, or fighting random packs).
- Branch into one side pocket, then rejoin the safe lane.
Why it works: In Harandar, 10 seconds of getting lost repeats into 10 minutes of inefficiency.
Route B: The “Canopy-to-Floor Loop” (best when you need specific missing rares)
Harandar rewards structured vertical play:
- Do a “top layer” sweep first (high paths, overlooks, canopy-adjacent routes).
- Then drop into a “floor layer” sweep (roots, caves, low basins).
- Return to your anchor through the most direct route possible—don’t freestyle the return.
Why it works: You reduce repeated vertical transitions, which are the most time-expensive moves in the zone.
Route C: The “Pocket Reset” (high completion rate, great for checklist pushing)
When you’re down to a few missing Harandar rares:
- Pick two pockets that are fast to reach.
- Hard-commit to touching both pockets each lap.
- Reset at the anchor, repeat, and stop after a set number of laps.
Why it works: You’re turning “random spawns” into “repeatable odds.”
Practical Harandar tips that increase kills per hour
- Treat vertical moves like cooldowns. Don’t climb for one speculative check unless it’s a known high-value pocket.
- End each lap at the hub. Harandar can disorient you; returning to a stable anchor keeps you efficient and sane.
- Avoid chaining detours. Two small detours in Harandar often equal one full extra lap worth of time.
Voidstorm Rare Routes (The Ultimate Predator Circuit)
Voidstorm is the zone where route discipline matters most. The atmosphere is hostile, the flow is event-driven, and it’s easy to lose time recovering from mistakes. A Voidstorm rare route is basically a patrol plan with escape hatches.
Voidstorm rare checklist (achievement list):
- Sundereth the Caller
- Territorial Voidscythe
- Tremora
- Screammaxa the Matriarch
- Bane of the Vilebloods
- Aeonelle Blackstar
- Lotus Darkblossom
- Queen o’ War
- Ravengerus
- Rakshur the Bonegrinder
- Bilemaw the Gluttonous
- Eruundi
- Nightbrood
- Far’thana the Mad
The routes that work best in Voidstorm
Route A: The “Event-Edge Patrol” (best overall, safest efficiency)
- Identify where the zone’s major activity is happening (players congregating is your clue).
- Patrol the outer edge of that activity rather than the center.
- You want to catch rares that spawn “near the action” without getting trapped in chaos.
Why it works: You benefit from population scouting while avoiding peak risk and tag chaos.
Route B: The “Hazard-Aware Ring” (best for solo survival and consistent movement)
- Run a ring route that avoids deep hazard pockets unless you have a specific reason.
- When you do enter a hazard pocket, do it as a “dip”: in → scan/kill → out.
Why it works: Voidstorm punishes deep commitment. Dipping keeps you alive and moving.
Route C: The “Shard-Friendly Micro Loop” (best when you’re missing 1–3 rares)
If you’re near completion, don’t roam the entire zone.
- Pick a compact micro loop around two or three likely neighborhoods.
- Run it fast.
- If nothing happens after a few laps, pivot via group play (without being disruptive) or switch zones and return later.
Why it works: Wide wandering feels productive but often isn’t. Micro loops maximize contact with the same high-probability areas.
Practical Voidstorm tips that increase kills per hour
- Never fight your way to a rare if you can ride around. Your time is worth more than the trash between you and the target.
- Plan a reset moment. After each kill, pause for two seconds: scan the map/alerts, decide the next pocket, then move.
- If you die twice in 15 minutes, change strategy. Switch to event-edge patrols or join a small group—Voidstorm is telling you your current lane isn’t efficient.
Cross-Zone Route Plan: 30, 60, and 120 Minutes
Sometimes you don’t want “a perfect loop.” You want the best use of your time right now. Here are three practical templates.
30-minute session (quick wins)
- Run one fast Eversong sweep (city-edge or sanctum triangle).
- If you get 2–4 rares quickly, end on a hub so you can queue content or turn in progress.
- If Eversong is dry, swap to Zul’Aman ridgeline patrol for the rest of the time.
Goal: 3–6 rare kills, minimal downtime, no “camping.”
60-minute session (two-zone completion push)
- Start in the zone you’re closest to completing (fewest missing rares).
- Run two structured laps (don’t freestyle).
- Switch zones after ~30 minutes and repeat.
Goal: Completion progress + enough kills to feel rewarded even if you don’t finish.
120-minute session (big checklist night)
- Eversong (fast loop; leverage population)
- Zul’Aman (pocket chain + ridgeline)
- Harandar (safe lane + pocket reset)
- Voidstorm (event-edge patrol timed around activity)
Goal: Touch every zone, maximize variety, reduce burnout, increase total rare contact.
Group Finder and Sharding Tactics That Aren’t Toxic
Rare trains can be amazing—if you use them like a tool, not a crutch.
Healthy ways to use groups
- Join a group that’s already moving and match their pace.
- If you arrive late, don’t demand summons or callouts—just catch up.
- Leave politely when the route no longer matches your goals.
Avoid the time traps
- Constant group hopping can cost more time than it saves.
- Huge groups can cause tag chaos and make you miss kills due to performance or clutter.
The best group size for efficiency
- 3–5 players is often the sweet spot: fast tags, quick kills, low chaos, easy movement decisions.
Prey System Synergy: Turning Hunts Into Route Fuel
Midnight adds an opt-in hunting system that can overlap nicely with rare circuits—because it encourages you to move with purpose instead of drifting.
Here’s the simplest way to combine it with rare hunting:
- Treat your Prey target as the “north star” of your lap.
- Build your rare loop so it naturally passes through the target’s zone neighborhoods.
- If the Prey target pulls you into a dangerous pocket (especially in Voidstorm), pivot to an event-edge patrol afterward to stabilize.
Why this synergy works: The Prey system gives you a reason to commit to a route even when you’re missing only a few rares—so you keep moving, keep scanning, and keep stacking kills.
Reset Priorities: What to Do Right After Weekly Reset
Weekly reset creates the best rare-hunting conditions because:
- More players are online (more scouting)
- More groups form (more trains)
- More people are doing zone activities (more incidental rare discoveries)
A strong reset-day plan (especially in Europe where reset is typically Wednesday)
- Do a fast Eversong sweep first (high population).
- Jump to Zul’Aman if there’s heavy event traffic (you’ll get free scouting).
- Save Harandar for when you want focused, low-drama completion work.
- Do Voidstorm when you’re ready to play alert and disciplined (or when activity makes it safer via population).
The priority rule: Start with the zones where other players make you faster. End with the zones where other players make you slower.
Common Mistakes That Make Rares Feel “Unlucky”
If rare hunting feels bad, it’s usually one of these:
- You’re over-committing to one missing rare. Switch zones and return later.
- Your loop has too many detours. Detours are fine; chained detours destroy efficiency.
- You aren’t ending laps at an anchor. Anchors reset your brain and your travel options.
- You’re always following the crowd. Crowds help you find rares, but they often hurt your ability to tag rares.
- You’re not reversing direction. Reversing is one of the simplest ways to instantly increase kills per hour.
BoostRoom: Turn Rare Hunting Into Reliable Progress
If you like the idea of rare hunting but don’t want to burn nights testing routes, BoostRoom can help you convert time into progress with a plan that fits your schedule.
What BoostRoom can do for your Midnight rare grind
- Route coaching: We help you build a personal circuit based on your movement tools, preferred playstyle, and the zones you’re prioritizing.
- Checklist completion planning: If you’re aiming to finish zone rare achievements efficiently, we’ll map out the “high-probability laps” so you stop wasting time on low-yield wandering.
- Progress stacking: Rares are best when they’re paired with other goals (events, exploration, renown-style progress). BoostRoom helps you stack objectives so every session pays.
The goal isn’t to play for you—it’s to make sure your time feels expensive in the best way: every login moves you forward.
FAQ
Do I need to kill every rare in a single day to complete the zone achievements?
No—treat it as a checklist over time. The most efficient approach is consistent laps that touch high-probability pockets, not camping one missing target for hours.
Which zone is easiest to complete first for rares?
Eversong is usually the most forgiving because player traffic is naturally high and the zone layout supports fast circuits.
What’s the best zone for solo rare hunting?
Harandar is great for structured solo loops if you commit to safe lanes and avoid getting dragged into repeated vertical detours.
What’s the best zone for group rare trains?
Zul’Aman often shines with small groups because ridgeline patrols and pocket chains are easy to coordinate.
