- Scheduled dungeon clears with experienced teams
- Help with mechanics, pacing, and role execution
- Practical guidance on what to keep, what to dismantle, and what to upgrade
- “Weekly conversion” planning: turning drops and rewards into real power spikes
BoostRoom is not about random “tips.” It’s about building a system where your playtime converts into stable clears, better rewards, and faster upgrades.

Who This Help Is For
BoostRoom support tends to help the most when you recognize one of these situations:
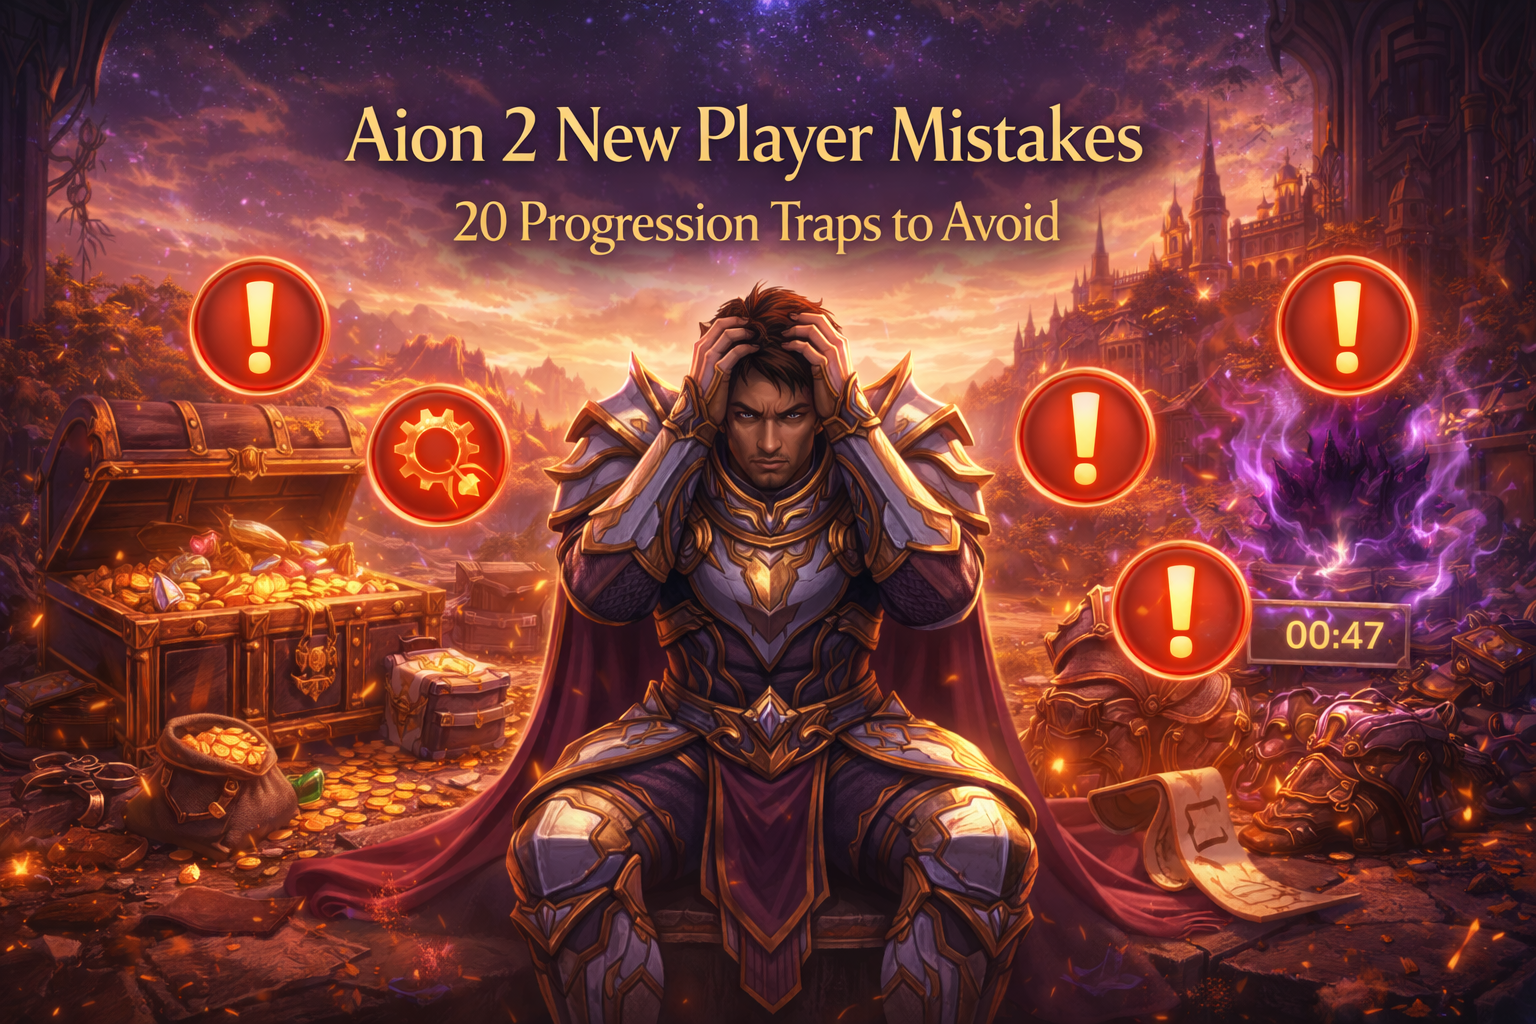
You’re new or returning and feel overwhelmed
Aion 2 has multiple progression layers. If you don’t know what matters first, you’ll upgrade the wrong things and fall behind.
You’re stuck at a mid-tier wall
You can clear content sometimes, but you fail runs often, your score is inconsistent, or you need too much time for too little reward.
Your class feels “weak,” but you suspect it’s your setup
Many players aren’t underpowered—they’re running the wrong stigma setup, wrong rotation rhythm, or wrong stats for the content they’re doing.
You waste time finding groups or your parties are unreliable
Limited entries punish failed runs. If your dungeon time is inconsistent, your week gets slower every reset.
You want PvP results without throwing away PvE progress
Aion 2 rewards specialization. If you want Abyss progress without destroying your PvE speed, you need planned swaps, not chaos upgrades.
You have limited playtime and want the highest-value routine
If you only play a few sessions per week, you need efficiency more than “grind.”
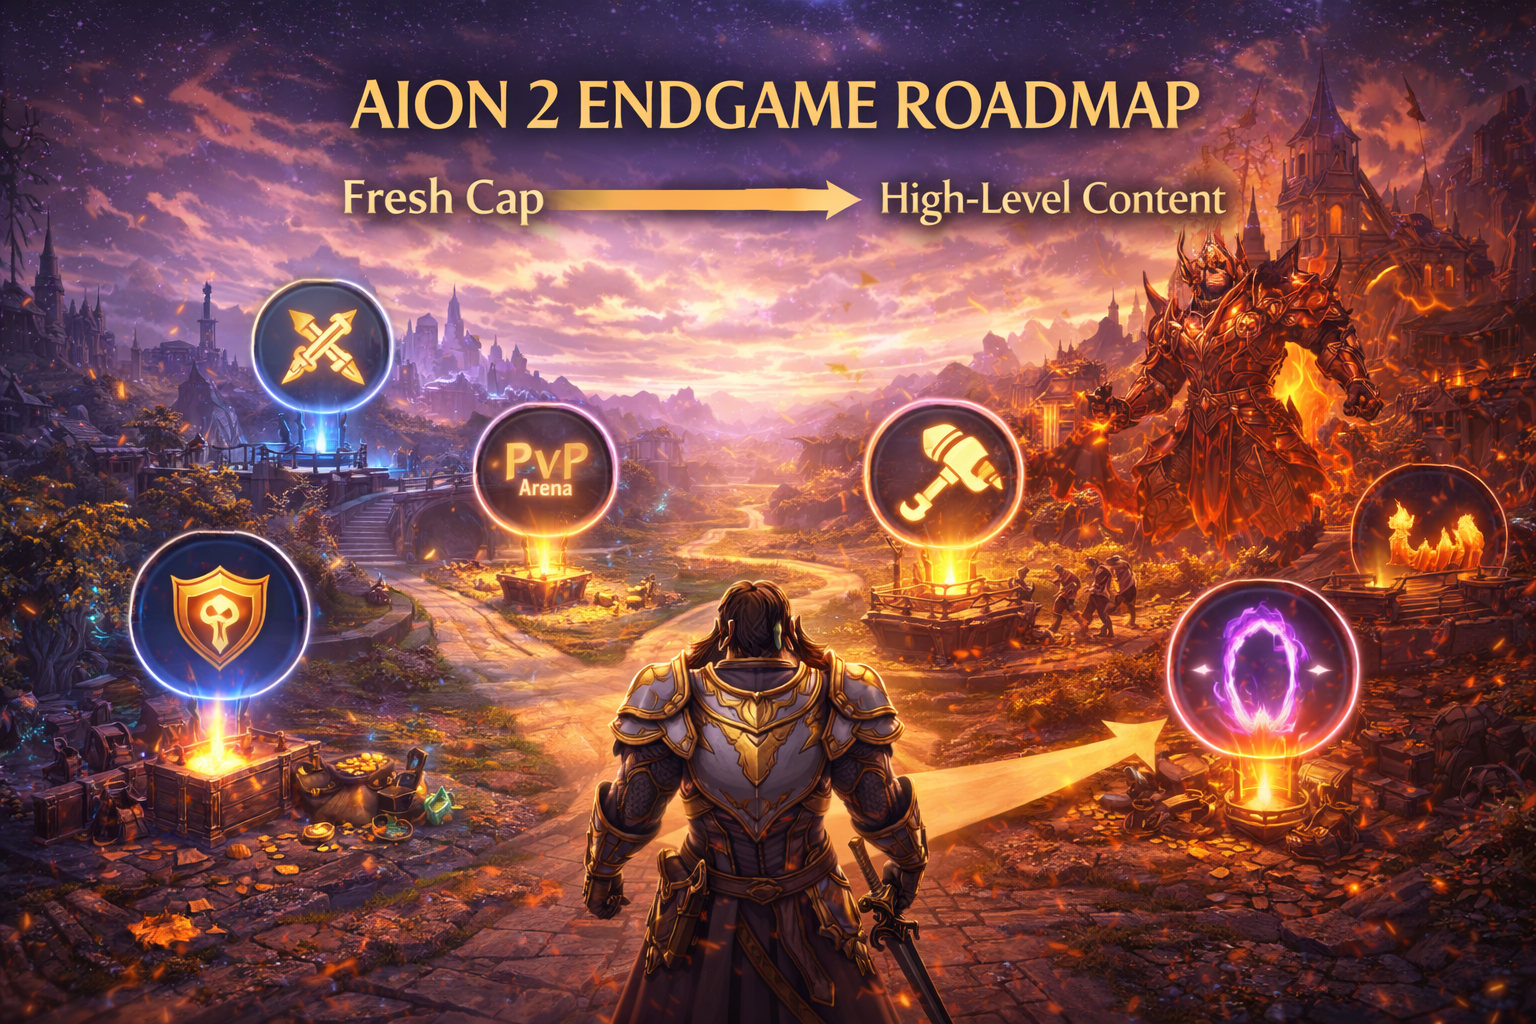
How Progression Actually Works in Aion 2
Most players think “progression” is just higher gear. In Aion 2, progression is a stack of layers that multiply each other:
Layer 1: Execution
- You survive mechanics
- You keep uptime
- You clear waves efficiently
- You don’t waste cooldowns
Layer 2: Build clarity
- Your stigma choices match your goal
- Your hotbars and loadouts reduce mistakes
- Your stats support your class (not random “highest number” gear)
Layer 3: Routine discipline
- You use your limited entries well
- You don’t miss weekly attempts
- You spend materials at milestones (not impulsively)
Layer 4: Group reliability
- You clear faster with consistent roles
- You waste fewer entries on wipes
- You learn content faster by repeating with the same team
BoostRoom support is designed to improve all four layers—because fixing only one layer often isn’t enough. A perfect build won’t help if your execution is messy. Great execution won’t help if your routine wastes entries. The fastest progress comes from aligning all four layers.
Coaching vs Dungeon Support vs Full Progression Planning
Aion 2 players usually need one of three types of help. Knowing which one you need saves money and time.
Coaching is best when…
- you want to improve mechanics, rotations, and decision-making
- you’re serious about getting better (PvE speed, PvP performance, or both)
- you don’t want to rely on other people long-term
Dungeon support is best when…
- your problem is time or scheduling (you can’t reliably form groups)
- you want consistent clears with limited entries
- you’re tired of slow, wipe-heavy parties
Full progression planning is best when…
- you feel overwhelmed by systems and upgrade choices
- you want a weekly plan built around your time and goals
- you want to avoid the “I upgraded a lot but I still feel weak” trap
Many players start with planning + a bit of coaching, then add dungeon support only for the content they can’t reliably clear with their own groups.
Coaching Pillar 1: Mechanics and Movement Fundamentals
In Aion 2, the difference between “barely cleared” and “clean clear” is usually movement discipline.
BoostRoom coaching focuses on the mechanics that create consistent wins:
Positioning fundamentals (PvE and PvP)
- where to stand to avoid damage without losing uptime
- how to kite without turning fights into slow marathons
- how to keep enemies stacked for AoE efficiency
Telegraph reading and safe windows
- recognizing “danger moments” that punish animation locks
- attacking during safe windows and using fast skills outside them
- avoiding greedy casts that cause deaths and resets
Cooldown pacing
- using cooldowns early to set the run pace
- cycling cooldowns instead of hoarding them “for later”
- saving exactly one emergency tool for bad situations (instead of panicking)
Consistency drills that actually work
Instead of vague advice, a good coach gives repeatable drills, like:
- “No-death run” training: clear first, then speed up
- “Two-window burst” training: burst only on safe boss windows
- “Wave grouping” training: stack mobs before you spend big AoE
This is how you build real improvement. You stop relying on luck and start producing the same results every run.
Coaching Pillar 2: Rotation, Hotbars, and Loadouts
Most “DPS problems” aren’t DPS problems—they’re rotation organization problems.
BoostRoom coaching targets the hidden causes of low damage and slow clears:
Hotbar layout that reduces misclicks
- grouping skills by purpose (burst, mobility, defense, control)
- placing key cooldowns where your fingers naturally reach
- removing “dead buttons” that cause hesitation
Rotation basics that scale with gear
- maintaining damage uptime instead of chasing perfect combos
- aligning burst skills with boss vulnerability windows
- using debuffs and setup skills correctly so your burst actually lands
Resource and tempo control
- not over-spending resources on trash mobs
- saving key tools for large waves or boss phases
- using filler skills intelligently so you don’t stand still doing nothing
Loadouts for content types
Aion 2 punishes one-size-fits-all setups. Coaching helps you build at least two loadouts:
- PvE farming loadout (AoE, sustain, movement)
- Boss / group loadout (single-target, utility, survivability)
- If you do PvP, you add a third:
- PvP / Abyss loadout (mobility, control, burst, survival)
The goal is simple: you should never enter content thinking, “Wait, why do I feel weak today?” Your setup should match your activity every time.
Coaching Pillar 3: Stigma Builds That Match Your Goal
Aion 2’s stigma customization is one of the biggest power levers—and one of the easiest places to waste resources.
BoostRoom build support focuses on three outcomes:
Outcome 1: You stop running “generic” stigmas everywhere
A generic build feels okay but excels nowhere. Performance builds do the opposite:
- PvE builds prioritize clear speed and consistency
- PvP builds prioritize control, survival windows, and matchup tools
Outcome 2: Your stigmas scale into endgame
Some builds feel amazing early but fall off later because they don’t scale well or rely on weak mechanics. A scaling build:
- keeps value as gear improves
- supports consistent damage uptime
- doesn’t collapse when difficulty increases
Outcome 3: Your build matches your class identity
Different roles need different priorities:
- Tanks need threat control + survivability timing
- Healers need uptime, positioning, and anti-burst survival (especially in PvP)
- DPS need burst alignment, mobility, and controlled aggression
A good stigma plan isn’t “copy a build.” It’s building a setup that matches your skill level, content lane, and progression stage.
Coaching Pillar 4: Gear Planning and Upgrade Priority
The fastest players aren’t the ones who get the luckiest drops. They’re the ones who spend upgrades wisely.
BoostRoom progression planning commonly focuses on:
Upgrade order (milestone progression)
Instead of upgrading everything evenly, you chase milestones:
- weapon milestones first (biggest impact)
- key slots that affect speed (movement/attack speed, depending on your class)
- accessories only when you’re stable
- armor upgrades based on your actual bottleneck (dying vs lacking damage)
Stat clarity (stop chasing random numbers)
- PvE stats prioritize clear speed and hit consistency
- PvP stats prioritize survival and player-damage trade value
- If you mix them without a plan, you end up weak in both lanes.
PvE vs PvP set planning (without going broke)
Many players eventually need two sets. The smart way to build them is:
- build one strong primary set first (your main lane)
- share only a few universal pieces temporarily
- build the second set gradually with a clear budget plan
Stone and socket packages
Instead of random sockets, you build one package at a time:
- PvE package: consistency first → damage scaling second
- PvP package: survival first → pressure second
- This prevents the expensive “resocket forever” trap.
The goal is to feel stronger every week—not to be permanently “almost strong.”
Dungeon Support: Turning Limited Entries Into Real Power
Aion 2 is built around structured content, including solo modes and party-based dungeons. Limited entries are a big deal: if you waste attempts on slow clears or wipes, you lose a week of progression value.
BoostRoom dungeon support is designed to make dungeon time efficient:
Scheduled clears that fit your time
You choose windows that match your schedule so you can plan your week instead of waiting for random parties.
Role structure (tank/healer/DPS done correctly)
Aion 2 leans into classic roles. The difference between a good run and a painful run is often role discipline:
- tank controls pulls and stabilizes bosses
- healer supports uptime and prevents wipe spirals
- DPS focuses targets and respects mechanics
Mechanic guidance that makes you independent
The best dungeon support doesn’t just “carry.” It teaches:
- what each boss is trying to punish
- where safe windows exist
- how to keep uptime without dying
- So future runs become easier—even when you play without support.
Reward conversion support
Clearing is not the end. The real progress is how you use rewards:
- what to keep vs dismantle
- what to upgrade now vs save
- how to prioritize the pieces that create the biggest weekly power spike
If your goal is fast growth, dungeon support is not about “one clear.” It’s about building a loop where each week increases your power and reduces your future clear time.
PvE Progression Support Across Solo and Group Content
Official previews have highlighted Aion 2’s structured PvE options, including solo content like Nightmare Dungeon, Seal Dungeon, Garrison, and Awakening Battle, plus party-based challenges.
BoostRoom PvE support usually follows a simple philosophy:
stabilize clears → increase speed → push difficulty → repeat weekly
Here’s what that looks like by content type.
Nightmare Dungeon Support: Clean Kills and Faster Gear Steps
Nightmare-style solo content is valuable because you can run it without group scheduling. The common reasons players fail or go slow:
- they over-commit to long animations during danger moments
- they don’t align burst with safe windows
- they enter with the wrong consumables or loadout
Support focuses on:
- safe-window burst timing
- movement discipline
- quick resets and consistency
- build tuning so your damage is reliable, not “sometimes amazing”
The win condition is “clean clears you can repeat,” not one lucky success.
Seal Dungeon Support: Routes, Risk Control, and Reward Priority
Seal-style content rewards efficient routing and correct priority decisions. Players lose time by:
- wandering instead of following a plan
- fighting unnecessary packs
- misusing cooldowns early and lacking damage later
Support focuses on:
- route planning (what to kill, what to skip, what to prioritize)
- cooldown pacing
- survivability timing (so you don’t die with rewards on the line)
- loot and reward prioritization so your upgrades stay focused
Garrison Support: Efficient Solo and Small-Group Clearing
Garrisons are a strong progression tool when used efficiently. The biggest garrison mistakes:
- clearing slowly due to poor wave control
- missing optional value (like chest routes)
- leaving without converting rewards into upgrades
Support focuses on:
- wave grouping and AoE efficiency
- movement and route discipline
- fast resets so garrisons don’t become a time sink
- “loot conversion” planning (sell vs store vs use)
If you’re a solo player, garrisons are often one of the best “steady progress” habits—when you run them with a system.
Awakening Battle Support: Scoring, Time Discipline, and Consistency
Awakening Battle is a performance mode where speed and consistency matter. Many players lose score because they:
- stop moving between waves
- over-loot mid-run
- hoard cooldowns
- die to preventable mechanics
Support focuses on:
- keeping pace and reducing downtime
- using cooldowns aggressively but safely
- boss safe-window discipline
- building a “push run” routine (one run per week where you go for score)
The result is consistent clears and better weekly performance—without burning entries on chaotic attempts.
4-Player Dungeon Coaching: Roles, Loot Rules, and Speed
Party dungeons are where most players gain (or lose) the most time. A clean 4-player group can turn a weekly routine into a fast, repeatable power engine.
BoostRoom dungeon coaching often includes:
Tank coaching
- pull sizing and pacing
- boss positioning
- mitigation timing
- keeping runs stable so healer and DPS can perform
Healer coaching
- uptime healing vs panic healing
- saving tools for spike damage
- positioning so you don’t get clipped and forced to stop healing
- supporting faster clears by enabling DPS uptime
DPS coaching
- target priority (what to delete first)
- burst alignment with group pulls
- survival discipline (dead DPS = slow run)
- consistent output instead of “sometimes big numbers”
Loot rules and upgrade discipline
Even good groups collapse from loot drama or bad upgrade choices. Support helps establish simple rules like:
- main upgrades first
- clear priorities based on role needs
- no wasting resources on temporary pieces
When dungeon time becomes structured, you stop feeling like you’re “grinding.” You start feeling like you’re progressing every run.
PvP and Abyss Progression Support: Timing, Objectives, and Smart Risk
Aion 2 PvP progression is not just “fight more.” It’s about playing at the right times, with the right group size, with the right objectives, and with the right gear expectations.
Recent updates and official articles describe open-world PvP being influenced by a toggle system (“War Mode”) in certain contexts, while the Abyss remains a core PvP zone.
BoostRoom PvP/Abyss support typically focuses on:
Session planning (so you don’t waste time)
- choosing PvP sessions when objectives are active
- avoiding endless random fights that yield low reward
- building a weekly AP plan that respects caps and efficiency
Small-squad fundamentals
- target calling and focus fire
- peel timing (protecting teammates)
- retreat discipline (dying alone is feeding)
- objective-first play (wins that convert into rewards)
PvP survival first, damage second
Many players build PvP like PvE and get erased instantly. Support helps you build:
- survivability backbone first (so you can actually play fights)
- then pressure and burst once you can survive openers
PvE/PvP gear swap discipline
If your version includes gear that performs best in Abyss contexts but worse outside, support helps you:
- build two sets without going broke
- create presets that swap instantly
- prioritize upgrades that keep both lanes moving
The goal is competitive PvP that doesn’t sabotage your PvE progression.
Economy Coaching: Kinah Habits That Fund Your Upgrades
Aion 2 progression is often limited by Kinah and materials. Even strong players get stuck when they:
- upgrade too many items at once
- enchant past efficient breakpoints
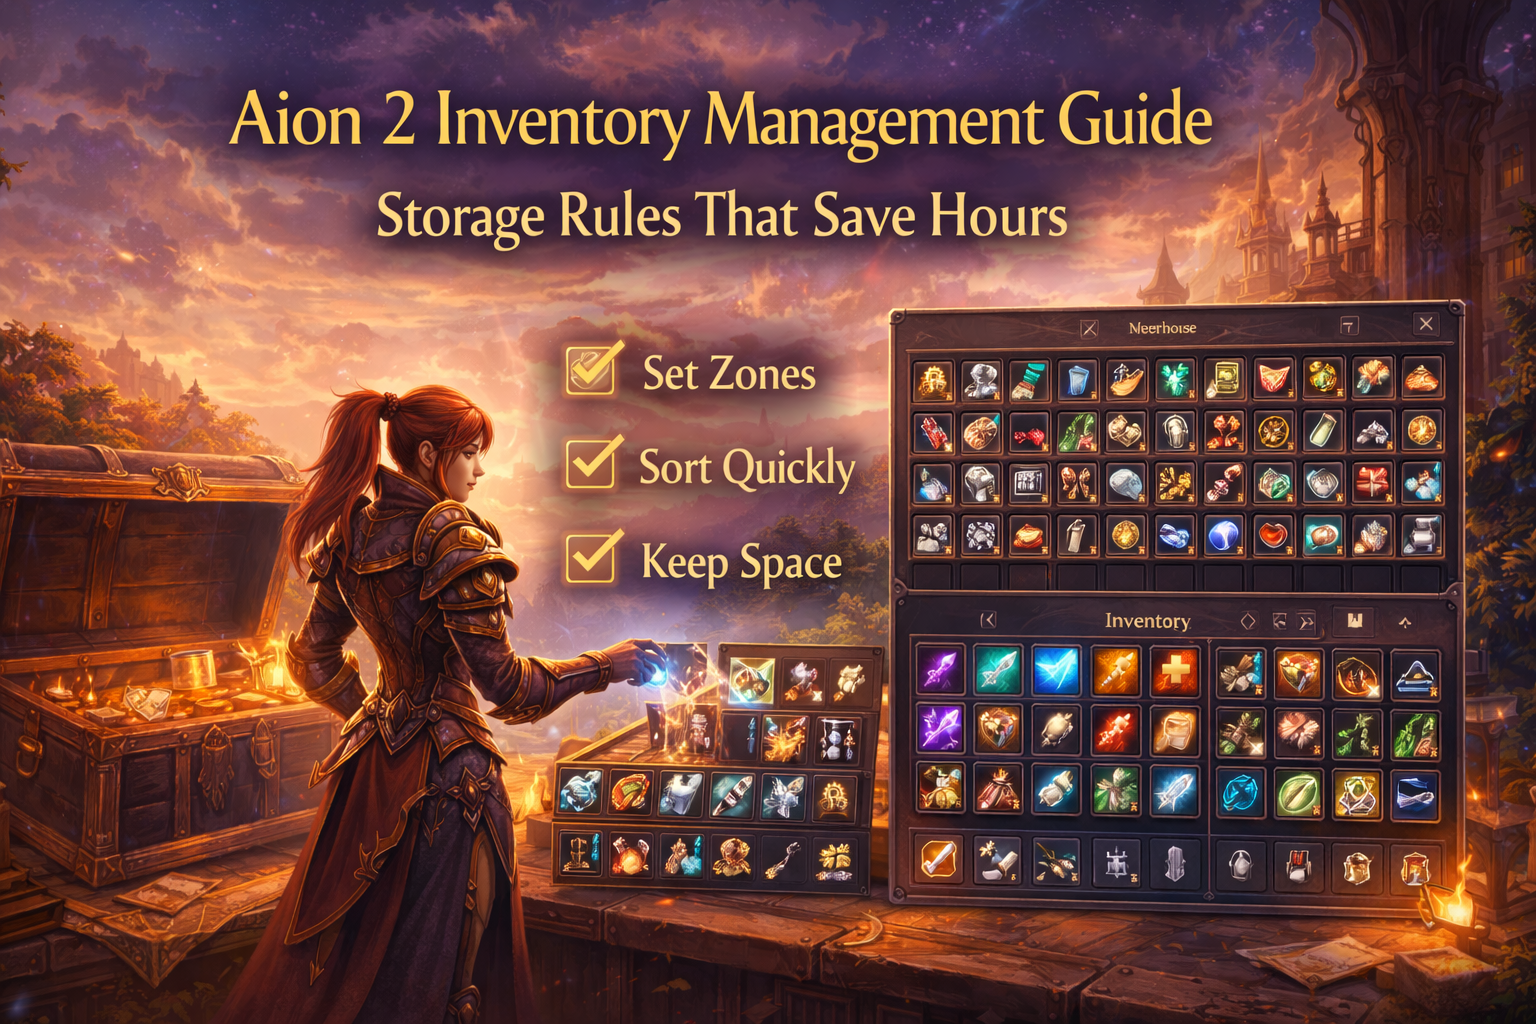
- hoard inventory clutter instead of selling intelligently
- list items one-by-one and waste time
BoostRoom economy coaching focuses on simple habits that work:
Batch selling and “sell rows”
- keep a dedicated storage row for market items
- list once or twice per week instead of constantly
- sell vendor trash immediately to keep bags clean
Upgrade budgeting
- allocate weekly resources: main set vs secondary set vs reserve
- chase milestones, not random upgrades
- stop spending on items you will replace soon
Crafting and gathering timing
Crafting can be a power spike if used correctly—and a time sink if done randomly. Coaching helps you craft when it creates a real advantage:
- when it fills a missing slot efficiently
- when it supports a key stat package
- when it converts excess materials into profit
A strong economy doesn’t require playing all day. It requires not wasting what you already earn.
Legion Integration: How BoostRoom Helps When Your Guild Isn’t Enough
Even strong Legions have gaps:
- off-peak hours
- missing roles
- inconsistent attendance
- weekly time conflicts
BoostRoom can act as a bridge:
- dungeon support when your Legion can’t form a group
- coaching to help you become a stronger role player (tank/healer/DPS)
- build planning so you don’t rely on Legion advice that may be outdated or inconsistent
- routine planning so you hit your weekly goals even if your guild schedule is messy
The best progression is often hybrid:
Legion for community + BoostRoom for consistency when needed.
What to Prepare Before Your First BoostRoom Session
You get better results when you show up with clarity. Here’s a simple prep checklist:
Your goal (one sentence)
Examples:
- “I want fast PvE gearing for 4-player dungeons.”
- “I want to stop dying in Abyss and start earning rewards consistently.”
- “I want a weekly routine that fits 6 hours of playtime.”
Your current bottleneck
Pick one:
- damage feels low
- survivability feels low
- clears are inconsistent
- inventory and upgrades feel chaotic
- no reliable groups
Your current setup snapshot
- your main class and role
- your usual content (solo, dungeons, PvP)
- what you’ve already upgraded (so planning can avoid waste)
Your schedule windows
Even two or three reliable windows per week can be enough—if used correctly.
The clearer your starting point, the faster your plan becomes effective.
How a BoostRoom Plan Is Built
A good progression plan isn’t a generic checklist. It’s personal. The most effective BoostRoom-style plan usually has four pieces:
1) A weekly priority ladder
- what you do first each reset
- what you do daily if you have time
- what you do only when extra time exists
2) Your upgrade milestones
- what you upgrade now
- what you save for later
- what you ignore completely (because it’s bait)
3) Your presets
- PvE farm preset
- boss/group preset
- PvP/Abyss preset (if needed)
4) Your skill drills
- one or two drills that fix your biggest execution mistakes
- a simple way to measure improvement (clear time, deaths per run, score thresholds, etc.)
That’s how progression becomes repeatable instead of chaotic.
What Results to Expect (And How to Measure Progress)
Real progression support should be measurable. Here are the best metrics to track:
PvE metrics
- dungeon clear time (best run per week)
- number of deaths per run
- consistency (how often you clear without wipes)
- how many weekly entries you actually complete
PvP metrics
- survival time in openers
- objective participation and reward consistency
- win rate in organized fights (not random duels)
- how often you “escape and reset” instead of feeding deaths
Account metrics
- weekly Kinah net gain
- number of meaningful upgrades per week (not tiny upgrades everywhere)
- completion progress toward one big milestone (weapon step, set completion, stigma build)
If your numbers improve, your plan works. If they don’t, the plan adjusts. That’s the entire point of structured help.
Safety, Fair Play, and Account Control
Progression help should never require risky behavior.
A safe, player-respecting approach looks like this:
- human gameplay only (no bots, no scripts)
- clear communication and scheduling so you know what’s happening
- you stay in control when you choose coaching/self-play options
- no advice that breaks rules or puts your account at risk
If you ever feel uncertain about a method, choose the option that keeps you in control and aligns with how you want to play. Progress should feel exciting—not stressful.
Common Scenarios and the Best Type of Help
If you’re not sure what you need, match yourself to a scenario.
Scenario A: “I’m fresh cap and overwhelmed.”
Best fit:
- progression planning + build setup
- a short coaching block to fix core habits
- Outcome:
- clear weekly routine + upgrade priorities + presets
Scenario B: “I can’t get reliable dungeon clears.”
Best fit:
- dungeon support + role coaching
- Outcome:
- consistent clears and faster weekly power spikes
Scenario C: “I die too fast in PvP.”
Best fit:
- PvP coaching + survivability build plan
- Outcome:
- survive openers, fight longer, earn rewards more consistently
Scenario D: “I’m not broke, but I’m not getting stronger.”
Best fit:
- economy + upgrade planning
- Outcome:
- milestone upgrades that actually change your power
Scenario E: “I want to be fast, not just ‘clear.’”
Best fit:
- performance coaching (routes, rotations, cooldown pacing)
- Outcome:
- faster clears, better scores, and higher weekly efficiency
When help matches the real problem, results happen fast.
Why BoostRoom Works for Players Who Want Progress Without Burnout
The best thing BoostRoom can give you is not “a clear.” It’s momentum.
Momentum means:
- you log in and know exactly what to do
- your upgrades feel meaningful every week
- your dungeon time is efficient instead of frustrating
- your PvP sessions feel controlled instead of chaotic
- you stop wasting Kinah and entries on avoidable mistakes
If you want the Aion 2 endgame experience—hard content, strong builds, consistent rewards—BoostRoom exists to shorten the learning curve and stabilize your progression loop.
FAQ
What’s the difference between coaching and dungeon support?
Coaching improves your skills and decisions so you perform better everywhere. Dungeon support focuses on getting consistent clears and rewards (often with experienced teammates and scheduling).
Can BoostRoom help me choose the best stigma build for my class?
Yes. Build support focuses on stigma choices that match your content (PvE, PvP, solo, group) and scale as your gear improves.
I’m new—should I start with coaching or dungeon runs?
If you feel overwhelmed or keep making the same mistakes, start with coaching + a basic plan. If your biggest problem is unreliable groups or missed entries, dungeon support may give faster immediate progress.
Will I need two gear sets for PvE and PvP?
Many players eventually do, especially if they want strong PvP results without slowing PvE clears. The safest approach is to build one strong primary set first and grow the second set with a budget plan.
How fast can I see results from coaching?
Most players feel results quickly in the form of fewer deaths, smoother rotations, and clearer priorities. The biggest long-term gains come from improved consistency and better weekly routines.
Can BoostRoom help with weekly routines and time management?
Yes. A strong progression plan is built around your available hours so you hit the most valuable activities first and avoid low-value grind.