Blue Gate overview: what makes the map hard (and profitable)
Blue Gate sits high in the mountains and plays like two maps stacked on top of each other: an exposed surface with small settlements and industrial structures, and an underground network that creates fast travel… at the cost of predictable chokepoints. It’s also one of the later maps you unlock, and its difficulty swings even higher when certain events are active.
Blue Gate’s “risk formula” looks like this:
- Surface risk: long sightlines, open crossings, high-ground watchers.
- Underground risk: tight angles, footstep audio, “one door = one death” ambushes.
- Reward: dense high-value containers and high-value farming loops (especially if you’re hunting specific upgrade materials), plus key-gated rooms that can spike your run value quickly.
If you treat it like a normal map—loot randomly, rotate late, and extract as an afterthought—you’ll feel like Blue Gate is unfair. If you treat it like a route puzzle, it becomes one of the most consistent maps for profit and progression.
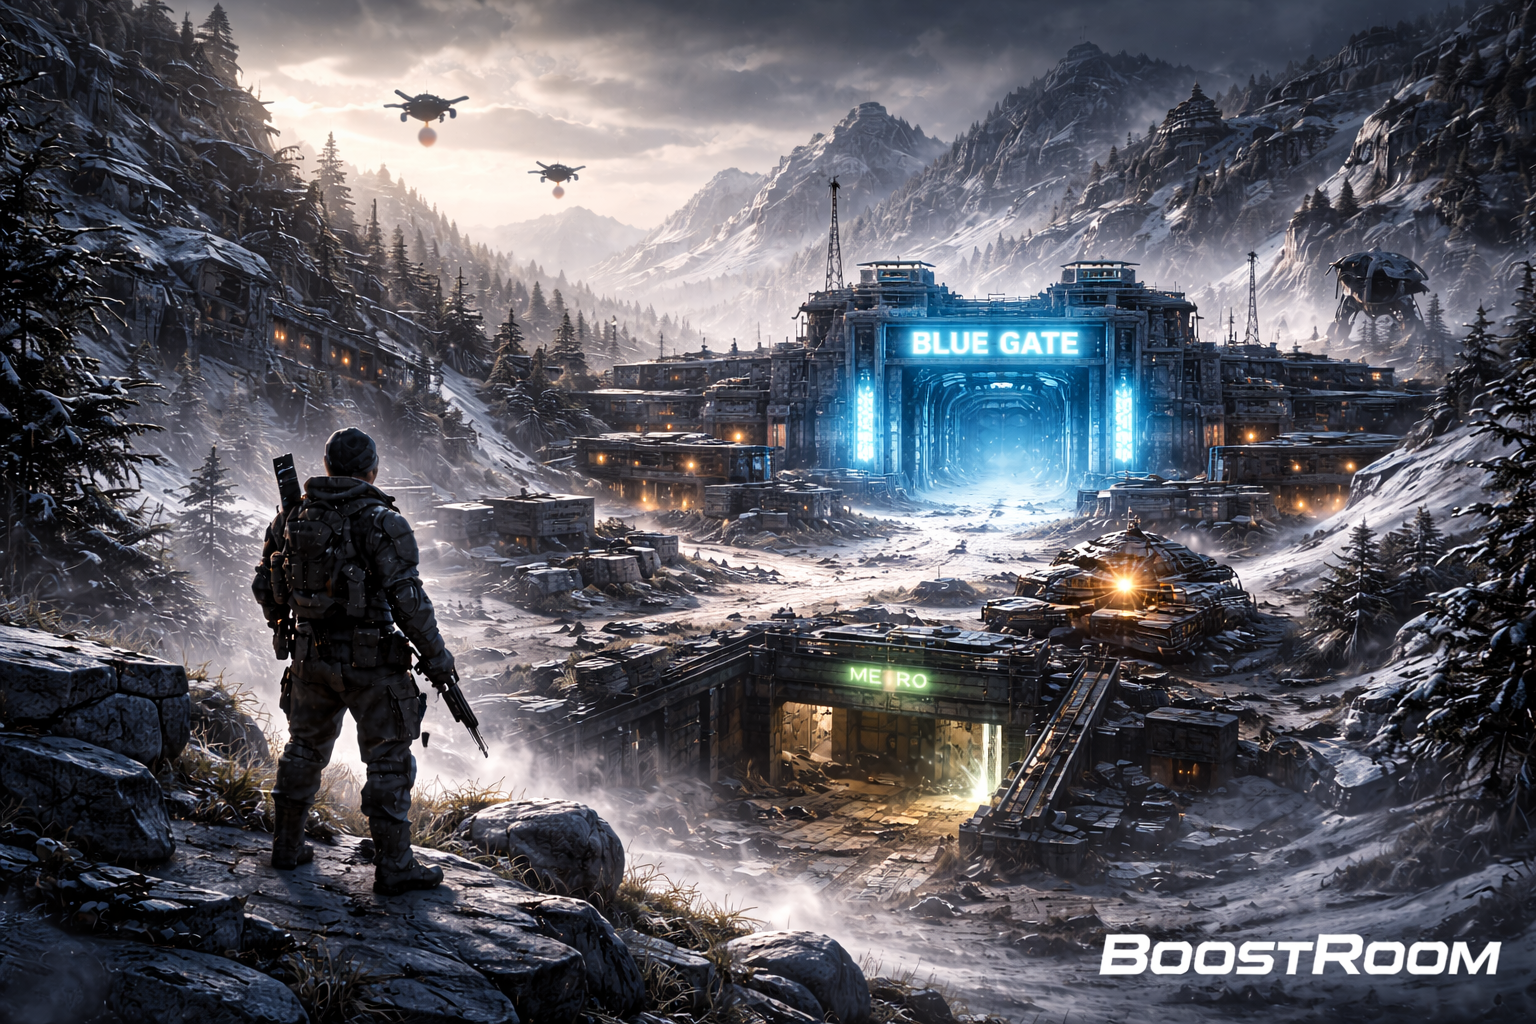
The Blue Gate mental map (simple callouts you should memorize)
You don’t need to memorize every rock. You need a few “anchors” that let you plan rotations instantly.
Surface anchors you’ll hear people call out a lot:
- Warehouse Complex (a major anchor for loot loops and nearby objectives)
- Checkpoints / gate structure (central danger magnet, especially during certain events)
- Pilgrim’s Peak (quest + key room area that pulls traffic)
- Abandoned Housing Project (quest travel zone that can be surprisingly dangerous because people underestimate it)
- Raider’s Refuge / Village / Ancient Fort (often tied to quests, events, and “button”/objective style interactions)
- Lookout tower south of Warehouse Complex (a known quest landmark)
Underground anchors:
- Maintenance Bunker (quest location and a very real “camp risk” spot because it sits near an airshaft)
- Confiscation/secured storage-style areas (loot spikes, also predictable ambush spots)
- Vertical shafts and tunnel junctions (where fights happen because everyone has to pass through)
When you can picture these anchors, rotations get easier: you stop wandering and start choosing routes with intention.
Risk vs reward by zone (where you should take fights)
Blue Gate punishes random fights. You want fights where:
- you can reset, and
- you can leave after you win.
Low-risk, steady-reward zones
These are the “I want profit without drama” areas. The loot isn’t always the flashiest, but it extracts consistently.
- Outskirts buildings and small clusters of containers
- Areas that let you rotate through cover without crossing open snowfields
- Resource loops (food plants + bandage crafting material) that don’t require you to contest central POIs
Medium-risk, strong-reward zones
These spots pay well, but you need discipline.
- Warehouse Complex loot loops (great if you don’t overstay)
- Routes that pass through tunnels briefly for safe travel, then come back up for loot
- Key rooms that aren’t deep inside the hottest area
High-risk, high-reward zones
These are where you go when you’re geared, confident, and ready to commit.
- Central “gate/checkpoint” activity
- Deep underground rooms that require keys (predictable traffic)
- Event-focused objectives (especially when the whole lobby is encouraged to converge)
The smartest Blue Gate players don’t take fewer risks—they take cleaner risks.
What to loot on Blue Gate (so your inventory is worth the danger)
Blue Gate has a lot of container density and several loot types that matter for progression. What you pick up should match the run you’re on.
High-value containers to actively hunt
- Weapon Cases: weapons and attachments are a direct power upgrade and a strong sell option if you’re stash-rich.
- Security Lockers: extremely valuable when you can open them; plan runs around the skill requirement instead of “hoping you’ll get lucky.”
- Raider Caches: hidden value that rewards slow, careful play (and listening).
Progression-focused loot (the stuff that upgrades your future runs)
- Field Crates → Field Depots: if you deliver, you convert “carry weight” into a meaningful payout and progression value.
- Fuel Cells: not glamorous, but they matter for crafting and momentum.
- Medical crates: Blue Gate is brutal, and healing is a profit multiplier because living longer = extracting more.
Blue Gate farming identity (what the map is famous for)
Many players treat Blue Gate as a strong place to farm Rusted Gears and similar industrial upgrade items—especially when you’re running loops that include vehicle-heavy areas and structured “ring routes” through repeatable container clusters.
Blue Gate loot density (why this map can feel rich or empty)
Blue Gate can feel “empty” if you walk through open terrain and only loot what you stumble into. It feels “rich” when you target the right container categories.
One popular way to think about it is:
- The value isn’t everywhere.
- The value is concentrated, and rotation skill is how you access it safely.
If you want fast improvement: stop aiming for “loot everything,” and start aiming for “loot the correct 10 things, then leave.”
Extraction on Blue Gate: airshafts, hatches, and the real danger
Blue Gate uses airshafts for standard extraction. Airshafts are dangerous for the same reason metro stations are dangerous on Buried City: they create predictable final movement. The difference is that airshafts often punish you above ground, where sightlines and overwatch matter.
Known airshaft callouts you’ll see referenced often:
- Overlook Airshaft (notorious because it sits near key routes and the Maintenance Bunker area)
- Forest Airshaft (often considered one of the “less oppressive” options because the surrounding traffic can be lower depending on raid flow)
You’ll also see community callouts that refer to exits like a helipad-style rooftop evac and a cliff lift-style exit—the key idea is the same: they’re visible, they’re campable, and they demand a clean approach.
Raider Hatches (emergency exits)
Raider Hatches exist as emergency extraction points. They’re tempting when you’re full and stressed, but don’t treat them as “free.” They can still be trapped, watched, or timed poorly if you commit without scouting.
Airshaft anti-camp checklist (use this every raid)
Before you press anything, do this:
- Stop early and listen. If you hear movement that doesn’t match ARCs, assume Raiders.
- Check high ground first. Blue Gate loves giving campers a ridge or roof angle.
- Scan the approach lanes. Campers don’t always sit on the shaft—they often sit 20–40 meters out where you sprint in a straight line.
- Don’t stand on the console. Interact, then relocate to cover and hold the angle that matters.
- Use the “inside zone” win condition. If you only need to survive the last seconds, play to stay inside the extraction area instead of hunting a kill.
- If it feels wrong, rotate. Pride is expensive on Blue Gate.
A small habit that saves a ton of kits: treat extraction like a room clear, not a finish line.
Your rotation rules for Blue Gate (the habits that create consistent extracts)
Blue Gate rotations are about choosing where you want to be visible.
Rule 1: Open ground is a tax. Pay it once, not five times.
Every open crossing should be intentional. If you find yourself crossing the same exposed field repeatedly, your route is broken.
Rule 2: “Surface for information, underground for movement.”
Surface gives you sightlines and awareness. Underground gives you safer travel but noisier, tighter fights. Use both on purpose.
Rule 3: Stop rotating late. Rotate while you’re still safe.
If you wait until you’re overloaded and desperate, every rotation becomes predictable—and predictable players die.
Rule 4: Never rotate without a “next cover” plan.
Before you leave a building, know what you’re running to next. That single thought reduces random deaths dramatically.
Rule 5: Avoid fighting on the worst terrain.
The worst terrain is: open slopes, long lanes, and areas where you can’t break line-of-sight quickly.
Early raid rotations (first 5 minutes)
Early raid is when spawn pressure and “first POI rush” decisions happen.
What you want to do early:
- Loot a tight cluster quickly.
- Avoid sprinting across open ground just because you heard shots.
- Identify whether the lobby is trending toward central conflict (checkpoint/gate flow) or distributed looting (quieter raid).
Early raid win condition:
Leave your first zone with enough value to feel good—then rotate toward a safer mid-raid plan. The players who die early usually tried to “force the perfect run” immediately.
Mid raid rotations (when most profit happens)
Mid raid is where you should be making money. The map settles, and players either:
- commit to hotspots, or
- start extracting with what they have.
Mid raid is when you should:
- Take one controlled risk (a key room, a high-value POI, a field depot delivery).
- Rotate away from prolonged fights.
- Start thinking extraction before your bag is maxed.
Late raid rotations (how to stop dying with a full bag)
Late raid is where extraction campers and desperate Raiders show up.
Late raid habits that keep you alive:
- Choose an extraction approach with cover, even if it’s longer.
- Rotate earlier than you think you need to.
- If your extraction is near a major POI, assume traffic and clear angles patiently.
Late raid is not the time to “try something new.” It’s the time to execute your simplest plan.
Best routes on Blue Gate (pick the route that matches your risk tolerance)
Below are practical route templates you can repeat. The goal is to reduce improvisation—because improvisation is how you walk into bad terrain.
Route 1: Budget survival loop (steady loot → safe rotation → airshaft)
Best for: solo, rebuilding stash, learning the map
Risk level: low to medium
Goal: consistent value without contesting the loudest zones
How to run it:
- Start on the edges and loot compact container clusters.
- Avoid central gate/checkpoint pressure unless the raid is clearly quiet.
- Use covered routes and short underground segments (if available) to skip open fields.
- Extract once you’re comfortably up in value—don’t wait for “perfect.”
Why it works:
You’re not trying to win the whole map. You’re trying to win consistency.
Route 2: Warehouse Complex “ring route” for industrial upgrades
Best for: progression farming, crafting upgrades, repeatable runs
Risk level: medium
Goal: farm industrial items (including Rusted Gears style loot) efficiently, then leave
How to run it:
- Treat the area like a loop: outer containers first, then inner containers.
- Don’t zigzag. Zigzagging creates extra exposure and extra time.
- When you hear sustained fighting nearby, your move is to finish the loop fast or leave early, not to chase.
Extraction plan:
Pick an exit that doesn’t force a long exposed sprint. If your approach becomes “run straight uphill,” you’re inviting overwatch fire.
Route 3: Key run (Communication Tower access → deeper loot → reset → extract)
Best for: experienced players, duos/trios, high-value hunting
Risk level: high
Goal: turn keys into value, not into a death sentence
Keys that matter most on Blue Gate:
- Blue Gate Communication Tower Key (door near the communication tower area)
- Blue Gate Confiscation Room Key (secured goods area inside the tunnels)
- Blue Gate Village Key (door in the village building)
- Blue Gate Cellar Key (cellar doors near the Blue Gate area)
How to run it safely:
- Decide your extraction before you unlock anything.
- Unlock → loot fast → leave immediately.
- Don’t do inventory sorting in the doorway.
- If you hear footsteps converging, disengage and return later.
The correct way to use keys on Blue Gate is: touch value, then vanish.
Route 4: Quest stack route (Pilgrim’s Peak → Abandoned Housing → extract)
Best for: progression, low gear risk, players who want objectives done
Risk level: medium (mostly from Raiders converging on quest POIs)
Goal: finish objectives without turning it into a PvP marathon
What makes this route important:
- Pilgrim’s Peak is tied to quests that involve a locked room and investigation-style interactions.
- Abandoned Housing Project is tied to follow-up objectives (including “find the right building” style steps).
- Both zones can be busier than they look because everyone in the lobby has similar tasks.
How to survive it:
- Enter Pilgrim’s Peak slowly, assume someone is inside if doors look “too clean.”
- If you have a key objective, secure it and leave—don’t loot the whole building.
- When moving to Abandoned Housing, avoid long open crossings; use cover and cut angles.
- Extract soon after completing the objective so you don’t lose progress to a random late fight.
Route 5: Maintenance Bunker run (quick underground value + extraction discipline)
Best for: players doing bunker-related quests or practicing underground clears
Risk level: high (because bunker + nearby extraction routes attract campers)
Goal: in-and-out discipline
What you must respect:
- The Maintenance Bunker sits near major flow and can be guarded by dangerous ARCs.
- It’s also close enough to extraction routes that players will “check it” late raid.
How to run it:
- Clear the outside first; don’t tunnel-vision the entrance.
- Move inside with a strict rule: finish objective → leave.
- Rotate to extraction with cover. Don’t sprint in a straight line into an airshaft.
This route is a great “training ground” because it forces you to practice the two hardest Blue Gate skills: clearing tight rooms and extracting under pressure.
The Locked Gate event (Blue Gate’s biggest risk-reward moment)
When the Locked Gate event is active, Blue Gate becomes a lobby-wide objective. The entire raid shifts toward collecting key codes and then converging on a central room to unlock access.
Event flow (what happens in simple terms):
- The raid has an extended time limit (event format).
- The lobby looks for four security codes that can spawn in loot containers within specific zones.
- Codes are delivered to the Gate Control Room near the Warehouse Complex area (on/around the checkpoint gate structure).
- Once all codes are activated, the main gate opens, and the underground section becomes accessible through that opened route.
The four code search zones to remember:
- Ancient Fort
- Raider’s Refuge
- Reinforced Reception
- Pilgrim’s Peak
Why this event is so deadly:
- The Gate Control Room is a natural camp spot. People wait for you to deliver progress.
- The event can add hazards like landmines and increased Rocketeer pressure, turning normal rotations into “watch every step” movement.
How to play the event without donating your kit:
- Don’t be the first team to sprint into Gate Control Room. Let chaos happen, then move smart.
- If you find a code early, consider stashing value and rotating patiently instead of bee-lining the room.
- If you don’t find codes, you can still profit by looting elsewhere and positioning near entrances for when the gate opens—just don’t stand in the obvious line-of-sight.
Locked Gate is peak Blue Gate: massive reward potential, massive punishment for impatience.
ARC threats on Blue Gate (what kills you while you’re “not fighting players”)
Blue Gate doesn’t just punish rotations with PvP—it punishes them with ARCs that reveal your position, drain your healing, and force you into bad terrain.
Threats you should plan around:
- Rocketeers: deadly, loud, and great at forcing you out of cover. If you aggro one at the wrong moment, Raiders will hear it.
- Hornets and Wasps: flying pressure that punishes open crossings. If you’re already exposed, they turn “crossing” into “panic sprint.”
- Bombardiers: heavy threat that can deny an area and turn a POI into a no-go zone for a minute.
- Sentinels and Turrets: area denial and surprise damage, especially if you rotate into a defended lane without scouting first.
- ARC Husks / Couriers: not always dangerous, but they pull attention because people want the loot.
The survival rule:
If an ARC fight forces you into the open, your rotation is already lost. Break line-of-sight, move into cover/buildings, reset, then choose a new route.
Map events that change how you rotate (don’t get surprised)
Blue Gate can roll events that change both danger and player behavior. When an event is active, your biggest advantage is recognizing how it shifts traffic.
Common event behavior patterns:
- Night Raid: players move slower, extract later, and fights become more about audio than visuals. Airshafts get scarier because you can’t always see the overwatch angle.
- Electromagnetic Storm: visibility and awareness change; people hesitate more, and that makes ambushes stronger.
- Uncovered Caches / Husk Graveyard: loot density spikes in specific areas → Raiders converge → third parties increase.
- Harvester event: a boss-style focal point that drags geared teams into one zone. If you’re undergeared, you rotate away and farm edges.
Events don’t just change loot—they change people. And people are the real threat.
Natural resources on Blue Gate (small pickups that quietly boost survival)
Blue Gate has natural resources that are worth knowing because they support healing, upgrades, and event progression.
Examples you’ll see on the map:
- Great Mullein: used for crafting bandages (survival value is always profit value).
- Olives / lemons: food resources you can scoop during low-risk rotations.
- Apricots and mushrooms: used for specific upgrade paths (worth grabbing when you see them, especially if your run is already safe).
- Candleberries: show up for seasonal/event progression on Topside maps—grab them when you can do it safely, but don’t die for them.
These resources are the “small edges” that separate a shaky run from a stable one.
Solo, duo, trio: how your rotations should change
Blue Gate is a different map depending on squad size.
Solo
- You win by avoiding predictable lanes and leaving early with profit.
- Fight only when you can disengage quickly.
- Use tunnels and cover to rotate; don’t challenge overwatch.
Duo
- One loots, one watches. Alternate roles every room so you don’t get lazy.
- You can take medium-risk zones more confidently if you keep discipline.
Trio
- Assign roles without making it complicated:
- Point: clears doors and corners
- Support: trades damage and covers pushes
- Anchor: watches flanks and holds the escape path
- Don’t all loot the same container cluster. Spread slightly so one surprise doesn’t wipe the whole team.
Bigger squads can take bigger risks—but they also create more noise. Noise is information. Information attracts Raiders.
Common Blue Gate mistakes (and the fixes that instantly help)
Mistake 1: Treating the surface like “just travel time.”
Fix: Surface is danger. Rotate using cover, not straight lines.
Mistake 2: Overstaying after you’re already up in value.
Fix: Extract earlier. Consistency beats highlight runs.
Mistake 3: Using underground routes without a plan to exit.
Fix: Always know your next “surface reset” point or your next cover zone.
Mistake 4: Calling airshaft extraction without clearing overwatch.
Fix: Check ridges, roofs, and approach lanes first.
Mistake 5: Fighting ARCs in the open.
Fix: Break line-of-sight, fight from cover, or rotate away.
Mistake 6: Sorting inventory in the worst possible places.
Fix: Sort in safe interiors, not doorways, not extraction platforms, not ridge crests.
Fix these and you’ll feel Blue Gate “get easier” almost immediately.
BoostRoom: make Blue Gate profitable (without the learning tax)
Blue Gate is one of the most rewarding maps in ARC Raiders—but it’s also one of the most expensive to learn if you’re learning by losing kits. If you want faster progress, BoostRoom can help you build the exact habits that make Blue Gate consistent:
- Route coaching: learn repeatable low-risk and medium-risk loops that actually extract.
- Key run planning: when to use keys, how to approach locked rooms, and when to disengage.
- Extraction discipline: airshaft clears, overwatch checks, and anti-camp routes.
- Quest support: Pilgrim’s Peak, Abandoned Housing, Maintenance Bunker and event objectives—done efficiently.
- Team coordination: role-based rotations so you stop getting surprised by flanks and third parties.
The goal isn’t to “carry you once.” The goal is to teach you Blue Gate patterns so you can farm it confidently whenever you want.
FAQ
Is Blue Gate the hardest map in ARC Raiders?
It’s widely considered one of the toughest because it combines exposed surface crossings with cramped underground chokepoints, and its difficulty spikes even more during certain events.
How do you extract on Blue Gate?
Blue Gate uses airshafts for standard extraction. Treat every airshaft like a potential ambush and clear overwatch angles before you commit.
What’s the safest airshaft on Blue Gate?
There’s no “always safe,” but Forest Airshaft is often viewed as less oppressive depending on raid flow. Overlook Airshaft can be dangerous because it sits near busy routes and objectives.
What are the most important keys for Blue Gate?
The big ones are the Blue Gate Communication Tower Key and Blue Gate Confiscation Room Key, plus the Village Key and Cellar Key for specific locked doors.
What’s the Locked Gate event and why is it so risky?
It’s a Blue Gate event where the lobby searches for four security codes in specific zones and delivers them to Gate Control Room to unlock access. It funnels teams into the same places and encourages camping.
Where are Pilgrim’s Peak and Abandoned Housing used?
They’re tied to quest steps that involve a locked room at Pilgrim’s Peak and a follow-up objective at the Abandoned Housing Project area.
How do I stop dying with a full bag on Blue Gate?
Rotate earlier, choose cover-heavy approaches, clear airshaft overwatch, and don’t take late fights unless you have an escape path.
