- Blue is cheap and noticeably improves feel.
- Purple is the “serious but affordable” standard for most players.
- Gold is best saved for pieces you’re confident you’ll keep long-term at CP160.
Rule 4: Build around what you actually do
A “best set” isn’t best if it doesn’t match your gameplay. Starter sets should solve a real problem:
- Low damage → crit, damage stats, penetration
- Low sustain → cost reduction, recovery
- Dying too much → health, armor, shields, defensive effects
- Healing feels weak → healing boosts, healing-based shields, group recovery
Rule 5: Use the Set Collection system on purpose
Collecting pieces (your “sticker book”) makes it easier to rebuild later and reduces the need to re-farm the same things forever. Even if you don’t wear a piece now, collecting it can still be a smart future investment.

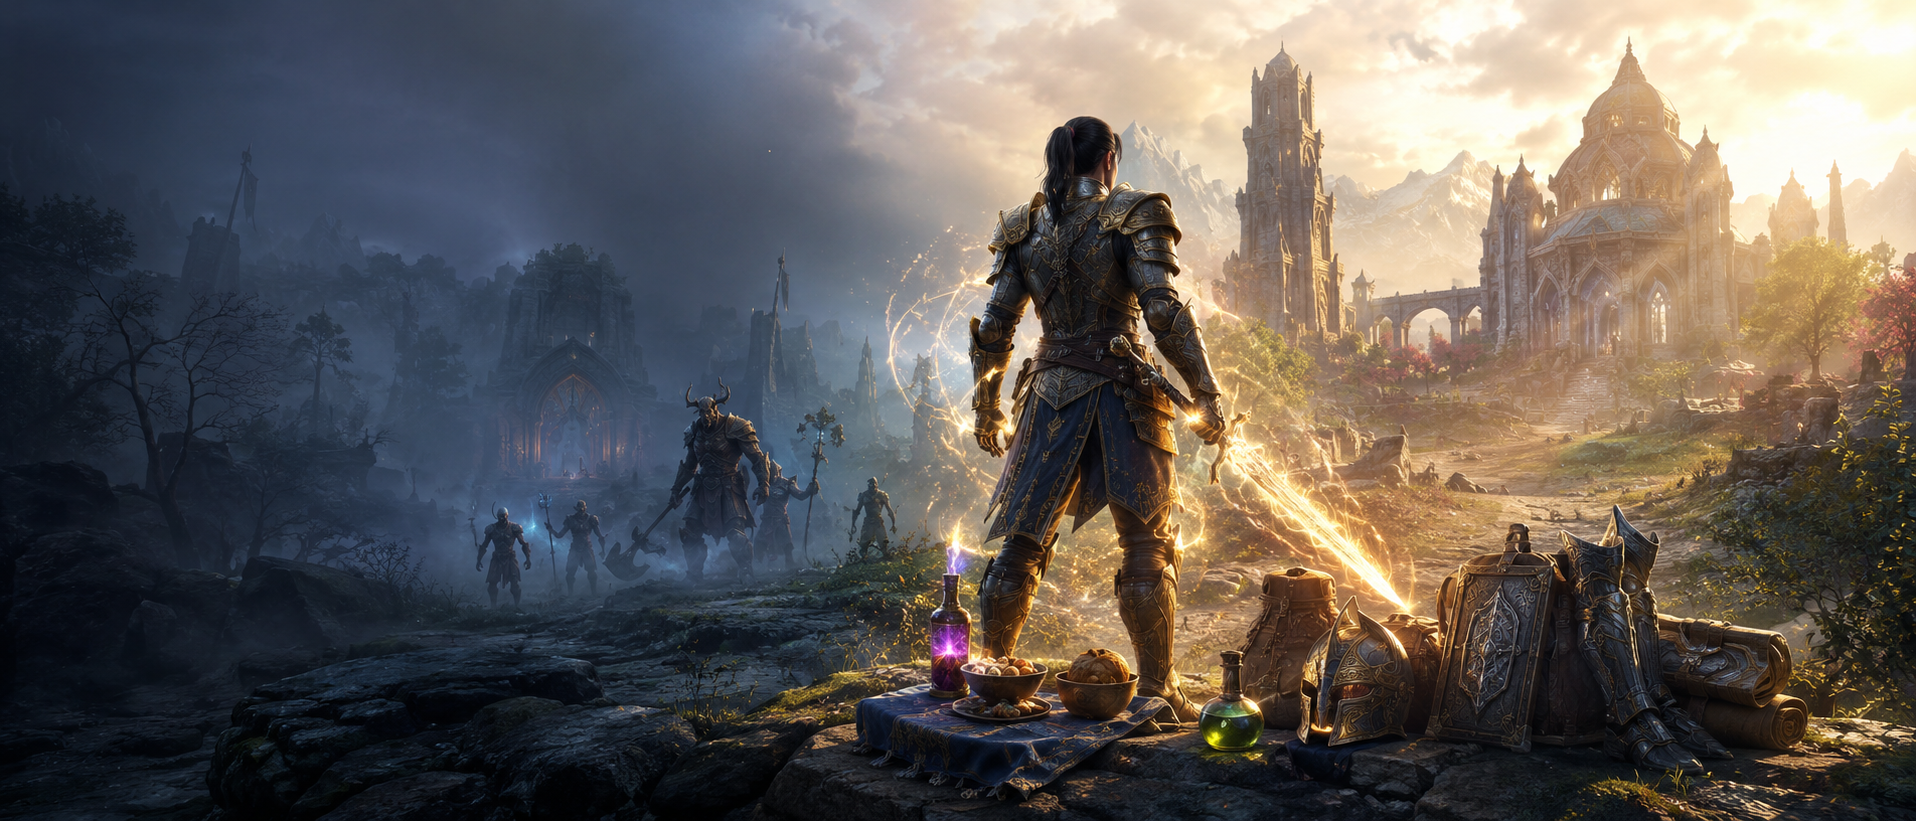
What Counts as a “Starter Set” (And What Doesn’t)
A good starter set has at least three of these qualities:
Easy access
You can get it through basic questing, open-world farming, normal-mode dungeons, or simple crafting.
Immediate power
The 5-piece bonus doesn’t require perfect timing, expensive consumables, or advanced group coordination.
Low maintenance
It works in real fights, not only on training targets.
Flexible pieces
You can complete it using whatever pieces drop first and refine later.
A starter set is not “the best endgame set.” It’s the set that gets you strong now, so you can reach the content and gear you actually want later.
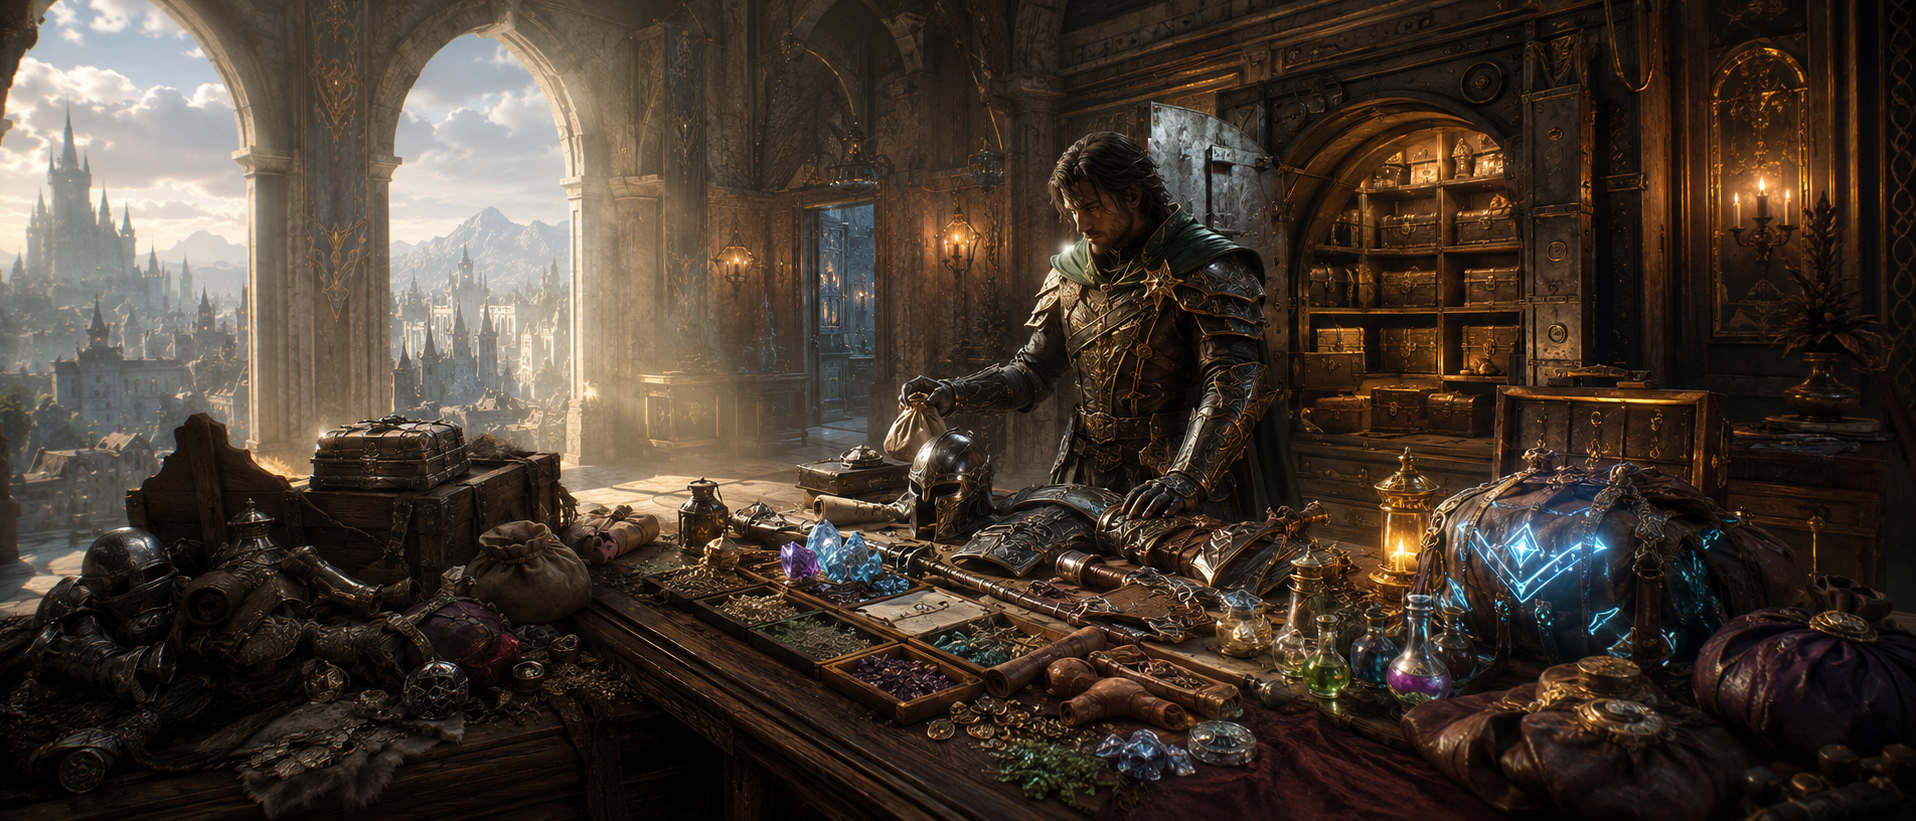
The Three Easy Ways to Get Starter Sets
There are three main acquisition paths. The best part: you can mix them.
Crafted sets (fastest and least stressful)
Crafted sets can be made at almost any level, and you can choose the armor weight and trait if the crafter has researched enough traits for that specific piece. Even if you don’t craft, you can often get crafted sets from other players or guildmates.
Overland sets (best for solo-friendly farming)
Overland sets drop in specific zones and can be farmed casually while you explore. You can also buy many overland pieces through player trading if you prefer to skip farming.
Dungeon sets (best “value per run”)
Dungeon sets are great because you gain experience, learn mechanics, and collect gear at the same time. Normal mode is enough for starter gearing.
How to Farm Overland Sets Fast Without Burning Out
Overland farming becomes easy once you understand how different activities tend to drop different gear slots. Use this to target what you’re missing.
Delve bosses
Often best for waist and feet pieces.
World bosses
Often best for head, chest, and legs pieces.
Public dungeon bosses
Often best for shoulders and hands pieces (and additional set items).
World events and chests
Often a strong source for jewelry and “missing pieces” you can’t seem to get elsewhere.
The no-stress overland strategy
- Start with chests + one boss loop (delves or world bosses).
- Fill most pieces quickly.
- Buy the last missing piece if you’re tired of farming.
A lot of beginners waste time trying to “farm everything from one place.” Targeted farming makes sets feel easy.
How Dungeon Set Drops Feel (So You Don’t Expect the Wrong Thing)
Dungeons are a great beginner gear source because they’re repeatable and structured.
Boss drops vs final boss drops
A common pattern is:
- Regular bosses drop set body pieces (like chest, shoulders, head, legs, and similar)
- The final boss often has a higher chance to drop jewelry or special set pieces
Quality expectations
- Normal mode dungeon bosses typically drop blue items
- Veteran mode typically drops purple items
No-stress advice
If you’re new, farm normal mode until you have your 5-piece bonuses. You can upgrade quality later. A functional set matters more than chasing purple immediately.
The Simple Starter Setup: Two 5-Piece Bonuses
The easiest gearing plan in ESO is building around two 5-piece bonuses.
Why two 5-piece bonuses work so well
Most 5-piece effects are the “real power” of a set. Two of them is usually enough to feel like a completely different character.
The simplest way to think about it
- One 5-piece set is your main power (damage, healing, or tankiness).
- The other 5-piece set fixes your weakness (sustain, survivability, or extra utility).
Example logic (not a strict build)
- “I do damage but run out of resources” → one damage set + one sustain set
- “I stay alive but fights take forever” → one survivability set + one damage set
- “Healing is fine but group runs out of resources” → one healing set + one group recovery set
This approach stays useful from early levels all the way into CP160 gearing.
Best Crafted Starter Sets (Low-Stress, Easy to Make)
Crafted sets are the easiest way to get strong fast because you control what you’re wearing.
Death’s Wind (2 traits, very beginner-friendly survival)
Why it’s no stress
It’s one of the easiest crafted sets to access because it only requires 2 traits researched for each item type you want to craft. It’s also forgiving: when you’re in trouble, it helps you create breathing room.
What it does (feel, not theory)
When you take melee damage while under 35% Health, it can knock back and stun nearby enemies for a few seconds, with a cooldown. That means mistakes are less punishing while you learn.
Best for
- New players leveling through crowded fights
- Solo questing when you feel squishy
- Beginner tanks in normal dungeons
- Any player who wants a “training wheels” safety layer
When to replace it
Once your survivability and positioning improve, you’ll often prefer sets that add consistent damage or consistent tank support.
Ashen Grip (2 traits, simple extra damage for early melee play)
Why it’s no stress
Only 2 traits required, and the 5-piece effect triggers naturally while you fight.
What it does
When you deal martial melee damage, it triggers a flame-breath style effect in front of you with a short cooldown. It scales with your offensive stats, so it remains relevant while leveling.
Best for
- Early leveling for players who like close-range combat
- Overland questing where you’re fighting packs often
- Players who want “free extra damage” without tracking timers
When to skip it
If you rarely fight in close range or you prefer a pure sustain-focused early setup, other crafted sets will feel better.
Armor of the Seducer (3 traits, the easiest Magicka comfort set)
Why it’s no stress
Only 3 traits required, and it fixes the most common early Magicka problem: casting feels expensive.
What it does
It adds Magicka stats and Magicka Recovery, and reduces the cost of your Magicka abilities by 10%. That’s huge for beginners because it increases how long you can fight before your bar collapses.
Best for
- New Magicka damage players
- Beginner healers who want smooth sustain
- Solo players who want to keep casting comfortably
- Anyone whose fights feel like “I go empty too fast”
Why this set stays popular
Even when players replace it later, it teaches a correct habit: comfort sustain makes real gameplay better.
Torug’s Pact (3 traits, beginner tank/support utility)
Why it’s no stress
Only 3 traits required, and it boosts a system most beginners underuse: enchantment uptime.
What it does
It provides defensive stats and improves your enchantment performance by:
- Reducing enchantment cooldown by 33%
- Increasing non-Oblivion enchantment potency by 45%
That can translate to more consistent debuff uptime and more consistent helpful effects during fights, especially for tanks and support roles.
Best for
- Beginner tanks who want a reliable support foundation
- Players who like consistent “always-on” value rather than complicated procs
- Early support builds in 4-player content
Why it’s a good starter
It makes your character feel “more active” and useful in groups without forcing complicated decision-making.
Magnus’ Gift (4 traits, beginner Magicka sustain + steady output)
Why it’s no stress
It needs 4 traits per item type, which is still very manageable compared to 6–8 trait sets.
What it does
It gives Magicka stats, recovery, and offensive power, plus a very noticeable effect:
When you cast a Magicka ability, you have a 15% chance to negate that ability’s cost.
Best for
- Magicka damage players who want smoother sustain
- Players who prefer a “sometimes I get free casts” style of sustain
- Anyone who likes steady performance without complicated tracking
When it feels best
In longer fights, where resource management matters and free casts create real comfort.
Best Overland Starter Sets (Base Game Zones, Easy Farming)
Overland sets are perfect “no stress” gear because you can farm them while doing normal zone gameplay.
Mother’s Sorrow (Deshaan, huge critical chance for Magicka builds)
Why it’s no stress
Deshaan is easy to access, and the set is straightforward: it gives a big pile of critical chance.
Set feel
- It increases Max Magicka and adds multiple layers of Critical Chance
- The 5-piece bonus adds 1528 Critical Chance
Best for
- Magicka damage players who want immediate damage consistency
- Players who enjoy critical-based builds
- Beginners who want “my damage feels better everywhere” without special conditions
Why it’s famous
It’s one of the simplest ways for a new Magicka damage character to feel stronger fast.
Plague Doctor (Deshaan, massive Health for tanks and survival)
Why it’s no stress
It’s in the same zone as Mother’s Sorrow, and it’s extremely easy to understand.
Set feel
It stacks Max Health heavily. The 5-piece bonus adds 2804 Maximum Health, on top of additional Health bonuses.
Best for
- Beginner tanks who feel fragile
- Solo players learning harder overland fights
- Anyone who wants a “I stop dying” set while learning mechanics
Why it’s still useful in 2026
Even if you later move into more group-focused tank sets, Plague Doctor remains a comfortable learning tool.
Spriggan’s Thorns (Bangkorai, simple penetration for stamina-style damage)
Why it’s no stress
This set is popular because it solves a beginner damage problem: enemies feel tanky, and your hits feel weak. Penetration helps.
Set feel
It adds Stamina and offensive stats, and the 5-piece bonus adds 3460 Offensive Penetration.
Best for
- Stamina-style damage builds (solo or group)
- Players who feel like enemies don’t die fast enough
- Beginners who want consistent damage without complicated procs
Why it works early
Penetration is a “real content” stat: it improves damage against tougher enemies, not just easy trash mobs.
Spinner’s Garments (Malabal Tor, penetration for Magicka-style damage)
Why it’s no stress
It’s the Magicka-style cousin to Spriggan’s: easy, consistent, and immediately noticeable.
Set feel
It gives Magicka stats and offensive stats, and the 5-piece bonus adds 3460 Offensive Penetration.
Best for
- Magicka damage players (especially in solo and 4-player content)
- Players who don’t want to rely on complicated proc timing
- Beginners who want damage that feels consistent on tougher targets
When it’s especially good
When you’re not always in perfectly optimized group debuffs, penetration makes your personal damage more reliable.
Necropotence (Rivenspire, pet builds and huge Magicka pool)
Why it’s no stress
If you keep a permanent pet active, this set becomes extremely easy value: it’s basically “free stats” for doing what you already do.
Set feel
It stacks Max Magicka heavily, and the 5-piece effect increases Max Magicka by 3132 while you have a pet active.
Best for
- Pet-based playstyles
- Players who like a big resource pool and comfortable casting
- Solo builds that rely on pet uptime
When to avoid it
If your build doesn’t keep a pet active consistently, the 5-piece loses its value.
Best Dungeon Starter Sets (Base Game, Normal-Mode Friendly)
These dungeon sets are strong because they come with experience, practice, and gear all together.
Leviathan (Crypt of Hearts I & II, stamina critical chance)
Why it’s no stress
Crypt of Hearts is a base-game dungeon pair, and the set is straightforward: it gives stamina stats and large critical chance.
Set feel
The 5-piece bonus adds 1528 Critical Chance, which is a huge consistency boost for many stamina-style damage setups.
Best for
- Players who want a simple “my damage feels better” dungeon set
- Early dungeon progression for damage-focused characters
- Anyone who wants reliable performance without complex conditions
Ebon Armory (Crypt of Hearts I & II, beginner group health support)
Why it’s no stress
It’s a base-game dungeon set that supports the group in a simple way. No tricky activation, no complicated timing.
Set feel
The 5-piece bonus increases Max Health by 1000 for you and group members within 28 meters, and it persists through death. This is classic training support for tanks and sturdy group play.
Best for
- Beginner tanks learning group content
- Groups that feel fragile while learning dungeons
- Players who want a simple group-support identity early
When to replace it
As groups become more experienced, they often prefer sets that increase damage or apply more aggressive debuffs. But as a learning tool, Ebon can make runs calmer.
The Worm’s Raiment (Vaults of Madness, group Magicka recovery)
Why it’s no stress
It’s straightforward group sustain. If your group runs out of Magicka often, this set is instantly noticeable.
Set feel
The 5-piece bonus grants 145 Magicka Recovery to you and group members within 28 meters, and it persists through death.
Best for
- Beginner healers who want obvious group value
- Groups with Magicka-heavy damage players
- Long fights where resources matter more than burst
Hircine’s Veneer (Selene’s Web, group Stamina recovery)
Why it’s no stress
Same concept as Worm’s, but for stamina-style resource sustain.
Set feel
The 5-piece bonus grants 145 Stamina Recovery to you and group members within 28 meters, and it persists through death.
Best for
- Support roles in stamina-heavy groups
- Groups that feel like they “run dry” and stop dealing damage
- Players who want sustain support without complex triggers
Sanctuary (Banished Cells I & II, increased healing received for nearby group)
Why it’s no stress
This is a comfort set. It makes healing “stick” more effectively, and it helps groups survive messy learning moments.
Set feel
The 5-piece bonus increases healing received by 10% for you and group members within 10 meters, and it persists through death.
Best for
- Beginner healers who want smoother group health bars
- Groups that struggle with staying stacked and stable
- Content where survivability is the main issue, not damage speed
Combat Physician (Wayrest Sewers I & II, healing crits grant shields)
Why it’s no stress
It rewards normal healer behavior: keep healing, and your critical heals become extra protection.
Set feel
When your healing critically strikes, you grant the target a damage shield that absorbs 4308 damage for 6 seconds, with a cooldown per target.
Best for
- Beginner healers learning to stabilize burst damage
- Dungeons where players take random spikes
- Groups that struggle with “someone drops suddenly” moments
Why it’s beginner-friendly
Even if players make mistakes, a shield can prevent a death long enough for you to recover the situation.
Optional Starter Upgrades (Easy If You Own the Zone/DLC)
These sets are still beginner-friendly, but access depends on what content you own. They’re listed as upgrades, not requirements.
Order’s Wrath (High Isle, 3 traits, a universal critical powerhouse)
Why it’s popular as a “starter upgrade”
It’s extremely efficient: it boosts critical chance and increases critical damage and critical healing.
Set feel
Its 5-piece adds 943 Critical Chance and increases your Critical Damage and Critical Healing by 8%.
Best for
- Damage builds that want a universal, reliable set
- Healers who benefit from critical healing scaling
- Players who want a crafted set that feels “endgame-adjacent” without complexity
Why it’s low stress
Only 3 traits required per item type, and it works in almost every type of PvE content.
Fortified Brass (Clockwork City, 4 traits, pure armor comfort)
Why it’s a good “learning tank” upgrade
It stacks armor aggressively and is extremely easy to understand.
Set feel
The 5-piece adds 3460 Armor on top of other armor bonuses.
Best for
- Beginner tanks who want to feel durable immediately
- Solo players who want higher survivability in tougher fights
- Anyone practicing mechanics who doesn’t want to be punished too hard for mistakes
Briarheart (Wrothgar, solo-friendly damage + self-healing)
Why it’s famous for solo and early progression
It rewards critical damage with a temporary damage boost and gives a small self-heal while active.
Set feel (summary)
When you deal Critical Damage, you gain a 10-second offensive boost, and while it’s active your critical damage provides small healing. It has a cooldown, so it’s a rhythm-based set that still feels easy in real play.
Best for
- Solo players who want more self-reliance
- Damage builds that want extra comfort without adding a full healing skill
- Players transitioning from “starter gear” into “serious solo gear”
Wretched Vitality (Deadlands, 3 traits, sustain for mixed-resource play)
Why it’s a comfort monster
It gives both Magicka and Stamina recovery based on applying buffs/debuffs, which most builds do naturally.
Set feel
While in combat:
- Applying a Major buff or debuff grants 260 Magicka and Stamina Recovery for 15 seconds
- Applying a Minor buff or debuff grants 130 Magicka and Stamina Recovery for 15 seconds
Best for
- Players who struggle with sustain in longer fights
- Flexible builds that use both resource types frequently
- Solo setups that want comfort and uptime without complicated rotation demands
Starter Sets by Playstyle (Pick What Fits You)
Instead of guessing, pick sets based on what you do most.
Solo questing and casual exploration
What matters most: survivability + steady damage + sustain
Easy picks:
- Plague Doctor (comfort Health)
- Armor of the Seducer (Magicka comfort)
- Magnus’ Gift (Magicka sustain with damage)
- Spriggan’s Thorns or Spinner’s Garments (consistent penetration)
- Upgrade picks if available:
- Order’s Wrath (universal crit power)
- Briarheart (solo damage + comfort)
No-stress solo rule: if you’re dying, choose comfort first. Faster clears come naturally once you stop resetting fights.
Damage-focused (stamina-style) beginner path
What matters most: crit chance + penetration + simple damage stats
Easy picks:
- Spriggan’s Thorns (penetration)
- Leviathan (big crit chance)
- Ashen Grip (simple extra damage early if you’re close-range often)
No-stress combo idea:
One “penetration set” + one “critical chance set” is an easy way to make damage feel consistent on tougher enemies.
Damage-focused (Magicka-style) beginner path
What matters most: crit chance + penetration + sustain comfort
Easy picks:
- Mother’s Sorrow (crit)
- Spinner’s Garments (penetration)
- Armor of the Seducer or Magnus’ Gift (sustain comfort)
- Necropotence (if you keep a permanent pet active)
No-stress combo idea:
One “crit set” + one “sustain or penetration set” creates strong real gameplay without rotation stress.
Healer beginner path (PvE dungeons)
What matters most: consistent healing + group comfort + sustain value
Easy picks:
- Sanctuary (healing received buff for nearby group)
- Combat Physician (healing crit shields)
- The Worm’s Raiment (group Magicka recovery)
- Armor of the Seducer (your own sustain comfort)
No-stress healer rule: your best “starter healer set” is the one that keeps you casting and stabilizing, not the one that looks most impressive on paper.
Tank beginner path (PvE dungeons)
What matters most: survivability + stable resources + simple group value
Easy picks:
- Plague Doctor (Health comfort)
- Ebon Armory (group Health support)
- Torug’s Pact (reliable support value through enchantment performance)
- Death’s Wind (learning safety when low Health)
Upgrade picks if available:
- Fortified Brass (easy armor comfort)
No-stress tank rule: if you can hold the boss and stay alive reliably, your group’s run quality jumps immediately—even if your gear isn’t “meta.”
Traits, Enchants, and Quality for Starter Gear (Keep It Simple)
Starter gearing becomes stressful when you try to “optimize everything” at once. Here’s the calm approach.
Traits (beginner-friendly mindset)
- Use common, broadly useful traits while you learn.
- Don’t stall your gearing because one trait isn’t perfect.
- The set bonus matters more than perfect traits early.
Enchantments (easy wins)
- If you’re dying, add more Health or defensive comfort.
- If you’re running out of resources, use recovery-focused enchants where appropriate.
- If everything feels stable, shift toward your damage/healing stat needs.
Quality (the upgrade rule that saves gold)
- Upgrade to blue freely if it improves your feel.
- Upgrade to purple when you’re at CP160 and sure you’ll keep the set for a while.
- Treat gold as a long-term commitment, not a starter requirement.
How to Upgrade Without Wasting Gold (The Safe Order)
If you want your character to feel stronger fast with minimal waste, use this order:
Step 1: Get your two 5-piece bonuses active
Even with imperfect traits, this is the biggest immediate power jump.
Step 2: Fix the weakest link
- If you can’t sustain → use sustain-friendly set choice or enchant choices
- If you die too much → add survivability set choice
- If damage feels low → add crit or penetration set choice
Step 3: Upgrade quality to blue/purple only after the set is correct
Upgrading the wrong item is the fastest way to feel broke in ESO.
Step 4: Save heavy investment for CP160
When your gear stops being replaced by level scaling, upgrading finally becomes “real progress.”
A One-Hour Starter Gear Plan (No Stress, Real Results)
If you want a quick plan that works even if you’re new, do this:
Minute 1–10: Choose your direction
Pick one: damage, healing/support, tanking, or solo comfort. Don’t overthink it.
Minute 10–25: Secure one easy crafted set
A crafted set gives fast stability. Great beginner picks:
- Armor of the Seducer (Magicka comfort)
- Torug’s Pact (tank/support utility)
- Death’s Wind (survival training wheels)
Minute 25–45: Farm one overland set in a focused way
Pick a zone set that matches your direction:
- Deshaan: Mother’s Sorrow (Magicka crit) or Plague Doctor (Health comfort)
- Bangkorai: Spriggan’s Thorns (penetration)
- Malabal Tor: Spinner’s Garments (penetration)
- Rivenspire: Necropotence (pet builds)
Use targeted farming (delves/world bosses/public dungeons/chests) so you’re not wasting time.
Minute 45–60: Run one normal dungeon that matches your role goal
Examples:
- Crypt of Hearts: Leviathan (damage) or Ebon (tank support)
- Banished Cells: Sanctuary (healer comfort)
- Wayrest Sewers: Combat Physician (healing shields)
- Vaults of Madness: Worm’s Raiment (group Magicka recovery)
Even one or two runs can fill missing pieces and build your set collection.
BoostRoom: Get Starter Gear Fast Without Grinding Blind
If you want your character to feel strong early but you don’t want to spend days farming the wrong places or upgrading gear you’ll replace, BoostRoom helps you take the shortest path to a solid setup.
What BoostRoom helps with
Clear set choices for your exact goal
Instead of guessing, you get a clean “pick this first, then this” path for solo, dungeons, healing, tanking, or damage play.
Faster completion of your first real build
Starter sets are supposed to reduce stress, not create it. BoostRoom focuses on quick wins: activate two 5-piece bonuses, stabilize sustain, and make your gameplay feel smoother immediately.
A clean upgrade path into CP160 gearing
You’ll know what’s worth improving, what’s temporary, and how to avoid wasting your best materials.
If you want the “strong early build” feeling without the confusion loop, BoostRoom is the shortcut.
FAQ
What are the best starter sets in ESO for beginners?
The best starter sets are the ones that are easy to obtain and give immediate value: crafted comfort sets like Armor of the Seducer or Torug’s Pact, and base-game overland sets like Mother’s Sorrow, Plague Doctor, Spriggan’s Thorns, or Spinner’s Garments.
Should I farm gear before CP160?
You can, but treat it as temporary. Before CP160, focus on comfort and learning. Save heavy farming and serious upgrades for CP160 gear.
How many sets should I wear as a beginner?
A simple goal is two 5-piece bonuses. That alone usually makes your character feel dramatically stronger.
Which is easier: crafted sets or overland sets?
Crafted sets are usually the fastest because you can get exactly what you need immediately (especially through a crafter). Overland sets are easy too, but farming the last missing piece can take longer.
What’s the easiest starter set for Magicka sustain?
Armor of the Seducer is one of the simplest sustain sets because it reduces Magicka ability costs by 10% and adds Magicka recovery.