Why Vehicles Decide Matches in Battlefield 6 🧠
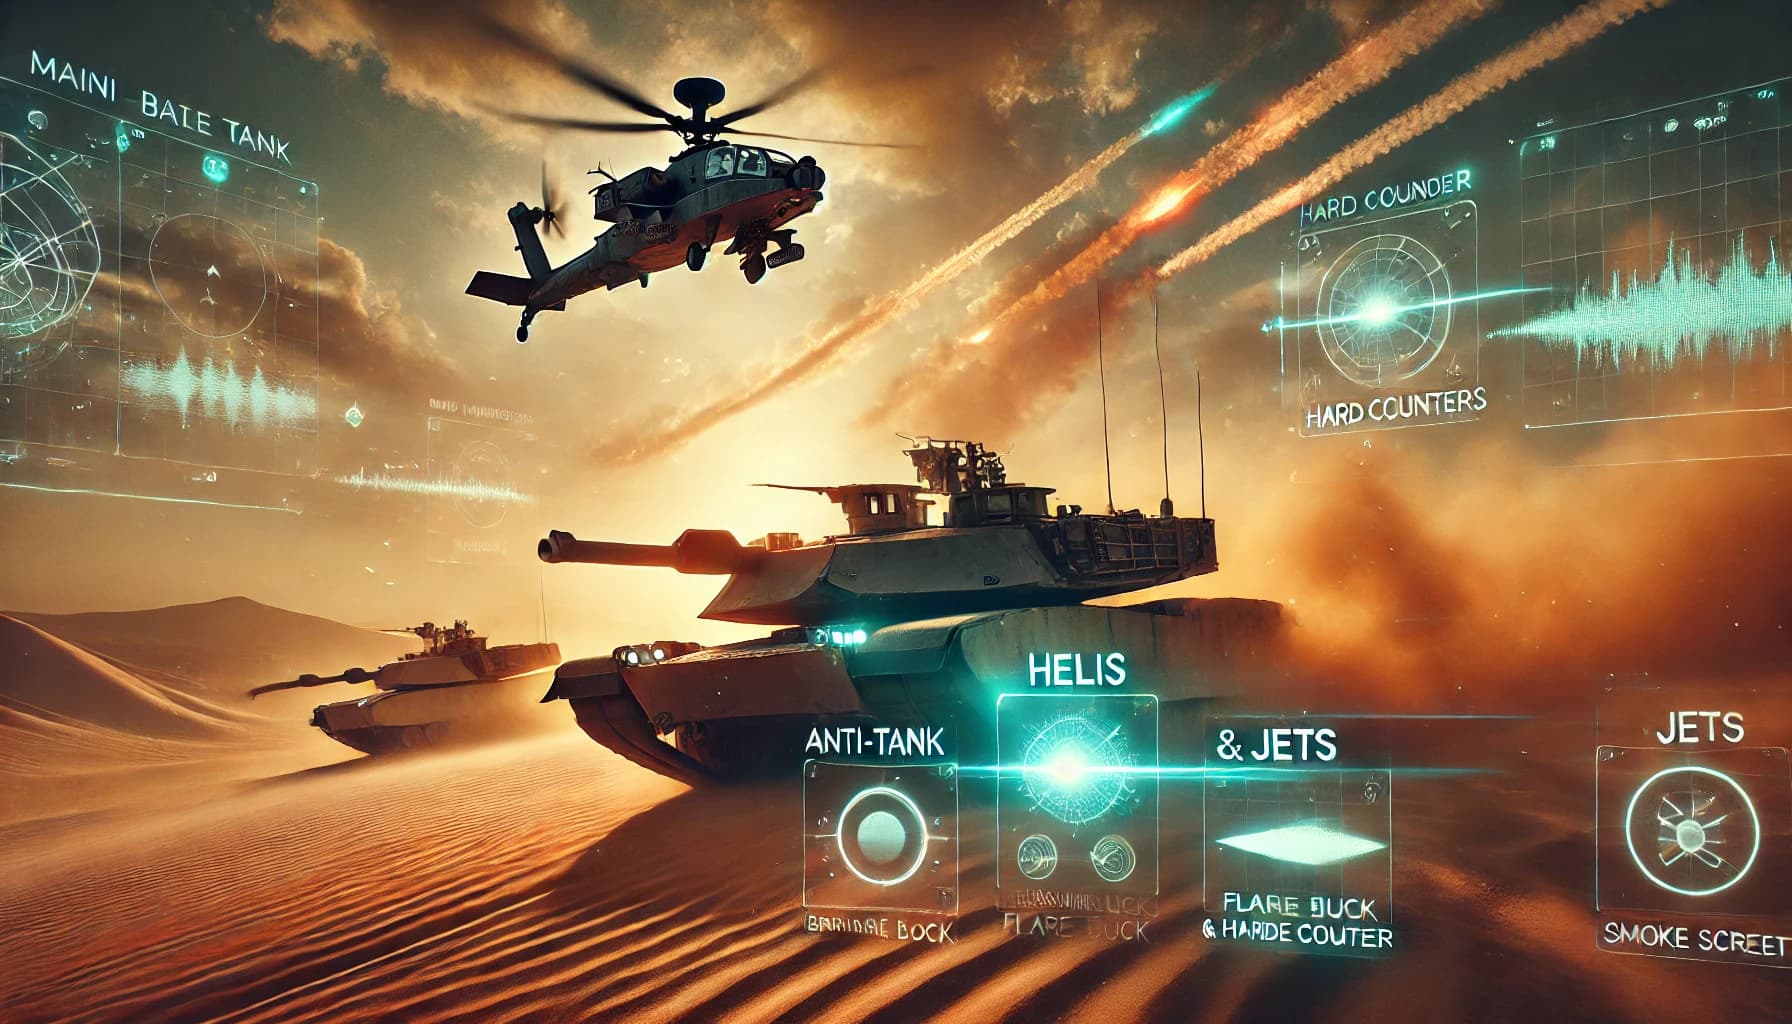
Battlefield 6 brings back full-scale vehicle warfare in a big way: main battle tanks (MBTs) that bulldoze lanes, IFVs that shred infantry while taxiing squads, AA platforms that lock down the sky, and airframes (attack helis, fighters, attack jets) that can flip a flag in seconds. It’s not just power—it’s tempo. Vehicles decide when and where the next fight happens. If you learn to drive, gun, or counter them, you control the match’s pace. Launch coverage and official guides make it clear: there’s a broad roster across ground and air, and whole playlists/maps are architected around combined arms.
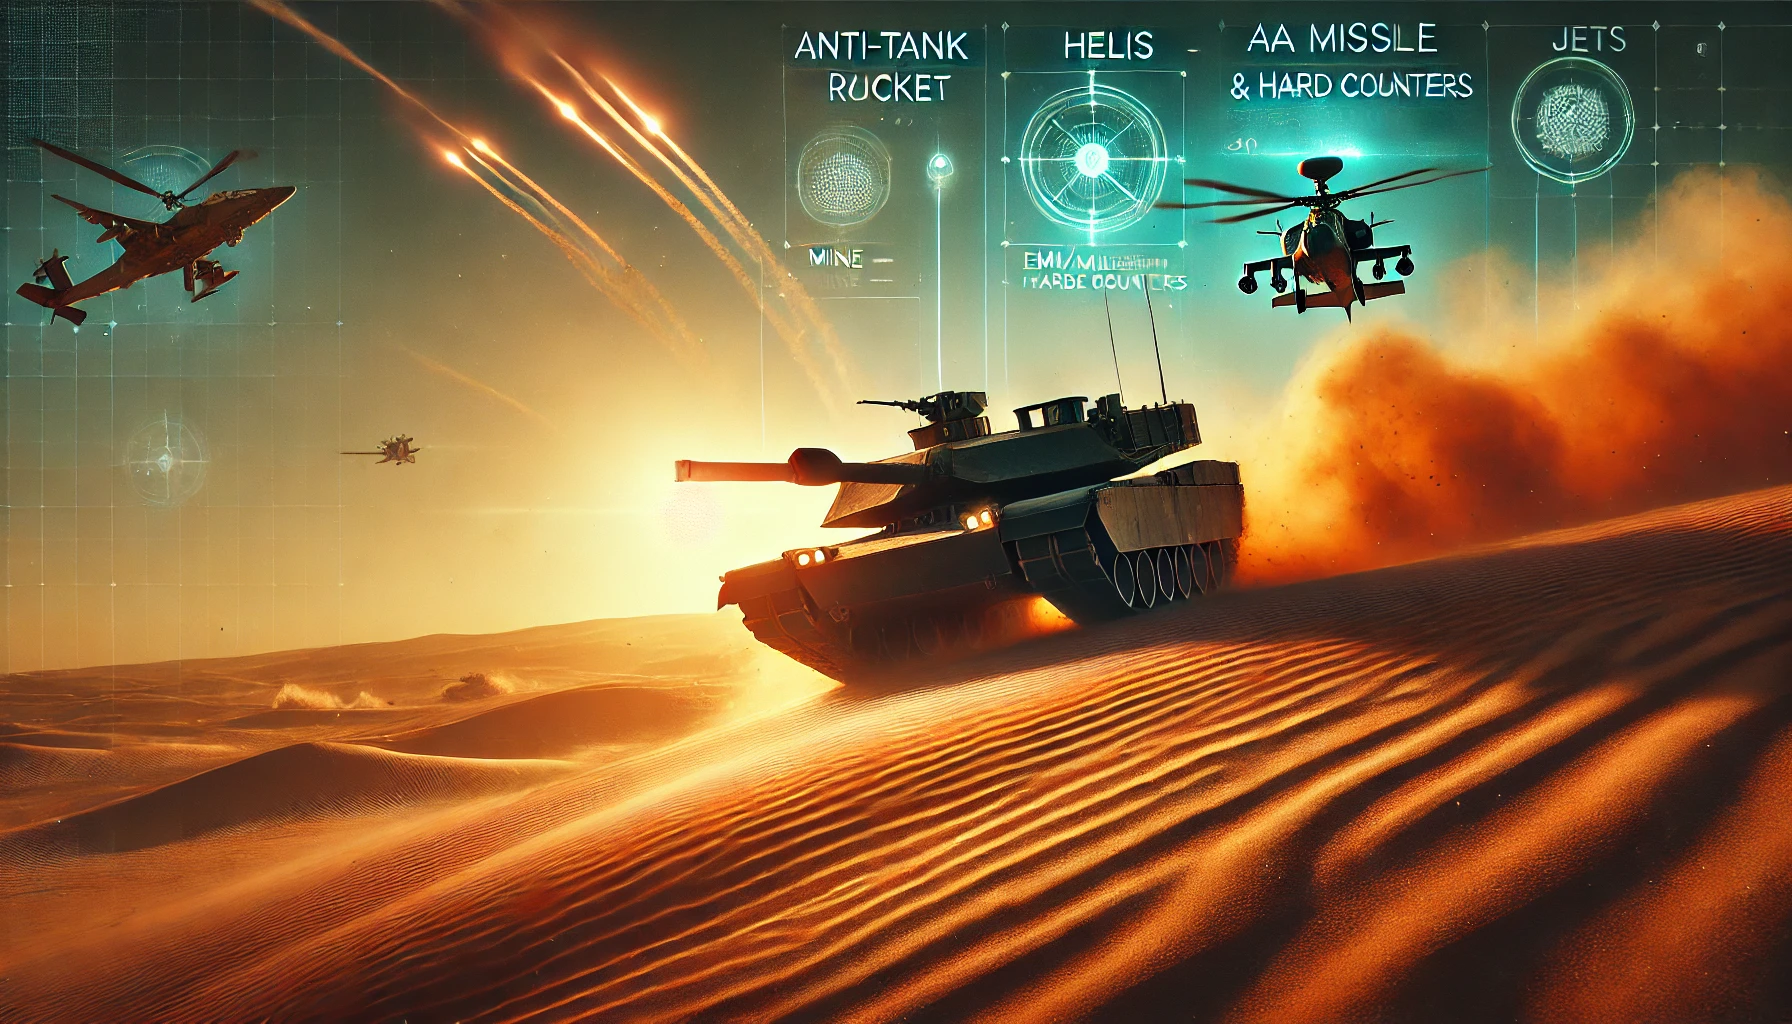
How the Vehicle Ecosystem Works (Ground ↔ Air ↔ Infantry) ♻️
Think rock–paper–scissors, but layered.
- MBTs dominate ground duels and anchor pushes; their weakness is coordinated AV from Engineers and flanks.
- IFVs excel at clearing infantry, escorting pushes, and absorbing chip damage, but can be deleted by smart AV angles or air.
- AA vehicles deny sky control and create “no-fly” pockets so your armor can advance.
- Helicopters win map edges and rooflines, punishing rotations and exposed lanes; they fear competent AA and high-velocity hitscan.
- Jets police the sky, forcing helicopters to play low and fast; their weakness is map awareness (tunnel vision → crash or missile).
- Infantry is the glue: smoke, beacon, mines, launchers, and repair tools either enable your vehicles or delete theirs.
This balance evolved from beta to launch—for example, developers tuned anti-tank/anti-air damage after feedback so vehicles aren’t evaporating instantly to Engineer spam. Expect more passes as data rolls in.
Driver/Pilot Fundamentals — Win Before You Shoot 🧭
- Pick a job for your vehicle: Anchor a lane (MBT/LMG IFV), escort and clear (IFV/heli), or sky control (jet/AA). When you try to do everything, you do nothing.
- Spawn with intent: If your team is stuck, don’t take the fun chopper—take AA to create breathing room, then swap.
- Angles beat armor: Tanks die to bad angles more than raw damage. Use cover-to-cover, peek with turret first, and never crest blind without smoke.
- Crew communication: The best vehicles are squads. Driver calls line, gunner calls marks, repair sticks to the rear-left of the hull or rotor arc.
- Never idle: A stationary tank in the open is a donation. Move, shoot, reposition, repeat.
Map Power: Why Mirak Valley & New Sobek City Matter 🗺️
Two showcase maps set the tone at launch. Mirak Valley is the franchise’s largest launch map, designed specifically so “every type of vehicle” can shine—open flats for tanks/jets, ridgelines for helis, villages for IFVs. New Sobek City, set in Cairo’s outskirts, blends dunes, scaffolding, and urban blocks; armor and helis shape pushes while infantry clears interiors. Learn these two and you’ll understand most vehicle fights in BF6.
Mode-by-Mode Vehicle Mindset 🎮
- Conquest: Vehicles dictate rotations. Tanks hold bridges/roads; IFVs haul squads between close flags; helis pick off crossers; AA rides with armor to keep skies clean.
- Breakthrough: On attack, chain smoke + armor pressure to break the initial sightlines; on defense, AA + mines force attackers to footslog.
- Escalation: Circles compress; IFVs and AA grow in value (air has less room).
- REDSEC (BR): Vehicle access is gated by missions and keycards, but a mid-game tank/IFV can win entire rings—if you control fuel and repairs. (Progress carries between REDSEC and BF6, so your time here still builds your unlocks.)
Main Battle Tanks (MBTs) — Your Frontline Sledgehammer 🛡️
Role: lane control, anchor, objective cracking.
Strengths: best raw armor and shell lethality; area denial; can bully IFVs head-on if angled.
Weaknesses: flanks, perched Engineers, coordinated heli rockets; poor awareness if tunnel-visioned.
How to play it
- Angle your armor: present the front glacis; avoid full broadside peeks.
- Short swings, not long drives: peek → fire → reverse behind hardcover; you don’t win marathons in the open.
- Use smoke actively: cross kill lanes, break lock-ons, hide repairs.
- Crew up: a hull-down MBT with a repair buddy is a ticket printer.
Counters
- Double-launcher teams from perpendicular angles; top-down attack lines from rooftops; heli dives after AA is distracted.
When to spawn: Your team is stuck or a flag lane is uncontested; spawn MBT to plant a flag in the ground and say “come through me.”
Infantry Fighting Vehicles (IFVs) — The Squad Bulldozer 🪖
Role: infantry control, taxi, hybrid anchor.
Strengths: brutal anti-infantry with autocannons; decent armor; mobility; can mount positions and shred pushes.
Weaknesses: MBT in open ground; competent air; overextension.
How to play it
- Escort the push: you’re the pocket tank; stay near infantry and delete peeks.
- Mount and mow: use cover edges and ramps to stabilize bursts.
- Burst discipline: longer bursts heat bloom; tap to keep barrels accurate.
Meta & patch watch: DICE temporarily disabled an overpowered IFV lock-on missile after it broke air balance—expect tuning to continue. Smart pilots should always watch patch notes that affect IFV ↔ air interactions.
Counters
- MBT frontal fights, synchronized launchers, and AA-supported zones that deny you air cover.
Mobile Anti-Air (AA) — Sky Denial on Wheels 🎯
Role: area denial vs helis/jets; umbrella for armor.
Strengths: forces air to fly low/defensively; creates safe corridors for your team.
Weaknesses: weak to ground if isolated; must manage ammo/temp.
How to play it
- Umbrella the push: stay a screen behind your armor; your presence alone clips heli confidence.
- Discipline lock-ons: bait flares, then commit; don’t spray into countermeasures.
- Rotate often: air reads static AA; be unpredictable.
Counters
- Coordinated ground flanks; MBT that closes the gap; infantry with map knowledge.
Attack Helicopters — Edge Control & Punish Rotations 🚁
Role: punish exposed lanes and rooflines; delete stalled pushes.
Strengths: unmatched pick potential, mobility, and pressure; can free a choked team by cracking a hard angle.
Weaknesses: AA, jets, tight Escalation circles, overaggression.
How to play it
- Hunt edges: fly where AA isn’t; focus crossers, not capped rooms.
- Pop-up rhythm: use terrain for pop–shoot–dip; never hover above AA sightlines.
- Stagger rockets: bait repairs; time volleys so damage sticks.
Meta watch: Post-beta balance passes targeted AV damage vs helis so they’re not papier-mâché nor immortal—your survivability now depends on pathing and AA presence more than raw HP.
Counters
- AA bubble, IFV autocannon at mid-range, opportunistic jet passes, rooftops stacking launchers.
Transport Helicopters — Team Mobility & Mid-Air Reinforce 🚁📦
Role: move bodies; create surprise entries.
Strengths: multiple seats; fast redeploys; roof assaults.
Weaknesses: AA, jet intercepts, overconfident pilots.
How to play it
- Taxi, don’t duel: your K/D doesn’t matter—drops do.
- Pre-mark LZs: smoke landing zones and bail in sequence (gunner first, then seats).
- Never hover: you’re a bus, not a gunship.
Counters
- AA and roof teams with launchers; IFV angles that catch your descent.
Fighters & Attack Jets — Air Superiority & Strike ✈️
Role: police the sky; keep helis honest; opportunistic ground strikes.
Strengths: speed, burst kill windows, map-wide reach.
Weaknesses: tunnel vision, tight circles in Escalation/BR, AA traps.
How to play it
- Sky control first: if a hostile heli is farming, your #1 job is to pinch it between you and AA.
- Energy management: climb to reset; don’t low-turn above enemy AA.
- Strike windows: after a heli pops flares and ducks, snap a quick ground pass, then exit.
Counters
- Layered AA; baited turn-fights over enemy spawns; low altitude complacency.
Hard Counters for Infantry — Delete Vehicles the Smart Way 🧨
- Angles, not bravery: two shooters at 60–90° is better than one brave soul front-on.
- Verticality: helis fear unexpected roof launches; tanks hate top-attack lines.
- Mines with intent: place them on retreat lines, not entry lanes—drivers clear entry paths.
- Smoke + rotate: smoke masks AV repositioning; your goal is a fresh angle, not a raw peek.
- Beacon discipline: forward beacons (in the right class/playlists) accelerate AV presence; don’t place them in obvious corners.
- Hold your flares (as air): bait lock, break, then climb/terrain mask; don’t panic-pop at first beep.
Spawns, Upgrades & Assignments — Level Up Efficiently 📈
- Choose playlists with uptime: Conquest/Breakthrough give longer lives per spawn → more XP per vehicle.
- Stack goals: while driving the IFV, escort infantry for revive/ammo ribbons and objective caps—XP multipliers compound.
- Vehicle Assignments: plan them around maps where your vehicle type shines (e.g., Mirak Valley for armor/air, New Sobek for mixed arms).
- REDSEC for practice: ring rotations and vehicle keycard missions teach timing and resource control, and your progression carries back to BF6 anyway.
Mirak Valley, New Sobek City & Firestorm — Micro-Plans for Big Wins 🧩
Mirak Valley
- MBT: fight hull-down along riverbanks and village walls; never crest the central flats without smoke.
- IFV: play “shepherd”—trail infantry through hamlets, mount on rubble to laser counterpushes.
- Heli/Jet: use ridge shadows to pop-dive; never hover over the open basins; bait AA to one flank, strike the other.
New Sobek City
- MBT: dunes and scaffold lines create natural angling practice; short peeks between concrete; avoid long road chases.
- IFV: best-in-class here—interior clears, alley escorts, roof insert support.
- AA: park behind dunes to deny helis the high arc over the site.
Operation Firestorm (returning classic theme)
- AA + MBT: refinery rails are AA heaven; mount and punish.
- Heli: treat catwalks as flak traps; choose diagonal passes and break off early.
- IFV: live in the low pipes; cut rotations to outer pumps.
Patch Watch — What’s Changing (and Why You Should Care) 🛠️
- Engineer AV/AA tuning from beta to launch rebalanced TTK against armor/air so vehicles can actually play—your survivability now hinges on angle discipline and support, not dice rolls.
- IFV lock-on missile disabled temporarily after it invalidated air even through countermeasures; expect a revised implementation. Keep your heli habits adaptable.
- Vehicle spawn bugs on some maps have been flagged by the community—if a lobby feels “off,” it might be spawns, not skill. Rotate roles accordingly until it stabilizes.
Quick Routines — Get Better in 15 Minutes a Day ⏱️
Tank (Solo or with a buddy)
- Hull-down reps: find a ramp; peek–shoot–reverse 10 times without eating a rocket.
- Angle drill: drive a figure-8 around two pieces of cover, only exposing front armor.
- Repair cadence (with friend): 60s of “take chip → break LOS → repair → re-peek” loop.
IFV
- Escort line: shadow two infantry routes, using short mounts on corners; shoot only when stabilized.
- Burst control: practice 10× 2-second controlled bursts with a 1-second rest to keep bloom down.
Attack Heli
- Edge passes: pick one edge; practice pop–shoot–dip without crossing mid-map AA lines.
- Flare timing: let a lock tone build, dip behind terrain, then climb and flare only if re-locked.
AA
- Bait drill: paint a heli and hold lock until flare; break, wait 3 seconds, then relock and commit.
- Relocation rule: after every kill or scare-off, move 50–100 meters.
Infantry AV
- Two-angle teamer: run launchers in pairs; set up perpendicular shots on a tank crossing.
- Retreat mines: place them 20–30 meters behind a common armor halt point.
Teamplay Calls That Win Rounds 🗣️
- “Umbrella up”—AA behind our push before we pull the heli.
- “Beacon, then roll”—spawn forward (in relevant playlists/roles), drag a tank up two houses, then hold.
- “Pop and punish”—bait heli flares, then IFV/jet punishes on the next peek.
- “Reverse line”—tank pulls back two covers while Support patches; IFV holds the door.
- “Retreat line mined”—force their armor to back into your trap.
Should You Focus Vehicles or Infantry First? (Honest Take) 💬
If you’re solo or duo, infantry counters are the fastest way to swing matches: mines, launchers, smokes, and beacons flip armor math quickly. Once you’ve got friends on comms, branch into vehicles—start AA (lowest risk, highest team value), then IFV, then MBT, then air. That progression builds awareness before you take on the highest-skill ceiling roles (heli/jet).
And if you’d rather skip the grind while you learn routes and timing, you can pair your play with services from BoostRoom so unlocks and challenges keep progressing while you practice. When you’re ready to push ranked goals or farm weekly objectives faster, the specialists at BoostRoom can keep your momentum high while you focus on mastery.
TL;DR — Vehicle Commandments 🧾
- Spawn with intent (anchor, escort, sky control).
- Angles > armor; never idle in the open.
- AA first when helis farm; helis fly edges, not over AA.
- IFV escorts bodies; MBT plants flags; jets police air.
- Infantry AV wins with angles and smoke, not hero peeks.
- Track patches—one balance pass can change the skies overnight.
