Attachment Categories & What They Really Do 🔍
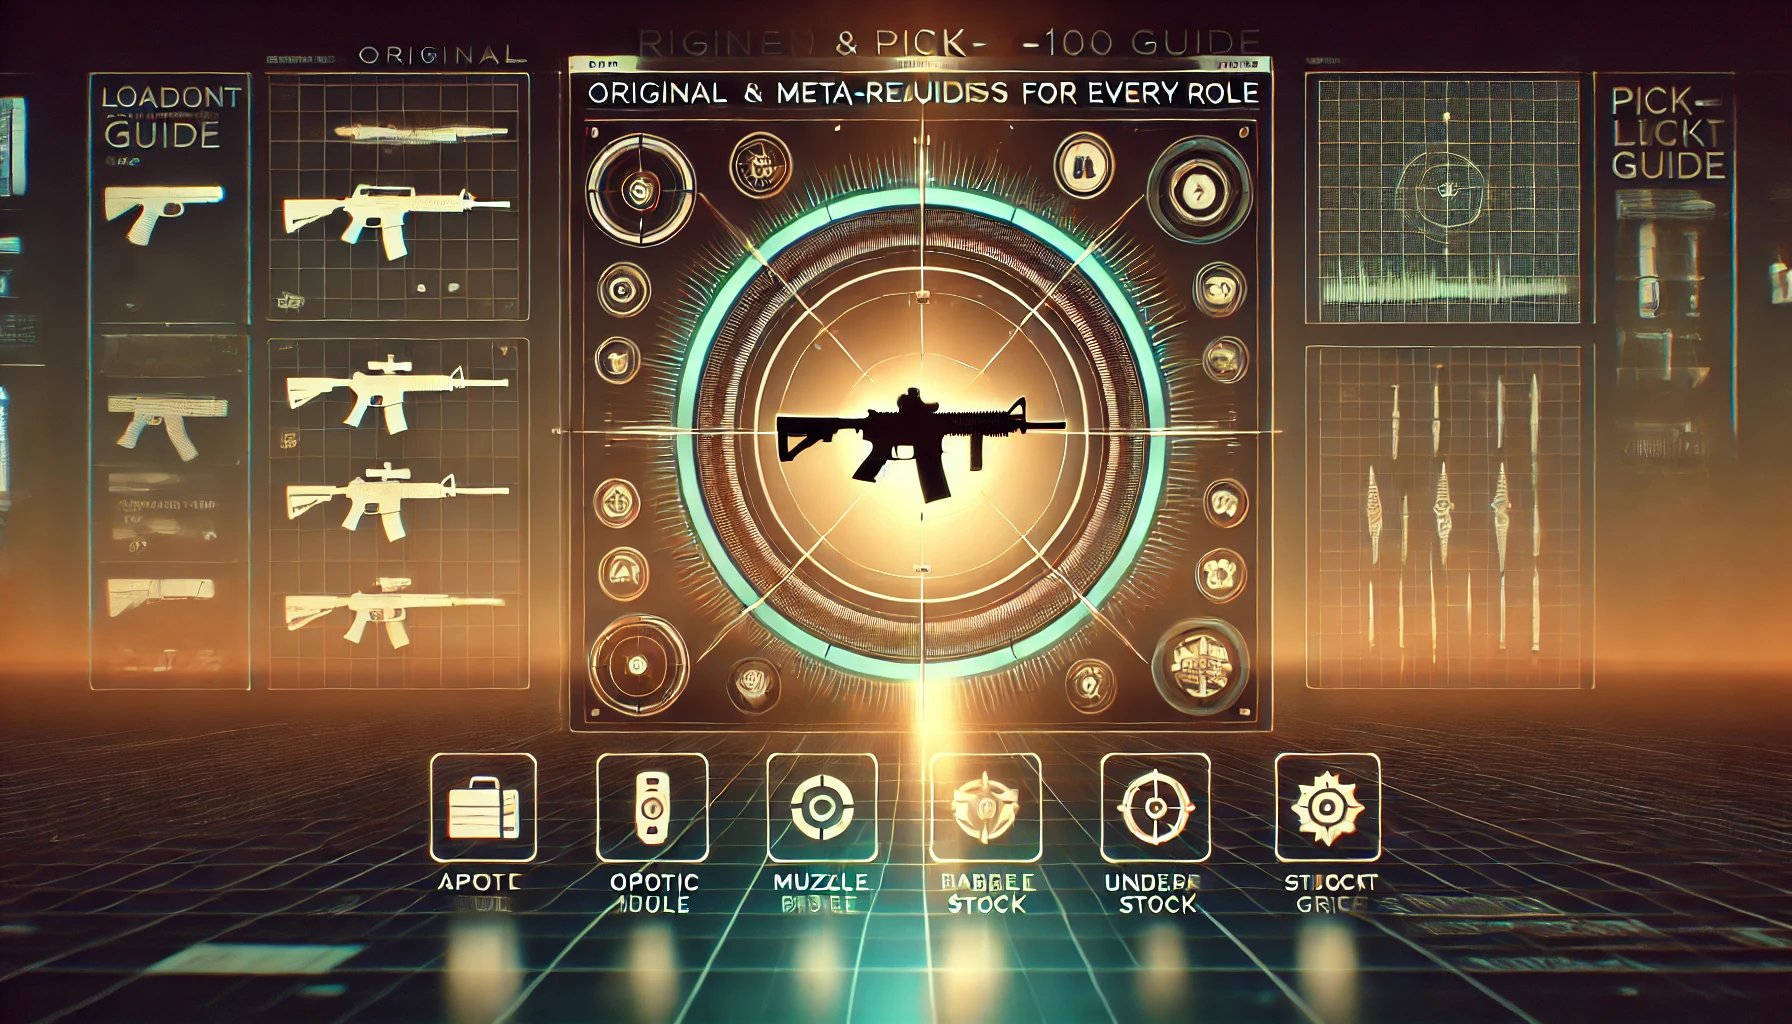
Exact names vary per weapon, but most guns share the same key attachment slots. Guides and in-game tooltips line up on a few common roles.
Typical attachment slots:
- Muzzle – Controls vertical/horizontal recoil, muzzle flash, and sometimes sound.
- Barrel – Alters bullet velocity, range, and handling (ADS / strafe speed / gun sway).
- Underbarrel / Grip – Tightens recoil pattern, reduces kick, stabilizes spray.
- Magazine – Changes mag size, reload speed, and occasionally RPM or damage profile.
- Ammo Type – Affects damage ranges, penetration, suppression, and sometimes velocity/stealth.
- Optic – Adjusts magnification and clarity; some have small ADS/handling trade-offs.
- Stock / Rear Grip / Rail (when available) – Influences hip-fire spread, sprint-to-fire time, or recoil recovery.
The key thing to remember: almost nothing is “free” under Pick-100. High-tier recoil brakes, long barrels, extended mags, and special ammo types often carry chunky point costs.
So don’t just “max out everything that turns a stat green.” Instead, build with three questions in mind:
- What range is this gun for?
- What class role am I filling with it (Assault, Engineer, Support, Recon)?
- Which two or three stats actually matter most for that job?
Everything else is negotiable.
Core Pick-100 Building Rules (That Almost Always Work) 🧮
Across multiple tier lists and loadout guides, a few universal rules keep appearing for Battlefield 6 builds.
1. Specialize the gun, don’t “average” it.
If you try to make an assault rifle beam at 80 meters, shred at 5 meters, and have massive mags, you’ll run out of points and end up with a clumsy mess. Pick its job and lean into it.
2. Pay for recoil before anything else.
Especially after recent recoil debates (and the devs confirming that the system is largely intentional and skill-driven), controlling kick is king. High-tier grips, barrels, and brakes are worth the points if they convert your bursts into tight groups.
3. Try not to overspend on optics.
Mid-mag optics (1.25x–2x) usually give enough clarity without heavy point costs. Only pay big for high zoom on true long-range DMR/sniper builds.
4. Heavy mags are great — but expensive.
Box mags and big drums come with serious point hits, and some community feedback suggests they might already be slightly overtuned in cost. Use them when your role is literally “anchor with an LMG,” not on every gun by default.
5. Respect mobility and ADS speed.
If you stack too many “heavy” attachments, your gun feels glued to your shoulder. That’s death in a game built around the Kinesthetic Combat System and aggressive sliding/rolling.
When in doubt:
Pick 2–3 expensive attachments that directly support your role, then fill the rest with cheap, efficient upgrades.
Meta Building by Weapon Type 💥
Different weapons want different point priorities. Tier list and loadout sites don’t always agree on the best gun, but they do agree on what a strong build looks like for each category.
Assault Rifles – The Flexible Core
Assault rifles like the NVO-228E, M4A1 and M433 tend to dominate S-tier discussions because they’re so adaptable under Pick-100.
For mid-range ARs, prioritize:
- A recoil-focused muzzle (comp/brake)
- A balanced barrel (range + manageable handling loss)
- A vertical or hybrid grip
- A modest mag upgrade (40-round) rather than the heaviest drum
- A clean 1.25x–2x optic
Point priority: Recoil → Range → Mag → Handling.
SMGs – Close-Quarters Bully
SMGs like PW5A3, SGX or similar names in meta lists are your corridor and room cleaners.
For CQC SMGs, focus on:
- Hip-fire & sprint-to-fire buffs (stocks, rails, rear grips)
- Short barrels that buff ADS and sprint speed (even if they hurt range)
- Fast-handling low zoom optics or even iron sights
- Mags big enough to delete a squad before reloading
Point priority: Handling/Mobility → Mag → Moderate recoil control.
LMGs – Lane Anchors & Suppressors
LMGs like the L110 or other starter LMGs are designed to anchor lanes and shred pushes if built correctly.
For lane-holding LMGs:
- Invest heavily in recoil reduction (grip + barrel + muzzle).
- Take a bigger mag if your points allow it, but don’t bankrupt your budget with the biggest drum if you’re already stable.
- Use a mid-zoom optic so you can consistently tap at medium range.
Point priority: Recoil → Mag → Range → Handling.
DMRs & Marksman Rifles – Precision Tools
Meta discussions often highlight a few standout DMRs/marksman rifles for their range and consistency under Pick-100.
For DMRs:
- Long barrel & appropriate muzzle to maximize velocity and accuracy.
- Bipod or precision grips where available.
- A 2.5x–3.5x optic depending on how aggressive you are.
- Magazine size is secondary — you want consistency, not spray.
Point priority: Range/Velocity → Recoil → Optics → Handling.
Sniper Rifles – Map Control & Pick Power
Sniper meta lists tend to highlight a couple of rifles like M2010 ESR or similar for their powerful one-shot ranges and stability.
For snipers:
- Invest in the optic first (power + clarity).
- Use barrels and ammo to hit one-shot thresholds at realistic engagement distances.
- Recoil is less of a problem; re-chamber and ADS speed matter more once your one-shot ranges are set.
Point priority: Optics/Range → Handling → Utility (silencer, ammo).
Shotguns – CQC Specialists
Shotguns like the M87A1 often occupy dangerous spots in the meta because of their ability to one-shot at surprising ranges with the right ammo.
For shotgun builds:
- Prioritize ammo type (pellets vs slugs) based on your role.
- Take mobility-friendly attachments so you can dance around rooms.
- You rarely need huge mags unless you’re defending tight chokes nonstop.
Point priority: Ammo type → Handling → Modest mag → Recoil (if semi-auto).
Budget Management: How to Spend 100 Points Wisely 🧮
A lot of frustration around the Pick-100 system comes from feeling like everything costs too much. Reddit threads are filled with players complaining that base ammo should be zero points, box mags are too pricey, or certain attachments are “point traps.”
To avoid that trap, use a simple mental model:
- Pick your two non-negotiables.
- Example: “This AR must have top-tier recoil control and a 40-round mag.”
- Add the essentials to support them.
- Recoil: muzzle + grip
- Range: barrel
- Handling: one stock/rear grip if needed
- Stop when your gun feels complete, not when you hit 100 points exactly. Sometimes 88 points with a well-rounded build is better than shoving a clumsy, expensive attachment into the last 12.
- Recognize “luxury” picks.
- High-tier silencers, biggest mags, and quirky ammo often fall into this category. Only add them if your role clearly needs them and you’re not cutting core stats to fit them.
Many top loadout guides point out that the strongest builds are often simple, lean configurations that spend big on 2–3 crucial stats and stay modest everywhere else.
Attachments in REDSEC vs Standard Battlefield 6 🌐
Battlefield REDSEC, the standalone battle royale/gauntlet experience, shares weapon XP, cosmetics, and loadouts with Battlefield 6. Custom loadouts you create in BF6 can be brought into REDSEC via contracts or special drop events.
That means your Pick-100 decisions matter in two ecosystems at once:
- In core Battlefield 6, your builds shape how you fight over flags and sectors.
- In REDSEC, the same builds decide whether your loadout drop turns you into a monster or just a slightly better looter.
A few extra tips for REDSEC-focused builds:
- Lean slightly harder into versatility — one gun might need to handle more ranges than in strict Conquest/Breakthrough.
- Control and ammo economy matter a lot because you can’t always re-equip mid-match. Aim for balanced mags and recoil, not extreme min-maxing.
- Remember that contracts and intel caches can feed you better gear mid-game, so don’t overspend points just to get every possible perk on one weapon.
If you treat REDSEC as a testing ground, you’ll quickly see which attachments actually carry games and which are dead weight.
Unlocking Attachments Fast (So You Can Actually Use This Stuff) ⚡
Understanding Pick-100 is great — but you still have to unlock the attachments. And some players are already saying that Battlefield 6’s attachment progression feels grindy if you try to level everything at once.
Attachment guide sites usually recommend:
- Focus on 1–2 main guns per class instead of touching everything.
- Use XP-dense modes (objective play, 64-player chaos, or REDSEC with lots of contracts) to level weapons faster.
- Stack weapon challenges with your normal gameplay — for example, use hip-fire SMG builds on CQ maps when you have hip-fire challenges up.
A simple “unlock plan”:
- Pick one main Assault rifle, one SMG, one LMG, and one sniper/DMR as your first “rotation.”
- Play a few sessions focusing only on these, building them up to near-complete attachment trees.
- Once they’re in a good spot, branch out to secondary options.
If you’re short on time but want a full roster of meta builds, that’s the exact point where a service like BoostRoom becomes useful — letting you skip the worst parts of the unlock grind and jump straight into testing advanced setups.
Example Build Frameworks for Each Class 🧭
Instead of hard-locking you into one meta build (which can change with every patch), here are frameworks you can adapt, based on how current guides shape their top loadouts.
Assault – Aggressive Mid-Range Rifle
- Strong recoil brake + mid-length barrel
- Vertical or angled grip for controllable spray
- 40-round mag (avoid the heaviest drum unless you’re always on the front line)
- 1.5x optic
- Optional: light handling attachment if points allow
Goal: Laser-like mid-range control without feeling sluggish.
Engineer – Mobile Anti-Vehicle SMG
- Short barrel + mobility-boosting stock
- Recoil-helping grip to keep it sprayable
- Medium mag size (enough to down 2–3 players)
- Low-zoom optic or irons
- Points saved for heavy gadget selection in the rest of the loadout
Goal: Fast CQC gun that keeps you lethal while you hunt armor.
Support – Anchor LMG
- Max out recoil smoothing (top-tier grip, barrel, and appropriate muzzle)
- Big mag if the points are there; don’t cripple the build to chase an extra 20 rounds
- Stable mid-zoom optic
- Optional handling attachment if you feel too slow rotating between covers
Goal: Turn choke points into death zones without your gun climbing into the ceiling.
Recon – Hybrid Sniper / DMR
- Strong optic tailored to your typical distance
- Barrel + ammo tuned for consistent 1- or 2-shot thresholds
- Minimal but targeted recoil or handling help (you don’t need AR-tier recoil control)
- Points left to invest in intel gadgets and perks that support long-range play
Goal: Reliable pick power plus enough mobility to reposition after every few shots.
Use these as starting templates, then adjust by feel and per-patch notes.
Common Pick-100 Mistakes (And How to Avoid Them) ❌
Even good players fall into some classic traps when building weapons:
- Trying to do everything at once.
- Your AR doesn’t have to win every fight. Decide if it’s a close, mid, or hybrid gun and build accordingly.
- Overspending on zoom.
- A 4x optic on a gun that mostly fights inside 40 meters is wasting both points and visibility.
- Ignoring mobility on heavy builds.
- If your LMG build turns you into a turret that can’t move, you’ll farm until the first flank, then instantly die.
- Copy-pasting meta builds without understanding them.
- Tier lists give great starting points, but you should still tweak for your personal recoil control, sens, and usual playstyle.
- Never re-evaluating after patches.
- Gun balance, recoil values, and attachment budgets are already being tuned in early updates. Staying glued to Day-1 builds is a mistake.
Treat your loadouts as living builds. Every patch or meta shift is a new excuse to revisit your attachments and see if you can squeeze out a bit more efficiency from that 100-point budget.
FAQ – Quick Answers About Pick-100 & Attachments ❓
What is the Pick-100 system in Battlefield 6?
It’s a point-budget system where every weapon (and some loadout elements) has 100 points to spend on attachments. Each attachment has a cost, so you can’t stack all the strongest options—you must specialize your build.
Is there a “best” attachment combo for every gun?
Not really. There are popular meta templates, but the “best” combo depends on range, class role, map, and how well you personally handle recoil and movement.
Why do some attachments feel overpriced?
High-impact upgrades like huge mags or powerful silencers often carry heavy point costs to prevent broken builds. Community feedback suggests some costs might be overtuned, and devs may adjust them in balancing passes.
Do my Battlefield 6 attachment builds matter in REDSEC?
Yes. REDSEC uses shared progression and custom loadouts that come from your Battlefield 6 builds, so a good Pick-100 setup is strong in both modes.
How can BoostRoom help with attachments?
You still have to learn the gameplay skills yourself, but BoostRoom can help with the time-consuming grind: leveling weapons, unlocking attachments and paths, and setting you up with a full arsenal of guns that are ready to slot into optimized Pick-100 builds.
